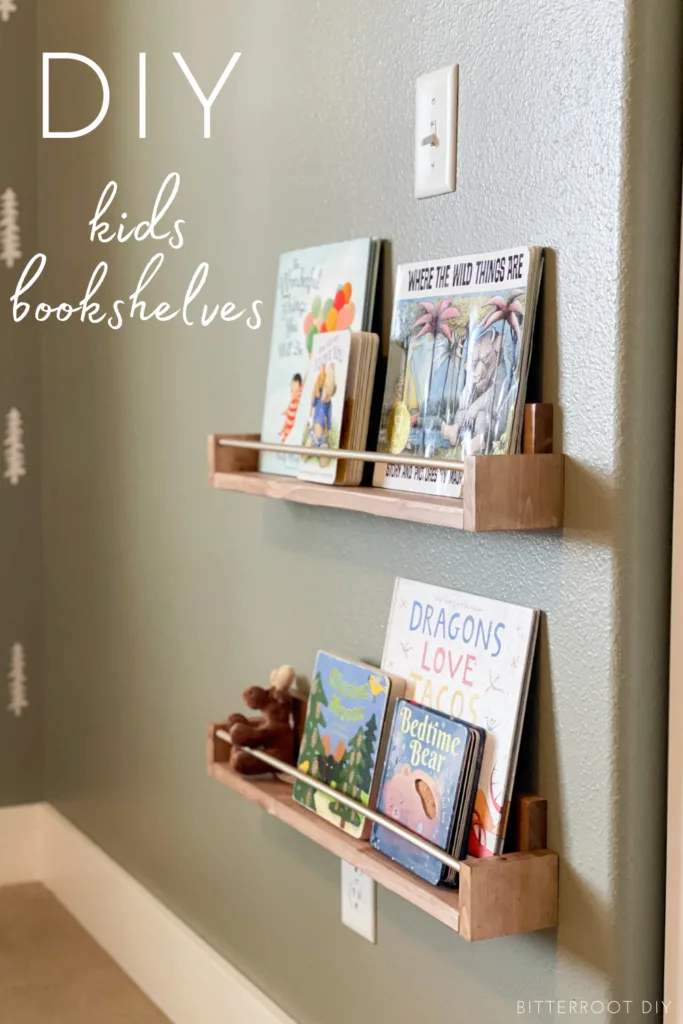
Build a set of wall bookshelves for your kids room.

This post contains affiliate links. If you make a purchase from one of the links, I may make a small commission at NO EXTRA COST to you. Thank you for your support! See my full disclosure here.
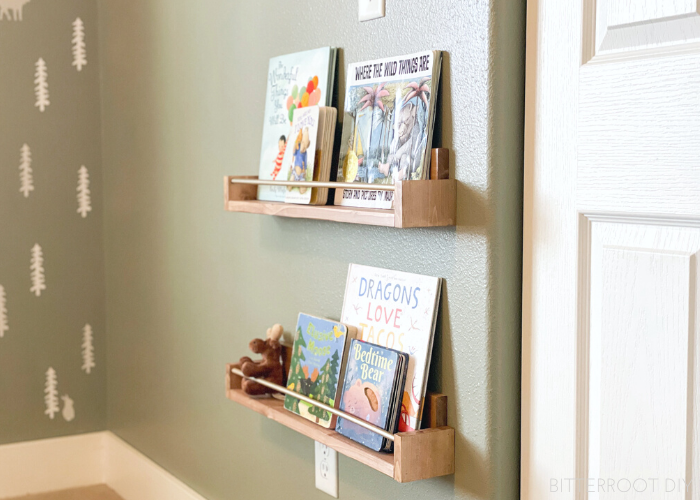
The kids woodland room is starting to come together, and these wall bookshelves are the latest addition! They add just the right amount of decoration and bit of book storage. Though, let’s be real, they probably won’t have books on them very often since I hung them at kid height haha. But, nonetheless, they’re fun!
If you’re interested, you can also find a video tutorial for this project over on my YouTube channel.
Enjoy the plans!
- Miter Saw
- Brad Nailer
- 1 1/4″ Finish Nails
- 2 1/2″ Screws
- Wood Glue
- Level
- Stud Finder
- Tape Measure
- Pencil
- Safety Glasses
- Ear Protection
- Champagne Mist Spray Paint OR Vintage Gold (both good gold/brass colors)
- Pre-stain
- Gel Stain (chestnut)
The lumber & cut lists are written for TWO wall bookshelves that are each 23″ wide (total width is 24 1/2″ once you attach the end caps).
Adjust as necessary.
LUMBER
- 2 | 1 x 4 @ 6′
- 1 | 3/8″ dowel @ 4′
Cuts
- 4 | 1×4 @ 23″
- 4 | 1 x 4 @ 2 1/2″
- 2 | 3/8″ dowel @ 24″
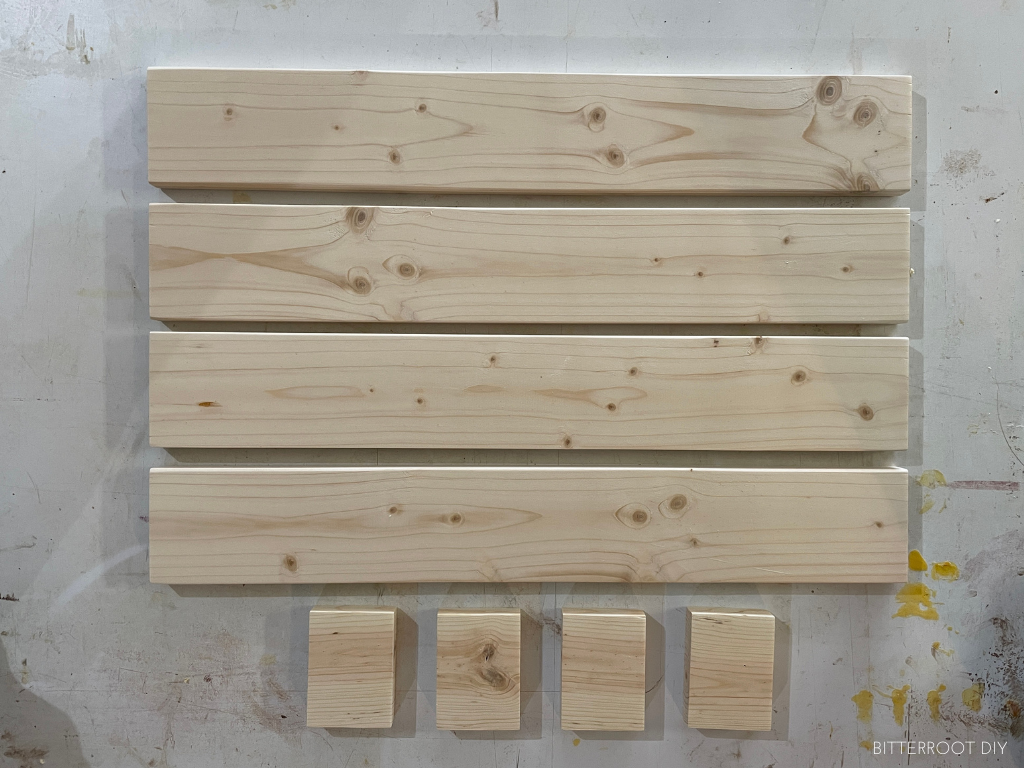
Step 1.
Cut your boards to length according to the cut list above.
I recommend sanding them at this point so you don’t have to try to work into all the small corners once they’re assembled.

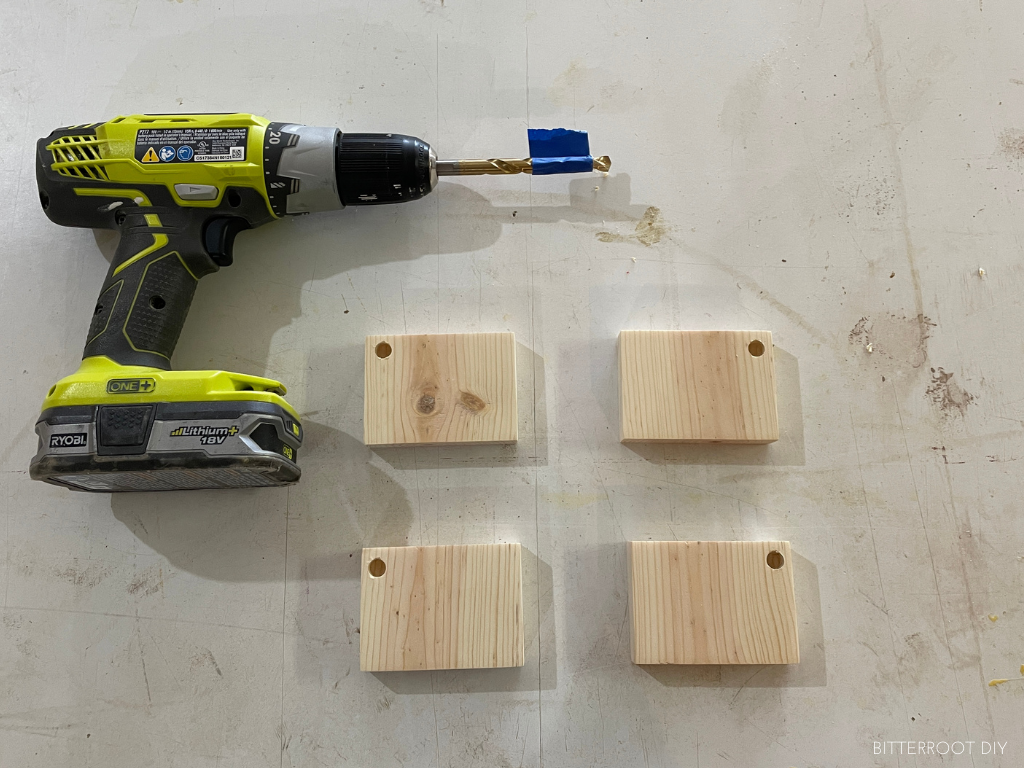
Step 2.
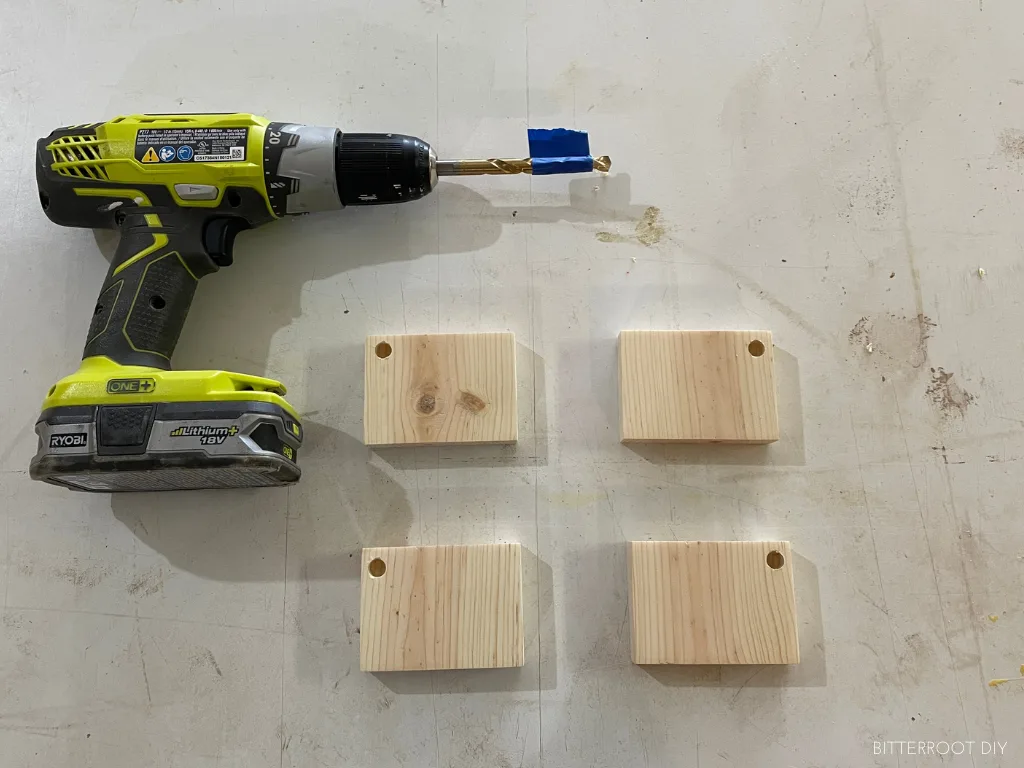
Measure and mark the center point for the dowels at 5/8″ from the top and front edges of the end caps. Use a 3/8″ bit (or the same size as your dowels) to drill the pilot holes 1/2″ deep.
A drill press would work great for this. But, if you don’t have one, a regular drill is just fine.
Attach a piece of tape at 1/2″ from the end of the bit to mark how deep to drill and hold the drill as straight and level as possible so the dowels fit properly. It’s helpful to stand a speed square next to your drill to help keep it level.
Did I use a speed square?
Of course.
Not … totally just wung it and then had some issues with the dowels being crooked. So, pay no attention to my technique in the YouTube video haha.
Step 3.
Since the shelves and dowels are different colors, I found it easier to finish them before assembly. It may have been a little over-cautious, but I left all the adjoining edges unfinished so there was still a good porous surface for the wood glue. You can see the unfinished edges in the photos below.
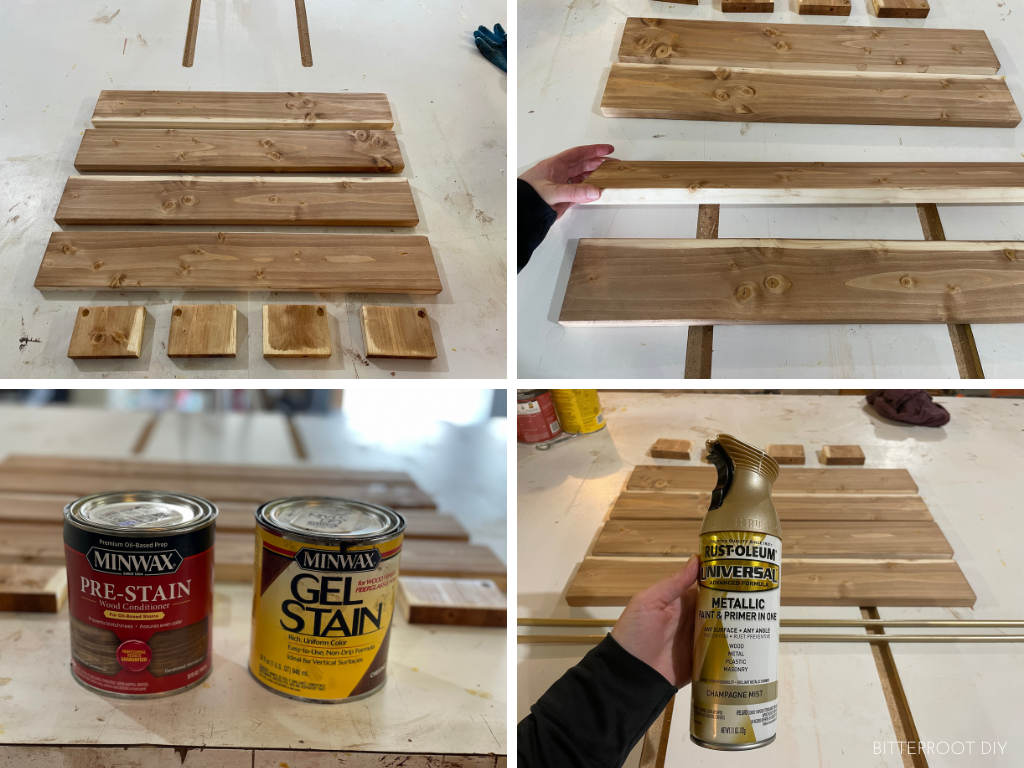

I used a pre-stain followed by chestnut gel stain for the 1x4s and metallic spray paint for the dowels.
I started by painting the dowels vintage gold but ended up repainting them later with champagne mist. Both are very nice colors, but the vintage gold was a bit more brassy. Champagne mist is almost more of a bronze-y brass.
Step 4.
Once everything is dry, assemble the shelves with wood glue and 1 1/4″ brad nails.
You could use screws or pocket holes if you want to beef them up. But since these are just holding a few kids books, the wood glue and brad nails are plenty strong for my purposes. The end caps also add some strength to them.

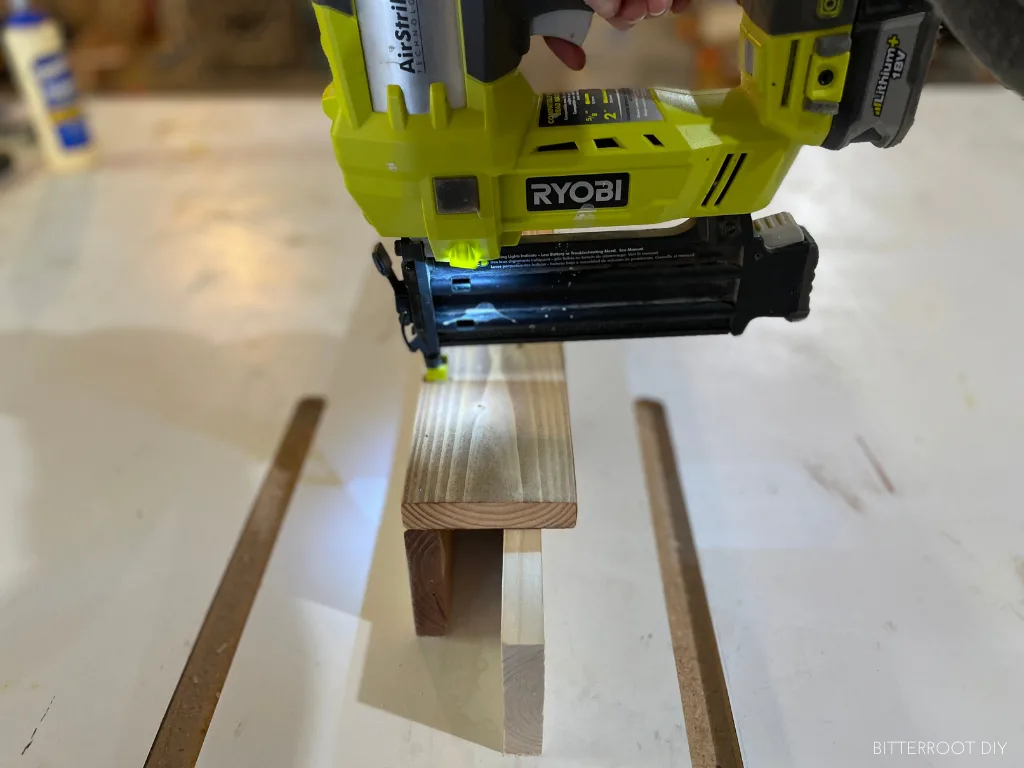
To assemble: attach the long 1x4s together, add the first end cap, insert the dowel in place, and finish it off with the second end cap.
Use wood glue along all joints, as well as on the dowels.

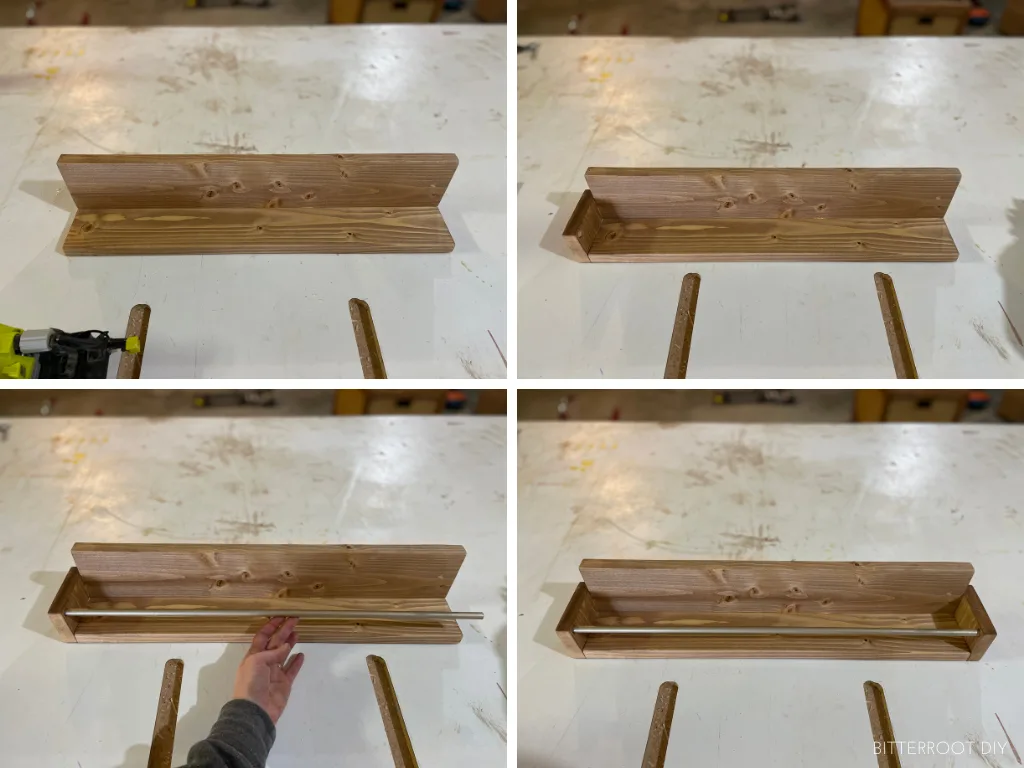
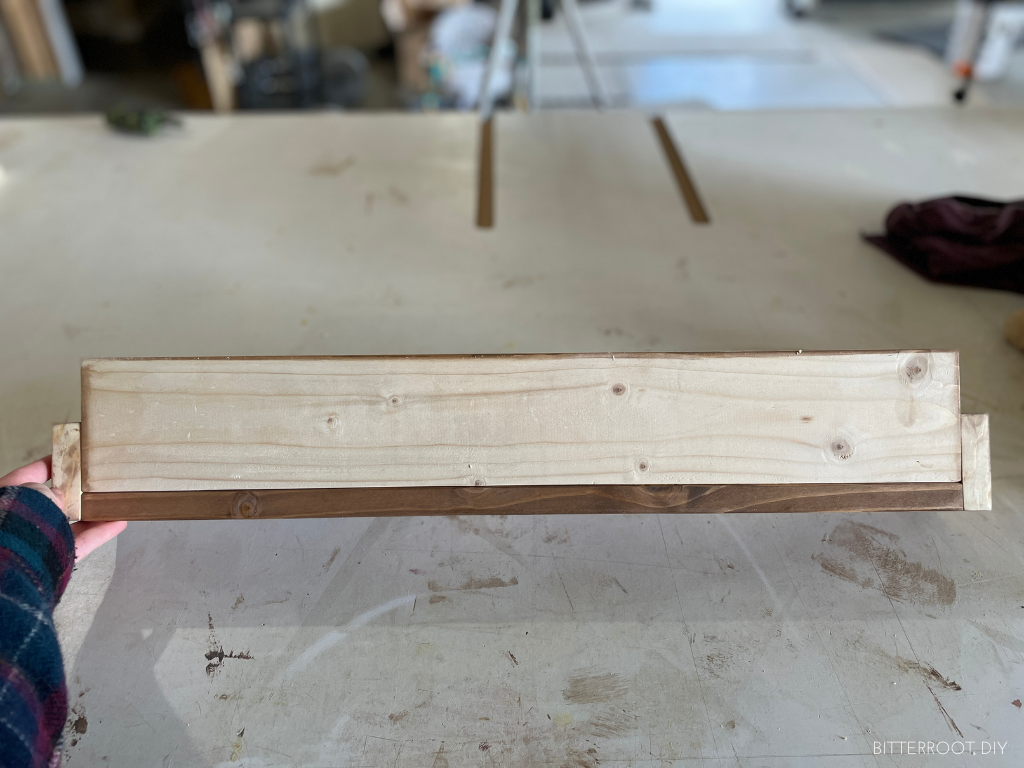
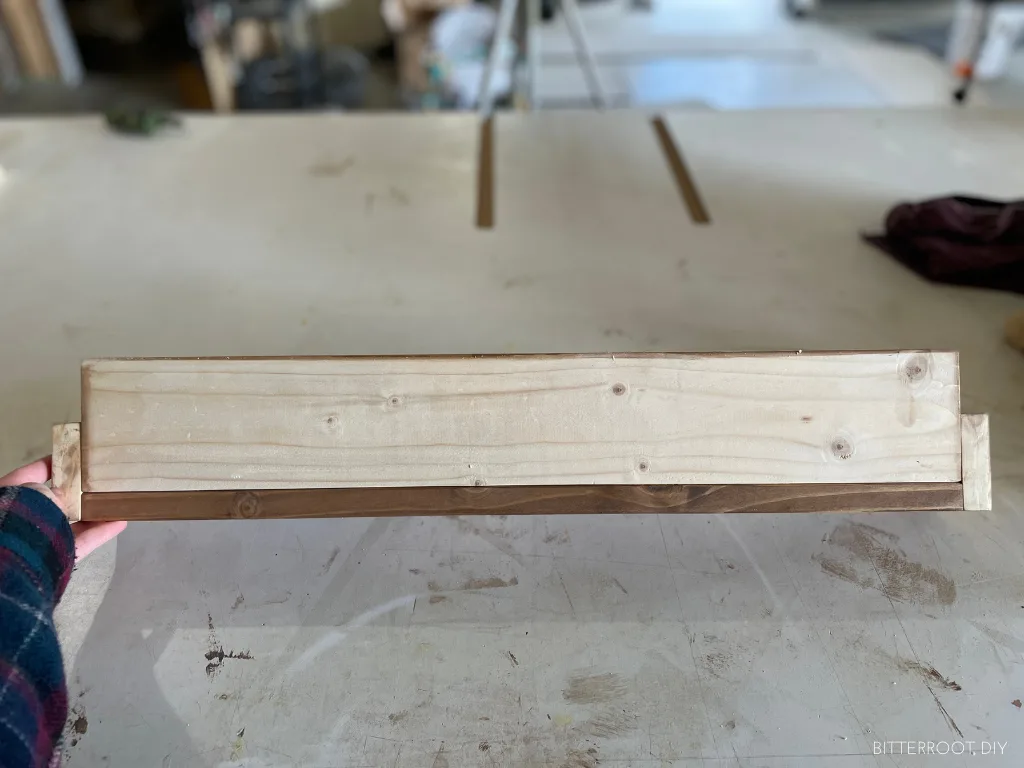
Make sure to stack the backer 1×4 on top of the shelf 1×4 so the end caps fit properly.
Here’s a view from the back:
And the front:
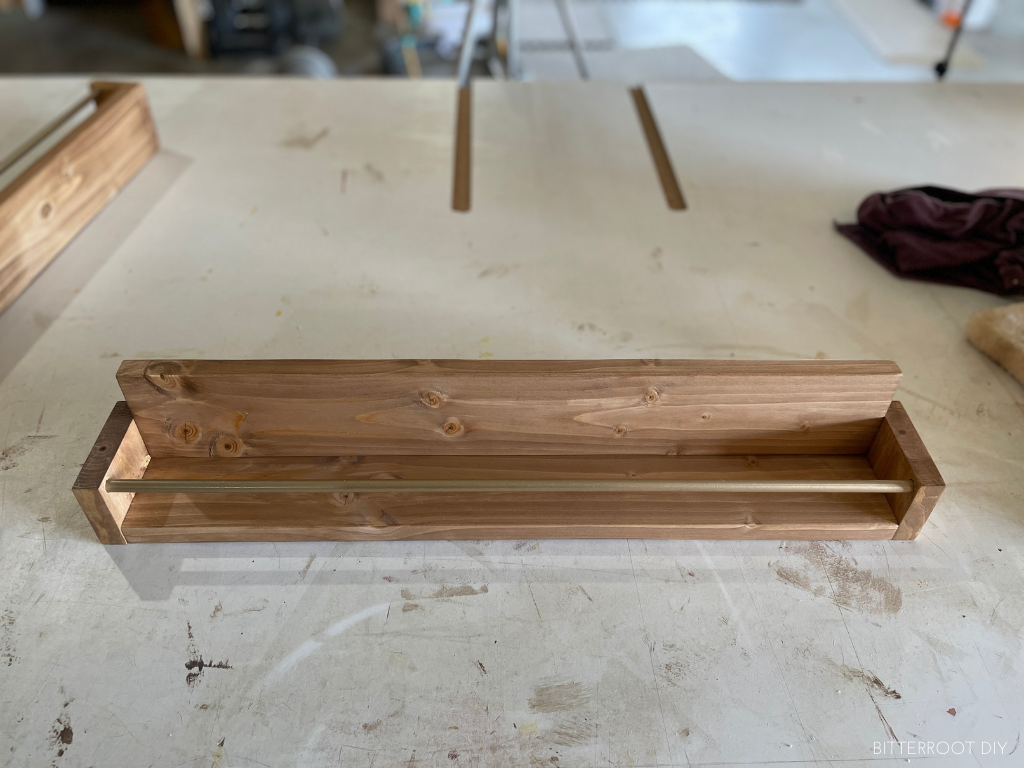
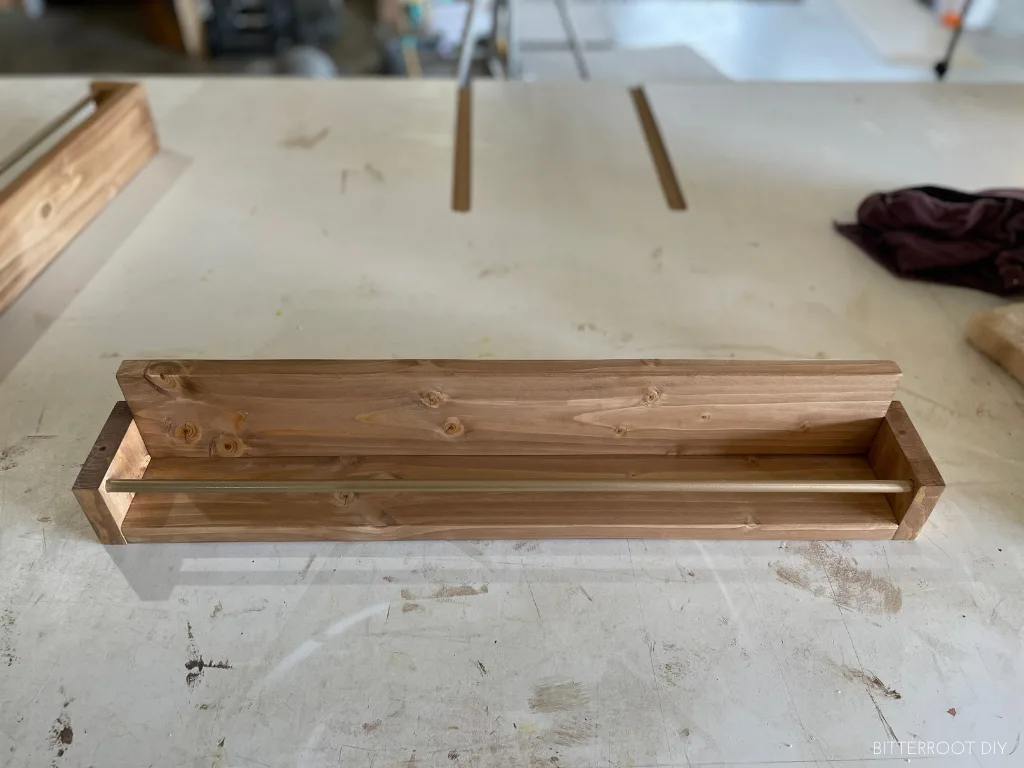
Step 5.
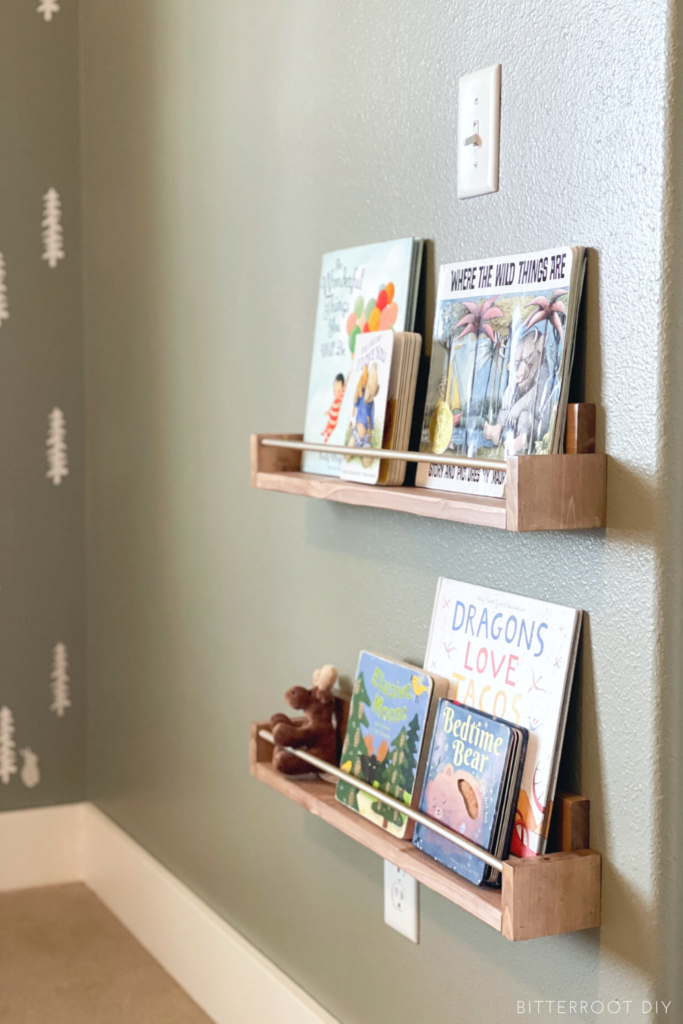
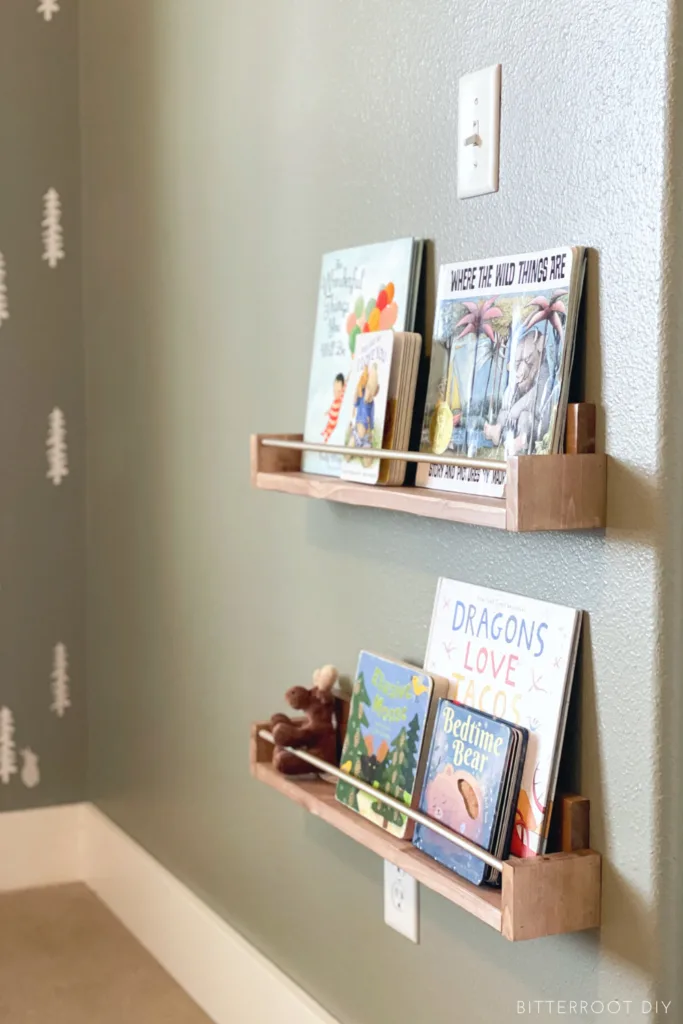
Last but not least, hang them up.
Locate the studs in the wall, predrill holes into the shelves (to prevent splitting), use a countersink bit to ensure the screws sit flat along the back of the shelf (optional), and screw them to the studs with 2 1/2″ screws.
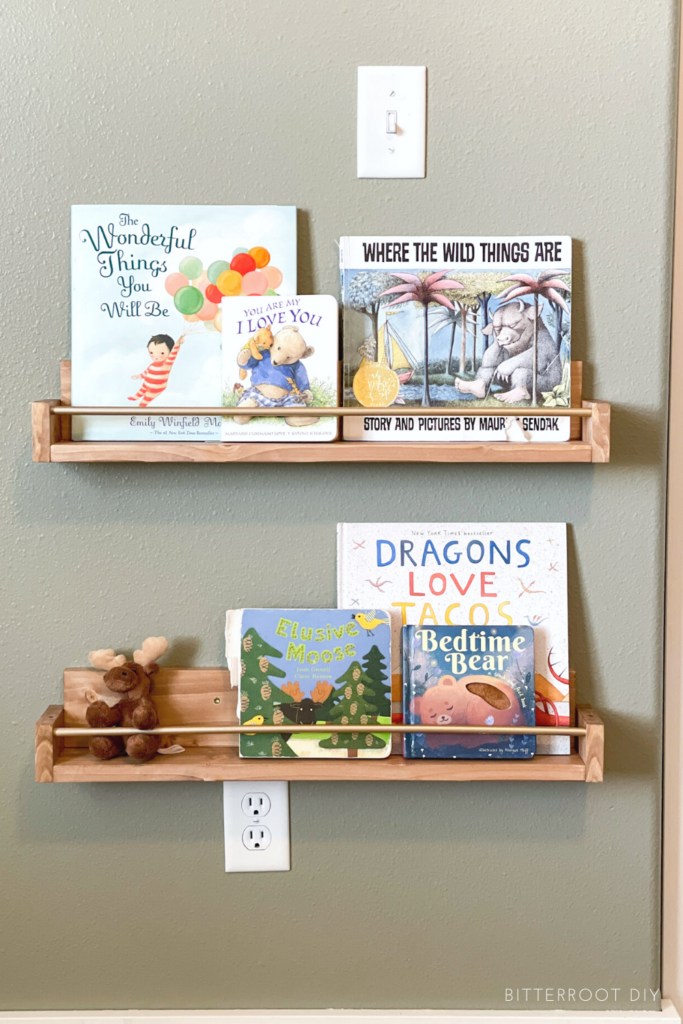
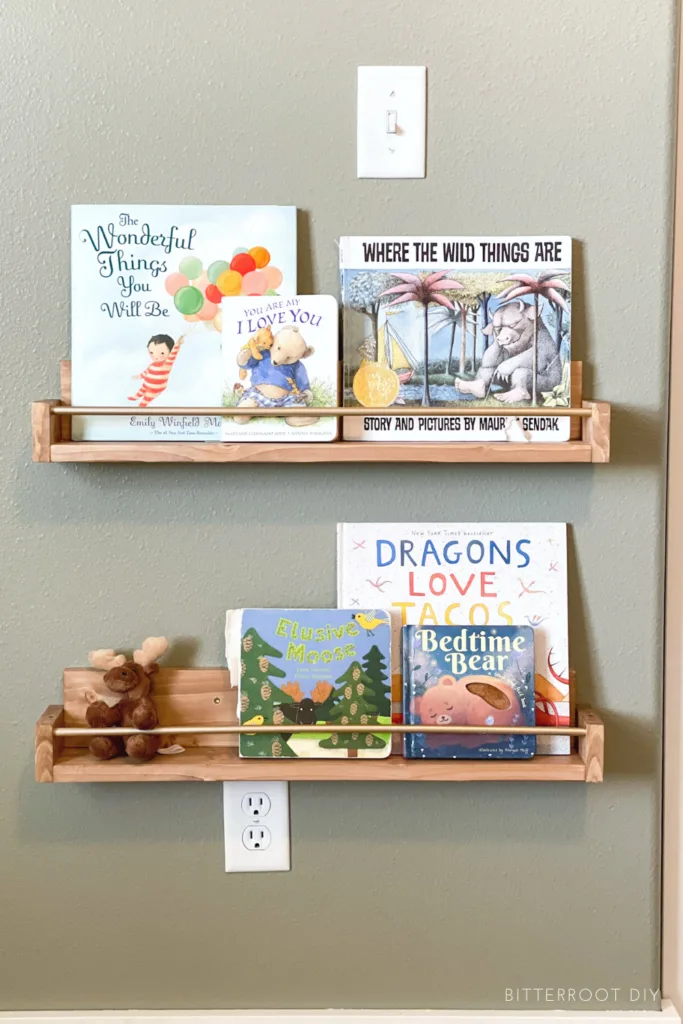
And you’re DONE – a quick, budget friendly project and great way to encourage your kids to read!
Don’t forget to tag me over on Instagram if you build some of your own wall bookshelves – I’d love to see them.
Let me know if you have any questions and I’ll get back to you as soon as possible.
-Tylynn