
Learn how to stencil textured walls with these tips and tricks to achieve crisp lines and a smooth finish.

This post may contain affiliate links. If you make a purchase from one of the links, I may make a small commission at NO EXTRA COST to you. Thank you for your support! See my full disclosure here.
I was a bit nervous to tackle this project after reading so many mixed reviews about how to stencil textured walls – everything from “DO NOT ATTEMPT” to “it’s just going to be less crisp and there’s not much you can do about it”. But, I’m happy to report that THIS WORKED GREAT. You can see how textured our walls are and how crisp the stencil turned out down below in a few close-up photos.
All it takes is a little time, patience, repositionable adhesive, and THIN layers of paint.
If you’re interested, you can also find a video tutorial for this project over on my YouTube channel. Don’t forget to subscribe while you’re there!
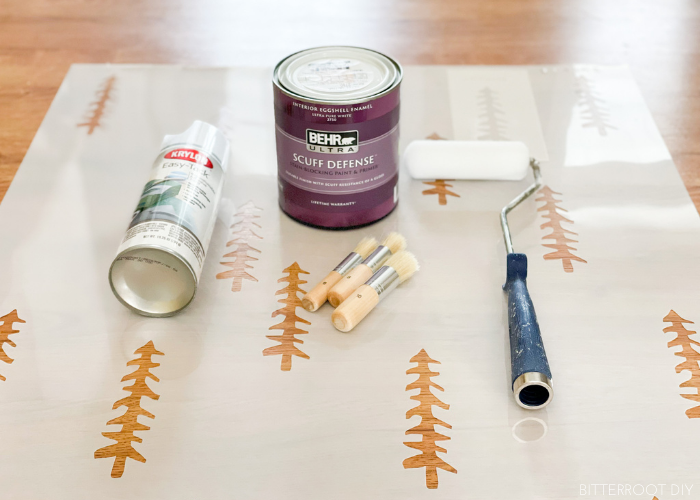
- Repositionable Adhesive
- Stencil Brushes
- Fine Finish Roller and extra rollers
- Stencil of Choice (I used this Siberian Taiga Tree Stencil and a few Forest Animal Stencils)
- Paint of Choice – walls are Dusty Olive by Behr, trim is White Dove by Benjamin Moore, stencil is a combination of Benjamin Moore White Dove, Classic Gray, and Balboa Mist
Step 1.
Apply a thin, even layer of repositionable adhesive to the back of the stencil. You want enough adhesive that it will stick to the wall, but not so much that it leaves a residue when you remove the stencil. Less is more here – start with a pretty thin layer and then add more if the stencil doesn’t stick well enough.


On a quick Amazon search, you’ll find adhesive made specifically for stencils (like this stuff), but it’s more expensive for the same product. I used this adhesive from Krylon and it worked great.
I recommend spraying outside if possible. The residue travels and will get ALL OVER everything.


If you like a challenge, spray the stencil while it’s lying on the grass and all the little bugs, dirt, grass, and small children try to jump onto it. OTHERWISE, pay no attention to what I’m doing in the photo. After the first round, I found that it was MUCH easier to spray while holding the stencil up (as you can see in the video). But, don’t worry, you’ll do this about 767 times so you have LOTS of opportunity to experiment and find what works best for you.
Step 2.
Once you have a nice, even coat and have removed all the bugs and grass, stick that sucker to the wall. I used a small piece of painters tape at the top to ensure the stencil didn’t fall down unexpectedly, but it’s not doing much (just a precaution).


The adhesive is what really does the job.
Here, you can see up close how textured the walls are and how well the stencil adhered:

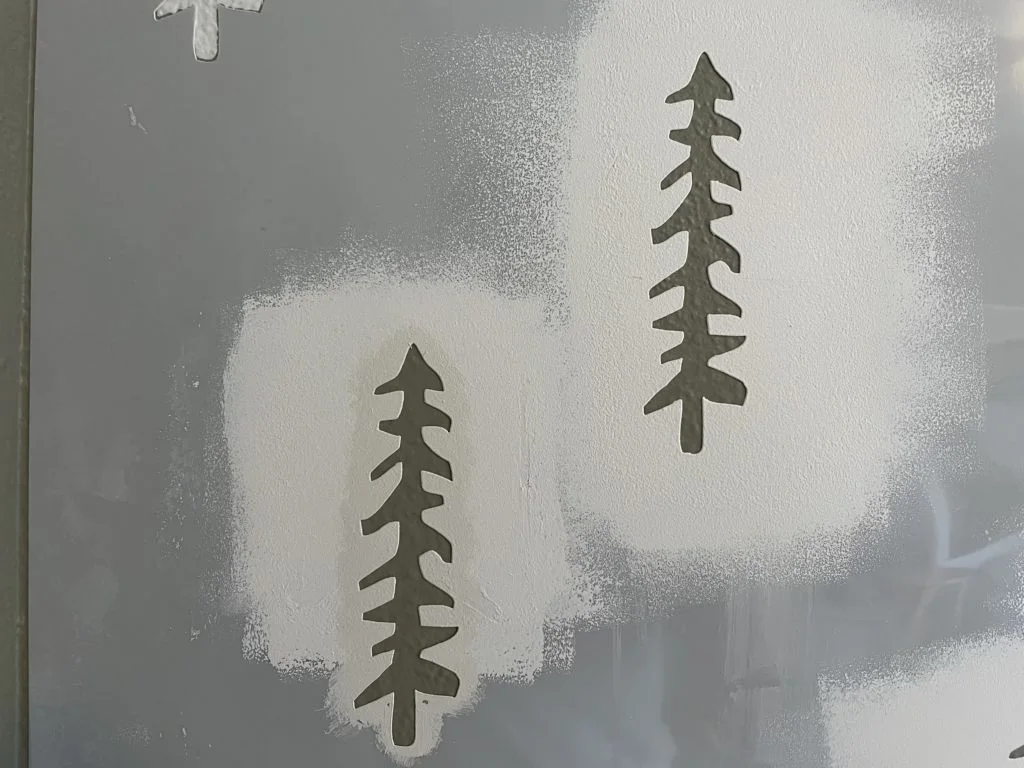
I couldn’t move any of those tree limbs. They were all stuck down until I peeled the whole stencil off to move to the next section.
Step 3.
Time to paint!
A paint tray and fine finish roller works well if you plan to paint the majority of the stencil the same color since it covers more area than the stencil brushes. Most of the trees are the same color (White Dove by Benjamin Moore), so I used the foam roller there and then followed up with a few stencil brushes for the trees that are different colors (Classic Gray and Balboa Mist by Benjamin Moore).

The key is applying THIN layers of paint so there’s not enough paint to leak under the stencil. The first coat looks a little silly since you can see all the underlying wall color. But, trust me, it improves after a couple coats and you’ll end up with beautiful, crisp design.
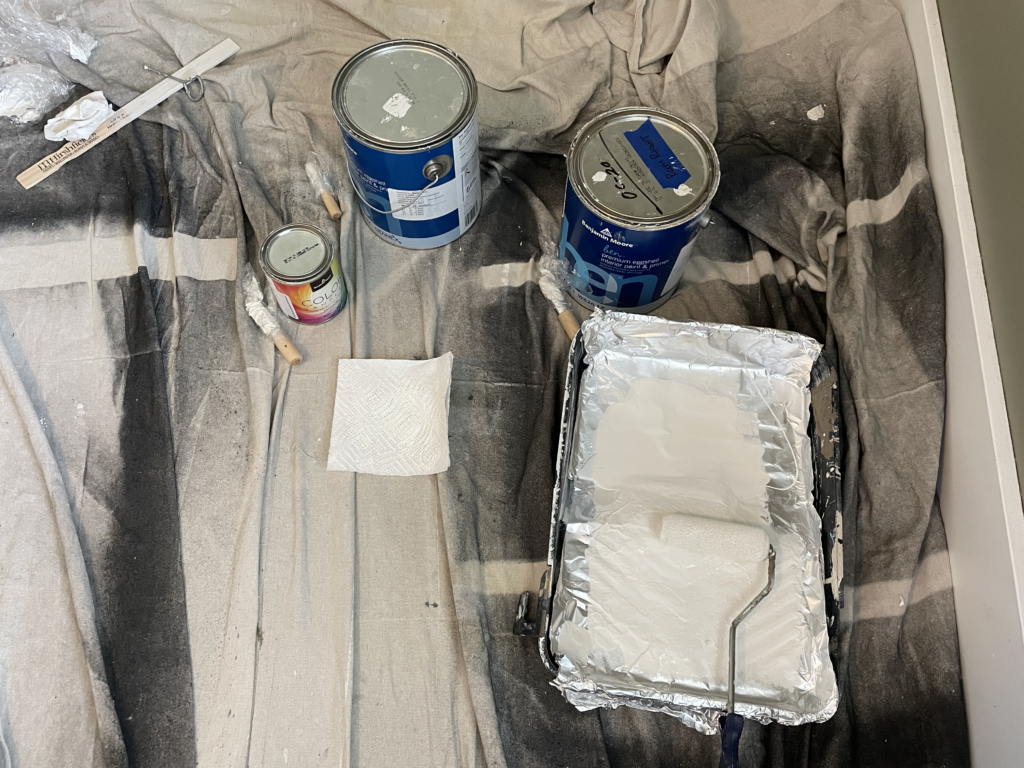
To use fine finish foam rollers:
Apply a very small amount of paint to the roller, then roll it off on a paper towel until you have just a thin layer of paint left.
If you use rollers, make sure to use FINE FINISH FOAM rollers. Standard nap rollers hold quite a bit more paint – more than you want in a single layer. Foam rollers are very fine and work well for applying thin layers of paint.


Roll the paint vertically and then horizontally a few times to get good coverage without pressing too hard and causing paint to leak under the stencil.


You can see here where I used the foam roller on the majority of the trees, and then finished up the gray ones with stencil brushes.


To use stencil brushes:
Apply a very small amount of paint to the brush, then dab it off on a paper towel until you have just a thin layer of paint along the bristles.
On the first coat, I found it worked best to brush the paint in from the edges toward the center of the shape, fill it in, and then smooth the lines over by “dabbing” the second coat on. The first coat sealed the edges of the stencil a bit more so I could smooth the brush lines on the second coat without any bristles working their way under the stencil or moving the stencil around. I showed that process in more detail over in the video tutorial.

You could use all stencil brushes, all foam rollers, stencil sponges, or a combination. The stencil brushes are more precise for painting more crowded designs with multiple colors. The rollers go a little quicker if you’re working with all one color. I had trouble with sponges peeling the stencil up and causing paint to leak under, but I’ve heard good things about them from other people. I’d recommend experimenting a little to find what works best on your walls.
The paint dries pretty quickly since it’s such thin layers. So by the time I finished the first coat over everything, the first section of trees was ready for a second coat.
Step 4.
Apply a thin second coat (same as the first coat), and then remove the stencil while the PAINT IS STILL WET. If the paint dries, it can peel off the wall with the stencil and blur the lines.
I found that two coats was enough for crisp colors and shapes, but, if necessary, apply more coats. Just make sure to remove the stencil when the final coat is still wet.
Check the back of the stencil for any paint that may have leaked underneath or gathered along the edges of the shapes and wipe it clean. Residual paint can transfer to the wall when you move the stencil to the next section, so you want to make sure it’s nice and clean.
Re-apply adhesive if necessary. I could usually do about 2-3 sections before the stencil lost some of its stickiness.
Step 5.
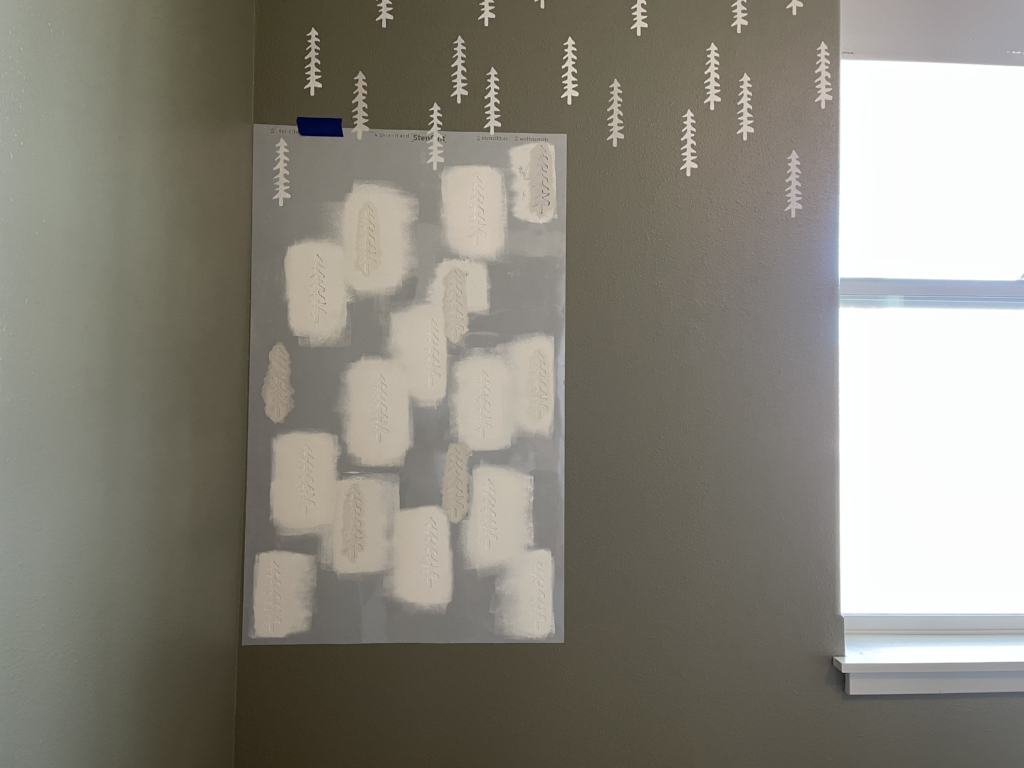
Depending on the stencil, overlap the pattern as necessary. Most stencils come with instructions that will show you where and how to overlap to keep your pattern consistent.


You’ll notice that there’s already a few coats of paint on the stencil in the photos. This may be different depending on the paint, but I could only do about 8 sections at a time before it started to get tacky on the stencil and tried to peel up into the trees and cause a whole big mess. I took me a couple days to complete the whole wall, so I just washed the stencil each day and then started fresh.
If you plan to do it all in one shot, I recommend taking a break to completely wash the stencil when it starts to get tacky. The first few coats of paint dry quickly on the stencil, but as you start to get 10-12 coats on it from multiple sections, it won’t dry anymore. That’s when I’d wash it off and start clean – a little dish soap and warm water, and gently wipe the paint off.
Aaaand repeat, repeat, repeat as you work your way across the wall.
Step 6.
Just for fun, I added a few forest animals in between the trees.
Same process as the big stencil – repositionable adhesive, stick it to the wall, light first coat, light second coat, then remove the stencil while it’s wet.


Stencil brushes (or random kids’ paint brushes because I ran out of stencil brushes … #profeshunal) worked best on these smaller stencils. The foam roller was too big.
Again, I brushed the paint in from the edges toward the center of the shape, filled it in, and then smoothed the lines over by dabbing the second coat on.
Step 7.
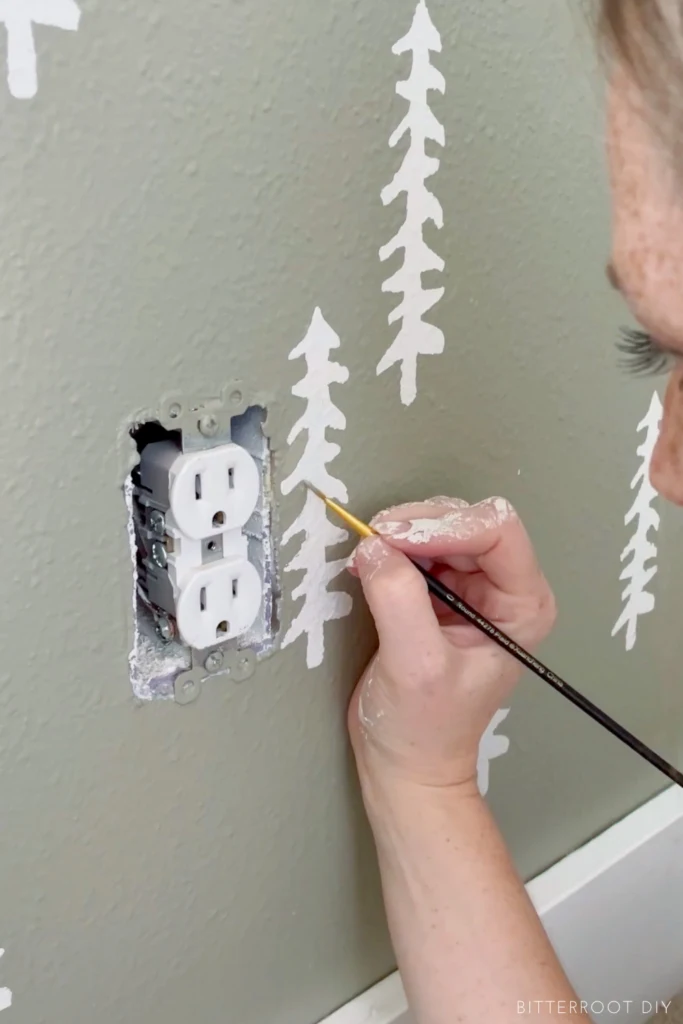
Lastly, touch up any blurred shapes with a small brush.
I was worried there’d be a lot more touch-up work with the textured walls, but most of the stencil turned out perfect. I only had to fix two trees – one next to an outlet and one in a small spot under the window trim where the the stencil didn’t adhere very well. Other than that, all the lines were crisp!

Don’t let your textured walls stop you. That repositionable adhesive is a game changer for crisp, smooth lines!
Please let me know if you have any questions and I’ll get back to you as soon as possible.
Stay tuned for the rest of the kids’ room projects coming your way soon!
– Tylynn
Don’t forget to pin for later!

