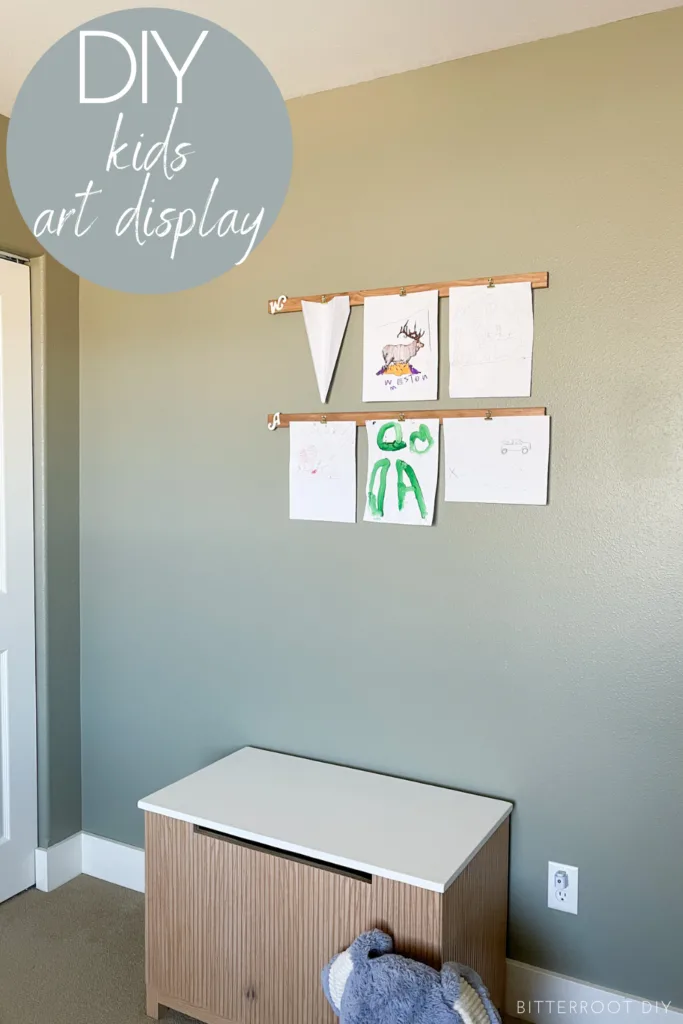
Display your kids’ artwork where they can show off their favorites and rotate new pieces easily.

This post contains affiliate links. If you make a purchase from one of the links, I may make a small commission at NO EXTRA COST to you. Thank you for your support! See my full disclosure here.
- Pine 1/2″ x 2″ @ 36″ long (or 1 x 2s work as well)
- Gold Clips
- Command Velcro Picture Hanging Strips
- Tape Measure
- Pencil
- Small wood letters (optional)
- Paint or stain of choice (optional)
The kids are all about art projects lately – coloring, painting, handprints, practicing letters and numbers, you name it! I love seeing their creativity and imagination come to life but haven’t had a great way to display much of it. I used to hang them on the fridge, but the pages fall down so often as we open and close it. And, maybe it’s just me, but that fridge clutter starts to stress me out after a while! Rather than hide them away in a cabinet (not that that’s what I’ve been doing. Of course not.), I came across these cute art display shelves from the Etsy shop My Side of the Garage. Head over to check them out or if you’d prefer to purchase directly from her! I already had most of the supplies on hand so I put together a quick set of my own for their new room.

1x2s would work great for this project, but the 1/2″ boards are a bit slimmer which worked for my space. You can usually find them in the bottom shelves below the rest of the dimensional lumber.
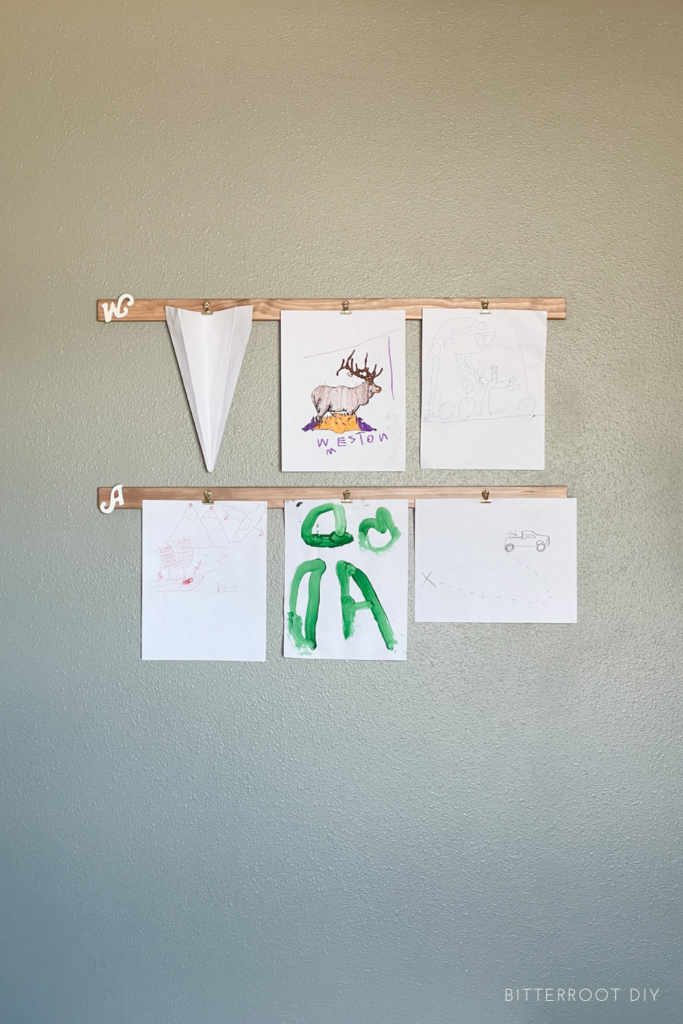
I cut two 1/2″ x 2″ pine boards down to 32″ – long enough to fit 3 standard size coloring pages comfortably, plus a little extra on the sides where I added a letter for each of their names. To figure the length, I just lined up a few of their coloring pages and measured. You can make them as short or long as works for your space. Easy peasy!
Next, I sanded them smooth, hit them with some pre-stain, stained with chestnut gel stain, and sealed with satin polycrylic. I was honestly torn between leaving them just the natural pine or staining but, in the end, went with stain to match the rest of the wood accents in their room. They would look beautiful unfinished as well!
Once they dried, I attached three gold clips. If you use 1/2″ boards instead of 1x2s, make sure to pick up some itty bitty little 1/2″ screws. Spacing depends on how many coloring pages, size of pages, and whether you add their names or letters to one side. Again, I just spaced things out along the board and figured out what looked best, then repeated for the second one so they match.
For damage-free hanging, I used Command Velcro Strips to put them up.

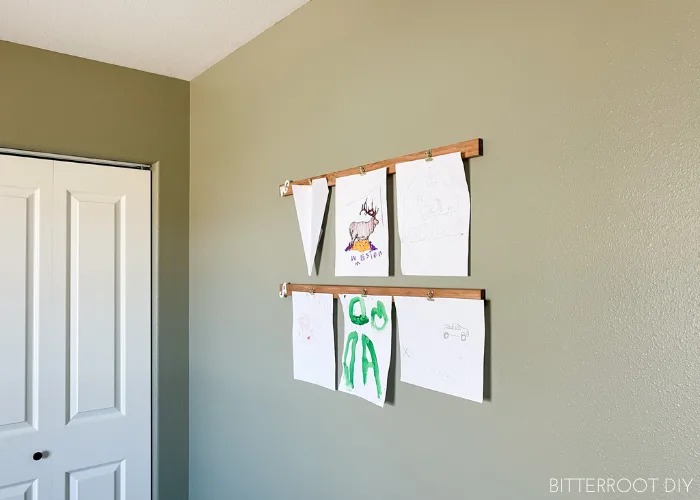
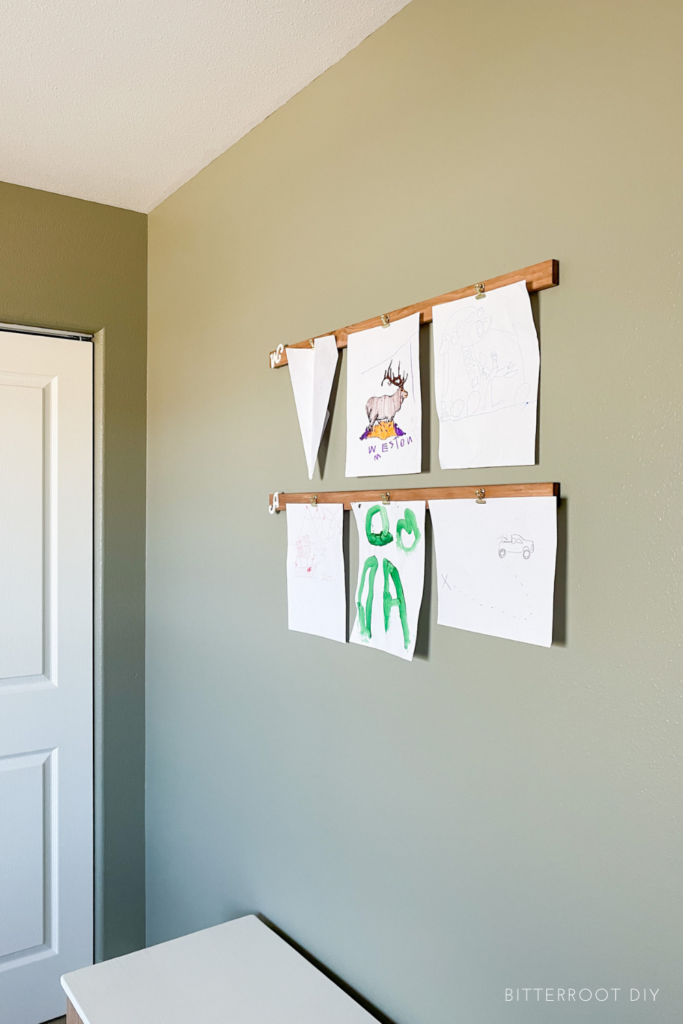
And now we have a wonderful spot to display their work! It’s quick and easy to change pieces out and adds each of their little personalities to their new room. I originally figured I’d rotate the projects myself, but my son (4) figured it out pretty quickly. It’s been so sweet to watch him trade out old pictures for his and his sister’s (3) latest masterpieces.
Please let me know if you have any questions and I’ll get back to you as soon as possible.
You can also watch the video tutorial over on my YouTube channel.
And don’t forget to tag me over on Instagram if you build some of your own – I’d love to see them!
-Tylynn