DIY Glowing Ghost Garland
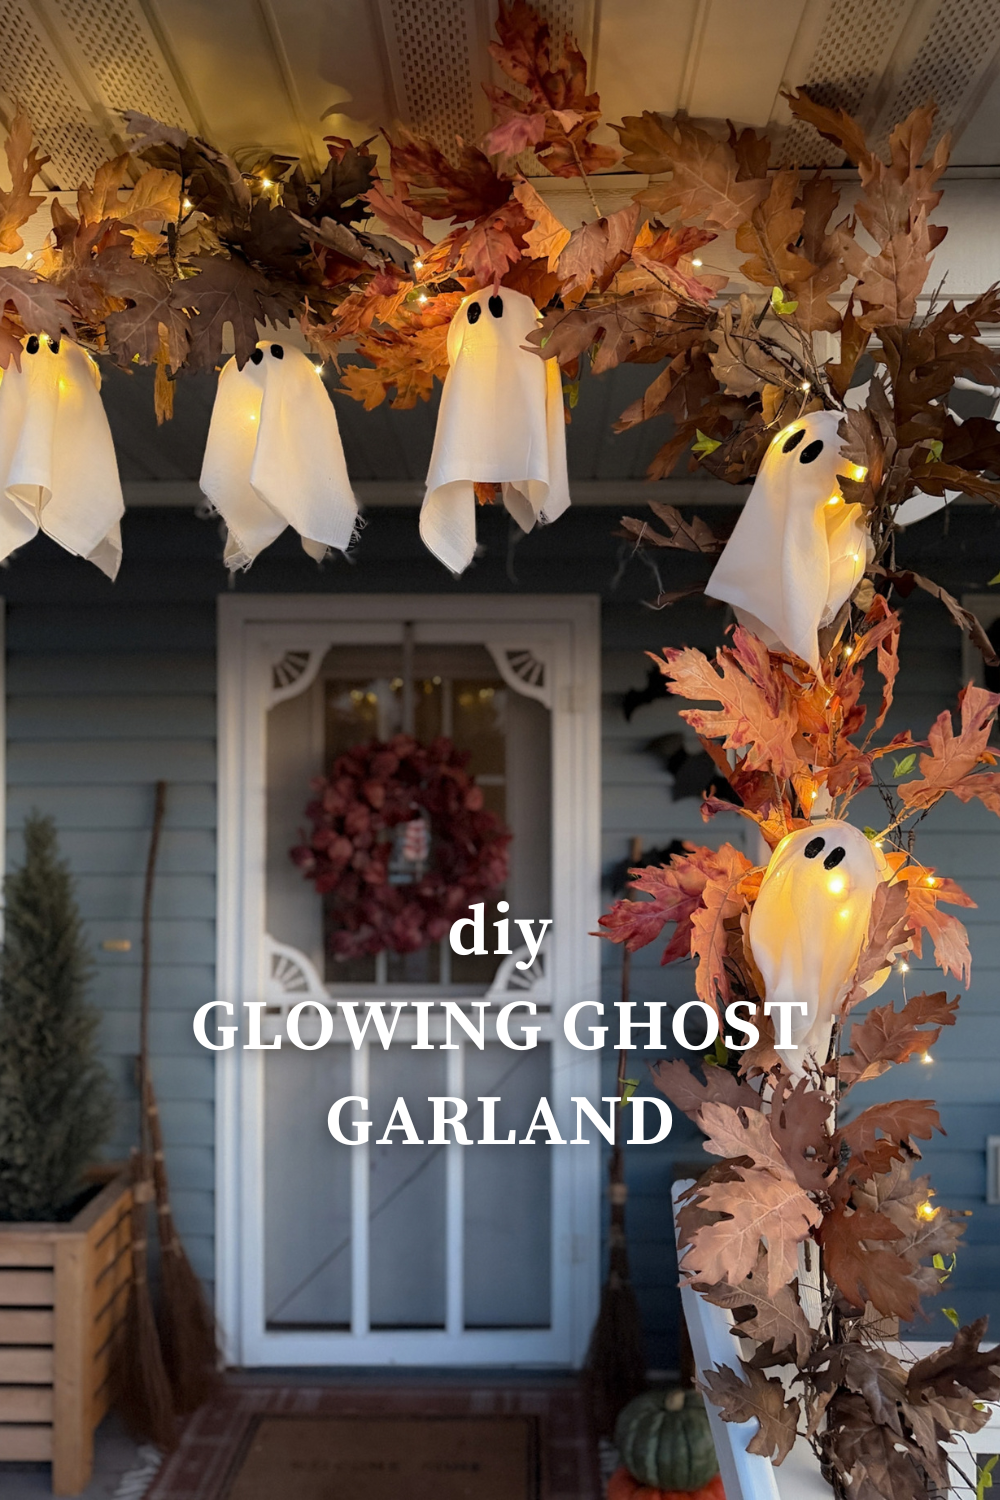
We have some big fans of Halloween in the house. Around the end of August, they always start asking what we're doing for the Halloween porch! I'm holding off putting the rest of it up for a little while still, but I just couldn't help myself when I got the idea for this cute glowing ghost garland!
We lean towards fun and just a tad spooky Halloween, not scary, and this garland is just the thing. During the day, they're just cute little floating ghosts. And at night, they light up the porch!
They're quick and simple to make.
DIY Glowing Ghost Garland Supplies
- Eight 4-inch foam balls
- Cheesecloth
- LED fairy lights
- Hot glue gun and glue sticks
- Black acrylic paint
- Paintbrush
- Zip ties, for hanging
- Bendable Branches Vine
- Fall Oak Stems
I used an extra long strand of fairy lights so I had plenty of extra wire to wrap around each foam ball and still leave enough space between the ghosts.
How to Make a Glowing Ghost Garland
1. Wrap the Fairy Lights Around the Foam Balls
Start with your first foam ball and decide where you want the ghost to sit along the strand of lights. I unraveled the light strand and made my best guess on where to start the first ghost based on how many I wanted to do. It doesn't have to be perfect!
Add a dab of hot blue to the top of the foam ball, then wrap the fairy light wire around the foam ball about 3-4 times. I wanted enough lights around each one to give the ghost a nice glow at night.
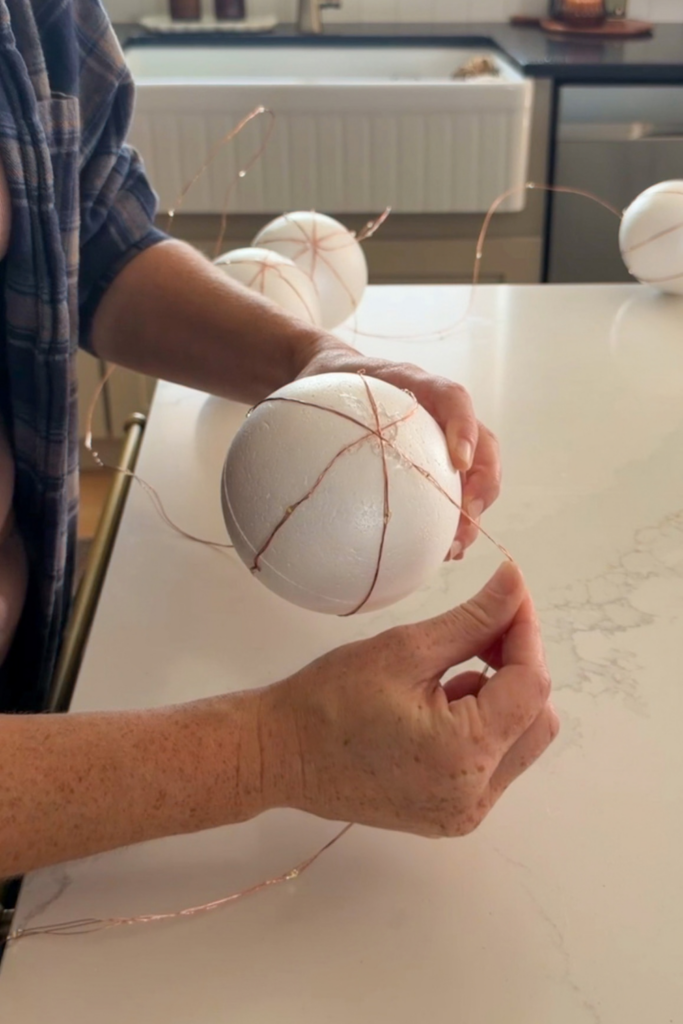
I added a little hot glue on the bottom and sides as necessary to hold the lights in place as I wrapped them around. Make sure to start and end the strand at the top of the ghost so the wire travels across the top of each one when they're hanging.
Repeat this process for all eight foam balls, leaving enough wire between each one for the spacing you want in your finished garland.
2. Add the Cheesecloth
Cut a piece of cheesecloth large enough to drape over the foam ball and create the ghost body underneath. It can be however big or small you prefer. I doubled up each piece so it's thick enough to cover the foam and light strand pretty well.
Place the cheesecloth over the top of the ball, then hot glue it in place.
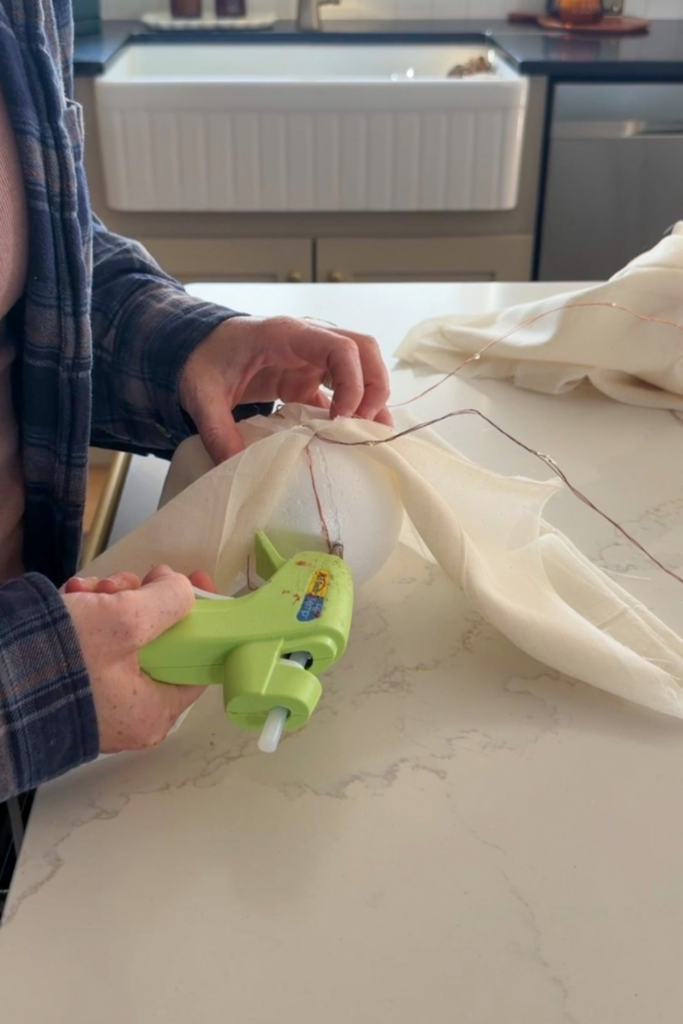
Because the fairy light wire runs from one ghost to the next, I cut small openings along the sides of the cheesecloth so the wire could pass through the top of the ghost head and back out through the sides.
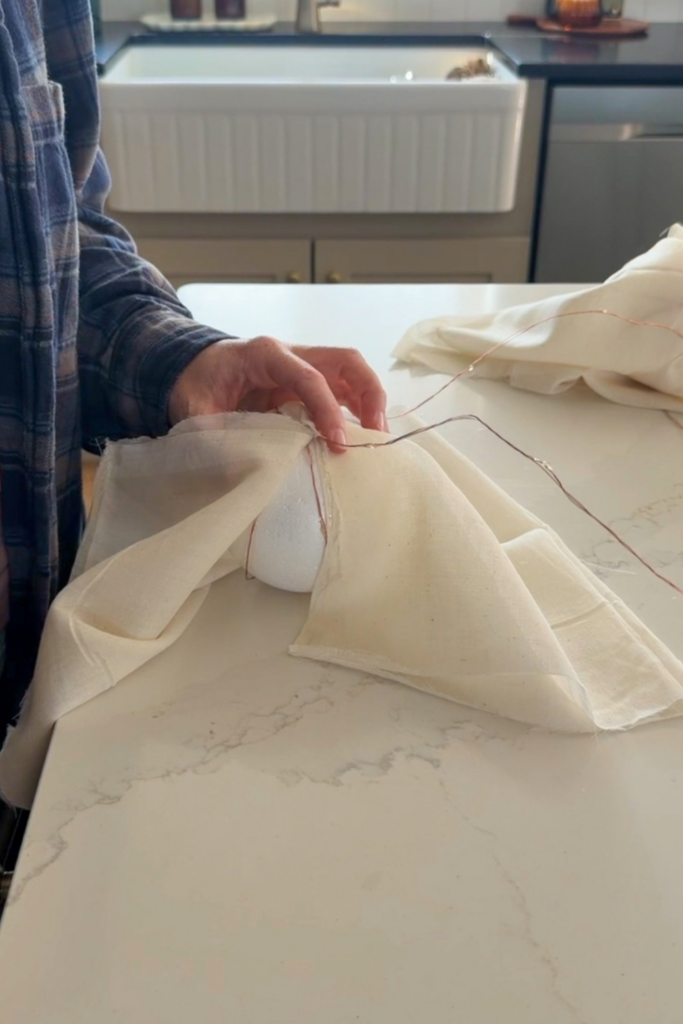
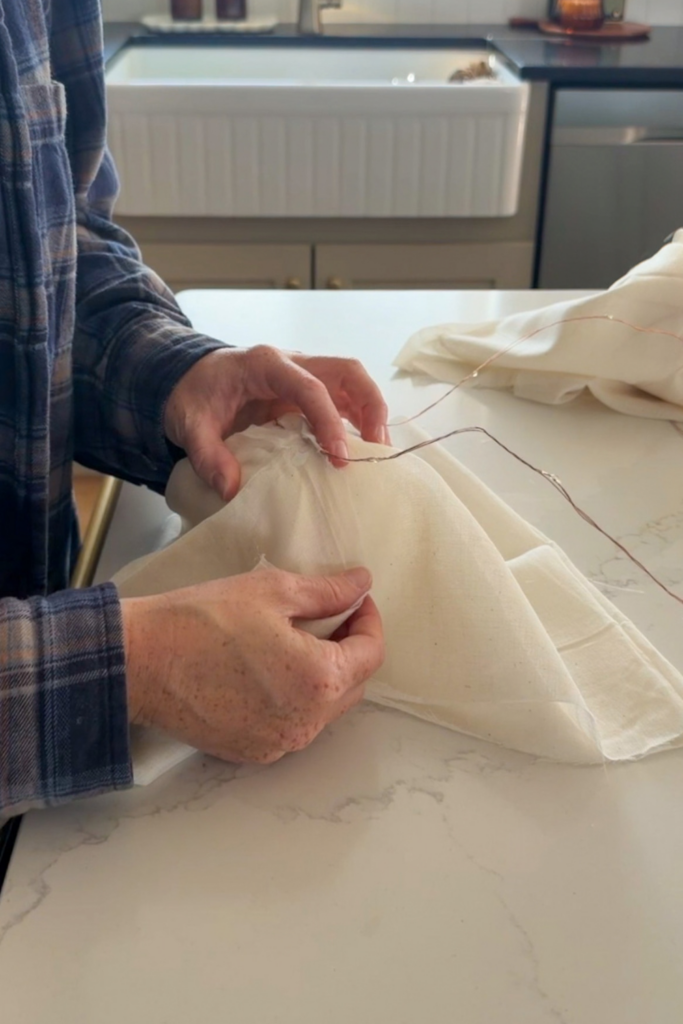
Then I hot glued the sides of the cheesecloth together around the wire to close up the ghost.
The cheesecloth doesn’t need to be perfectly even. The loose edges actually help give the ghosts that floaty look.
3. Paint the Ghost Faces
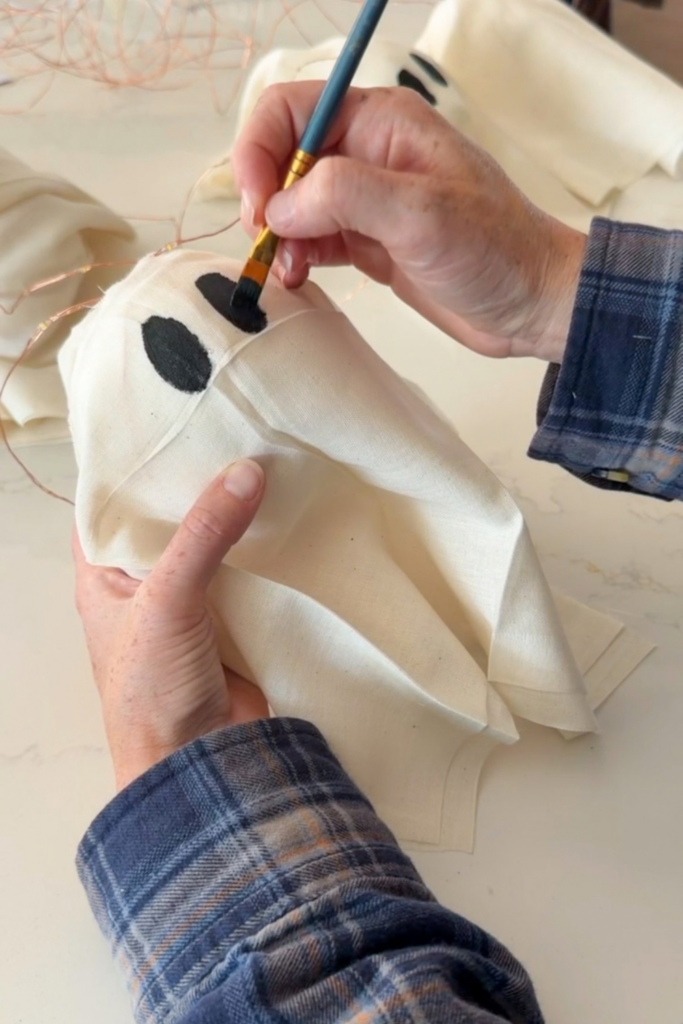
Once the glue was dry, I painted eyes onto each ghost with black acrylic paint.
You could give each one a different expression. That actually would be so cute now that I think about it! But I kept mine simple and just did eyes.
Hanging the Ghost Garland
I hung a fall leaf garland above the steps on our front porch first. I made it by attaching a few faux bendable branches to the arch and then layered in fall oak stems (attached with zip ties). Then I layered the glowing ghosts over it.
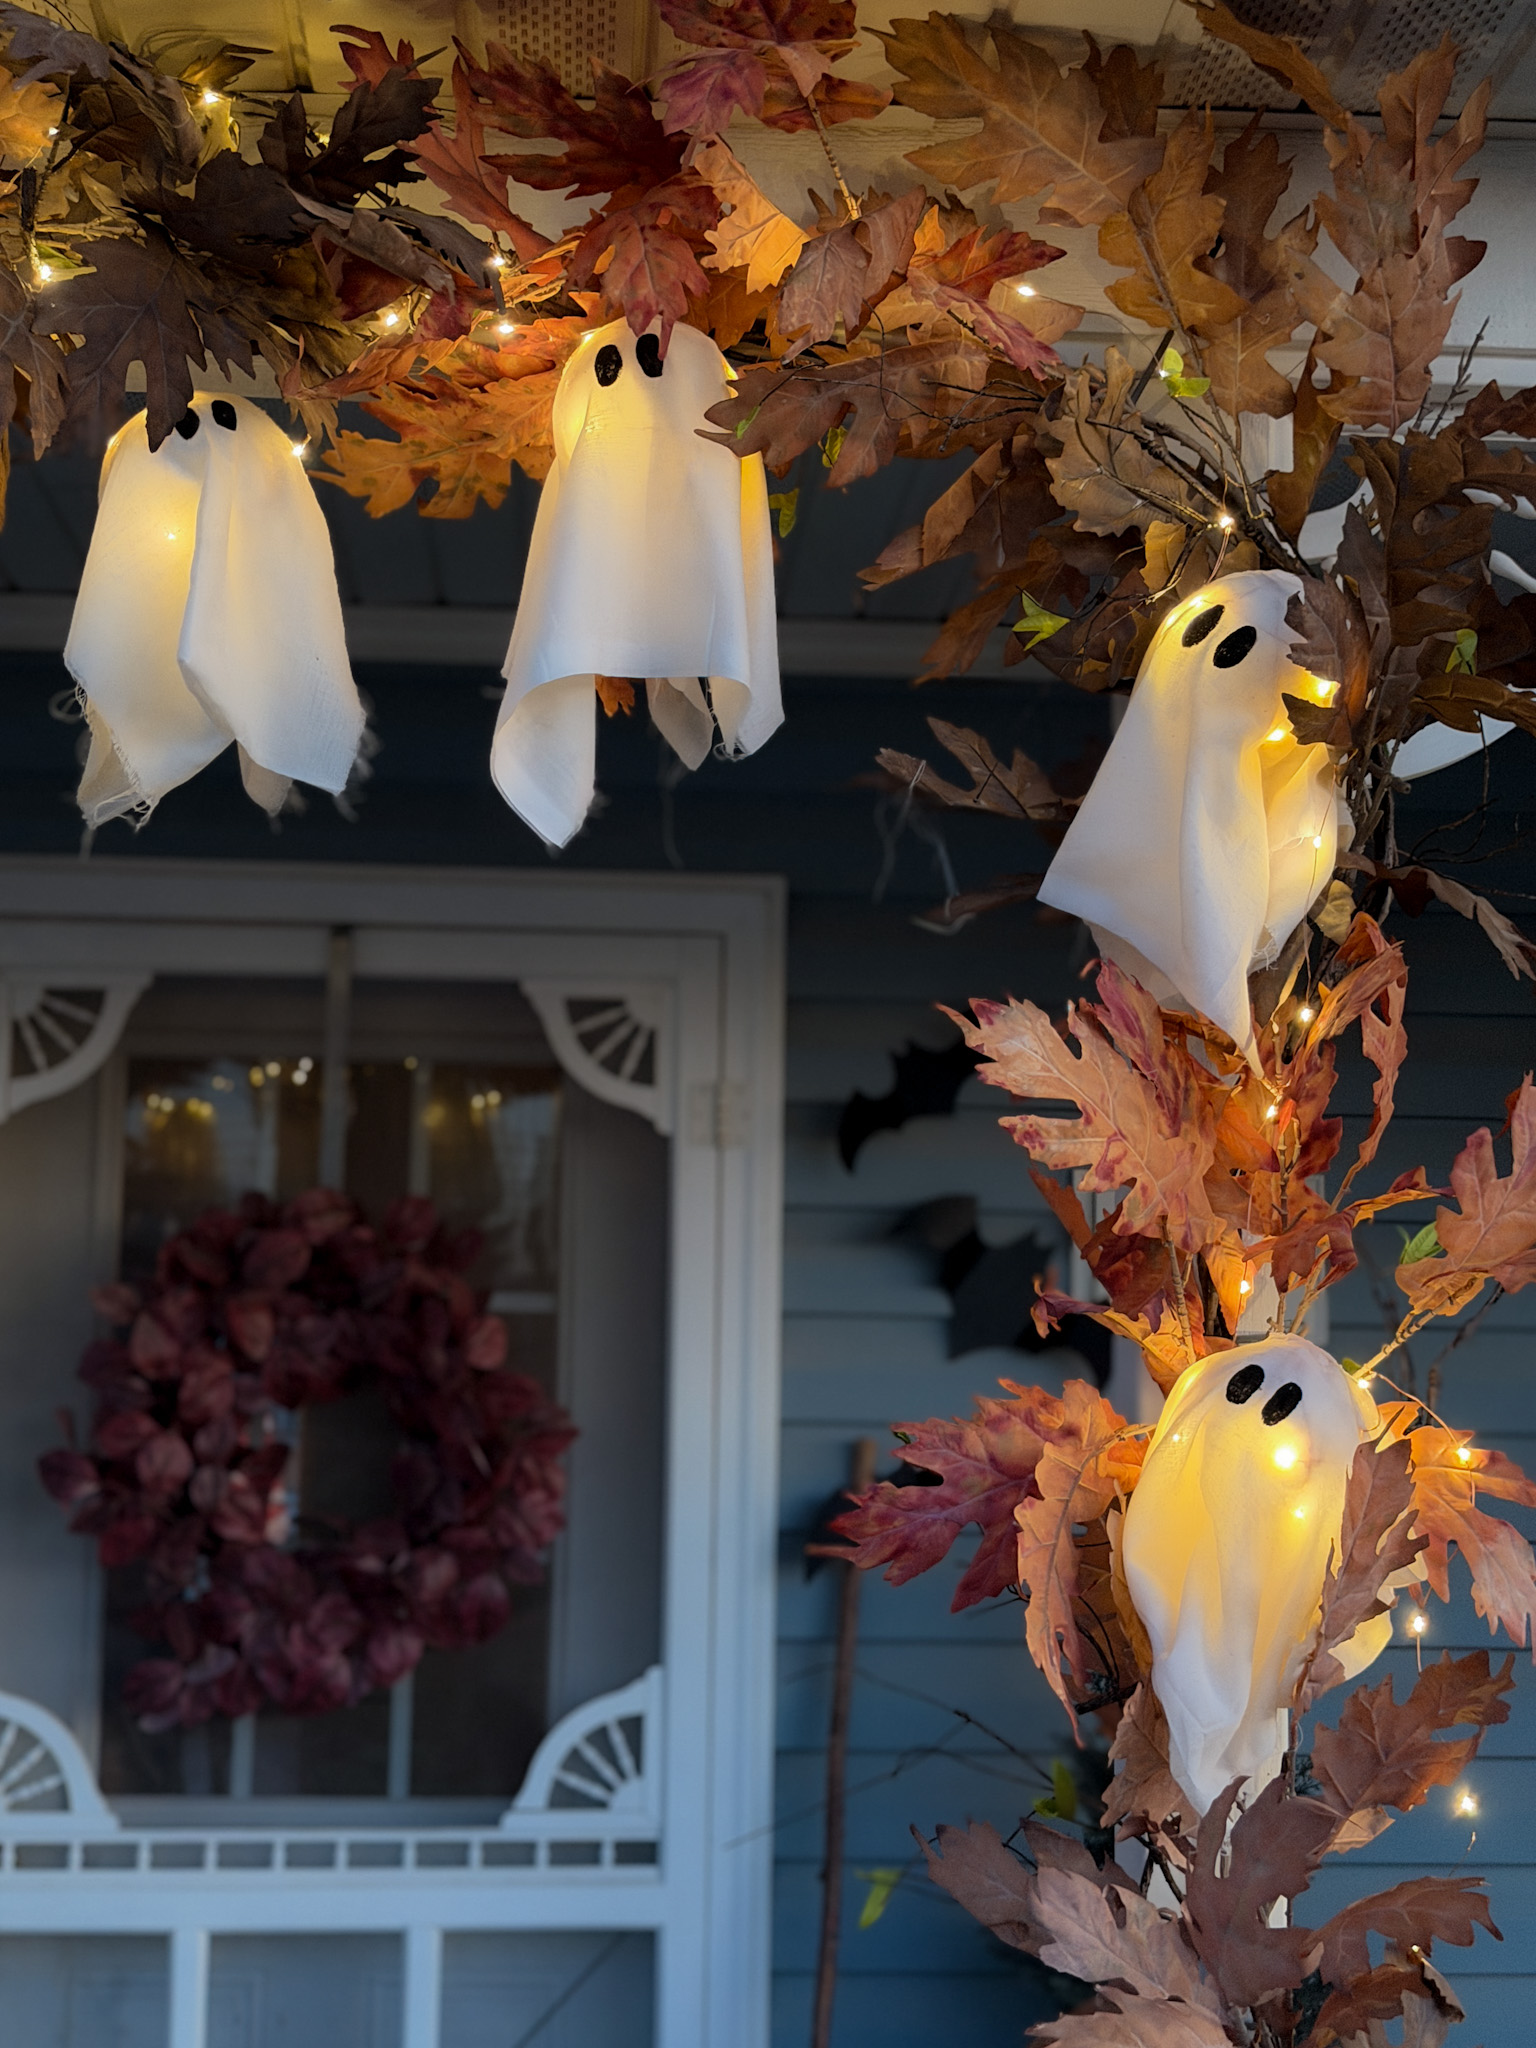
I mostly wound the fairy light wire around the existing fall garland to hold everything in place. Then I added a few zip ties anywhere that needed a little extra support.
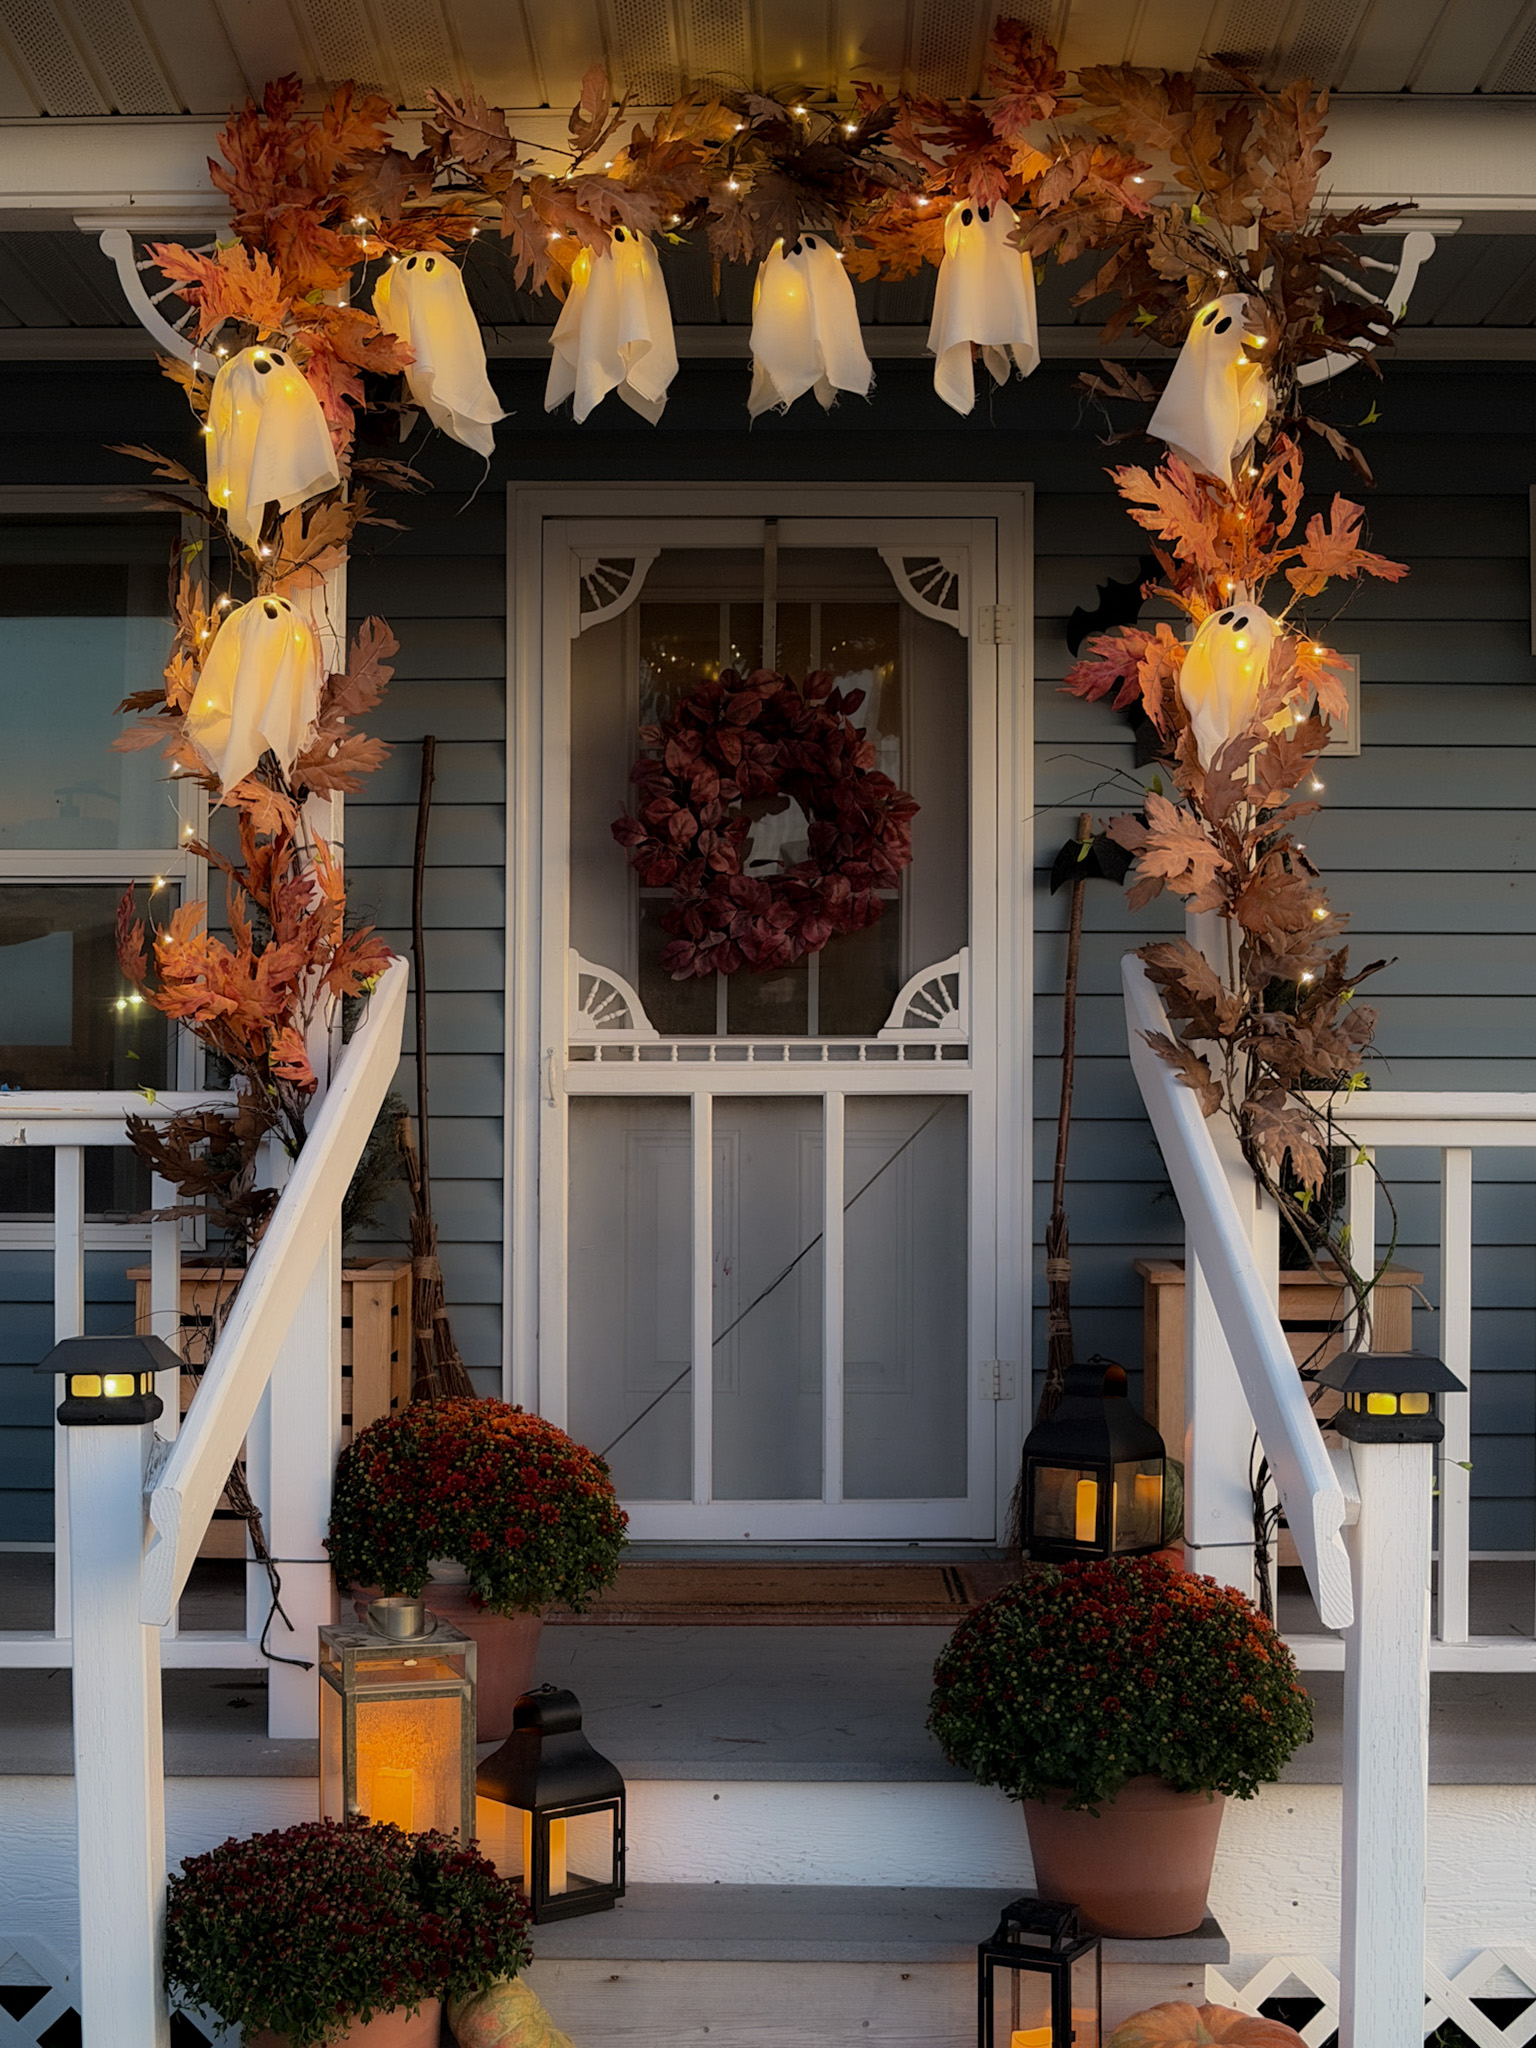
The cheesecloth keeps the ghosts soft and lightweight during the day, and once the fairy lights are turned on, the whole garland glows! It's been up for a few weeks now and has held up perfectly, even in some pretty significant wind.
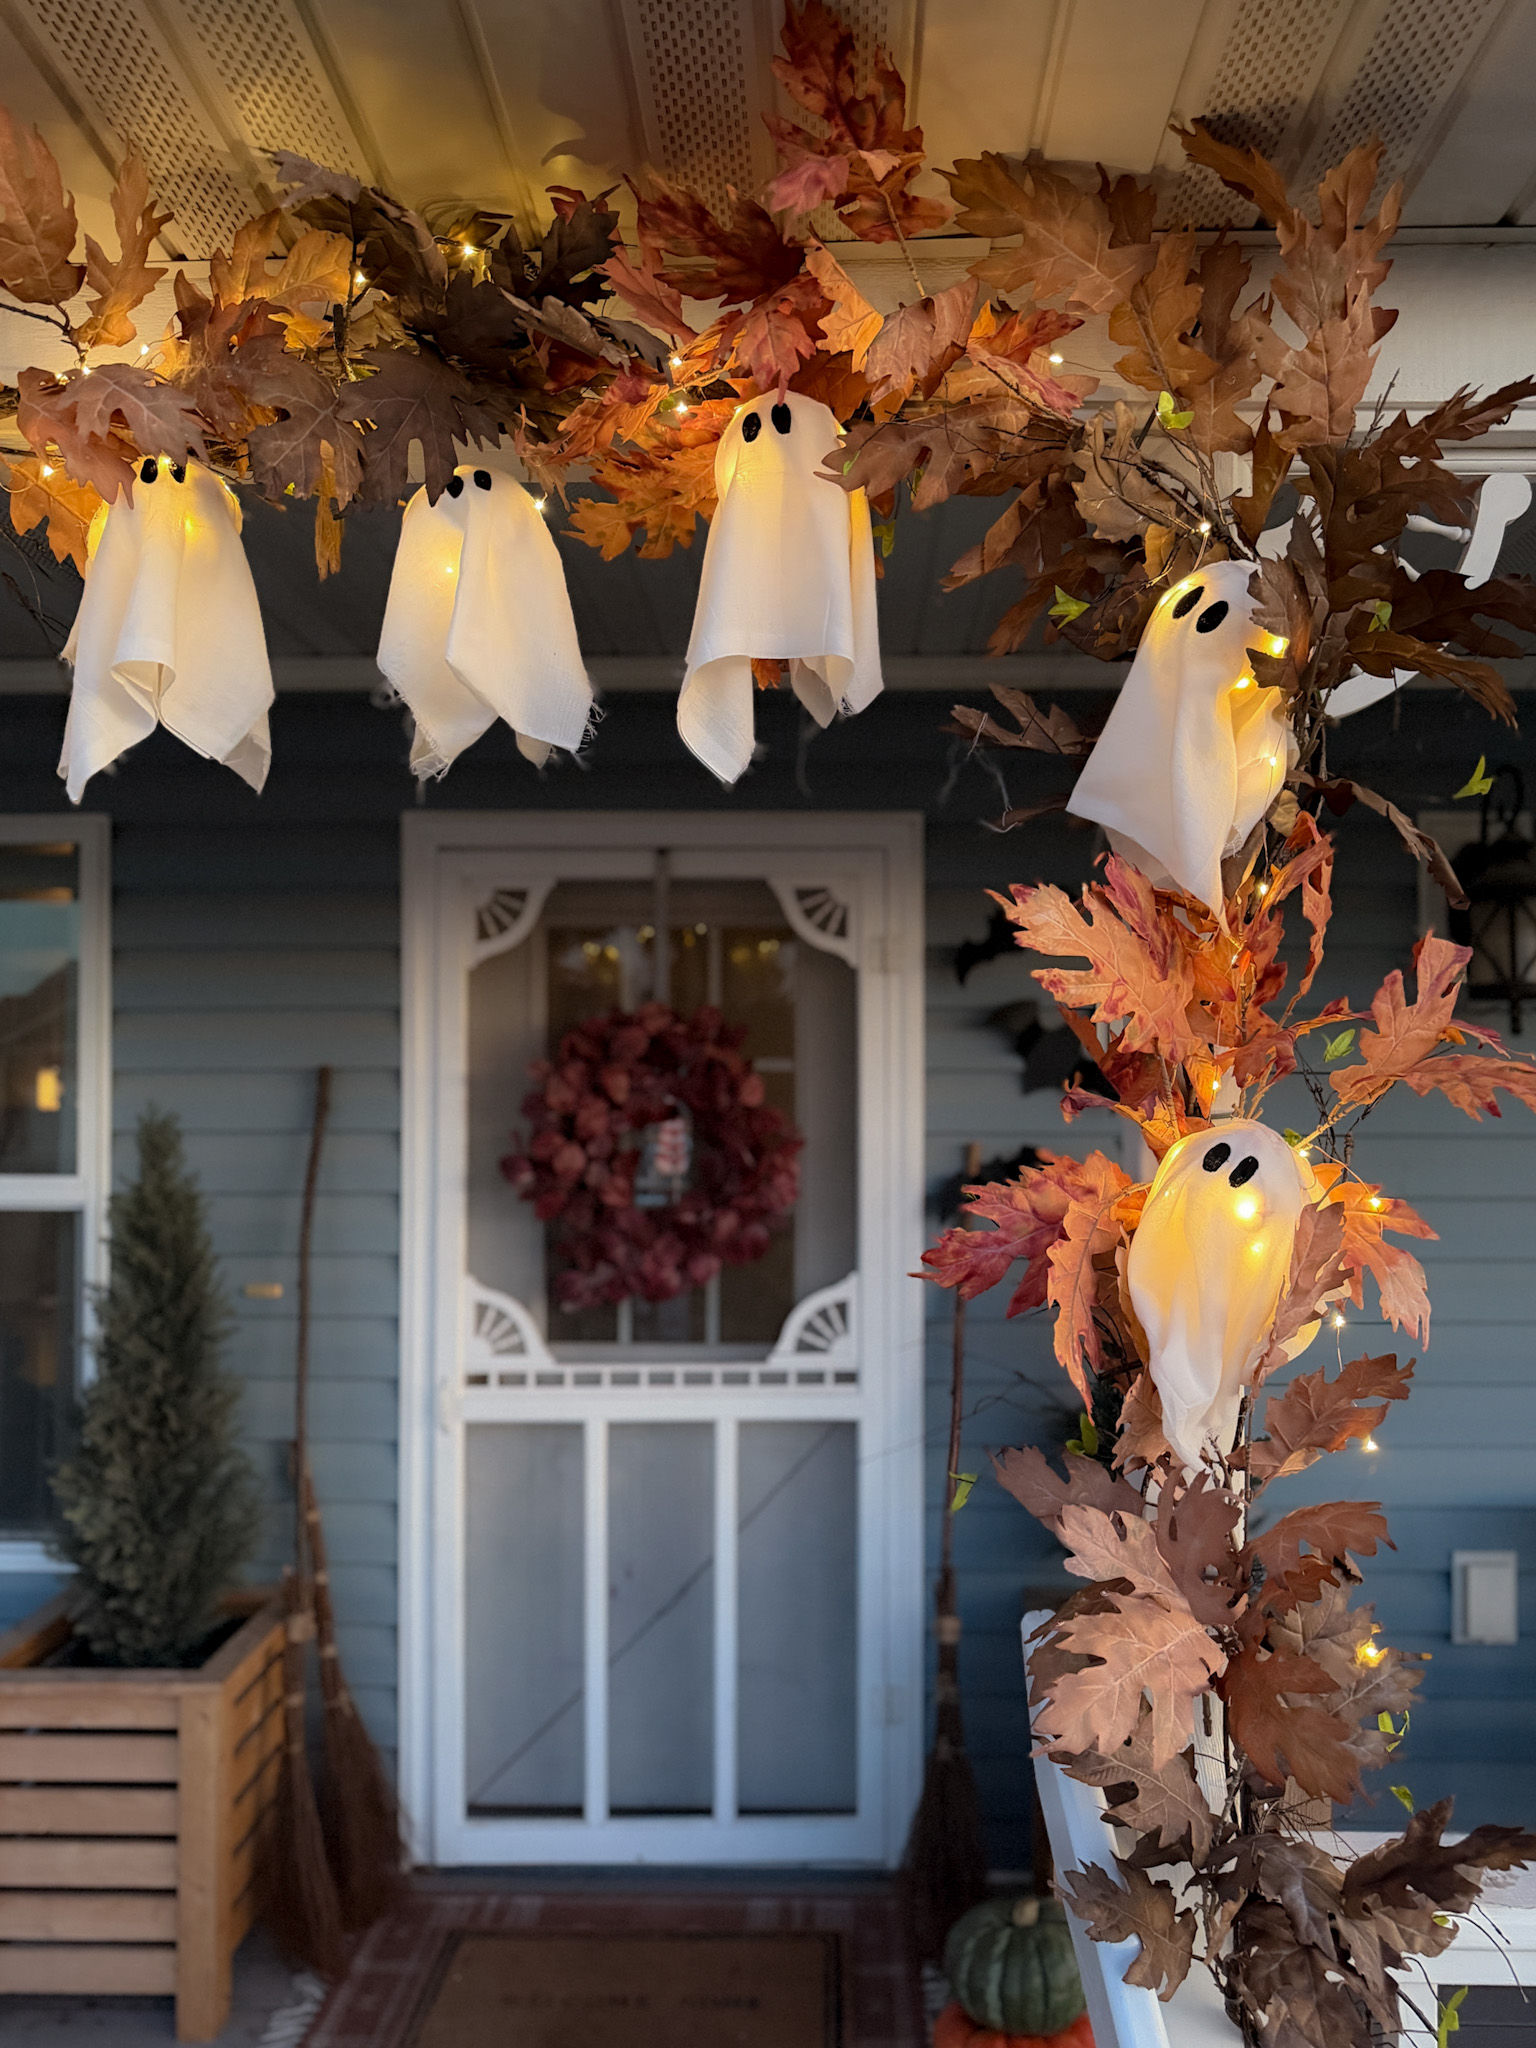
Layering the ghosts into the fall leaves was the perfect way to add a little spookiness to the porch for Halloween. Halloween but make it cute! 👻
| Tylynn |
Let me know if you have any questions and I'll get back to you as soon as I can.
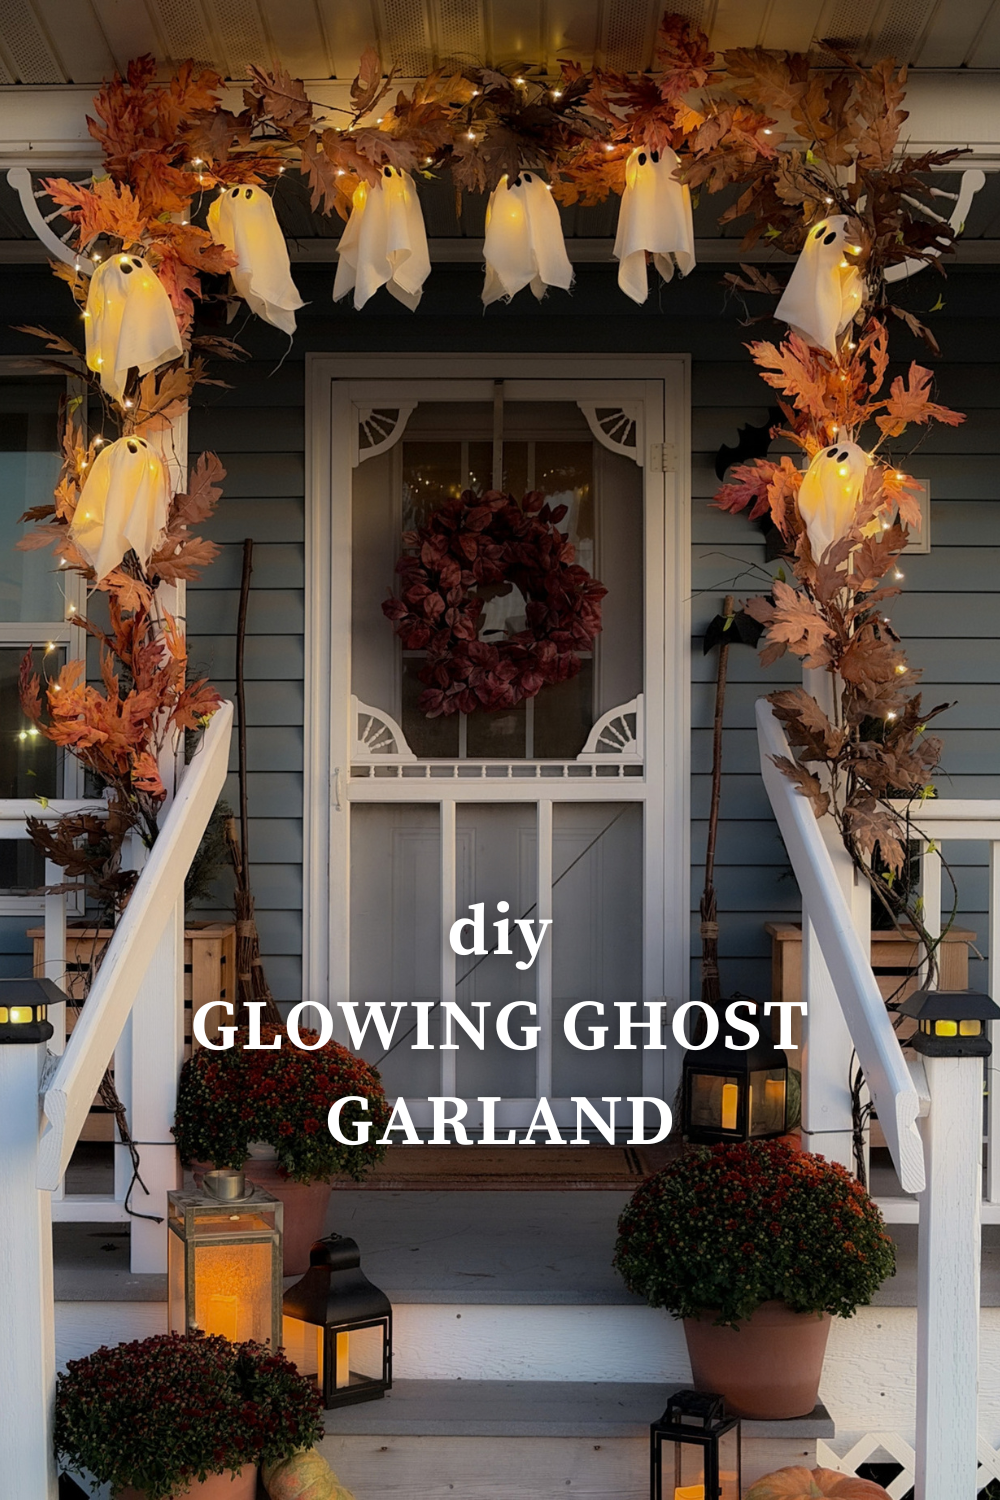
And don't forget to pin it for later!
This post contains affiliate links. If you make a purchase from one of the links, I may make a small commission at NO EXTRA COST to you. Thank you for your support so I can continue to share content and ideas with you. See my full disclosure here