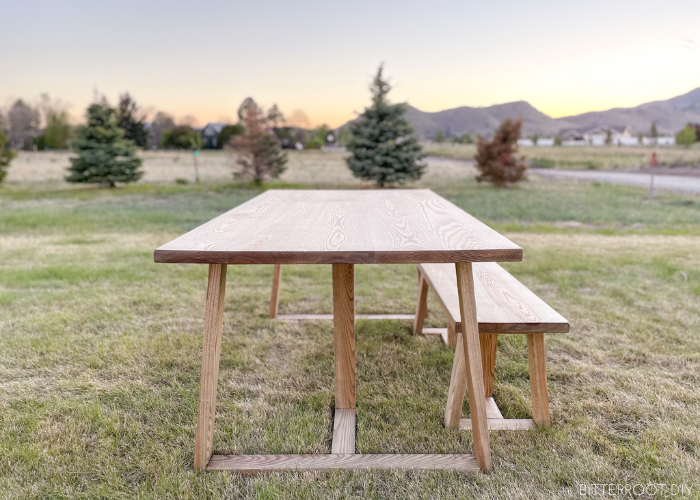
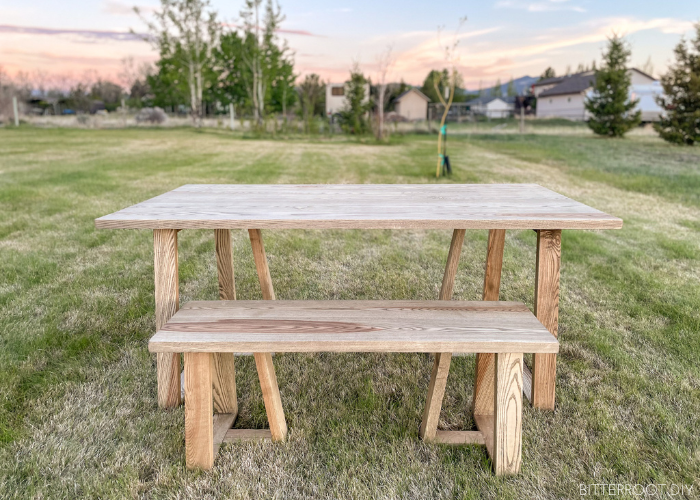
Build a modern truss DIY dining bench with these plans.
This post may contain affiliate links. If you make a purchase from one of the links, I may make a small commission at NO EXTRA COST to you. This helps keep the tutorials and plans free here at Bitterroot DIY. Thank you for your support! See my full disclosure here.
Tools & Supplies
- Kreg Pocket Hole Jig
- Table Saw (optional)
- Miter Saw
- Circular Saw
- Orbital Sander
- Drill
- Tape Measure
- Wood Glue
- 2 ½" Pocket Hole Screws
- Tabletop Fasteners or ¾" Corner Braces (8)
- Clamps
- Level
- Speed Square
- Pencil
- Safety Glasses
- Ear Protection
Lumber List
- 1 | 2x4 @ 6' (frame)
- 2 | 2x4 @ 8' (frame)
- 1 | 2x8 @ 8' (seat)
Cut List
- 2 | 2x4 @ 7 ¾" with 7° perpendicular bevel (top of leg frames)
- 4 | 2x4 @ 1'-4 ⅞" with 7° parallel bevel (side of leg frames)
- 2 | 2x4 @ 11 ½" with 7° perpendicular bevel (bottom of leg frames)
- 2 | 2x4 @ 7" on long side with 10° bevel on one end (bottom of truss frame)
- 2 | 2x4 @ 1'-3 ½" with 10° parallel bevel (truss leg)
- 1 | 2x4 @ 2'-11" (bench seat support)
- 2 | 2x8 @ 4' (bench seat)
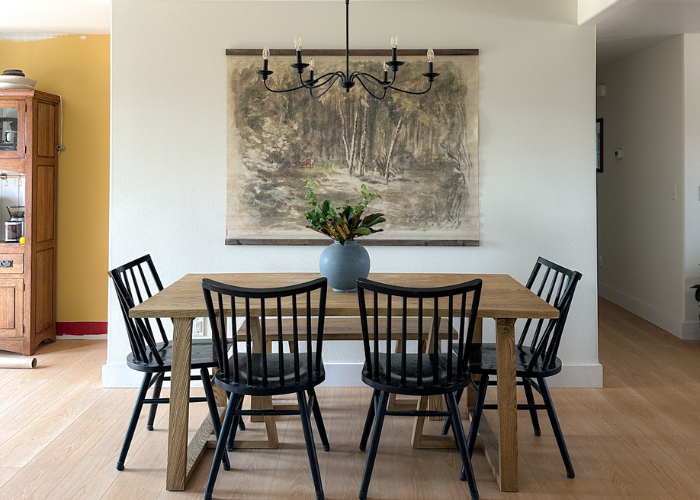
Grab the plans for the matching DIY modern truss dining table here.
Step 1.

Assemble the first leg frame with wood glue and 2 ½" pocket hole screws.
Place pocket holes on the top of the top 2x4 to hide them (the bench seat will cover them once it's attached). Place pocket holes on the bottom of the bottom 2x4 to hide them.
Step 2.

Attach the bottom of the truss frame to the leg with wood glue and two 2 ½" pocket hole screws.
Place pocket holes on the bottom of the 2x4 to hide them.
Step 3.

Repeat steps 1 & 2 to build the second leg frame.
Step 4.

Join the two legs together with the top 2x4 support. Center the 2x4 on both legs and attach with wood glue and two 2 ½" pocket hole screws per side.
Place pocket holes along the top of the 2x4 to hide them once the bench seat is attached.
Step 5.

Join the two legs together with the top 2x4 support. Center the 2x4 on both legs and attach with wood glue and two 2 ½" pocket hole screws per side.
Place pocket holes along the top of the 2x4 to hide them once the bench seat is attached.
Step 6.

Build the bench seat.
If you have a table saw, you can rip the rounded edges off the 2x8s to get perfectly square edges before joining the boards together. If you don't have a table saw, you can build the bench with 2x8s as is, but you'll be able to see the joints between boards.
There are a ton of ways to build bench seats, so use whichever method you prefer. If you own pipe clamps, you can edge glue all the boards. If you're new to building (or don't have large enough clamps), use wood glue and 2 ½" pocket hole screws. Stagger the pocket holes along the back as shown above.
Once all wood glue is dry, sand and finish as desired.
Step 7.

Attach the bench seat to the base with tabletop fasteners or small ¾" corner brackets.

I’d love to see your take on this DIY dining table & bench, so tag me over on Instagram @bitterrootdiy or shoot me an email at bitterroot.diy {at} gmail.com if you build it!
As always, please let me know if you have any questions and I’ll get back to you as soon as possible.