When we started this kitchen renovation, my original plan was to tile the backsplash. But with the open shelves on one wall and open space behind the range hood, the square footage really added up. Tiling the entire space ended up being a little more than we wanted to spend.
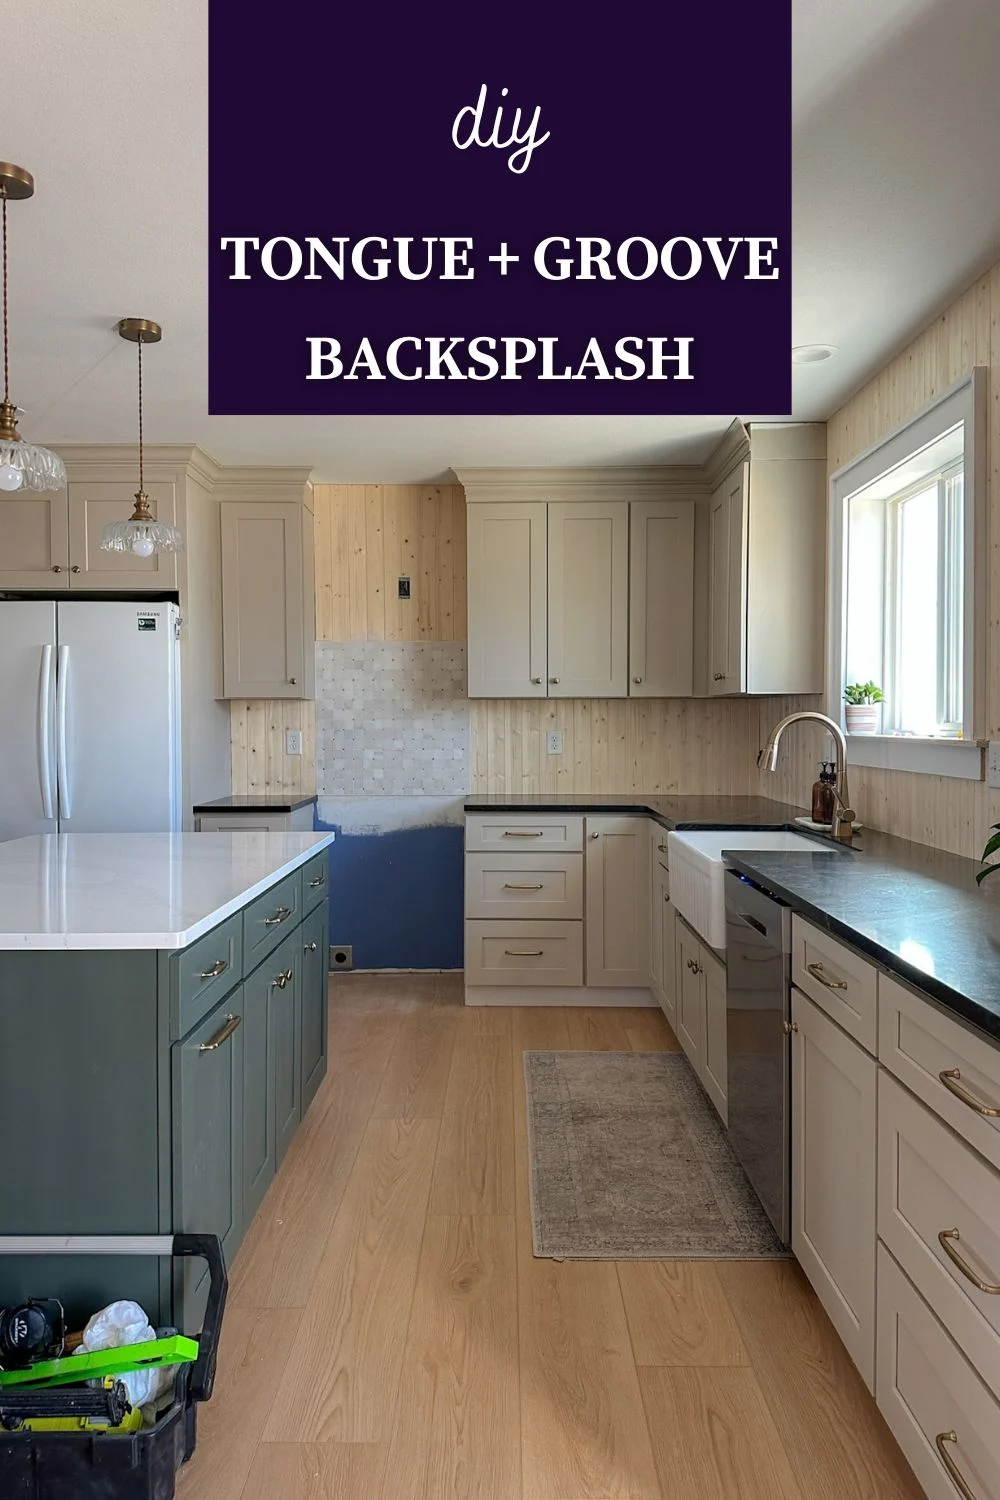
While I was searching for alternatives, I came across the most beautiful kitchen by @RebeccaandGenevieve. She used v-groove planks for her backsplash. It’s classic and charming, clean but not boring—and a lot more budget-friendly. So we decided to give it a try!

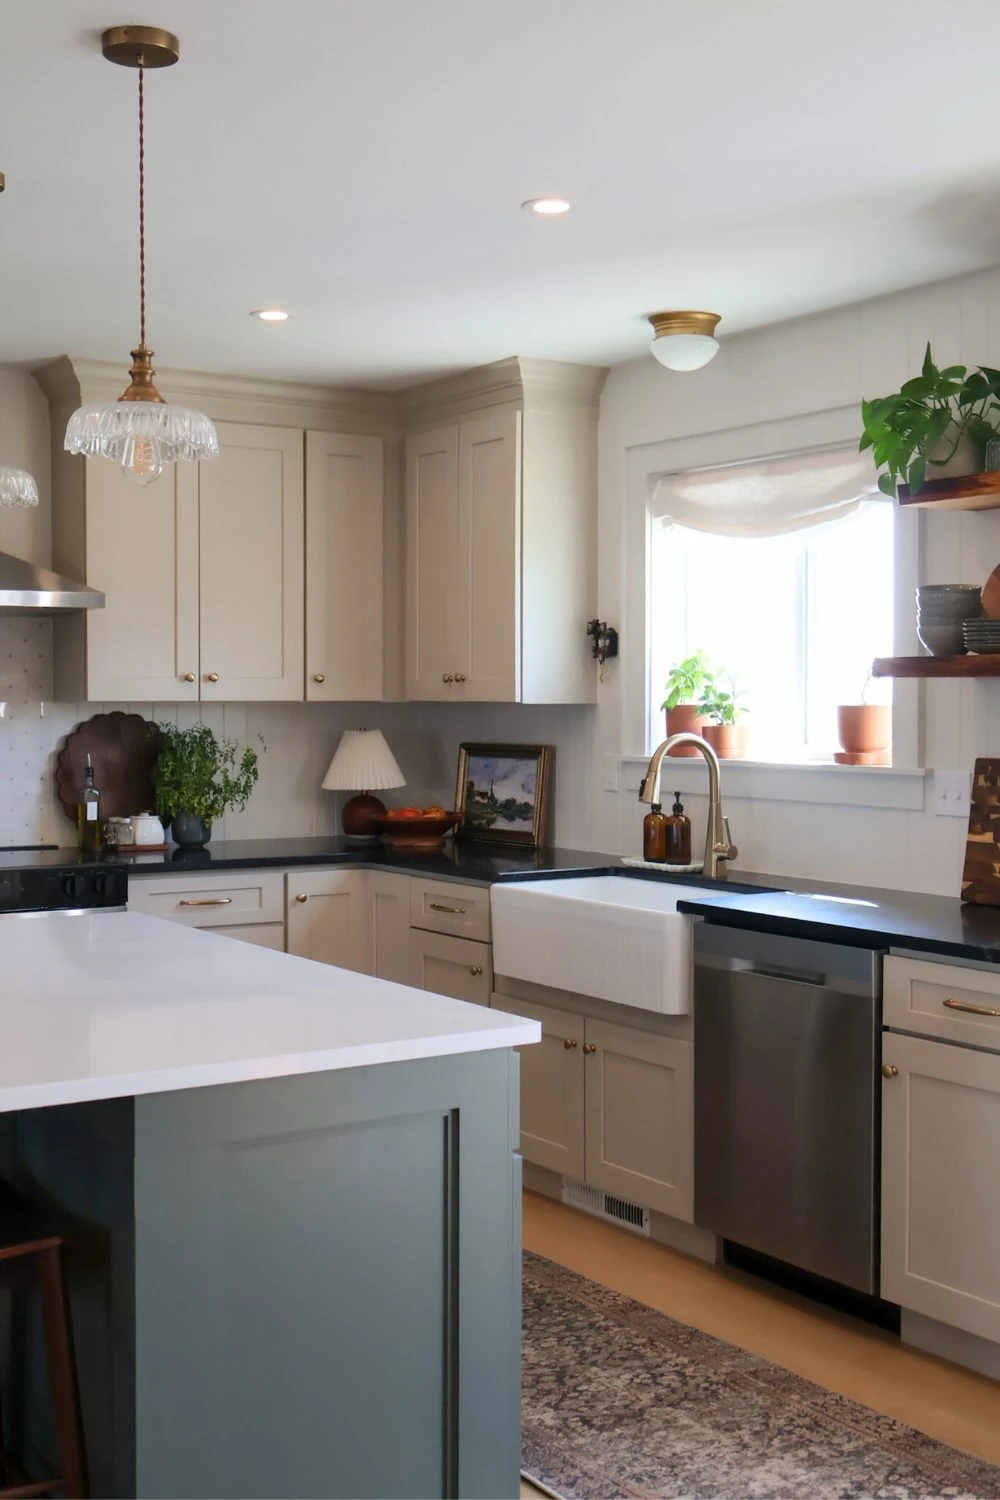
Now that it’s all finished, we’re so happy with it. The planks keep it simple and let the rest of the kitchen shine. They add some interest without being too in-your-face. I’m already dreaming up other spots in the house where we could use them!
Removing the Tile Backsplash
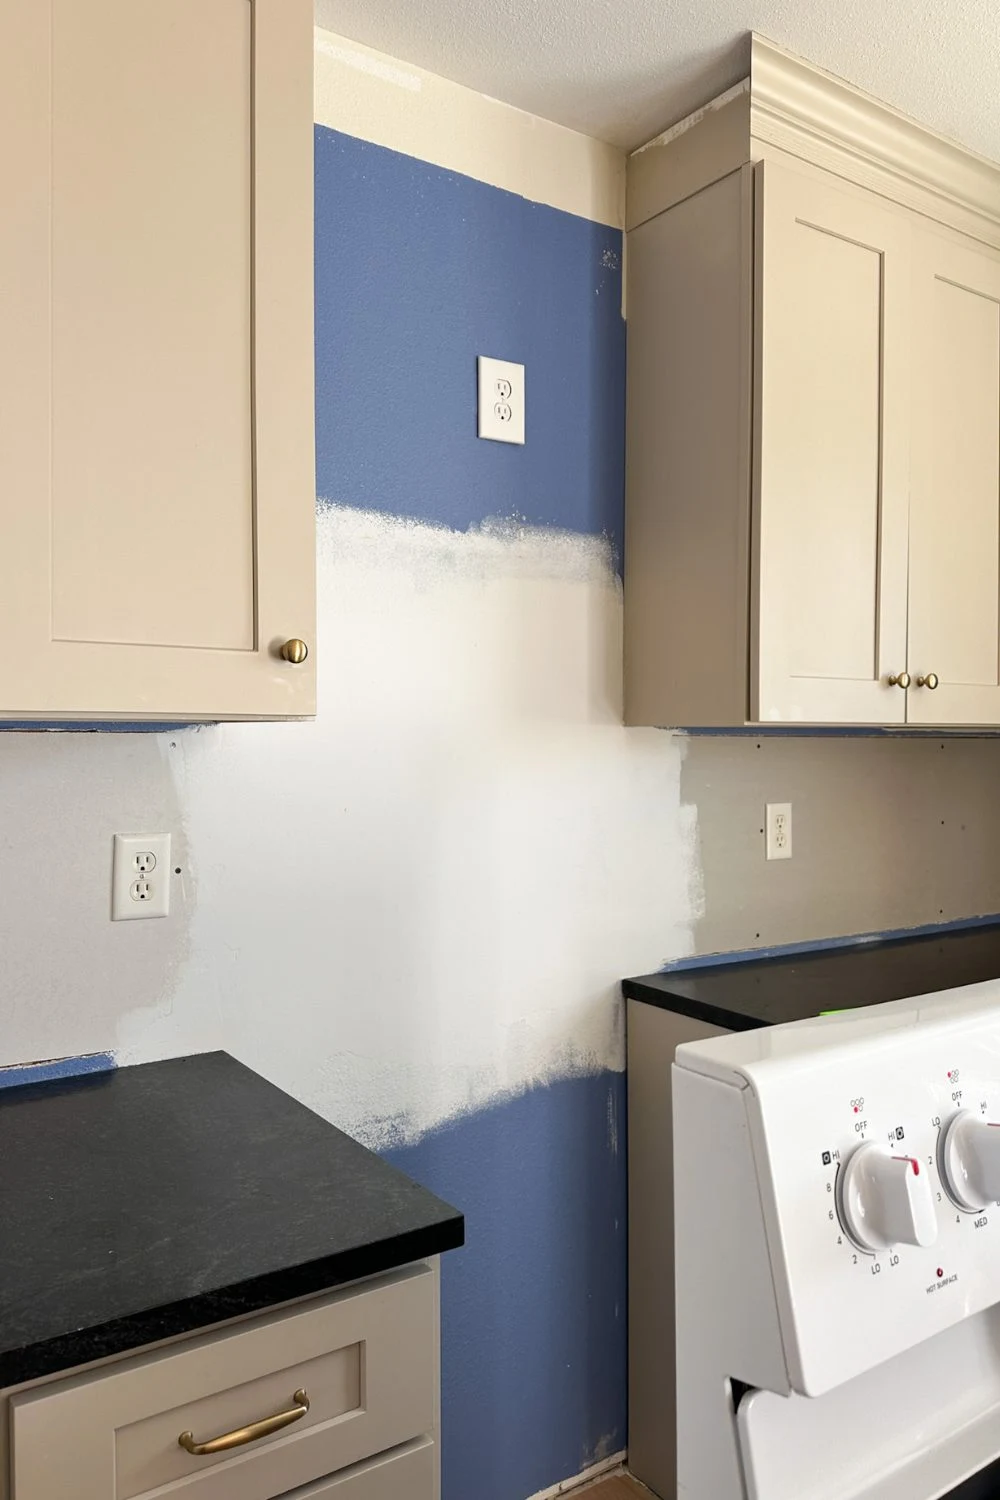
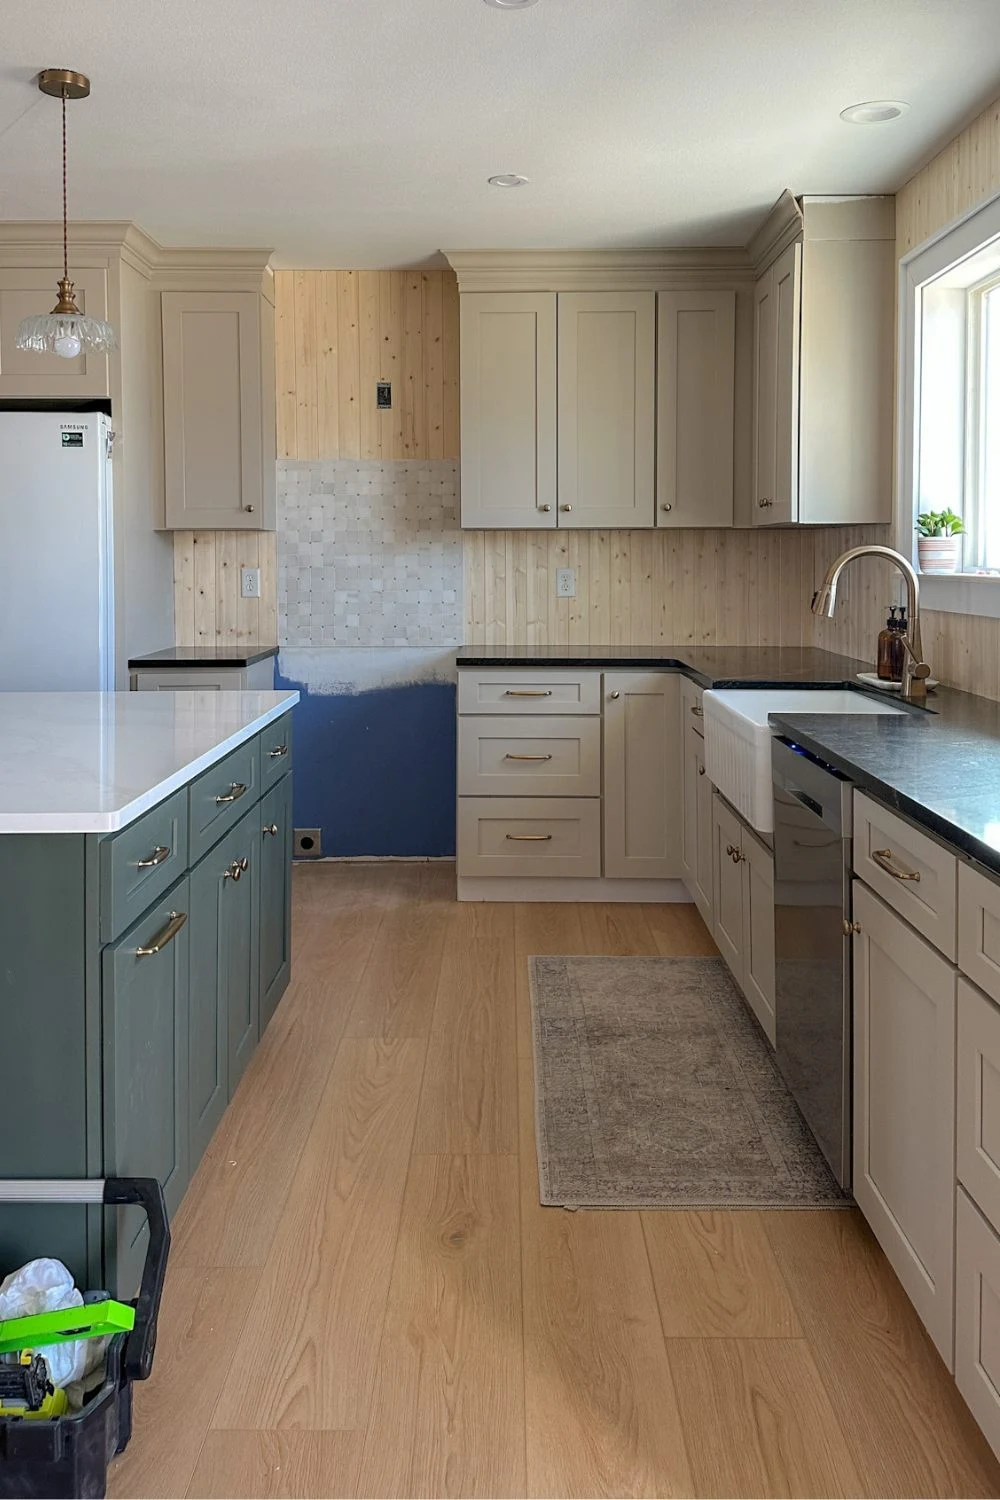
The first step was removing the old tile backsplash. At first, I tried to chip it off carefully to save the drywall underneath, but that plan went out the window pretty fast. There was no getting the tile off without destroying the drywall, so I ended up cutting it out.

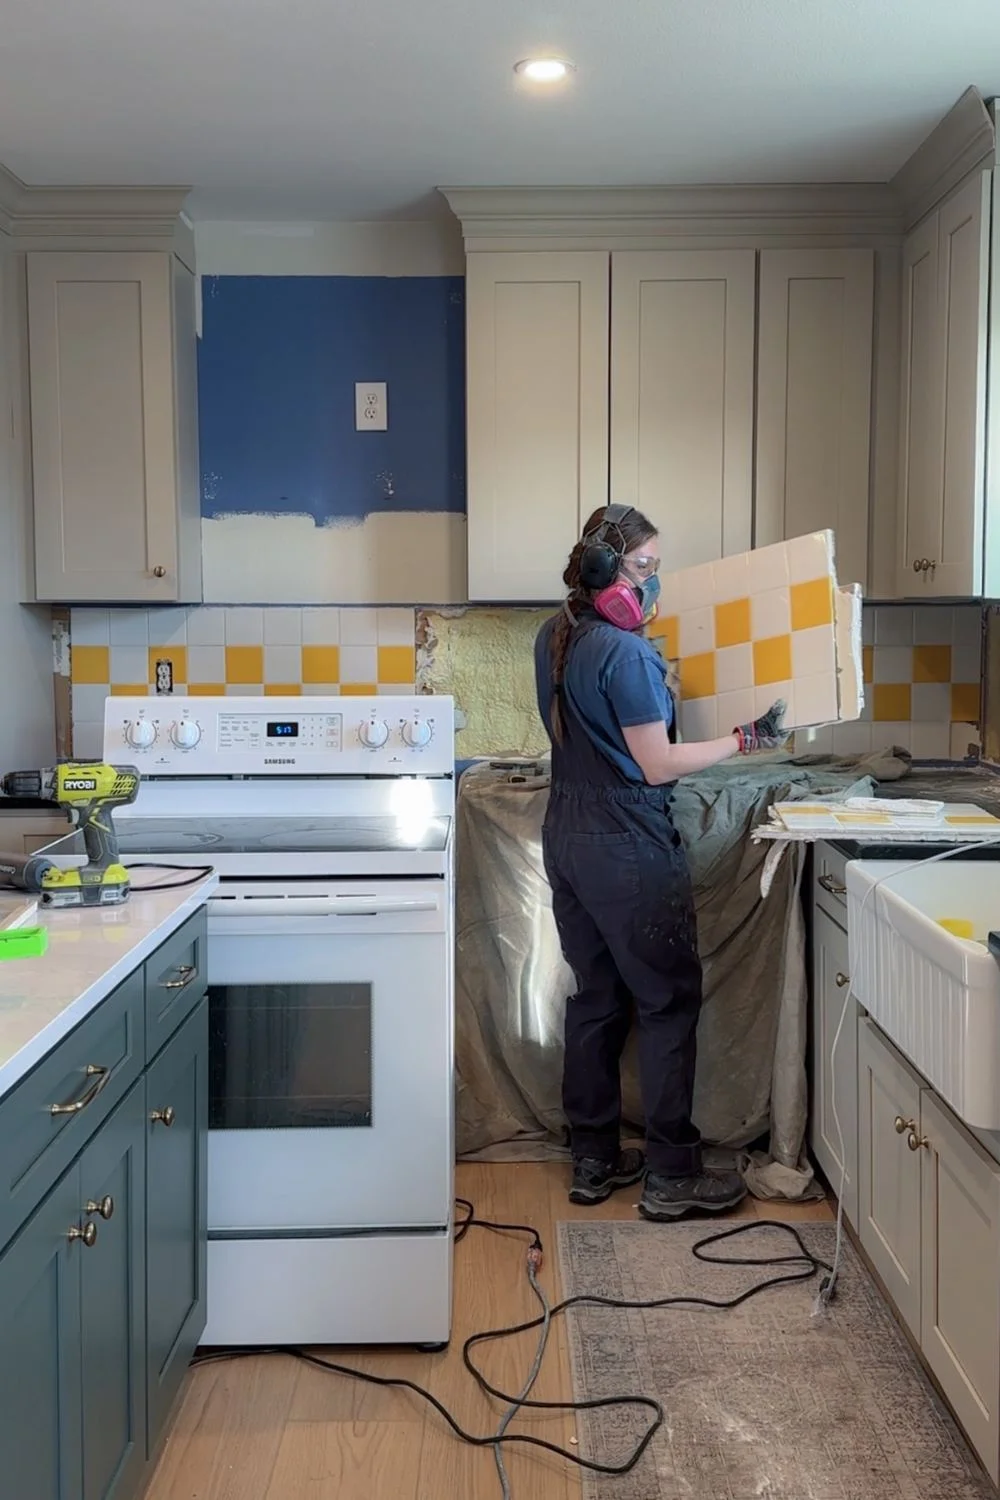
I used a Dremel Rotozip to remove the tiled sections and replaced them with new drywall. Since the v-groove planks were going right over the top, I didn’t bother mudding or taping most of the new joints. The only exception was behind the oven, where I installed a tile accent section. I mudded and taped the seams to create a smooth, even surface to prevent any cracking along a drywall joint and so the tile would adhere properly.

Installing V-Groove Planks
We decided on real wood V-groove planks for the backsplash instead of MDF or traditional shiplap for a little more character. We used the smooth MDF planks on our coffee bar cabinet, and while they’re great for a sleek, clean look, I wanted something with more texture here. The soft beveled joints of V-groove feel more subtle than the sharper, more defined lines of shiplap, which helped the whole wall feel a bit more classic and cozy. One of my favorite parts is that you can still see the wood grain through the paint. It’s a small detail, but it adds so much warmth and depth.
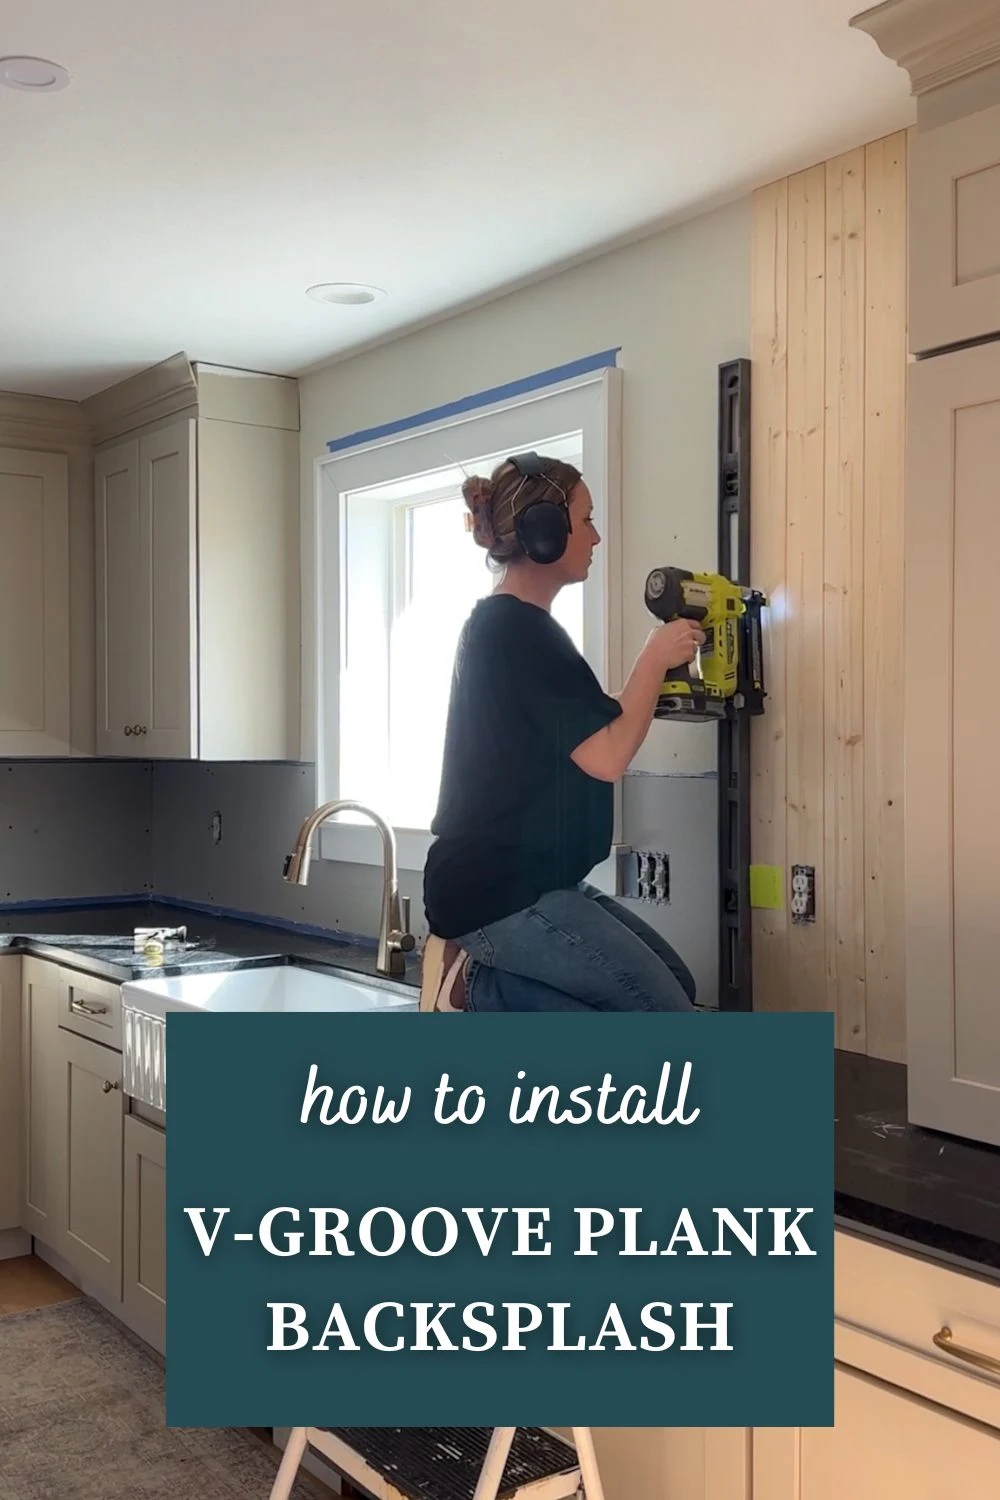
Installing the v-groove planks was pretty straightforward. I started by making sure the first board was perfectly vertical against the tall cabinet. Getting that first piece right is critical so the rest of the boards are vertical to line up with the window and rest of the cabinets correctly. No leaning backsplashes! From there, I worked my way across the wall, using a jigsaw to cut around outlets, window trim, and cabinets as needed.

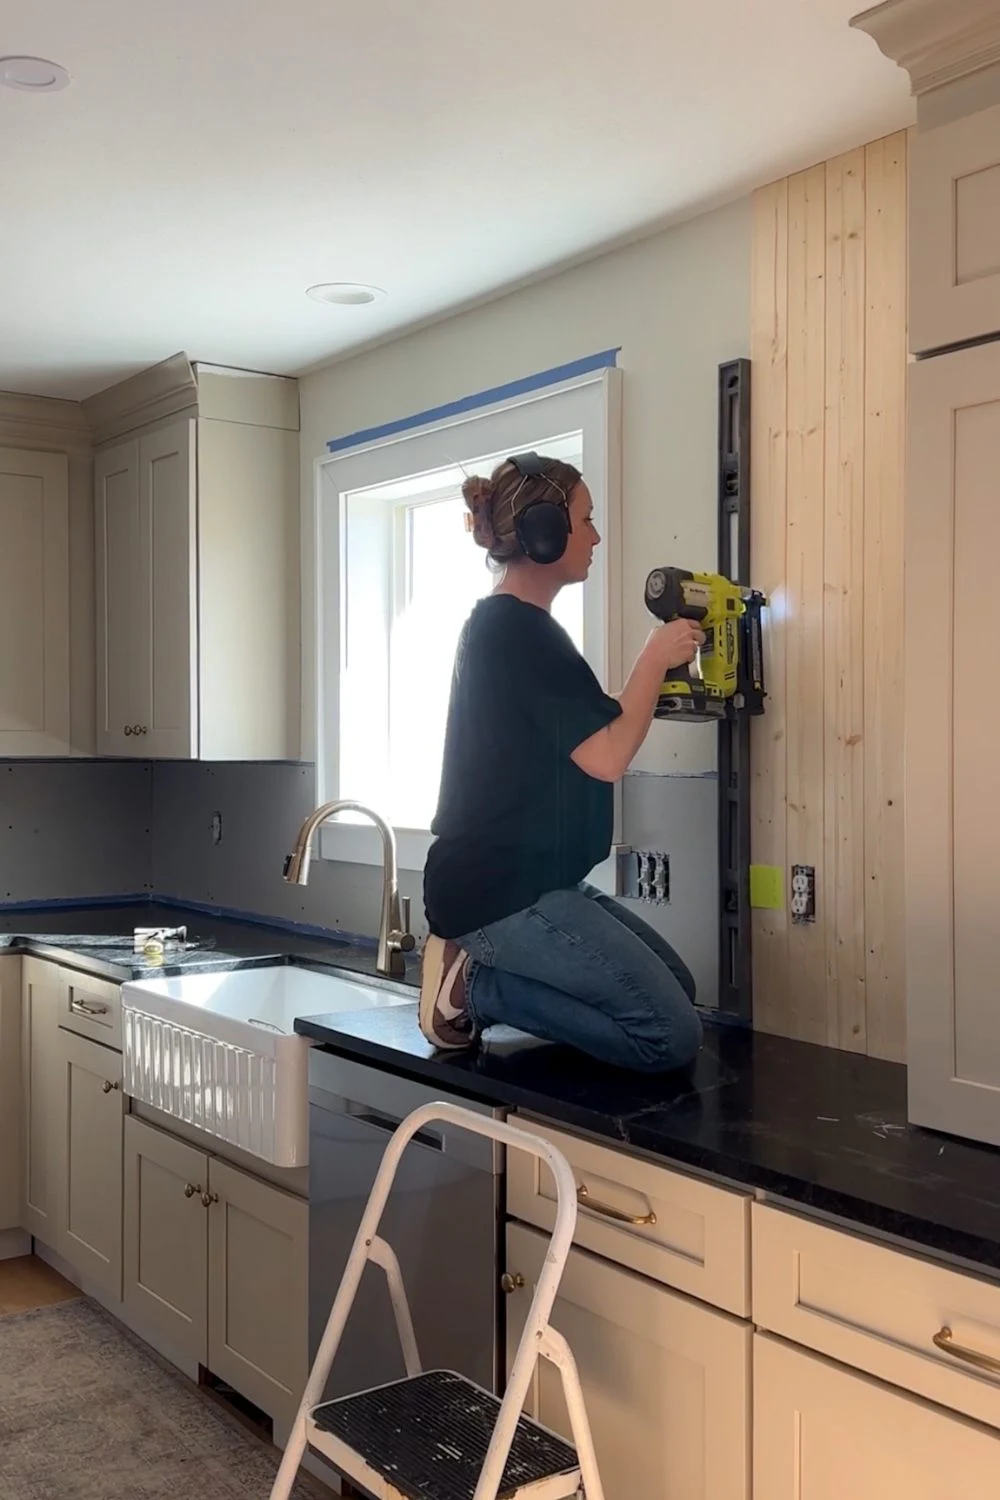
I used brad nails to secure the boards. The brad nails were plenty to hold the planks, so I chose not to use any construction adhesive. It just seemed like overkill and there was no real necessity for it.

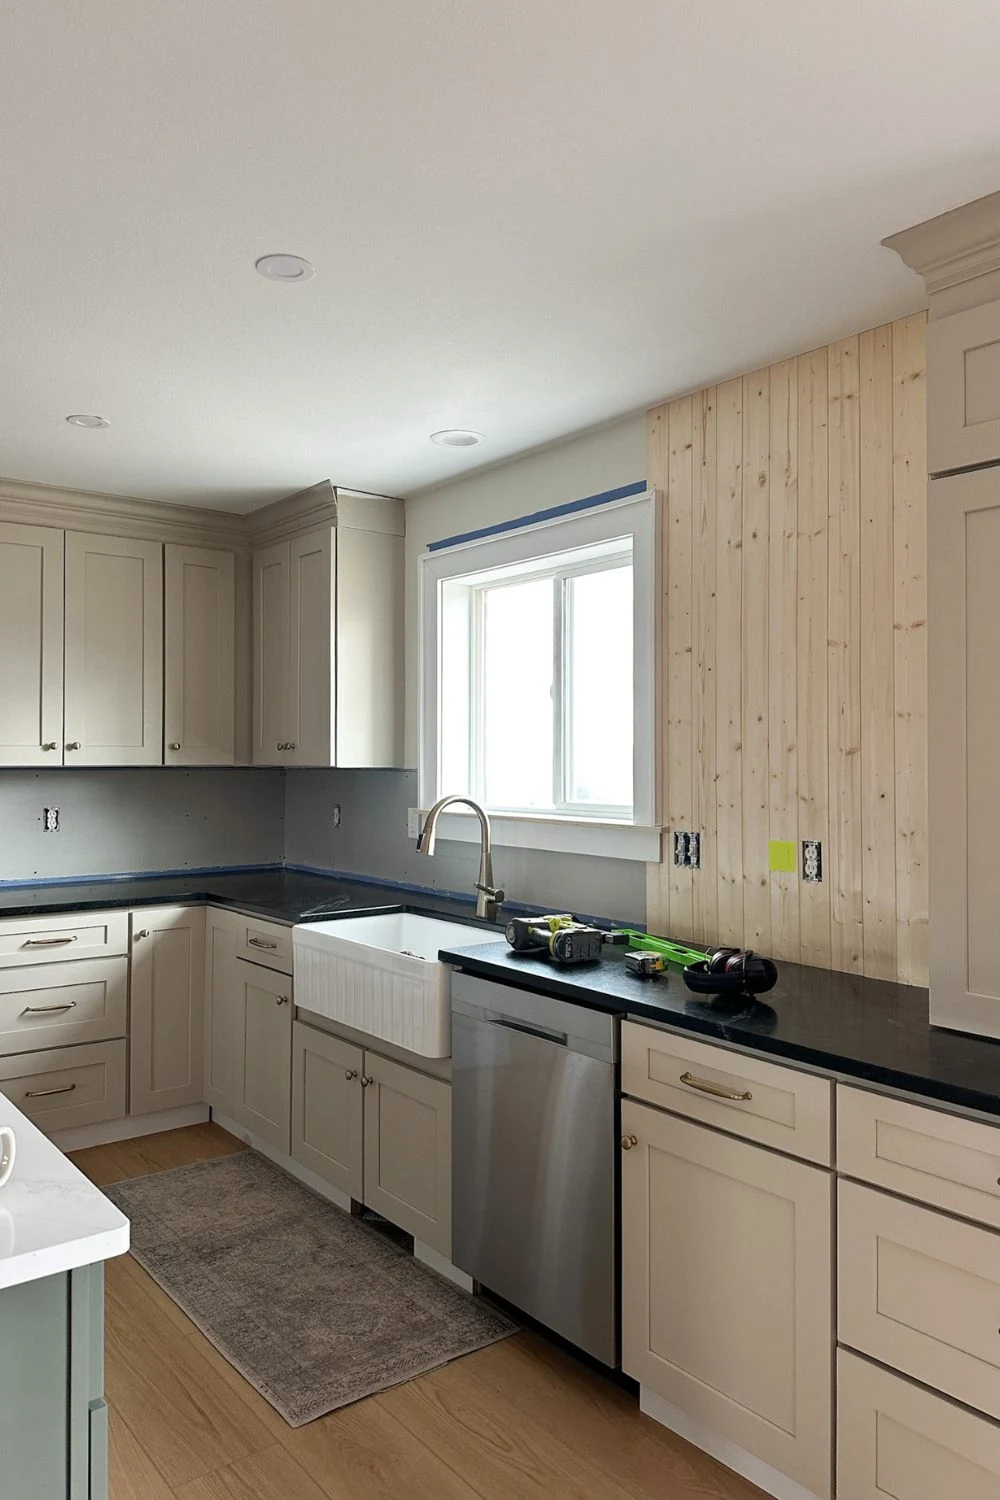
While I was at it, I redid the window jamb and trim. The original window sill was made out of MDF, and somewhere along the way got a few spots of water damage. MDF is a great budget-friendly option for trim, but it can pose some issues in kitchens and bathrooms since it swells if water gets to it. I figured we might as well fix it while I was near it. This time I used pre-primed pine, so hopefully it holds up well! I switched up the trim style and love how the new one looks – clean and updated.
I went back and forth on whether to run the v-groove planks first and then install the new trim over the top, or install the trim and cut the planks around it. It’s kinda six-to-one, half dozen-to-another. On the one hand, it was tedious to cut the planks around the trim. On the other, you could redo the backsplash if you ever wanted without having to remove the whole window jamb and trim. I’m not sure if it really matters. But I did the window first, then installed the v-grove planks up to it.
Once the planks were up, I filled all the nail holes and wood knots with wood filler. Knots tend to bleed through paint over time, even with primer. Sealing them helps prevent that from happening down the road. After the filler dried, I gave it a quick sand to smooth it out before painting. I sanded by hand, with the grain to make sure it didn’t leave any odd scratches that would show through the paint.
At this point, it pretty much looked like the wall had chicken pox. But stick with me!


Primer and Paint: Sherwin Williams Aesthetic White
Primer always makes me nervous – it tends to make everything look a whole lot worse. And to say I was nervous after the primer would be an understatement! The raw wood had looked so pretty and then the primer was cold, slightly blue, and clashed with everything. But it’s 100% necessary to seal the wood and wood filler and ensure the paint adheres well.
Thank goodness, the paint brought it back to life, as per usual! I used Sherwin-Williams Aesthetic White (SW 7035). It is a soft, beige white and pairs beautifully with the Shiitake cabinets (SW 9173). Both colors have the same warm greige undertones. Aesthetic White is a lighter backdrop to soften the whole vibe and provide a little contrast against the Shiitake cabinets, but without any harshness. My vision for this house is timeless and natural and these two colors came together to create a soft palette that’s just that!

For this project, I used Sherwin-Williams Urethane Trim Enamel—my go-to for trim and cabinet projects. Their urethane trim enamel is self leveling and dries extra hard to make it durable and easy to wipe down. It’s 100% worth the cost in my opinion. I’ve used it on so many different kitchen and bathroom projects and am always impressed.
Tile Backsplash Behind the Stove
We added a simple mosaic tile accent behind the stove. Check the specs on your stove, but most require a non-combustible area behind and above the stove for a certain distance. It’s typically drywall, tile, brick, etc. Before tiling, I finished the new drywall in this area – mud, tape, and primer – to make a level, even surface for the tiles.

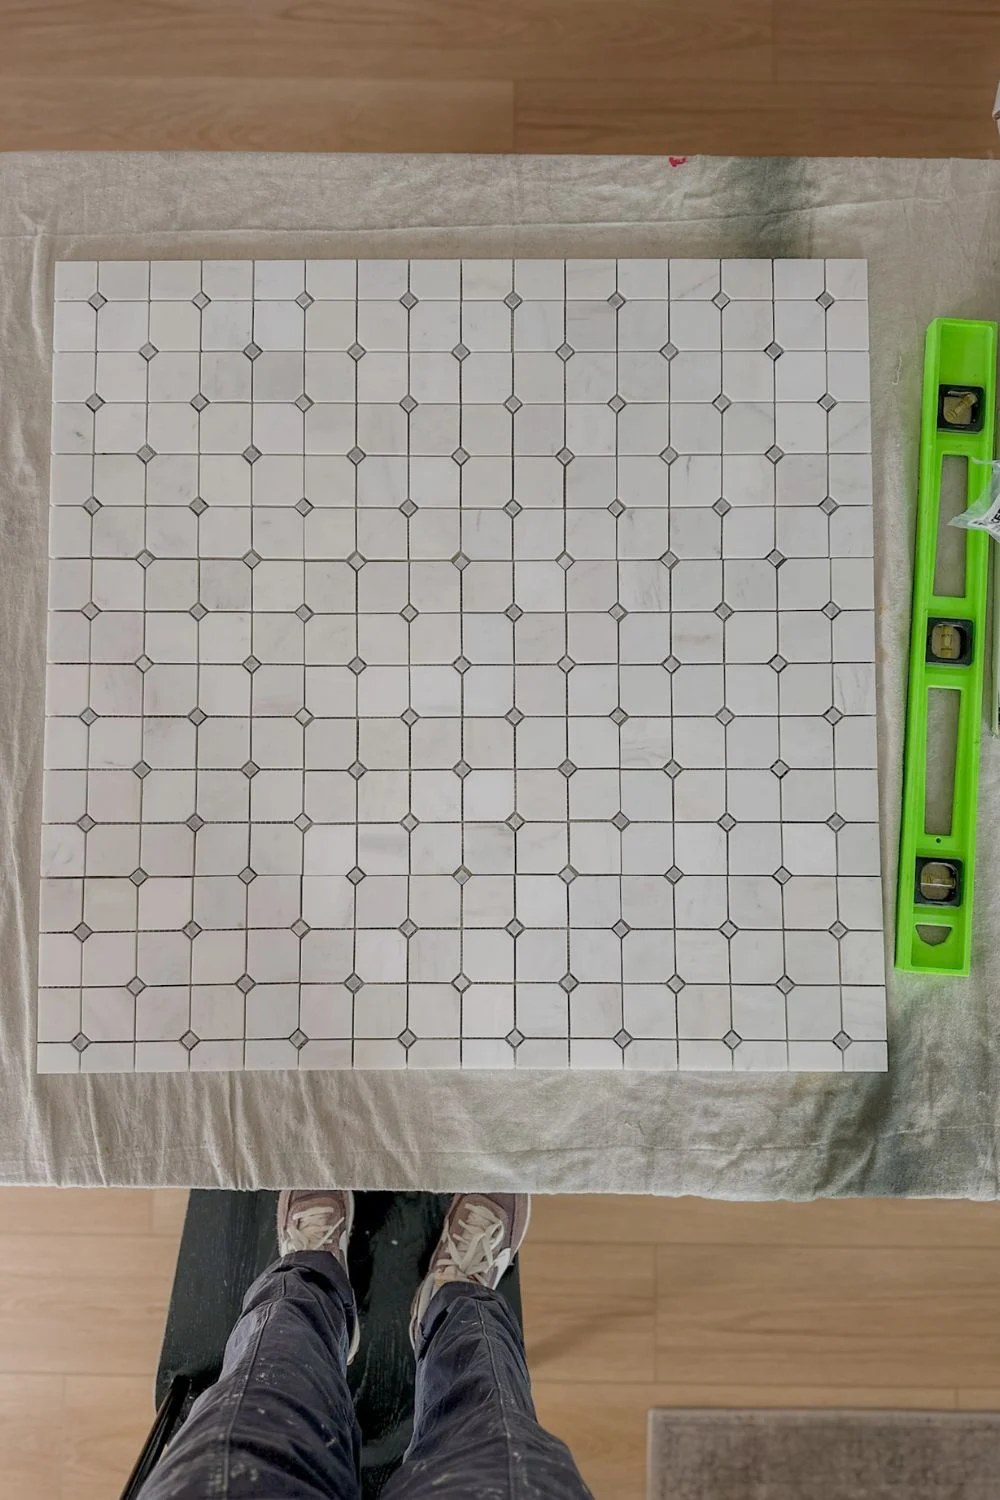
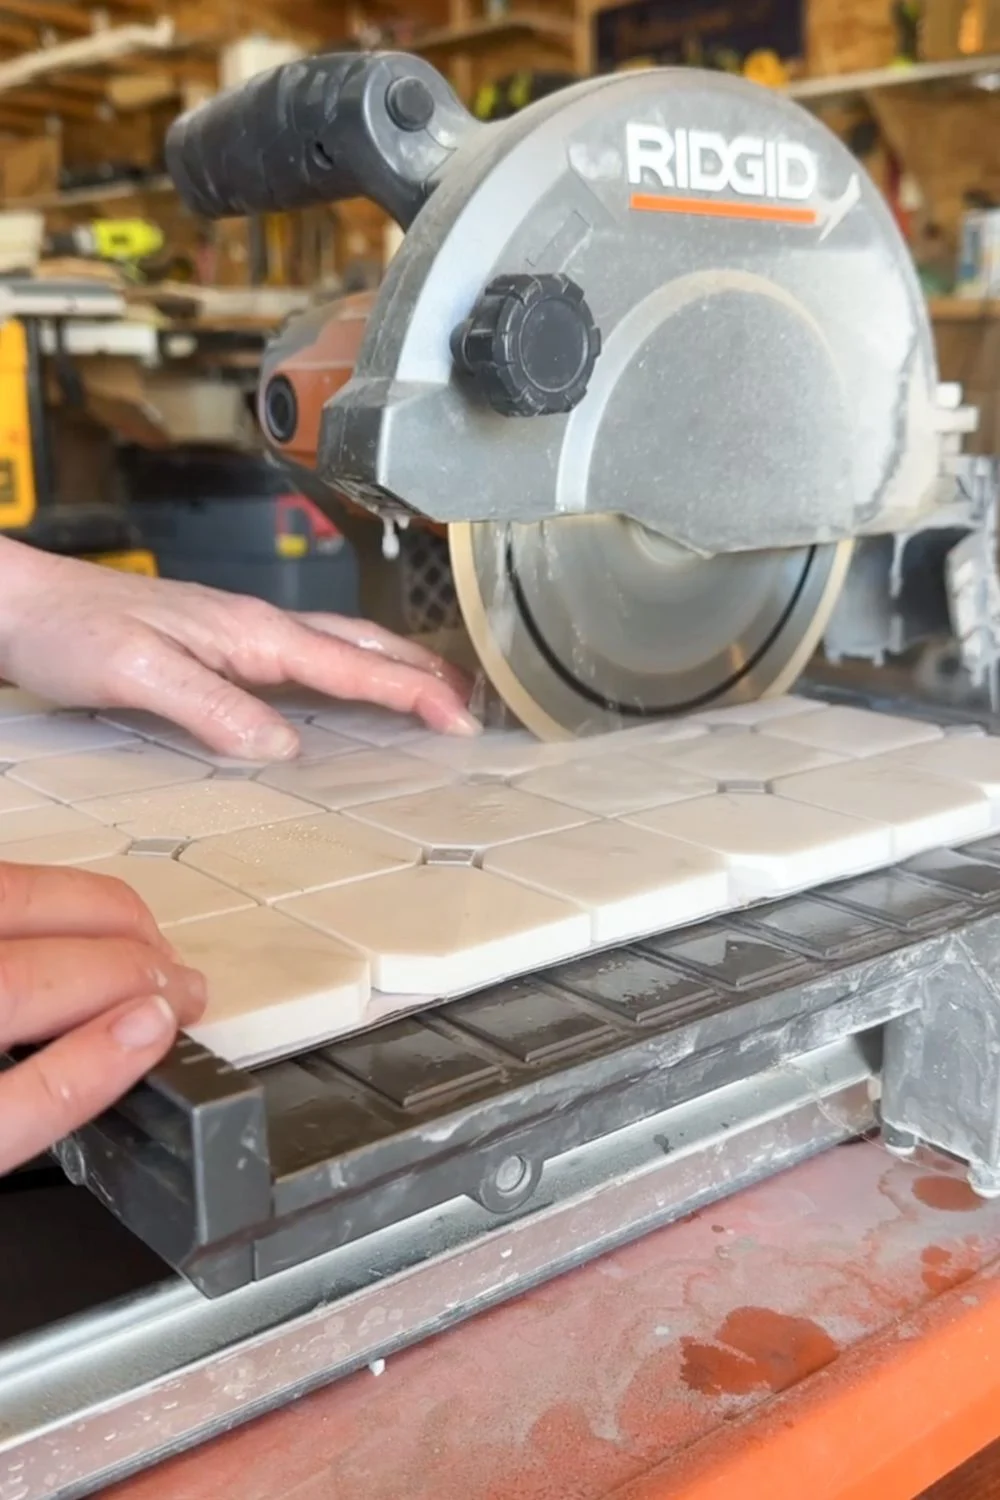
To tile, I started by laying out my pattern. Since this is a small area, I measured the space on the wall and cut the tiles ahead of time. If you’re doing a larger space, it might make sense to cut as you go.

I was nervous about the tile chipping when I cut it, especially those tiny diamonds. But I cut it right on the cardboard it came wrapped in, and it worked perfectly—no chips at all!

After the tile was ready to go, I started by framing out the tile insert area with tile edging to create a nice border. I used Type 1 tile adhesive to set the edging and then tiled from the bottom up. For all the projects we’ve done, this was actually my first time tiling! I was so nervous, it was ridiculous. My hands were shaking 😂 But once I got going, it was really straightforward!

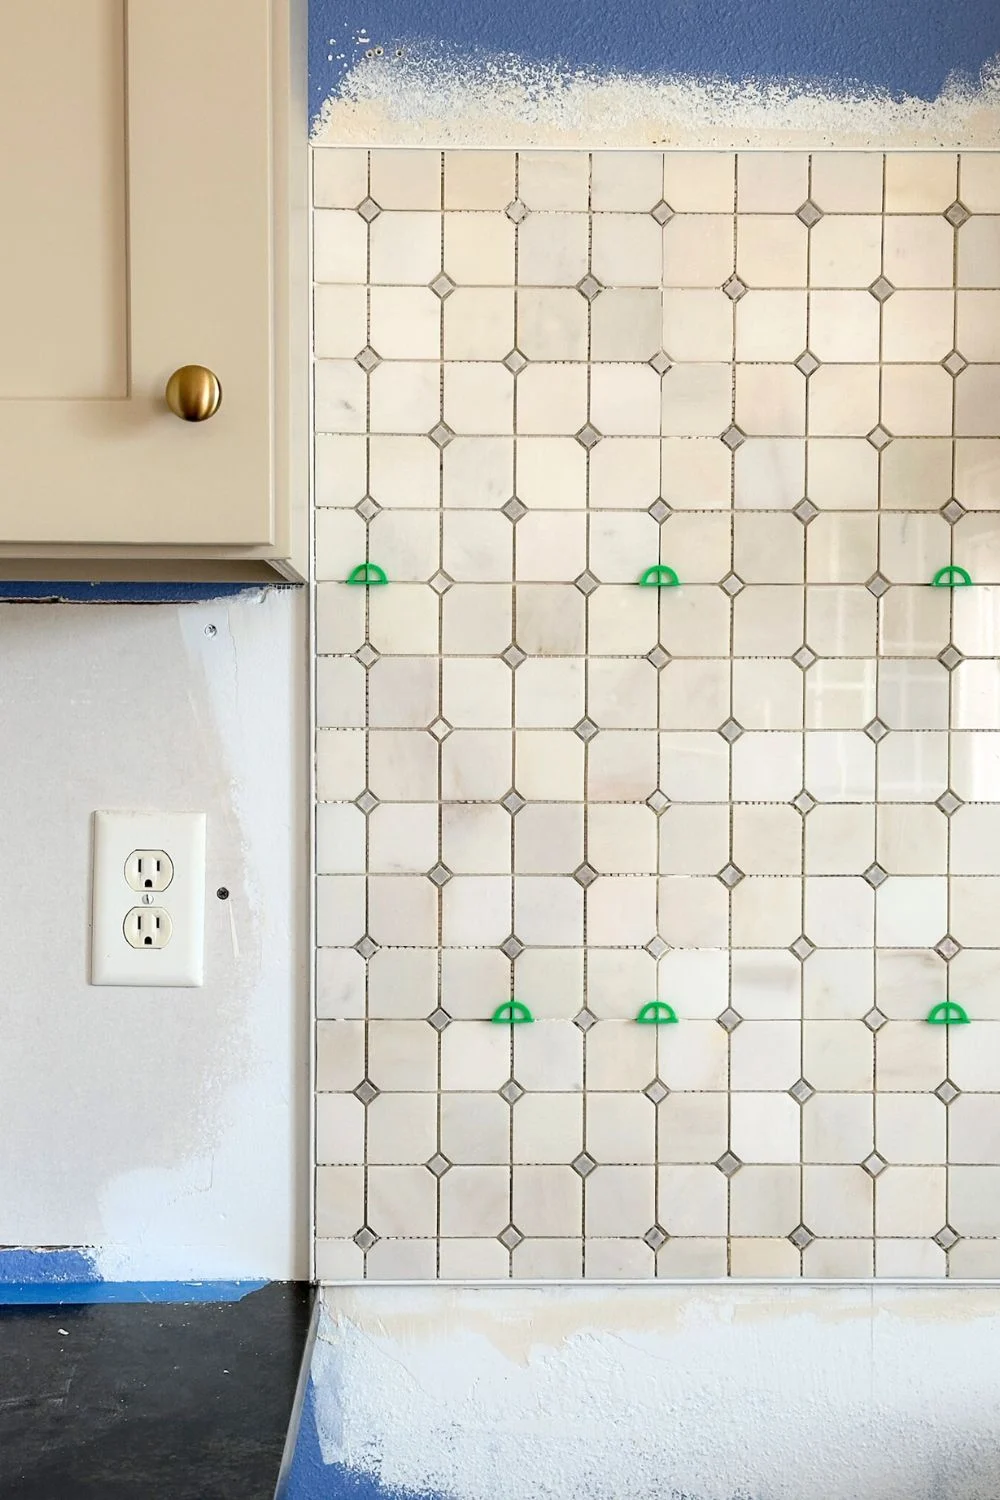
It’s not always necessary to use spacers with mosaic sheets, but I used them in a couple spots to make sure the sheets were level and even. I placed them along the seams between full sheets, not between tiles in a single sheet (if that makes sense?). After the tiles set, I grouted it with MAPEI UltraColor Plus Max Pure White. To finish it up, once the grout dried, I sealed it all with Miracle Sealants 511 Impregnator Clear Natural Stone Sealer.

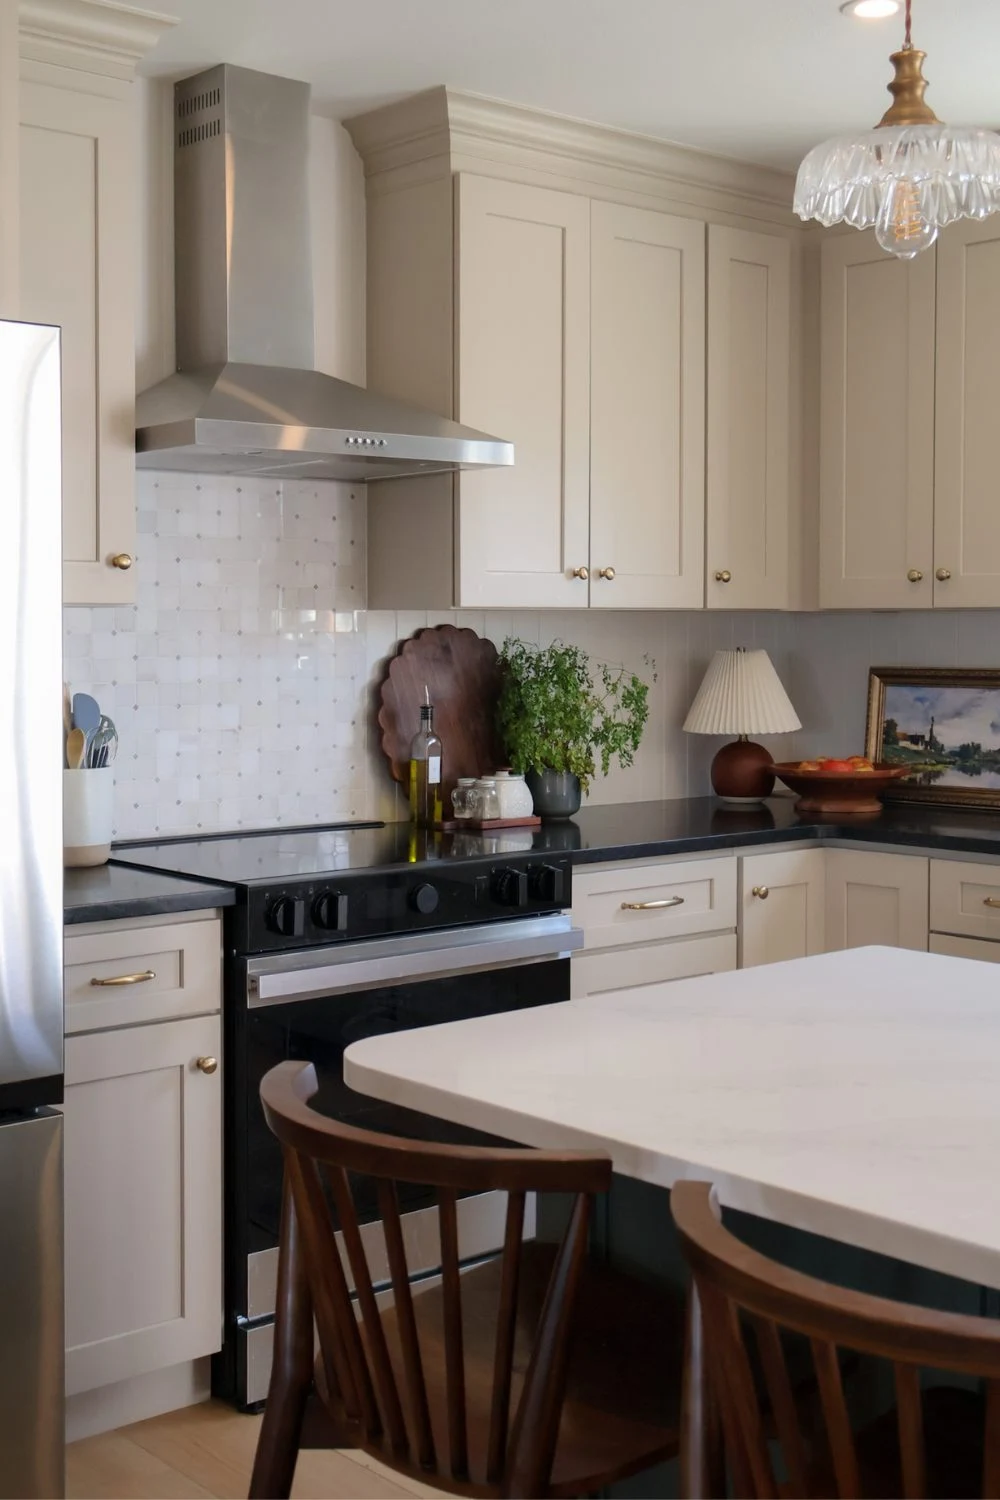
This is the Elida Honed Natural Stone Mosaic Tile from Lowes. I love how it pulls in the colors from the rest of the kitchen – the island countertop, the warm griege tones from the cabinets and backsplash, the black countertops. It’s one of my favorite pieces of the whole kitchen.


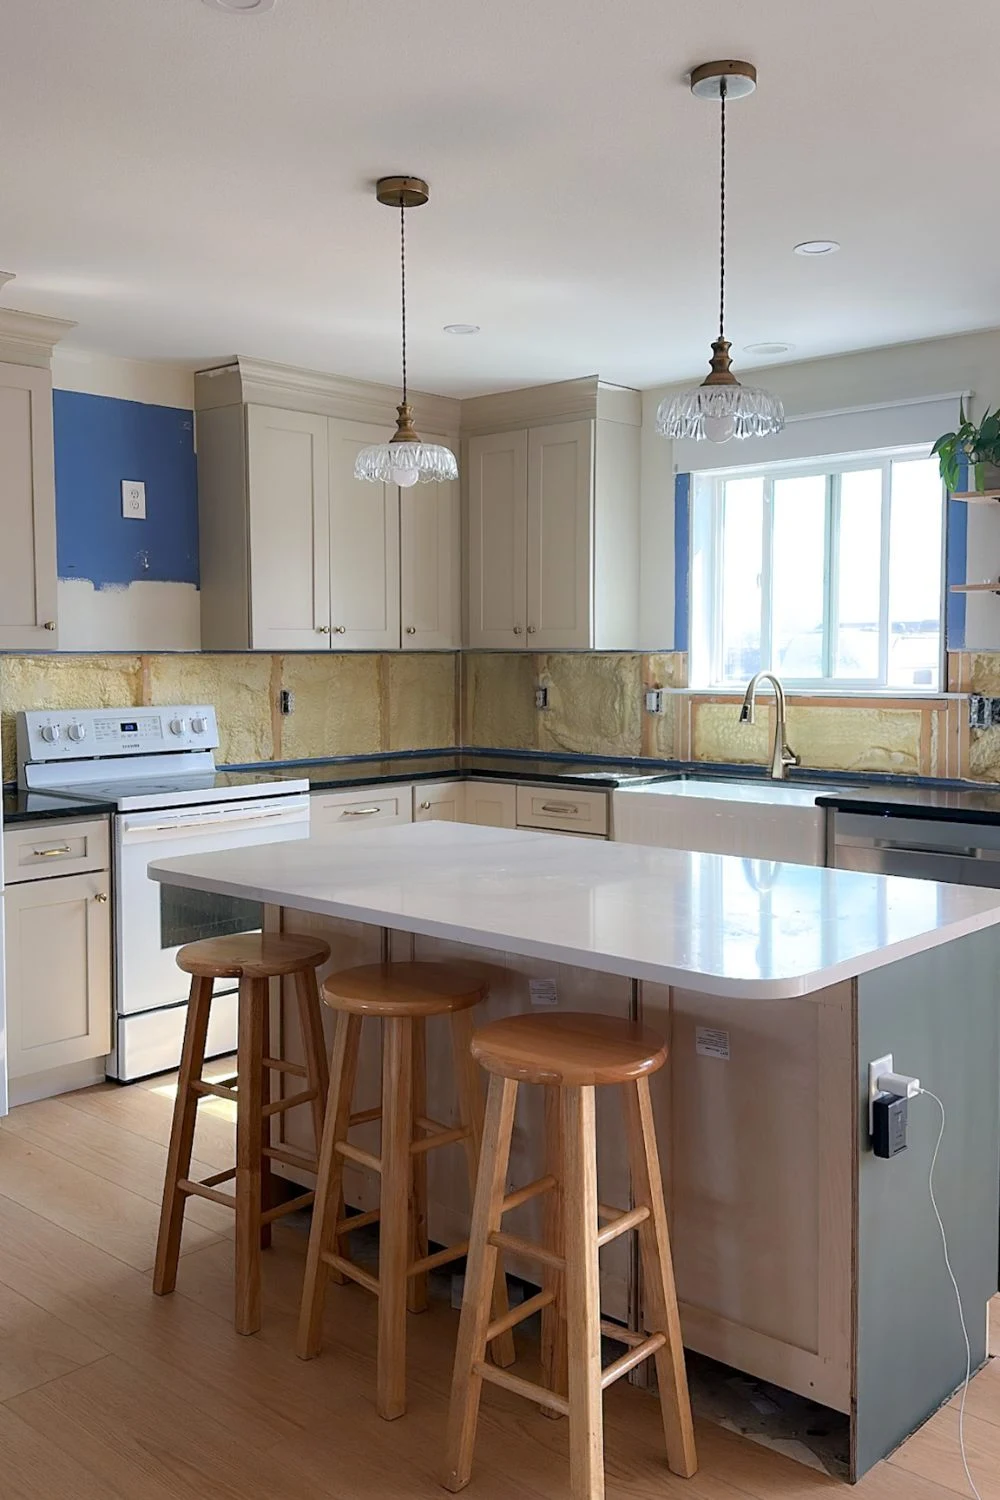
The backsplash really pulled this whole kitchen together. We had to stop at the backsplash when I went of bed rest with the twins, and those original yellow tiles were just not the vibe with the new cabinet color and countertops! I looked a bit like a bumblebee with the black and yellow. Not a big deal, given everything else that was going on. But it sure was nice to take them out and see the final vision come to life! I would highly recommend trying out these v-groove planks if you’re on the search for an affordable backsplash idea. The bring in that touch of charm —warm, classic, and perfectly imperfect in all the right ways.
Please let me know if you have any questions and I’ll get back to you as soon as possible!
Backsplash Sources

Shop Our Kitchen
| Tylynn |
Join me on YouTube and Instagram for the behind the scenes on our latest projects. And follow along on Pinterest for more projects, DIYs, and ideas to make home your own.
This post contains affiliate links. If you make a purchase from one of the links, I may make a small commission at NO EXTRA COST to you. See my full disclosure here.