
Step-by-step instructions to build the easiest DIY floating shelves.
This post contains affiliate links. If you make a purchase from one of the links, I may make a small commission at NO EXTRA COST to you. This helps keep the tutorials and plans free here at Bitterroot DIY. Thank you for your support! See my full disclosure here.
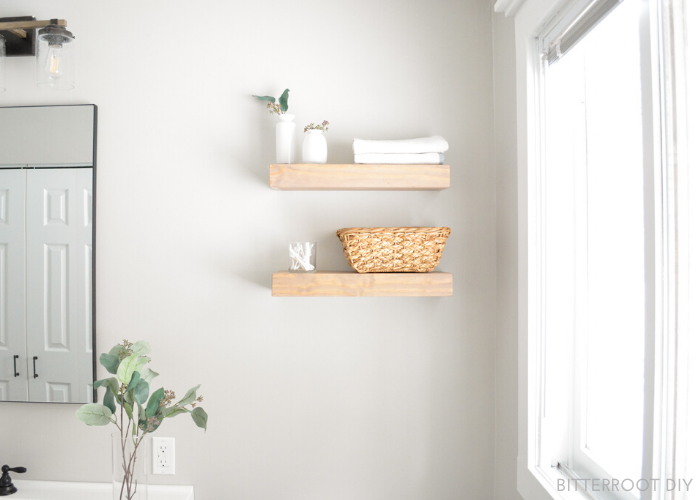
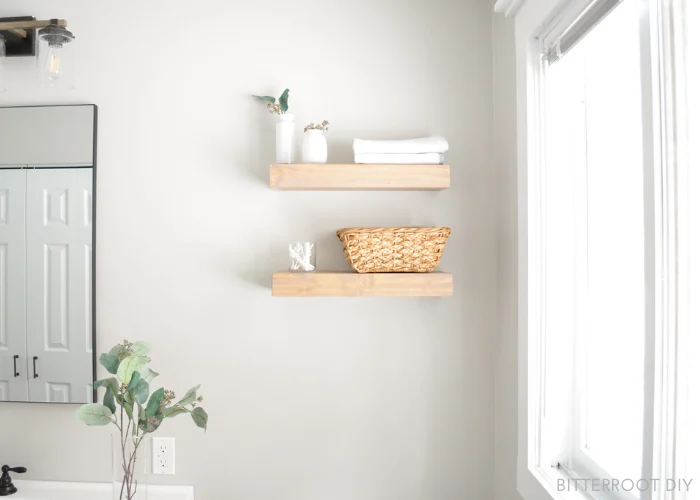
The final touch in the bathroom renovation was this set of DIY floating shelves. It was fun to get back in the wood shop after weeks of renovating, and I’m so happy with how these completed the whole project! I’ve built floating shelves a few different ways, but this was the easiest method so far. I first saw the idea from the ladies over at Shanty 2 Chic and just put my own twist on it. There are a million and one tutorials out there for DIY floating shelves, so I won’t pretend this is wildly earth-shattering and new, but these were super quick and easy and look wonderful in the space!
Enjoy the plans!
TOOLS & SUPPLIES
- Miter Saw
- Brad Nailer
- 1 1/4″ Finish Nails
- Orbital Sander
- Tape Measure
- Clamps
- Wood Glue
- Level
- Speed Square
- Pencil
- Safety Glasses
- Ear Protection
Lumber
- 1 | 1 x 3 @ 8′
- 1 | 1 x 6 @ 8′
- 1 | 2 x 2 @ 8′ (OR 1″ thick trim board @ 8′)
**I used a table saw to rip the 2x2s down to 1″ thick so the assembled shelf fits over the bracket. The actual dimensions of a 2×2 is 1.5″ x 1.5″, so the total actual dimensions of the boards was 1″ x 1.5″ after I ran them through the table saw. If you don’t own a table saw, you can find 1″ trim boards in the trim aisle and use those instead. If you use a trim board, it probably won’t be 1.5″ thick. Make sure to adjust the length of the short bracket boards so they extend almost to the inside of the front of the shelf (see photos below for clarification).
Cuts
- 1 | 1 x 3 @ 18″ along the short side with a 45 degree bevel (front)
- 2 | 1 x 3 @ 5 1/2″ along the short side, one end cut at 90 degree and the other end cut at 45 degree bevel (sides)
- 2 | 1 x 6 @ 18″ (top & bottom)
- 1 | 2 x 2 @ 18″ (support bracket)
- 3 | 2 x 2 @ 4″
**The lumber and cut lists are for ONE 19 1/2″ shelf. Adjust as necessary for your space.


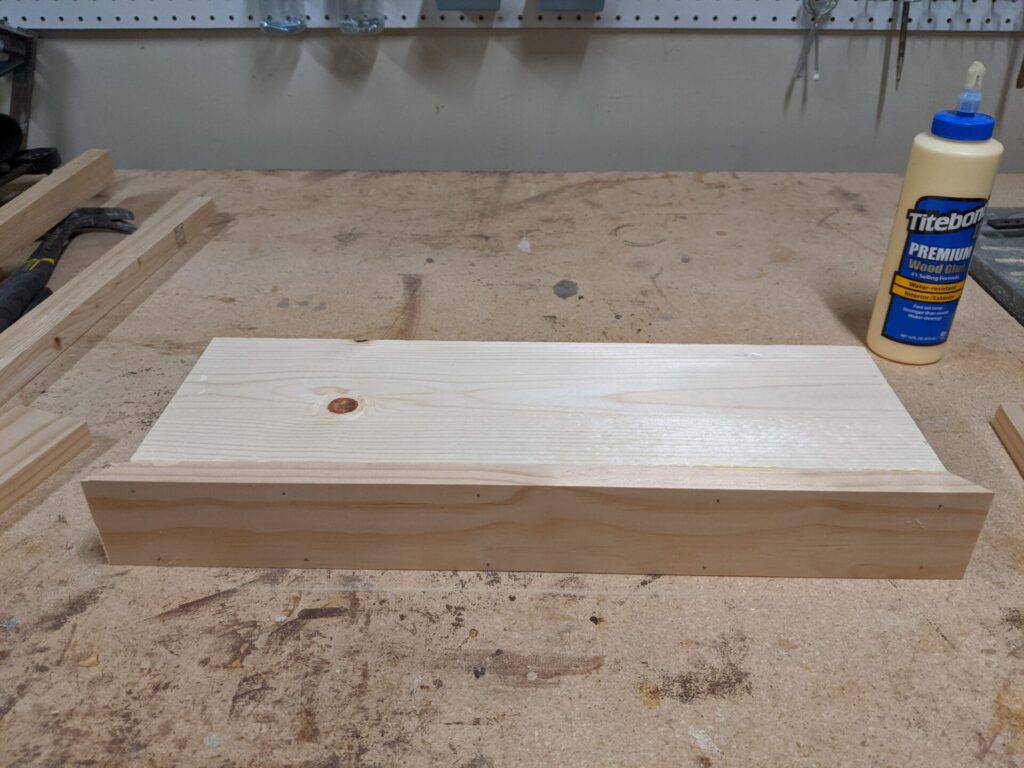
Step 1.
Attach the front 1×3 to the bottom 1×6 board with wood glue and 1 1/4″ brad nails.

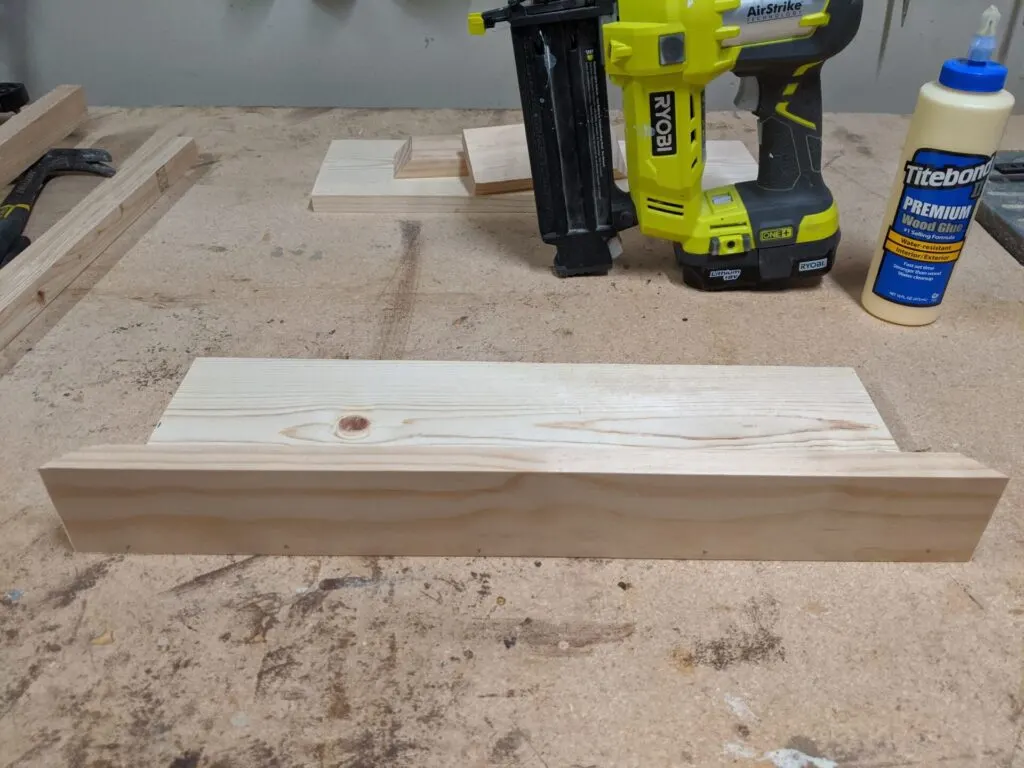
Here’s a view from the end:

See how the front 1×3 is cut at a 45 degree bevel? If you saw doesn’t bevel, you can set it to a 45 degree miter and stand the board vertically against the fence to cut it.
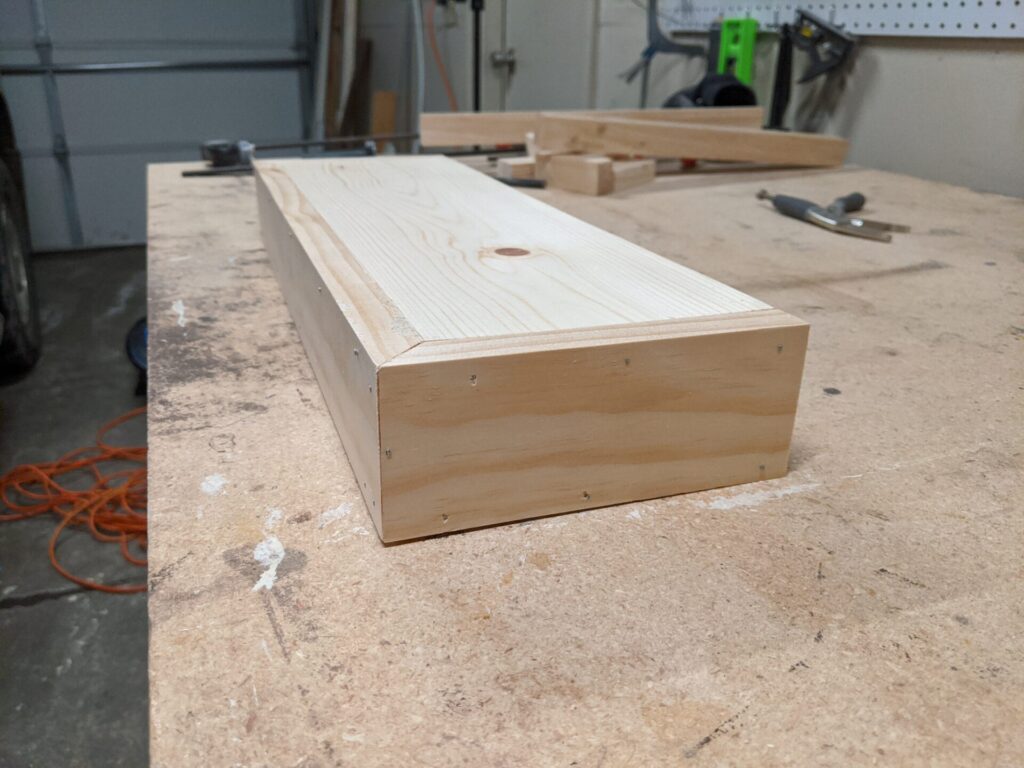
Step 2.
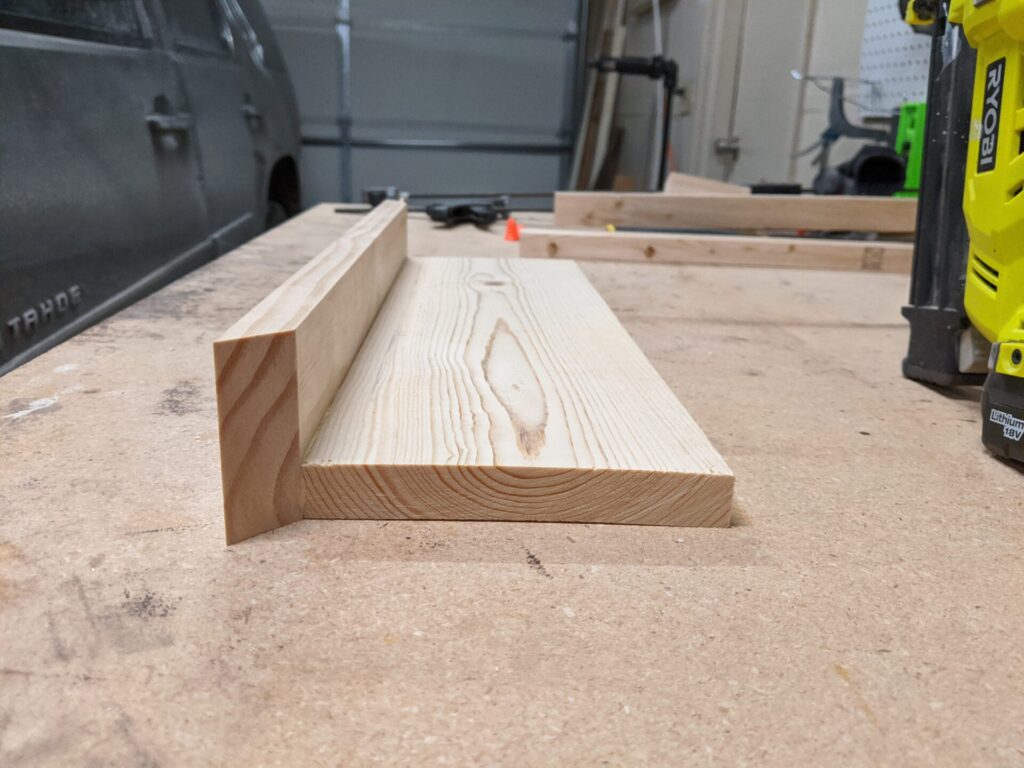
Repeat for the top 1×6. Again, use wood glue and 1 1/4″ brad nails to attach the 1×3 to 1×6.

The view from the side:


As you can see in the above photo, my 1×6 boards were a little bowed since they’ve been sitting in the garage for a long time. I had to trim the brackets down a little to fit this shelf, but they worked out alright in the end. However, I recommend trying to find straight boards if you’re buying new lumber.
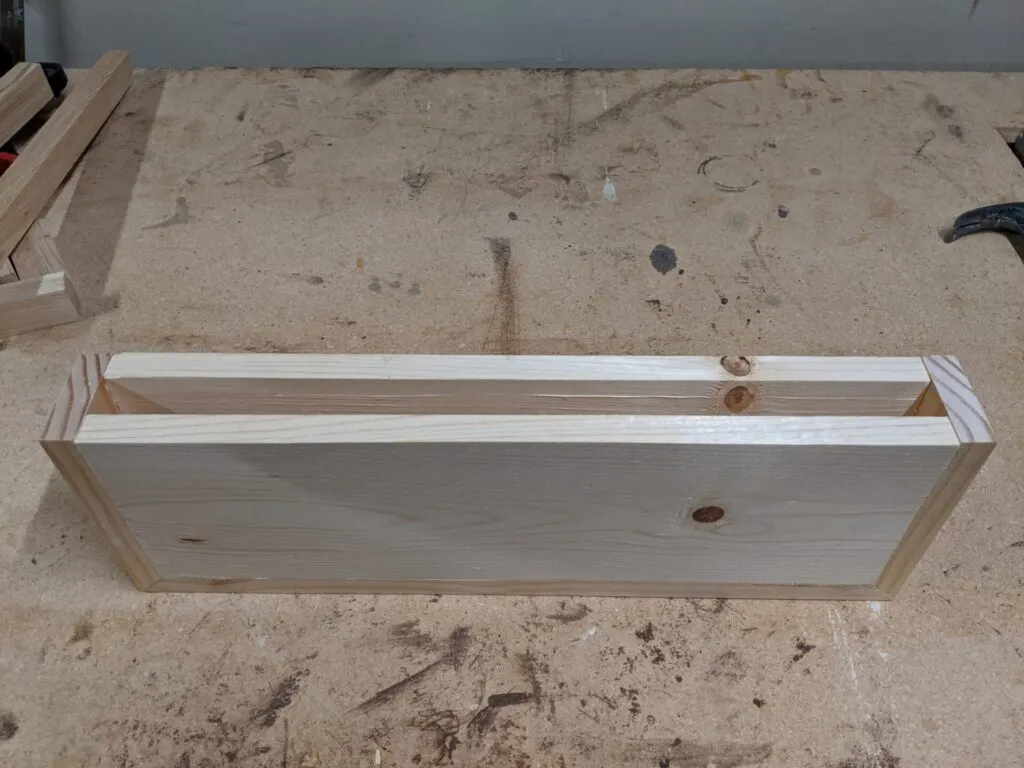
Step 3.
Attach the first end 1×3 to the shelf with wood glue and 1 1/4″ brad nails.


This is where the 90 end and 45 beveled end come into play – the beveled corner faces the front of the shelf and the 90 end goes against the wall. After stain, the shelves look pretty seamless with those beveled front corners!
Repeat for the opposite end.

Here’s a top/front view:


And the back is open like so:

Fill the holes from the brad nails with wood filler and let it dry.


Step 4.
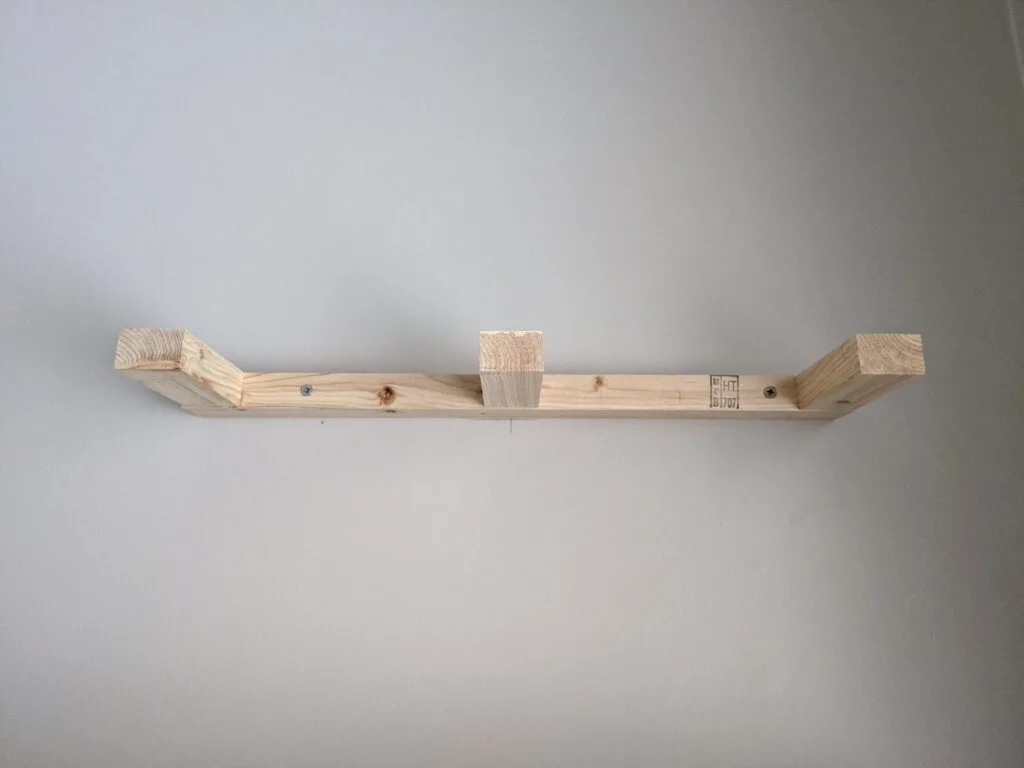
While the wood filler dries, build the brackets to attach the shelves to the wall.
You can use pocket holes to attach the shorter boards to the main backer board, or simply countersink screws through the back.
I used two 2″ screws per bracket and drove them through the back. I used self-tapping screws, but one of them did end up splitting the board since it’s only 1″ thick. I recommend pre-drilling them even if you use the self-tapping ones, just in case.
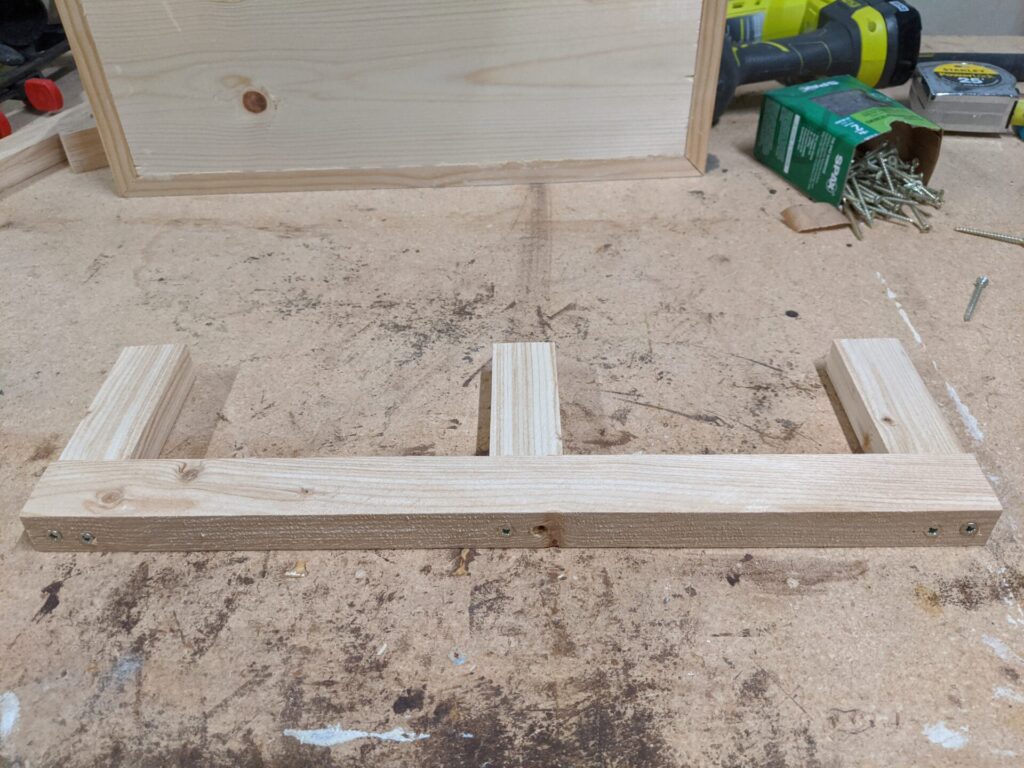

If you make longer shelves, just add more center brackets accordingly. One every foot or so will be plenty strong (in my experience).
Step 5.
Next up – attach the brackets to the wall. Simply screw through the bracket into the studs.

I hit a stud on the right side but had to use a drywall anchor on the left. I didn’t want these shelves to be too big since it’s a small room (which is why I only hit one stud), but, if possible, try to hit studs on both sides.
Step 6.
Once the wood filler dries on the shelves, sand and finish as desired. I stained these with a custom mix of stain to give them a nice white oak look and then sealed them with polycrylic in the satin sheen.


For the white oak color:
Stain them with Varathane “white wash” stain and wipe it off immediately. Follow the white wash stain up with Varathane special walnut stain and wipe it off immediately as well. You don’t have to wait for the white wash stain to dry before applying the special walnut. Apply the stains back-to-back, and then let the shelves dry. Once they’re completely dry, seal them with a poly of your choice. I used polycrylic in satin on these, but it’s totally up to you.
*Those links take you to a 2-pack of each of the stains, but you can buy them as singles in the store. I just added the links so you know what to look for.
Step 7.
Lastly, slide the shelves onto the wall brackets and you’re good to go – quick and easy DIY floating shelves!


If you want, you can add a small screw through the top of the shelf into the bracket. These ones fit nice and snug, so I didn’t add an extra screw or anything.
If you ever want to remove them, simply slide them off the brackets and remove the brackets from the wall.


And that wraps up the bathroom renovation!
Please let me know if you have any questions and I’ll get back to you as soon as possible!


Thanks for stopping by!
For more project ideas, you can find me on Pinterest. And to stay up to date with the latest shenanigans, follow me on Instagram.


Trent
Wednesday 17th of February 2021
Do you secure the shelf to the supports or just let it rest on it only?
tylynn_sattler
Saturday 20th of February 2021
I just let them rest on the supports since they were pretty tight, but they do have a little wiggle. If you want them super solid, I recommend attaching them.
Eddie dowling
Thursday 3rd of September 2020
Very clear and easy too follow Hope it's as easy when I try to do it Thanks Eddie