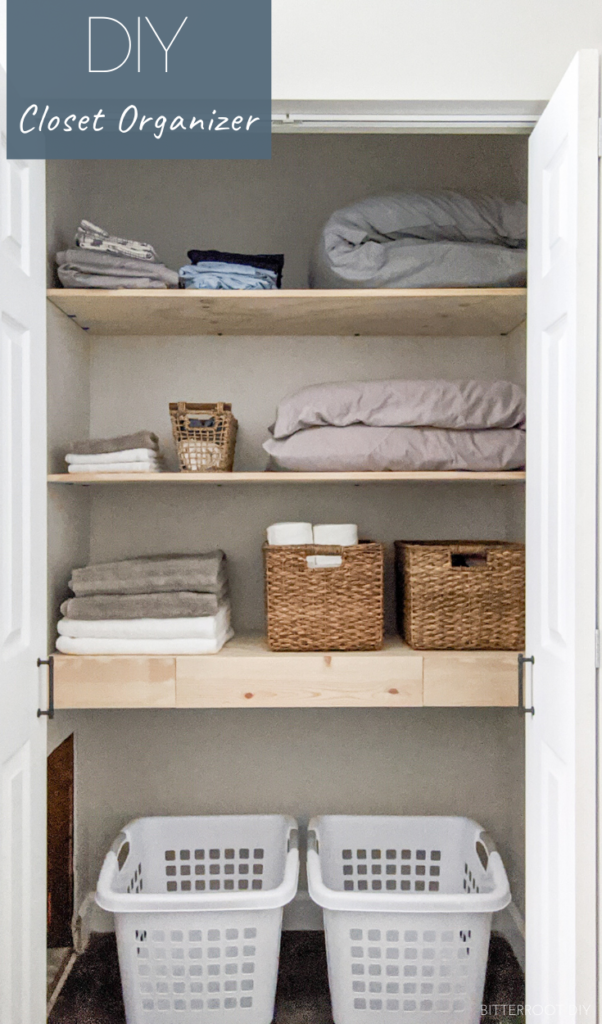
Free plans and a step-by-step tutorial to build a DIY closet organizer.

This post contains affiliate links. If you make a purchase from one of the links, I may make a small commission at NO EXTRA COST to you. This helps keep the tutorials and plans free here at Bitterroot DIY. Thank you for your support! See my full disclosure here.
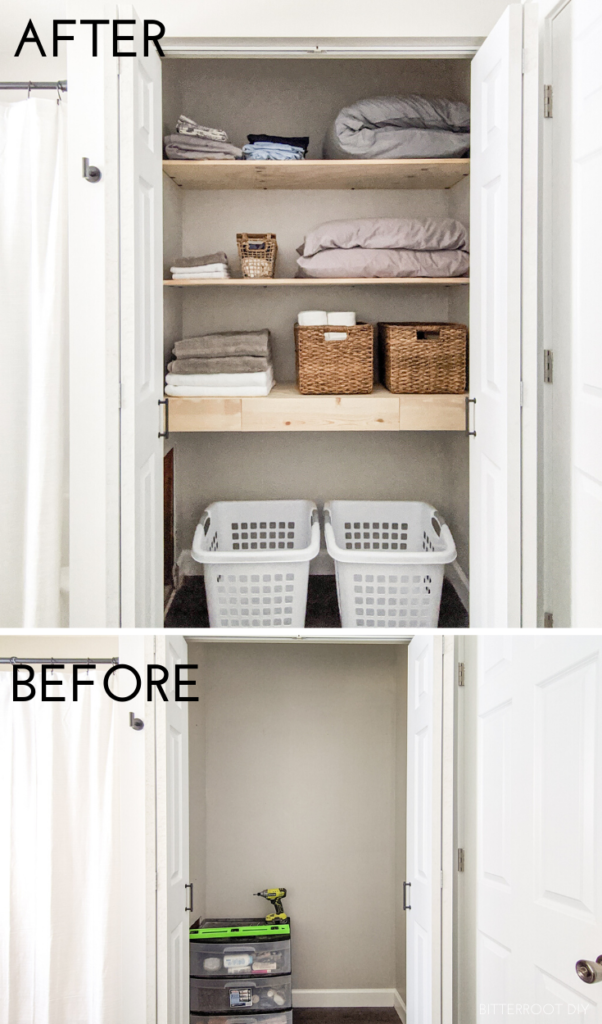
In case you missed it, I closed out 2019 with the big bathroom renovation and shared everything from the plan to the reveal to the vanity makeover to the final touch with a set of floating shelves. BUT what I didn’t share was the new closet. You might remember that I took out the old teeny-tiny closet during demo and framed up a new one behind the shower, but that was pretty much it …
So really, I just left it as a big empty closet for the last few weeks.
I know. I know.
I’m sure you’ve been on the edge of your seat wondering this whole time BUT TYLYNN, WHAT HAPPENED WITH THE NEW CLOSET?! Well my friends, WORRY NO MORE.
Closet day is here.
And if you haven’t been worrying about the closet for weeks, or just ended up here from Google or Pinterest, closet day is here for you too.
It’s closet day for EVERYONE!
Ok … I might be a little over-tired and punchy, but bear with me.
This is the easiest DIY closet organizer in the history of EVER. And it has a fun twist – a super awesome floating drawer.
Enjoy the plans!
TOOLS & SUPPLIES:
- Miter Saw
- Drill
- Table Saw (optional)
- 2 1/2″ Self-Tapping Screws
- Brad Nailer
- 1 1/4″ Brad Nails
- Kreg Pocket Hole Jig
- 1 1/4″ Pocket Hole Screws
- Stud Finder
- 14″ Drawer Slides
- 3/4″ Corner Braces
- Black Spray Paint (optional)
- Tape Measure
- Clamps
- Wood Glue
- Speed Square
- Pencil
- Safety Glasses
- Ear Protection
Accessories:
Lumber:
- 1 | 4′ x 8′ Sheet of 3/4″ Plywood (any type)
- 2 | 3/4″ x 1/4″ Trim @ 6′ (or plywood edge banding)
- 1 | 1 x 3 @ 8′
- 1 | 1 x 4 @ 6′ (or just enough for the drawer cleats)
- 1 | 1 x 6 @ 6′ (or just enough for the drawer and shelf front)
Cuts:
- 3 | 3/4″ Plywood @ 49 1/2″ x 15 3/4″ (shelves)
- 2 | 3/4″ x 1/4″ Trim @ 49 1/2″ (shelf trim)
- 2 | 1 x 3 @ 14 1/2″ (drawer sides)
- 2 | 1 x 3 @ 22 1/2″ (drawer front & back)
- 2 | 1 x 4 @ 15 3/4″ (cleats)
- 1 | 1 x 6 @ 25″ (drawer face)
- 2 | 1 x 6 @ 12 1/4″ (bottom shelf front)
** Change the dimensions and cuts to fit your closet space. This is just a list of what I ended up with for my closet.
Step 1.
I started by spray painting all the corner braces black to match the rest of the hardware in the bathroom. It’s completely optional, but the Rustoleum paint & primer spray is AWESOME for changing hardware colors. If you’re not worried about matching anything, just move on ahead to installing the braces.
To install:
Mark the location of the studs with a stud finder and install the corner braces where you want your shelves to sit. Use a level to make sure all the braces are on the same level and use 2 1/2″ screws to screw the braces directly into the studs.
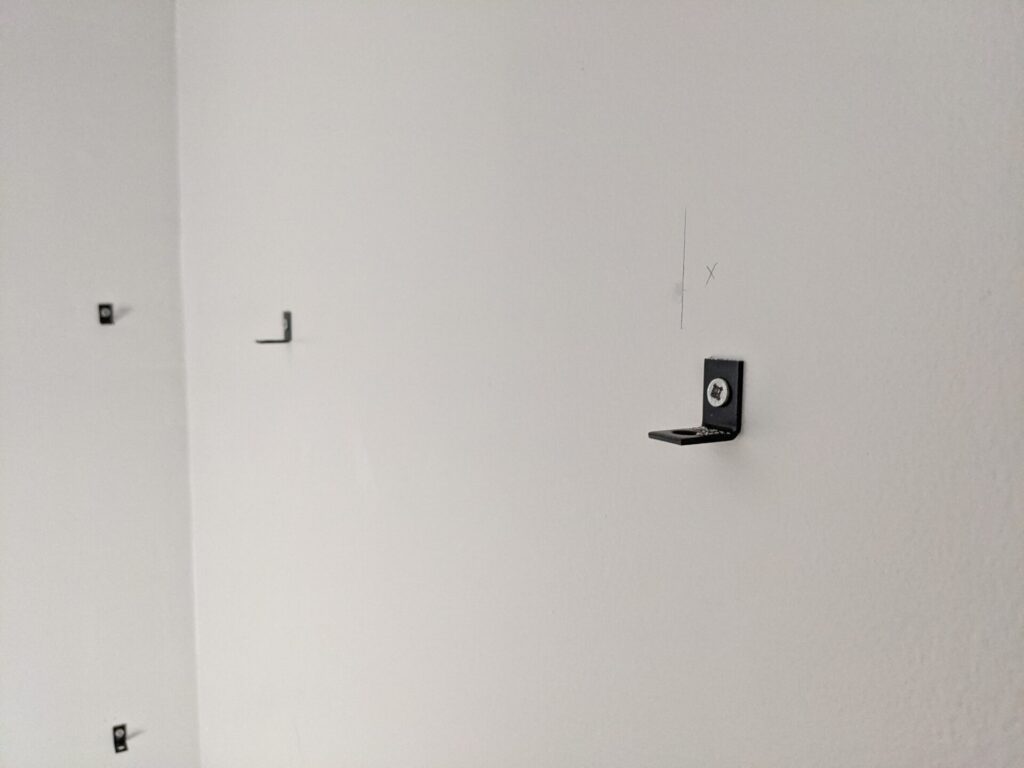
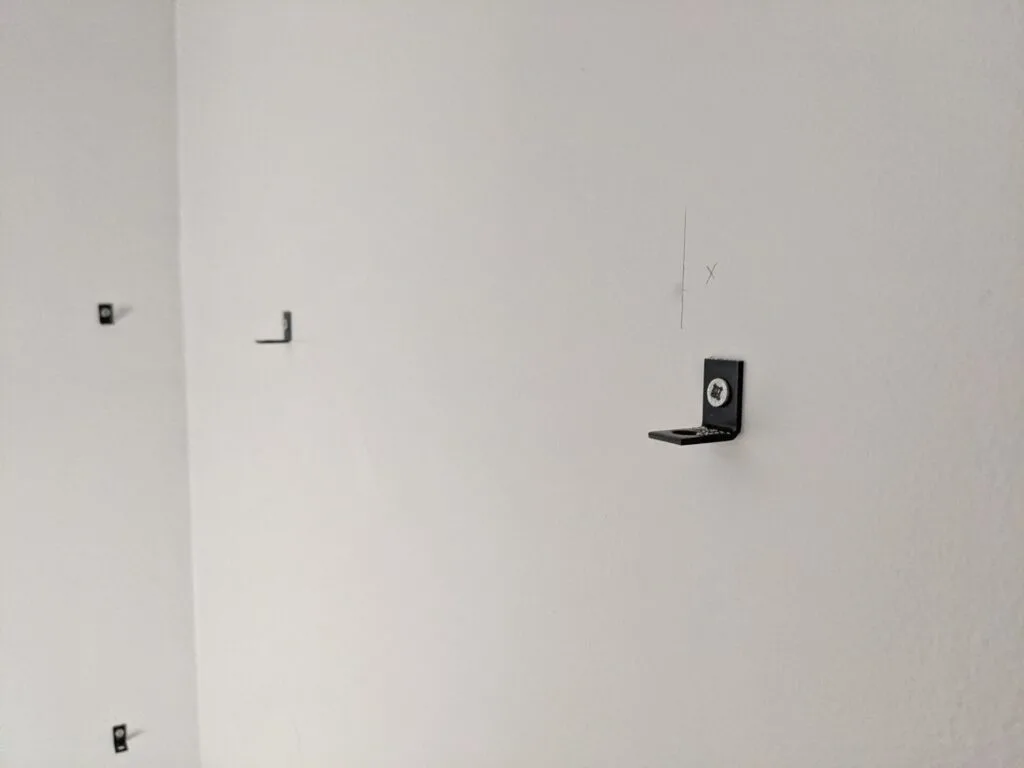
I HIGHLY recommend going into the studs wherever possible. However, you can use anchors if necessary for some of the braces. The shelves will be stronger if you attach them to the studs, but sometimes it just doesn’t quite line up.
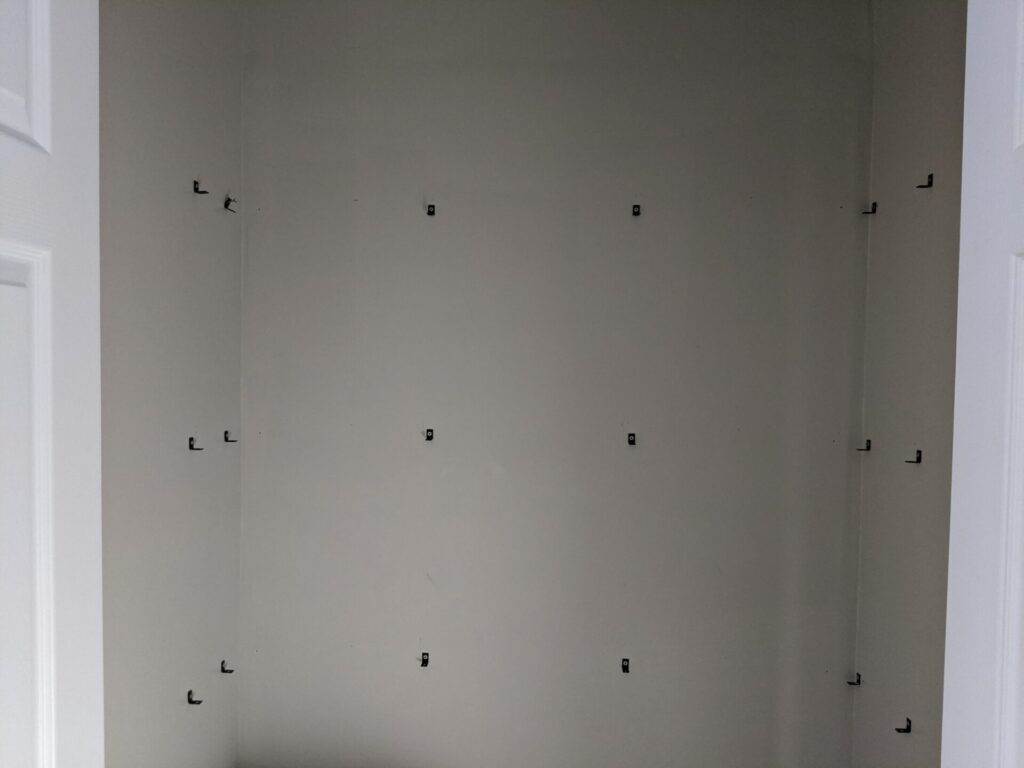
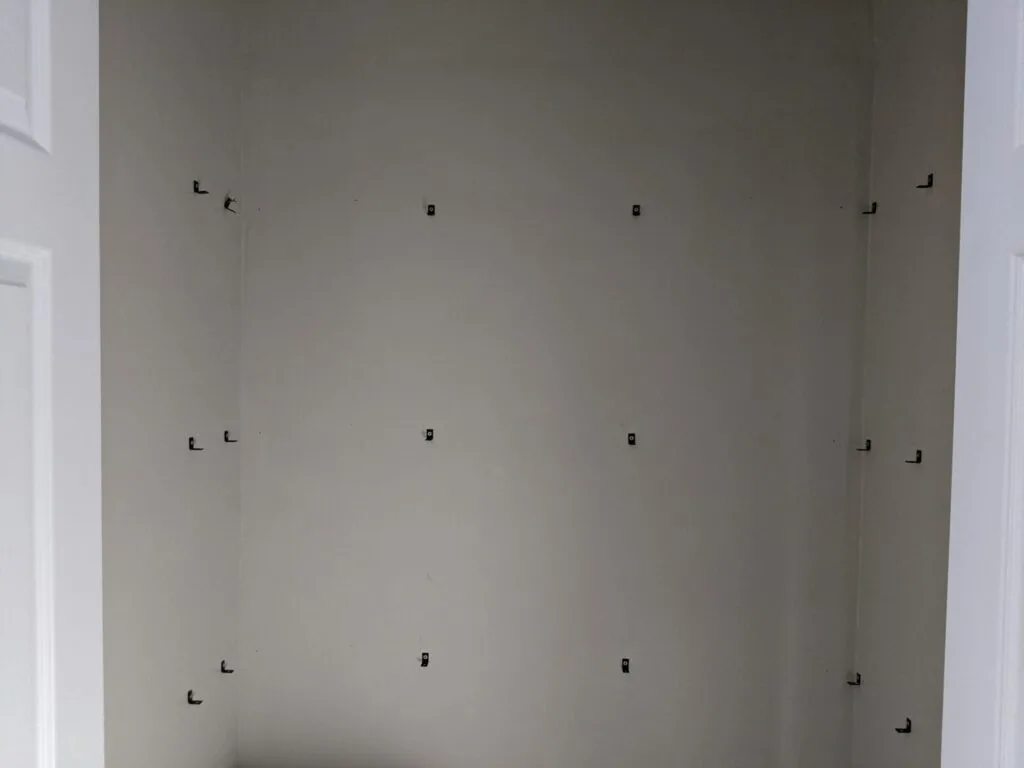
The shower is directly behind the wall on the left side of the closet, so the stud locations are a little weird on that side. I ended up installing drywall anchors behind the front row of brackets on that left side to make it work. The rest of the braces are attached to studs, so the shelves are still really sturdy.
These shelves are 49 1/2″ long, so I used six braces per shelf – two in the middle and two on either end.
Step 2.
Once you’ve installed all the braces, set your top two shelves in place and attach the braces to each shelf with the screws included in the brace package. I painted all the screw heads black to match the braces.
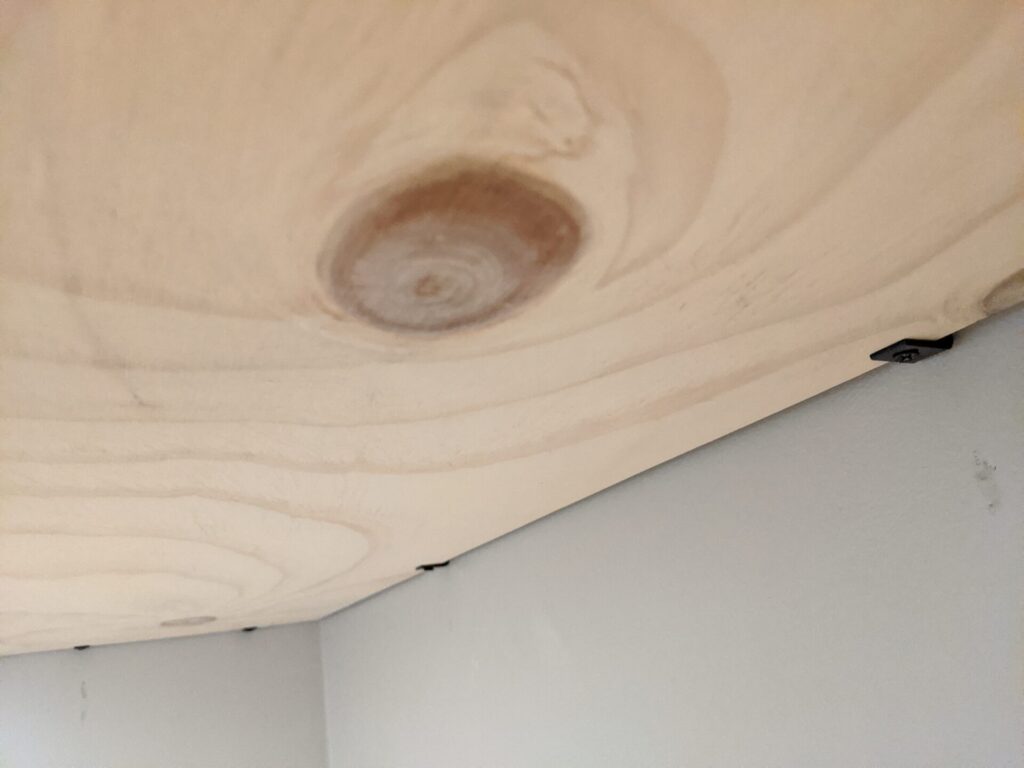
Corner braces are a great, simple way to add shelves pretty much anywhere. If you’re happy with just shelves, leave it as is and start stacking them up!
If you’re interested in adding the drawer along the bottom, continue for the second half of the tutorial.
Step 3.
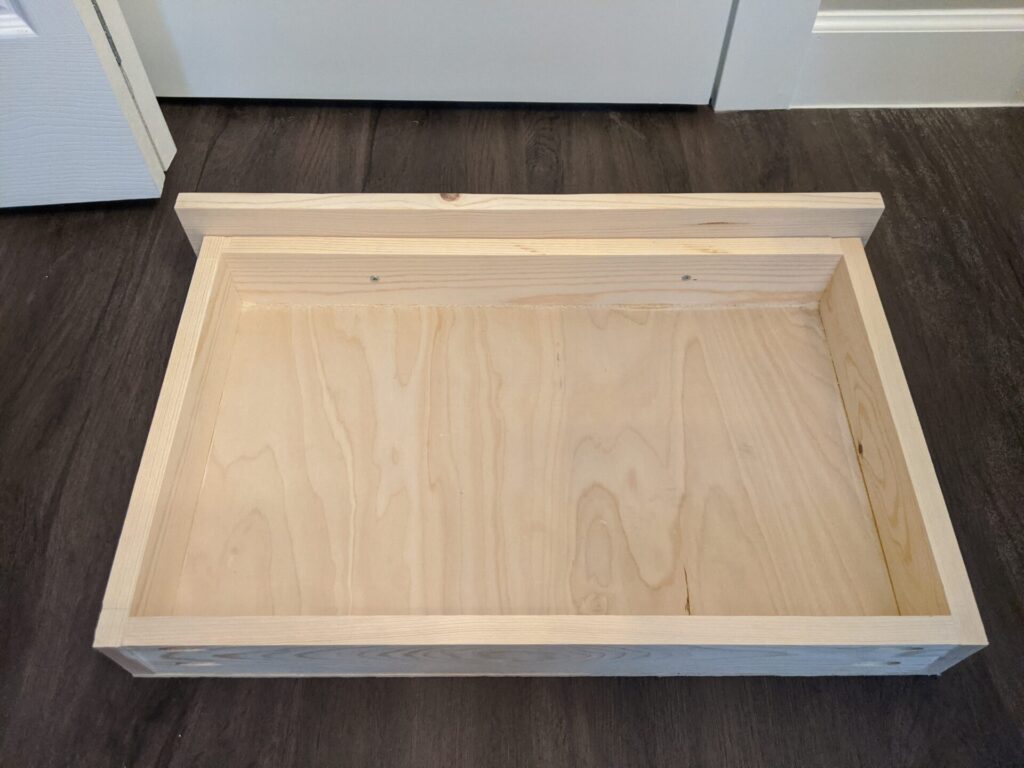
Start by building the drawer.
There are a million ways to build drawers, but here’s the method I used on this one. I made the drawer 24″ x 14 1/2″ and centered it on the bottom shelf. Depending on how your closet is set up, you could run the drawer the full length of the bottom shelf, or do two separate drawers, or whatever works best in your space.
I did not build the drawer the full width of the shelf since it would run into the closet doors if it was that wide. It’s totally up to you – just remember to adjust dimensions as necessary.
Step 4.
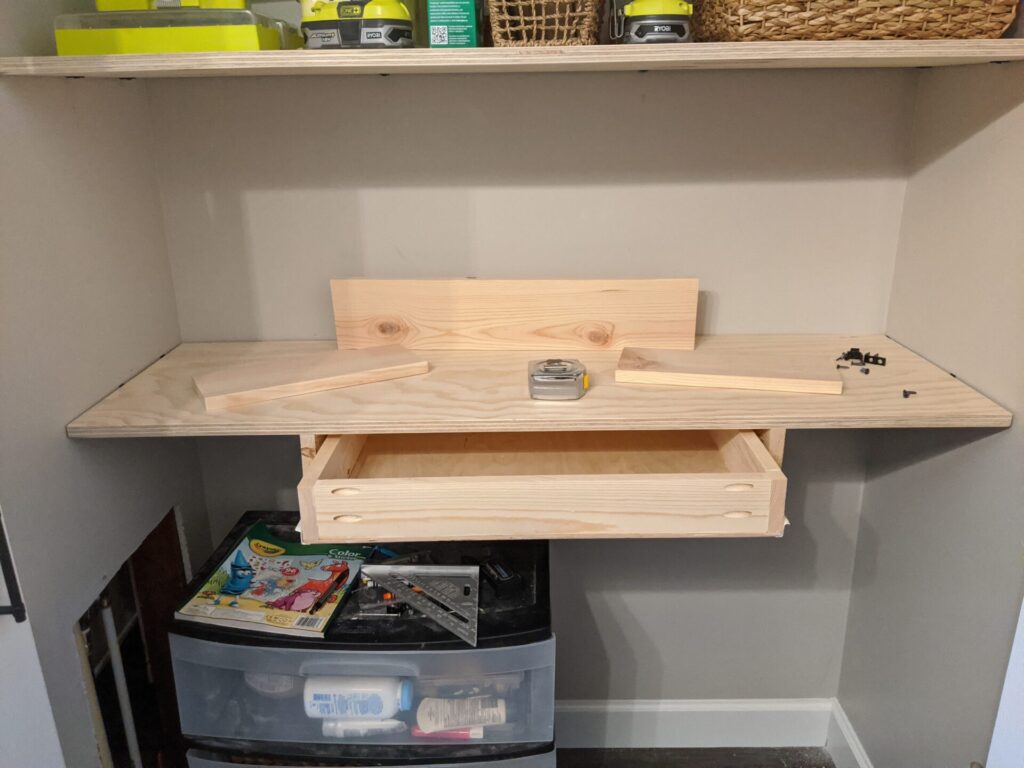
Once you’ve built the drawer, the next step is to attach cleats to the bottom shelf to hold the drawer in place.
Attach two 1 x 4 cleats to the bottom of the bottom shelf with wood glue and 1 1/4″ pocket hole screws. Use a speed square to make sure the boards are perfectly perpendicular to the shelf (ignore the drawer slides for now – you’ll add those in Step 5).

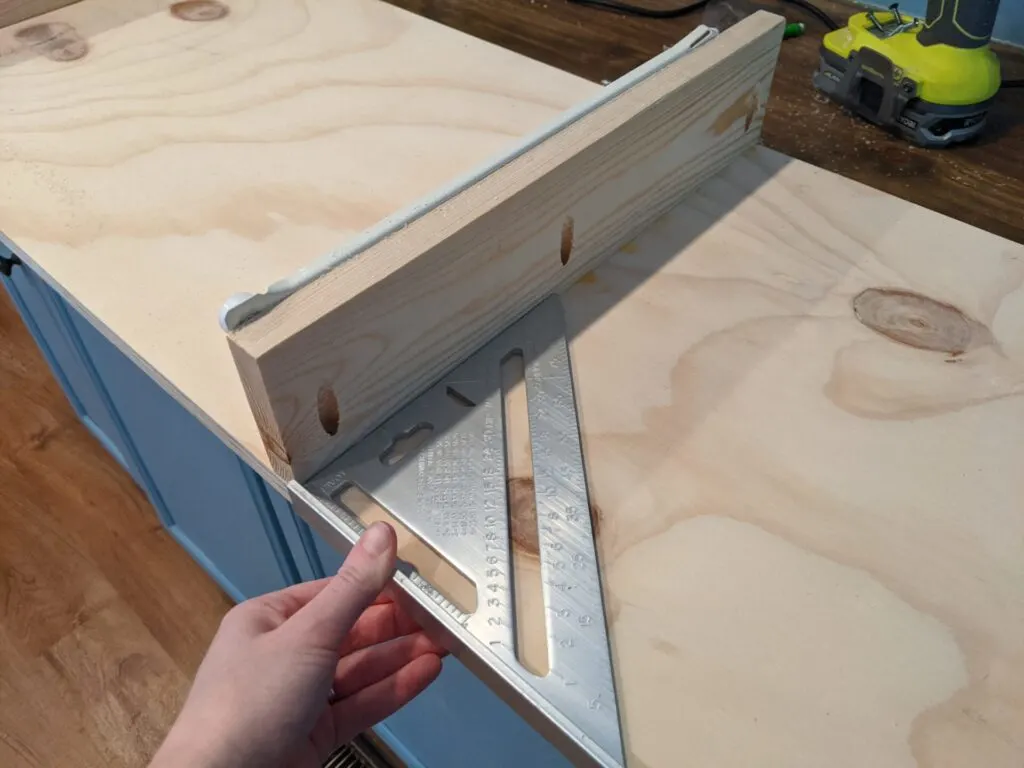
Here’s a look at it with both cleats installed (again, ignore the drawer slides):
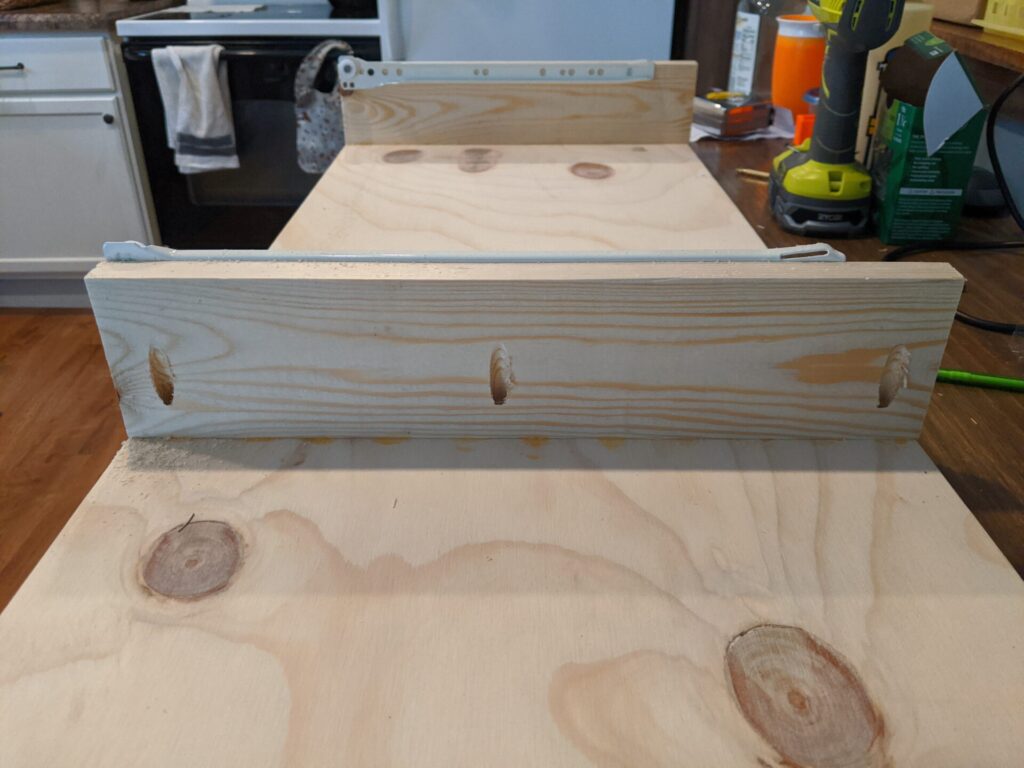
It’s important that both cleats are perpendicular to the shelf and parallel to each other so the drawer will slide easily. The speed square is really helpful to line them up.
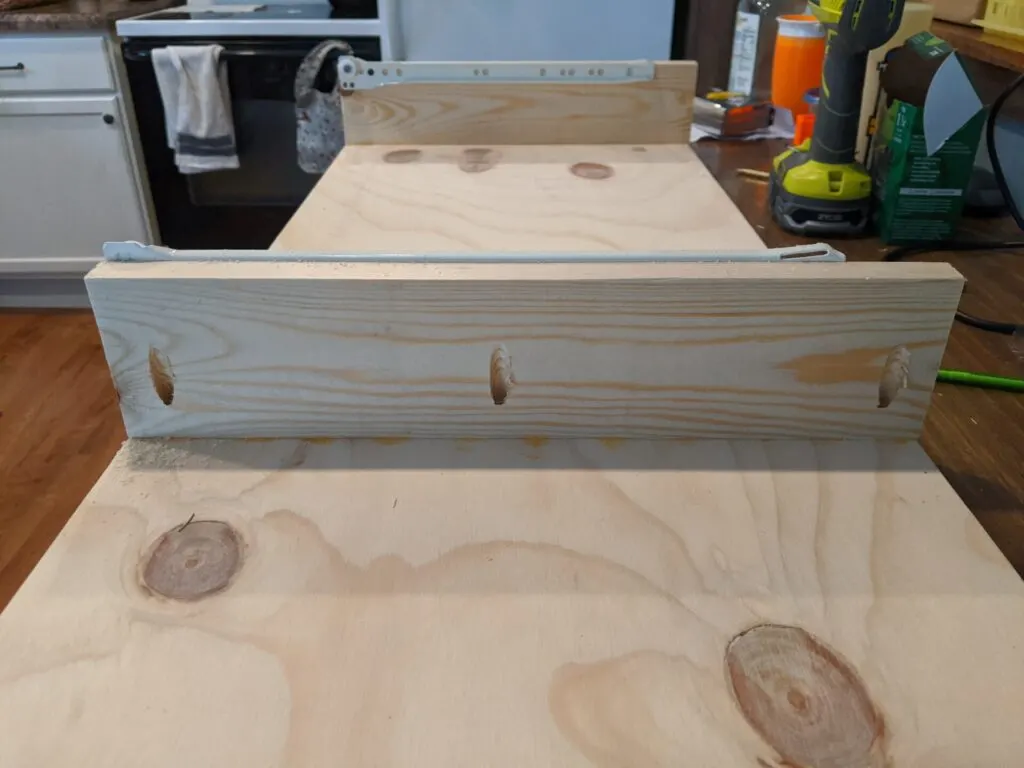
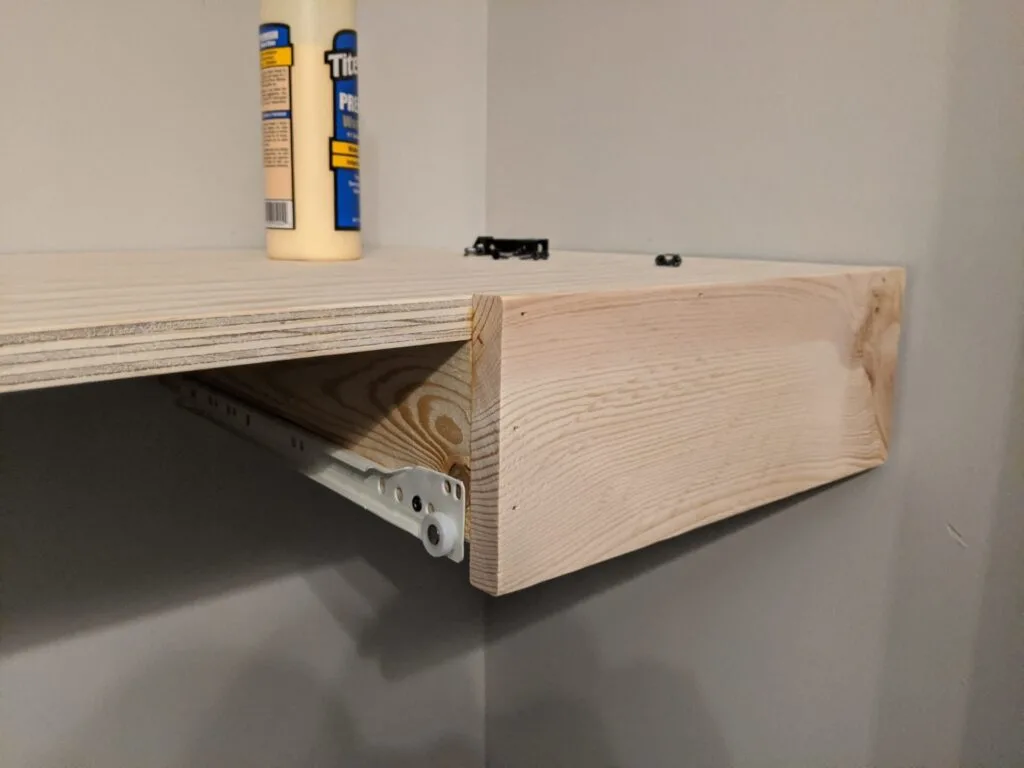
Step 5.
Install the drawer slides. I like to install them on the bottom of the drawer first and then install them on the cleats so you can line them up for the drawer to close correctly.
It’s a bit of a tight fit since the cleats are 1x4s and the drawer is out of 1x3s. I had to attach the drawer slides on the very bottom of the cleats in order to fit the drawer, but that was on purpose.
If you want, simply adjust the dimensions to make a deeper drawer. Just keep in mind that the front board to cover the shelf will be thicker as the drawer gets deeper. I tried to keep things as slim as possible while still making the drawer big enough to be useful.

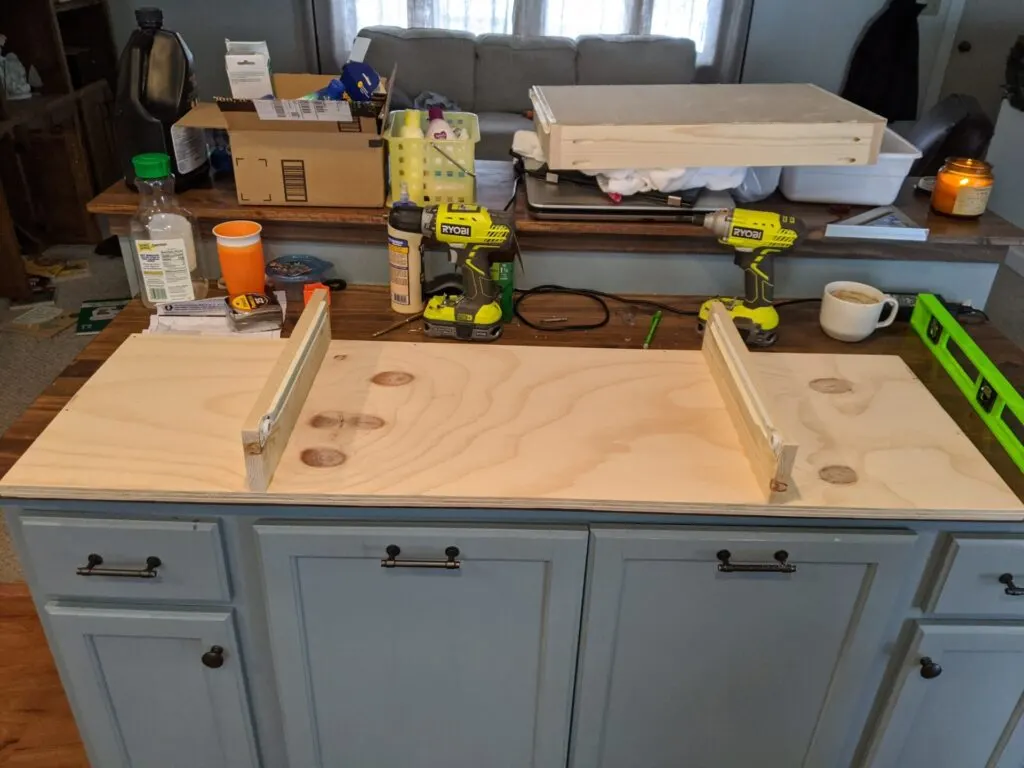
Don’t mind the huge mess on the counter … those are all the things that will eventually go in this new closet.
Step 6.
Install the bottom shelf in the closet the same way you did the top two shelves – put it in place and attach it to the braces from the bottom. Attaching the shelf to the braces ensures the shelf is totally solid and holds it in place when you slide the drawer in and out.

There was quite a bit of concern over on my Instagram page about the capacity of these shelves since the corner braces look so small. If you’re worried, I did a little demonstration to put everyone’s minds at ease:

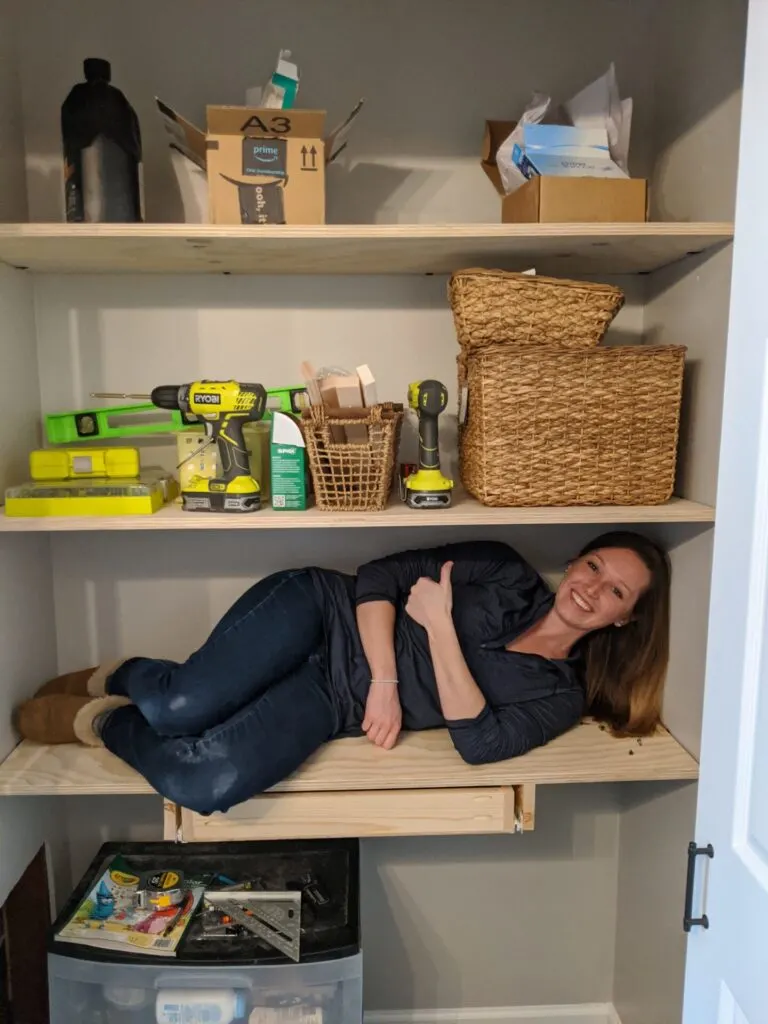
The braces look small, but they’re solid metal and screwed straight into the studs. They’re deceivingly strong.
Step 7.
This is optional, but I ripped the 1x6s for the front of the bottom shelf down to 4 3/4″ to slim them down a bit. If you don’t own a table saw, just go ahead with the full-width 1 x 6. The bottom shelf will look a little wider than mine, but that’s no big deal.
With the drawer in place, attach the 1x6s to either side of the bottom shelf and to the front of the drawer. I used wood glue and 1 1/4″ brad nails to attach everything.
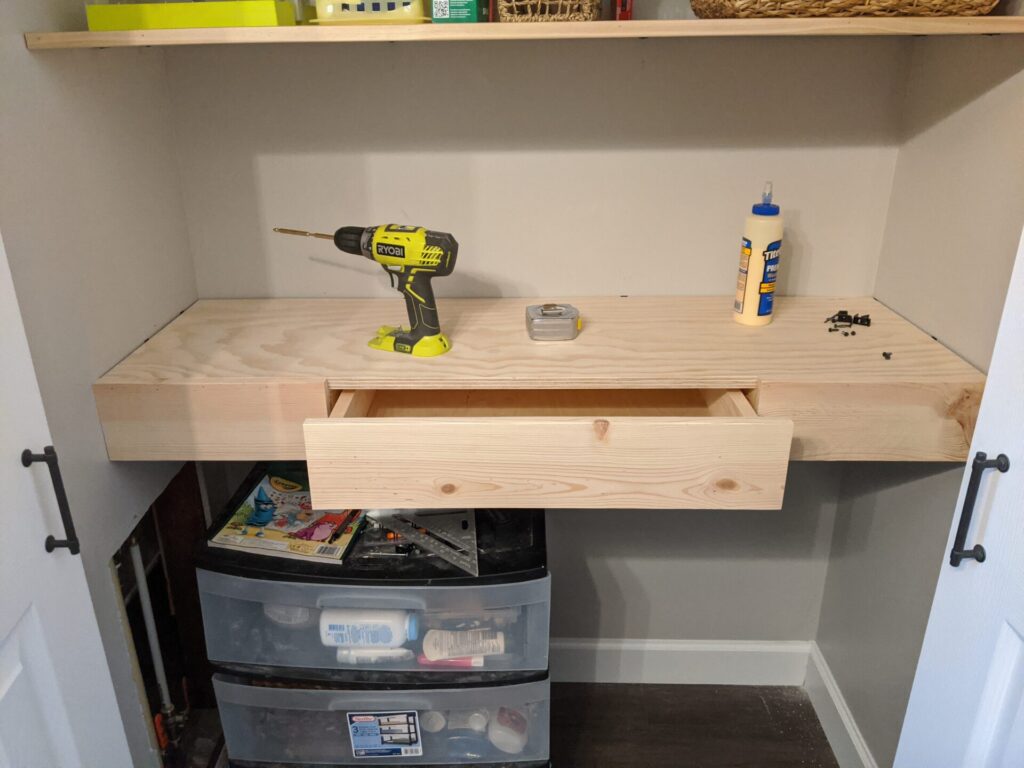

After I tacked the drawer front in place with glue and 1 1/4″ brad nails, I took the drawer out and screwed the front in from the back with 1 1/4″ screws to make it more solid.

Here’s what the sides of the bottom shelf look like without the drawer in place:

I measured everything out so the side 1x6s extend from the edge all the way across the front of the 1×4 cleats. I was going to add small corner braces along the back of those 1x6s so they can’t wobble. But, since they run all the way across the cleat, they’re actually very solid.
Feel free to add the extra corner braces if you want to. I ended up just leaving them as is.
Step 8.
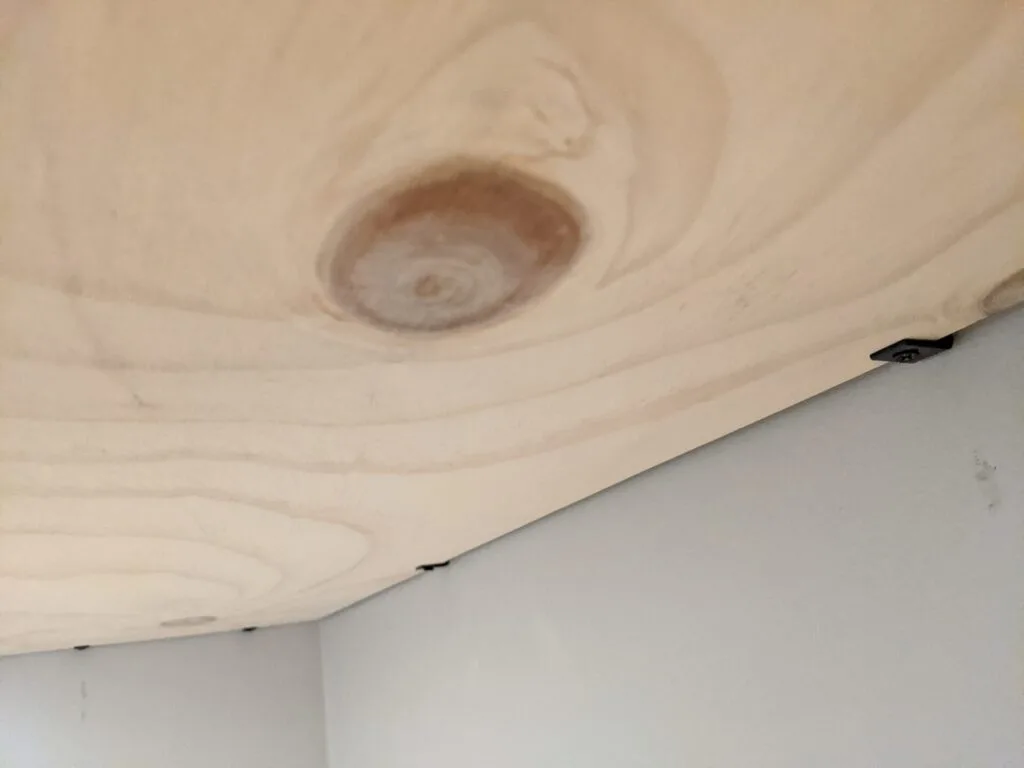
Lastly, finish the exposed plywood edges with a piece of 3/4″ x 1/4″ trim. I cut the trim to fit once the shelves were in and attached it with wood glue and 1 1/4″ brad nails.


The other option is to finish the plywood edges with edge banding. I’ve used edge banding most of my other plywood projects and just decided to go with trim this time.
Either option works great!
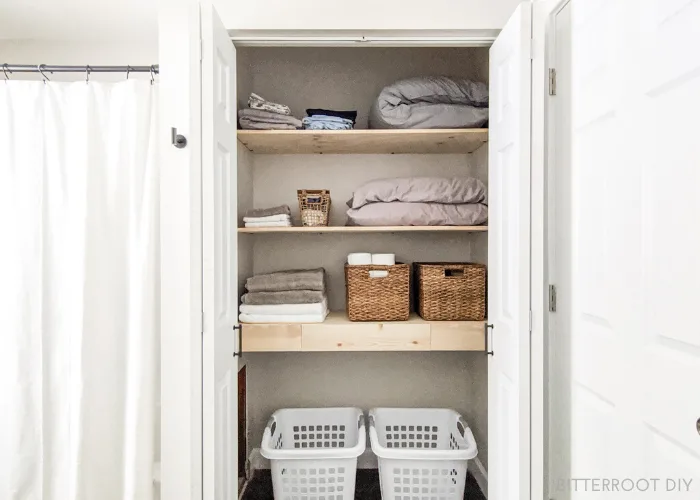
Aaand here it is:
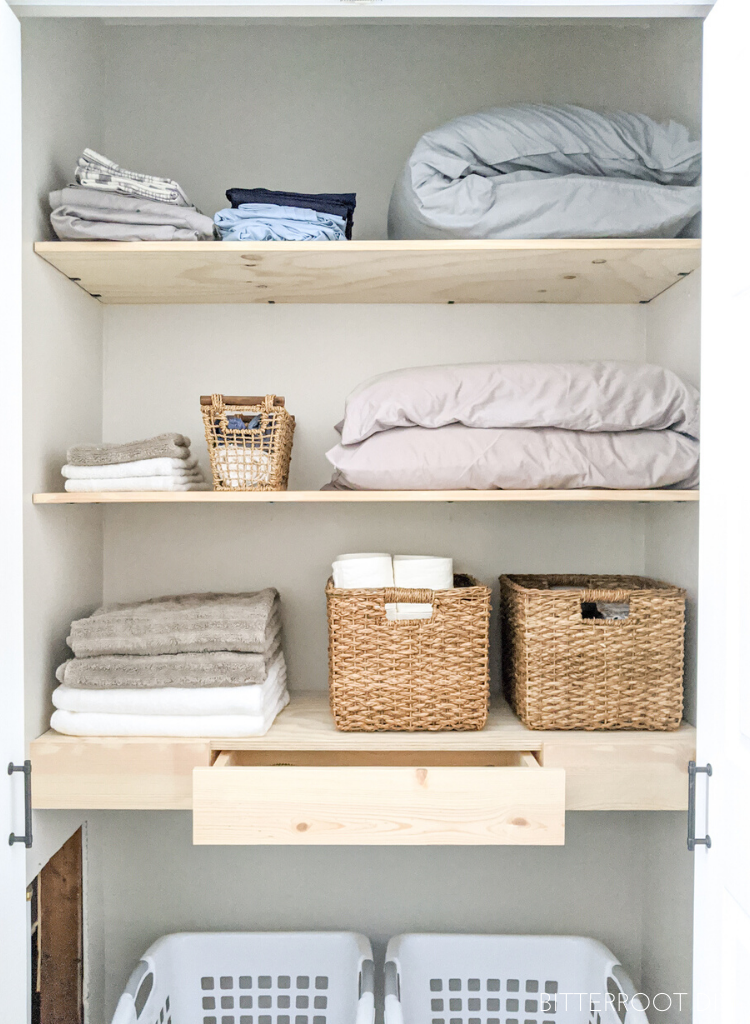

I left all the wood unfinished since this is just the inside of a closet, but you can definitely stain it if you want a more finished look. I also didn’t put any hardware on the drawer so it looks a little more “hidden” when it’s closed:
I put two laundry baskets in the bottom for used towels, but that space would also be great for more shelves or stacking extra comforters or something like that.
Don’t worry about the giant hole in the wall on the left – I left that open on purpose in case I ever need to work on the shower pipes.
And that about wraps it up!
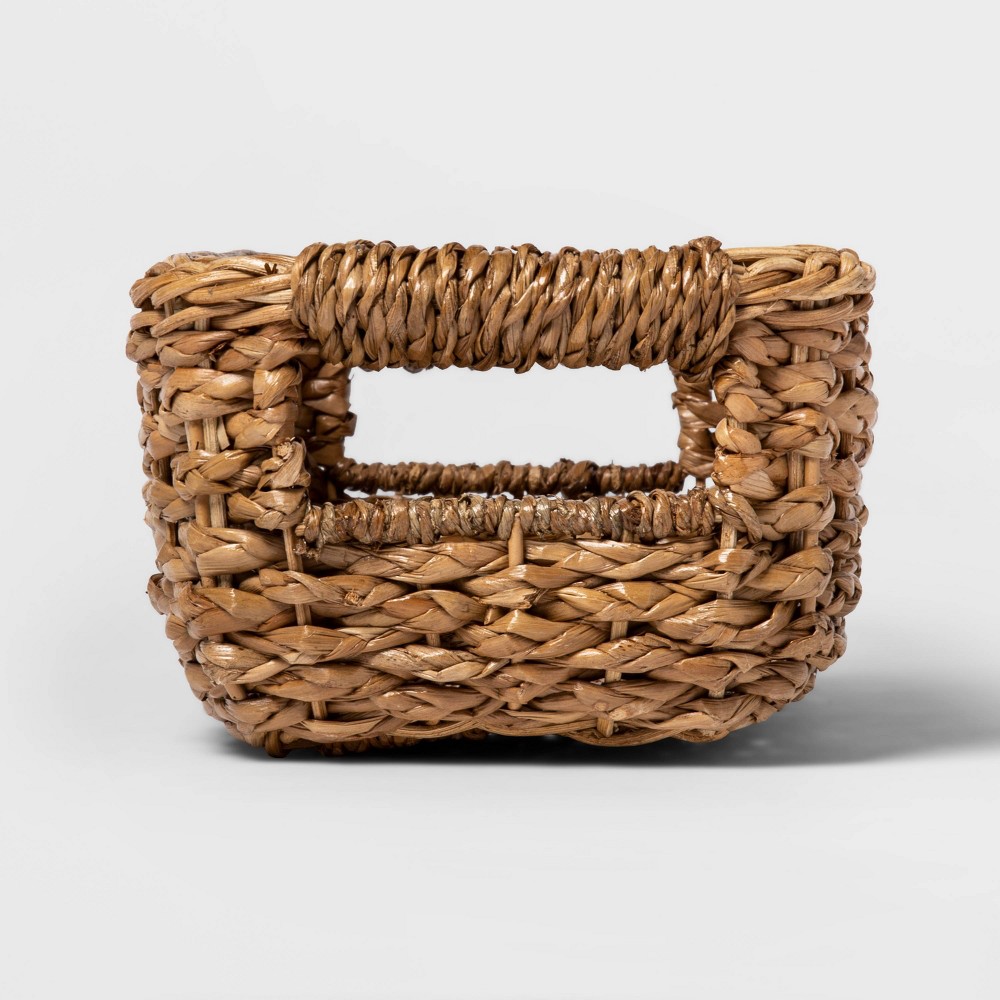
Here are links for all the baskets if you’re looking for the same ones. I’ve been super happy with all of them so far:
Please let me know if you have any questions and I’ll get back to you as soon as possible.


Thanks for stopping by!
For more project ideas, you can find me on Pinterest. And to stay up to date with the latest shenanigans, follow me on Instagram.