
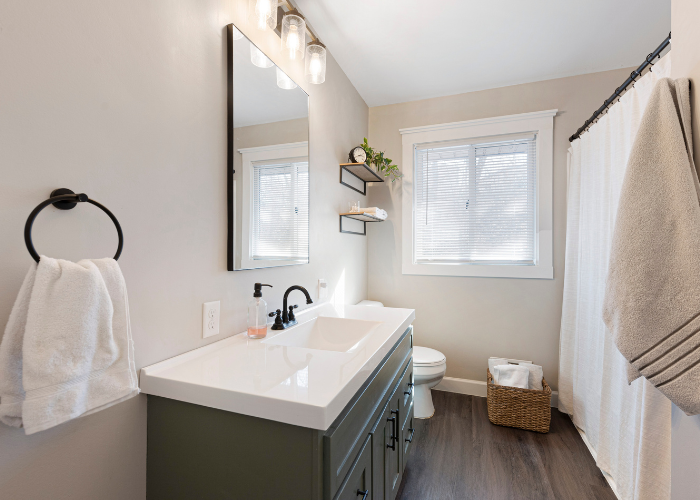
The big reveal of our latest project - a DIY modern farmhouse bathroom renovation.
This post contains affiliate links. If you make a purchase from one of the links, I may make a small commission at NO EXTRA COST to you. This helps keep the tutorials and plans free here at Bitterroot DIY. Thank you for your support! See my full disclosure here.
SOURCES
- DIY Vanity Makeover
- LifeProof Seaside Oak Flooring
- Vanity Light Fixture
- Wood & Metal Wall Shelves
- Striped Bath Rug
- Mirror
- Large Basket
- Faucet
- Bathroom Accessory Hardware

I'm not even sure where to start with this one ... but I can't believe we just remodeled the entire bathroom.
Am I laughing?
Am I crying?
Are they happy tears?
I don't even know.
But man oh man, was it worth it!
If you missed the plan for this whole space, make sure you take a minute to head over and get up to speed on all the behind the scenes, from the "before" all the way through demo day. If you've been following along the whole time, keep on reading for all the photos and sources!
This was definitely the most challenging renovation we've tackled so far. We (Joseph and I) knew it would be a big one, but I don't think either of use knew EXACTLY what to expect. We tackled everything from demo, framing, and electrical, to plumbing, flooring, drywall, and trim. And, I'll be honest, nothing - NOTHING - in this project went smoothly. I swear everything that could go wrong went wrong - one of those sorts of projects. However, we learned a ton and are both so proud of the final product!
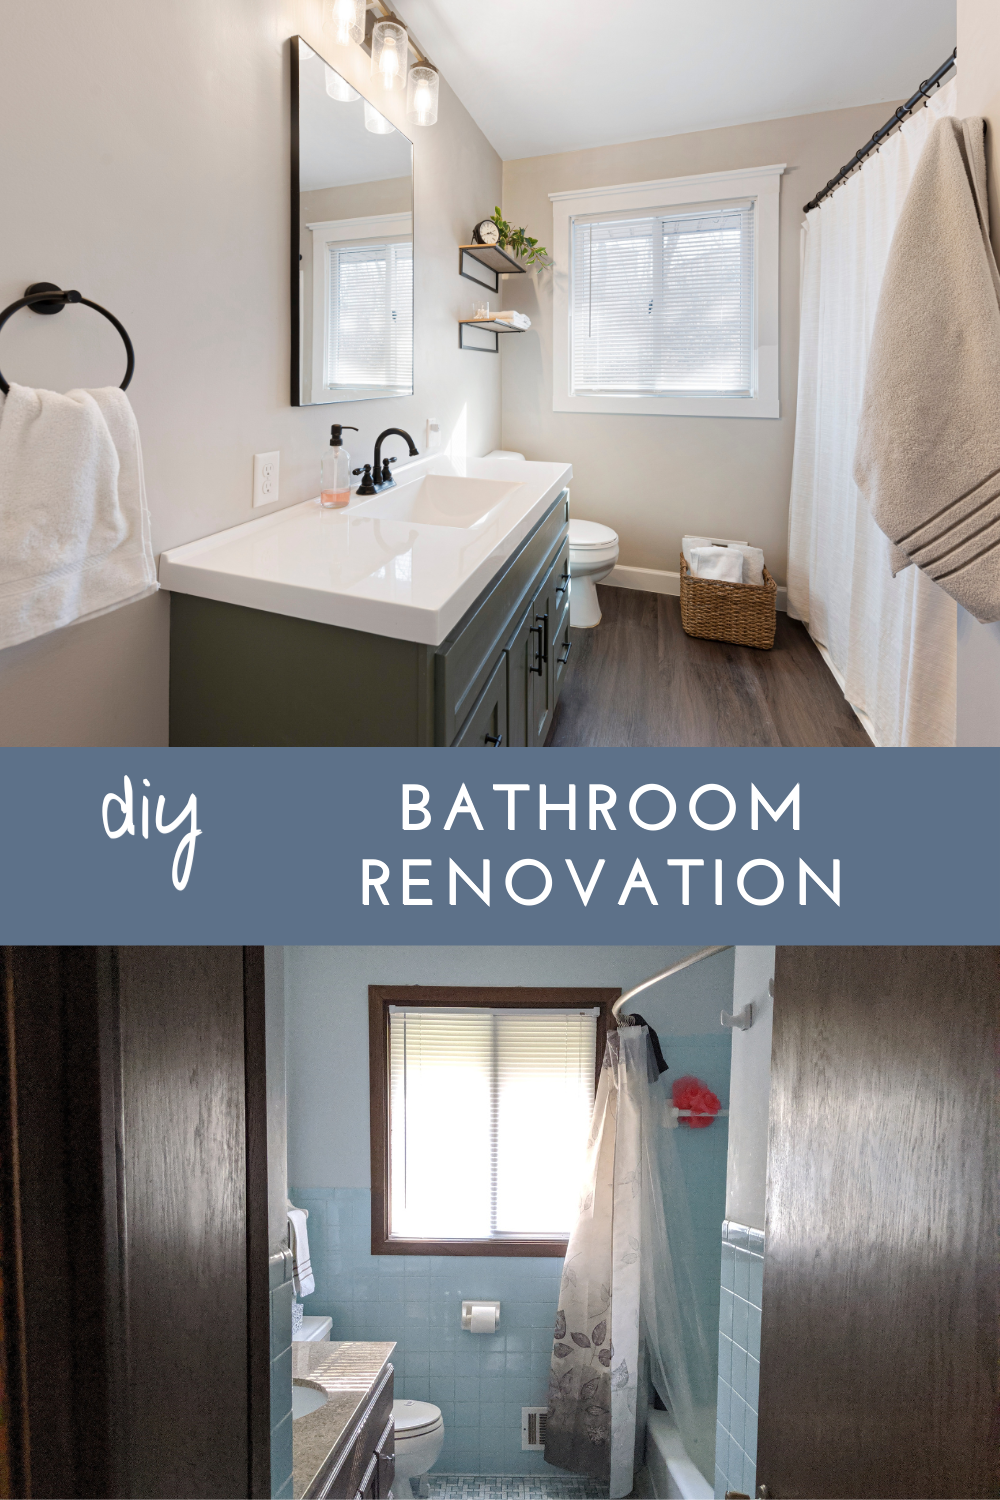
I'm not sure what's the best way to show all the changes, but I'll try to show the "before" and "after" photos from the same angles so you can get a good idea of the whole project.
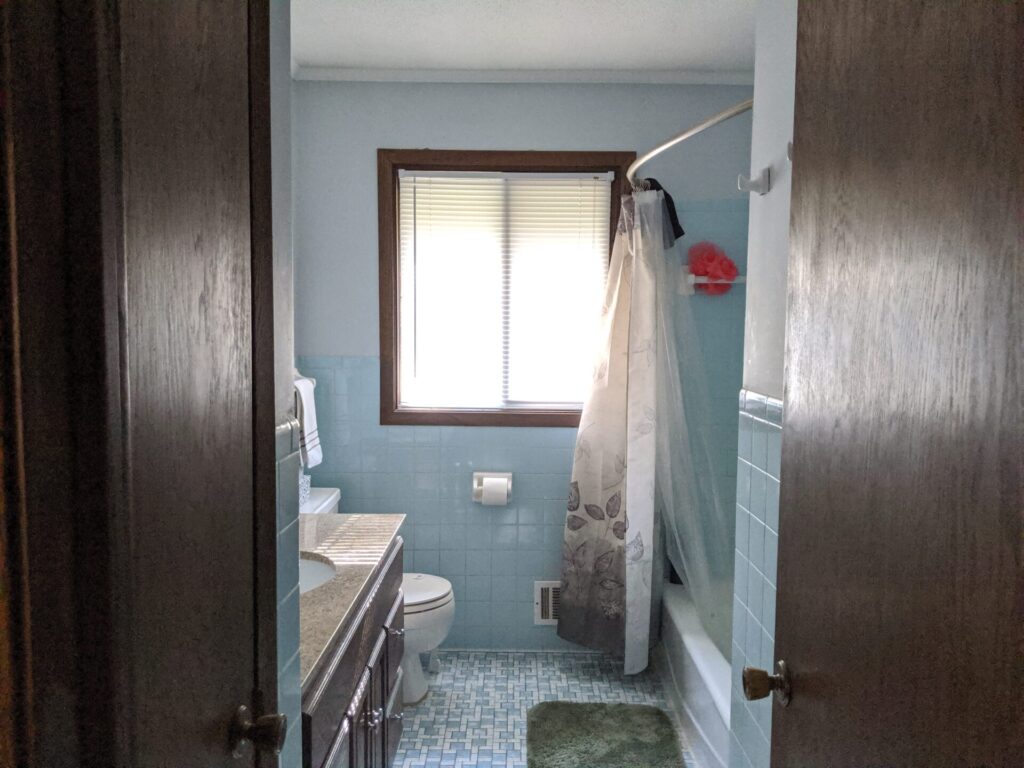
Here's where we started about 5 weeks ago:
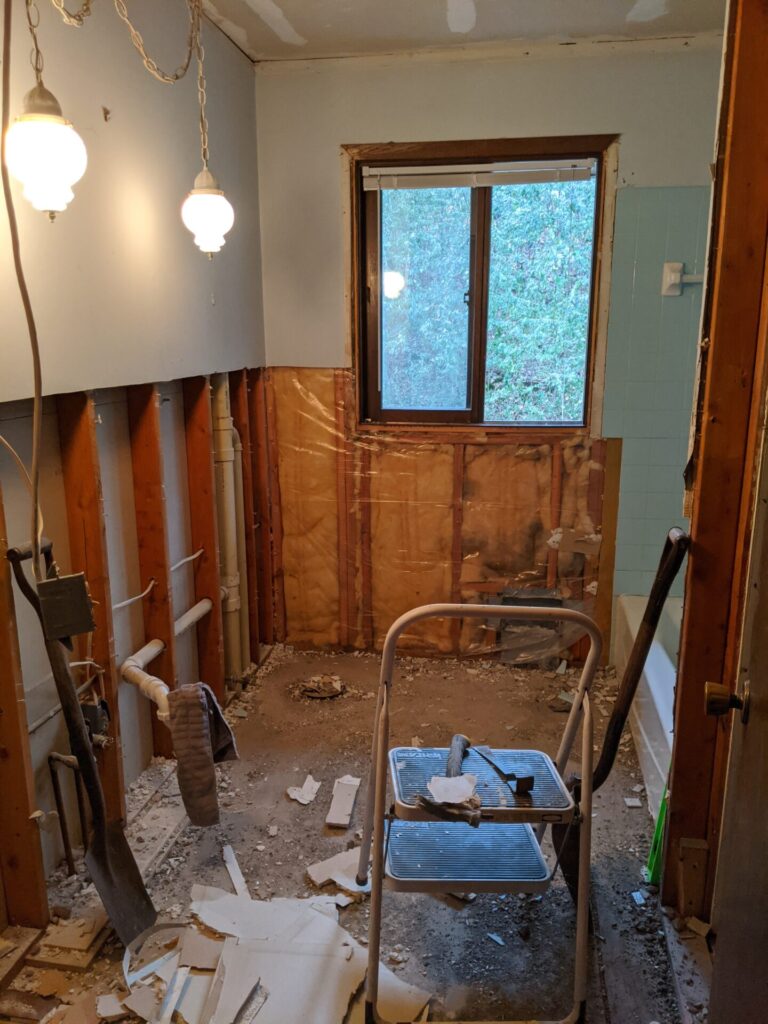
After the big demo day:
And the final product:
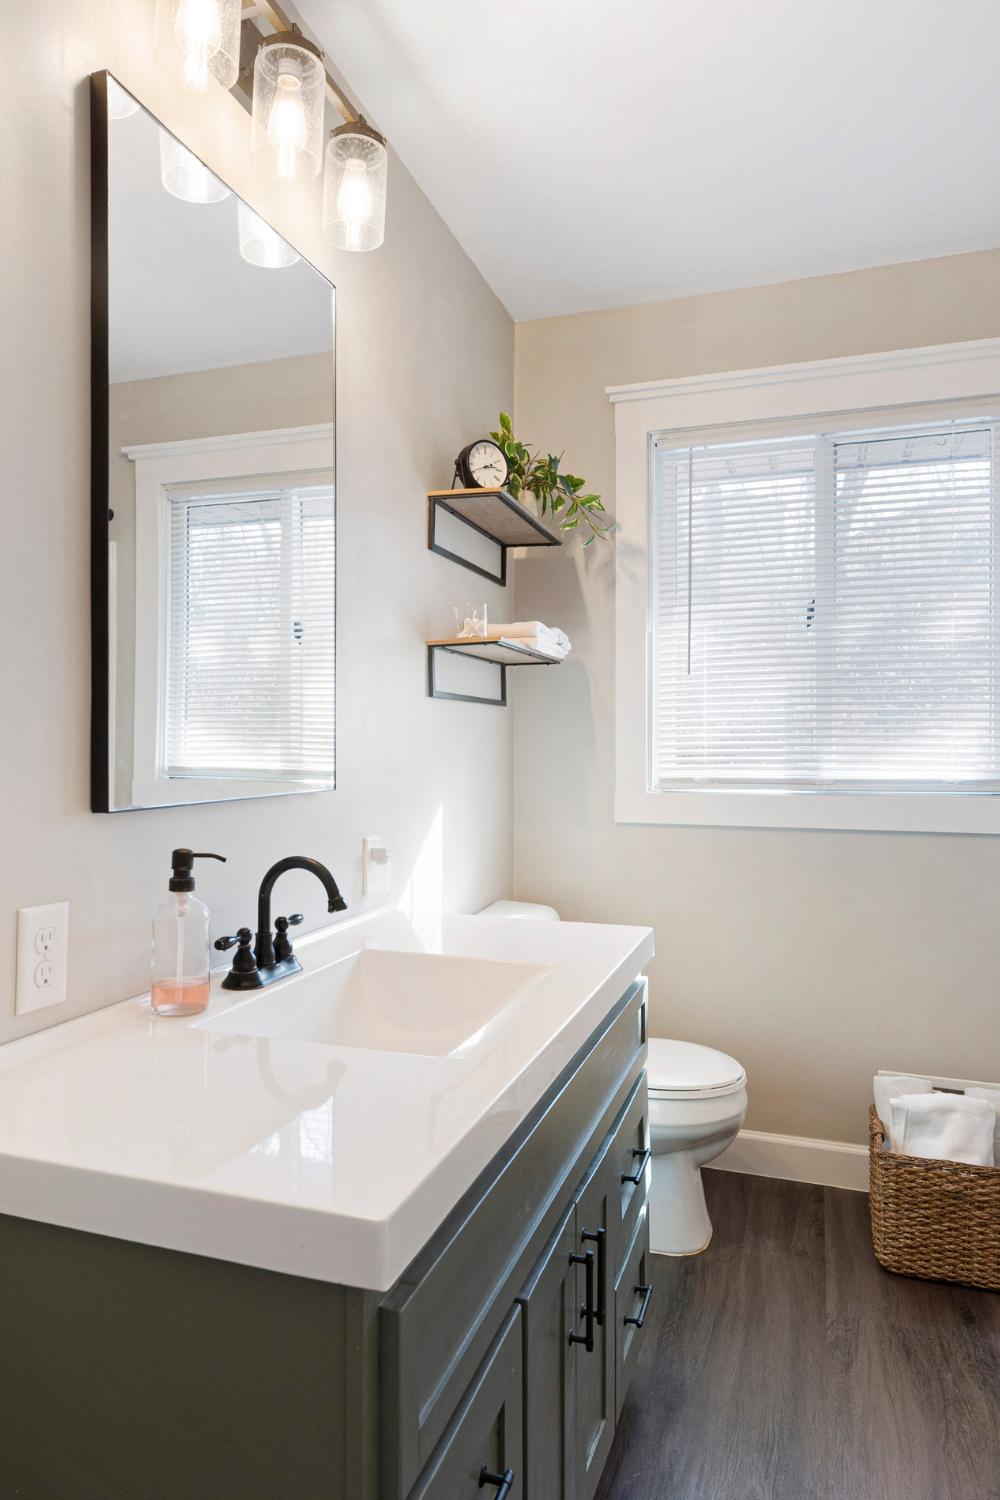
I can't even believe it.
From the exact opposite direction - before:
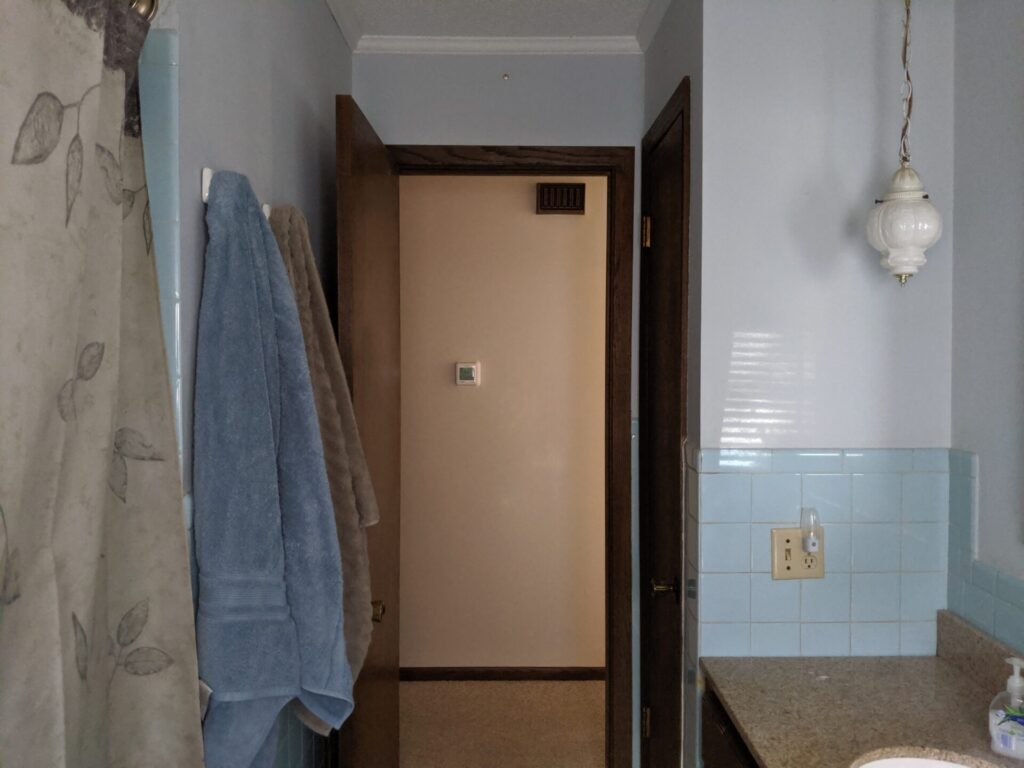
And after:
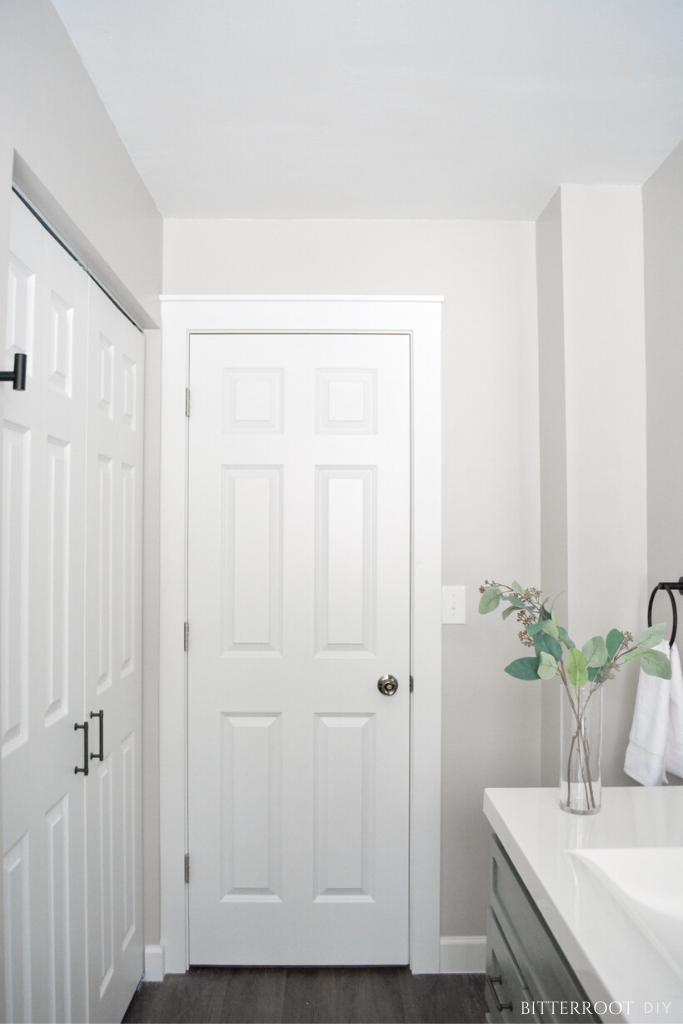
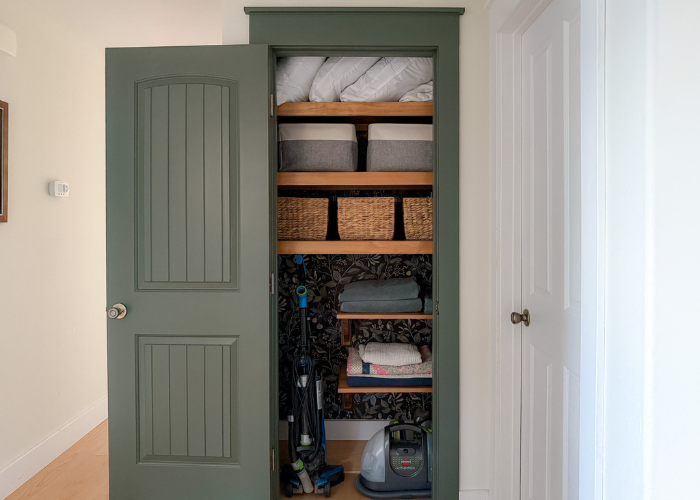
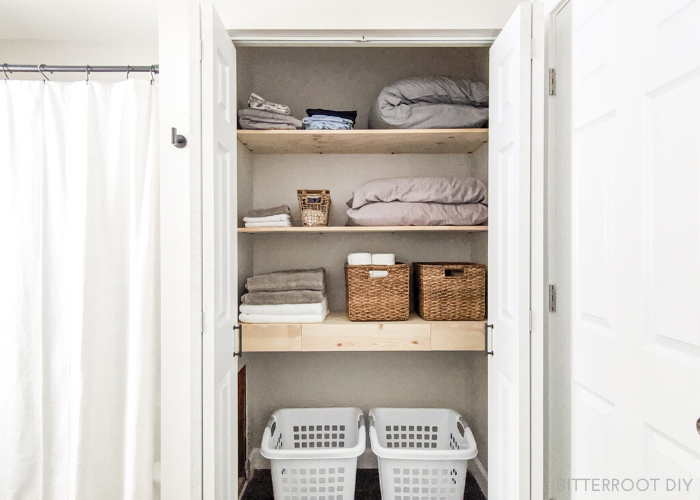
We built a new closet, installed new doors, new flooring, new trim, and most of the drywall is new.
And I put that vase of faux greenery on the counter - quite possibly the most difficult part of the whole renovation.
The shower before:
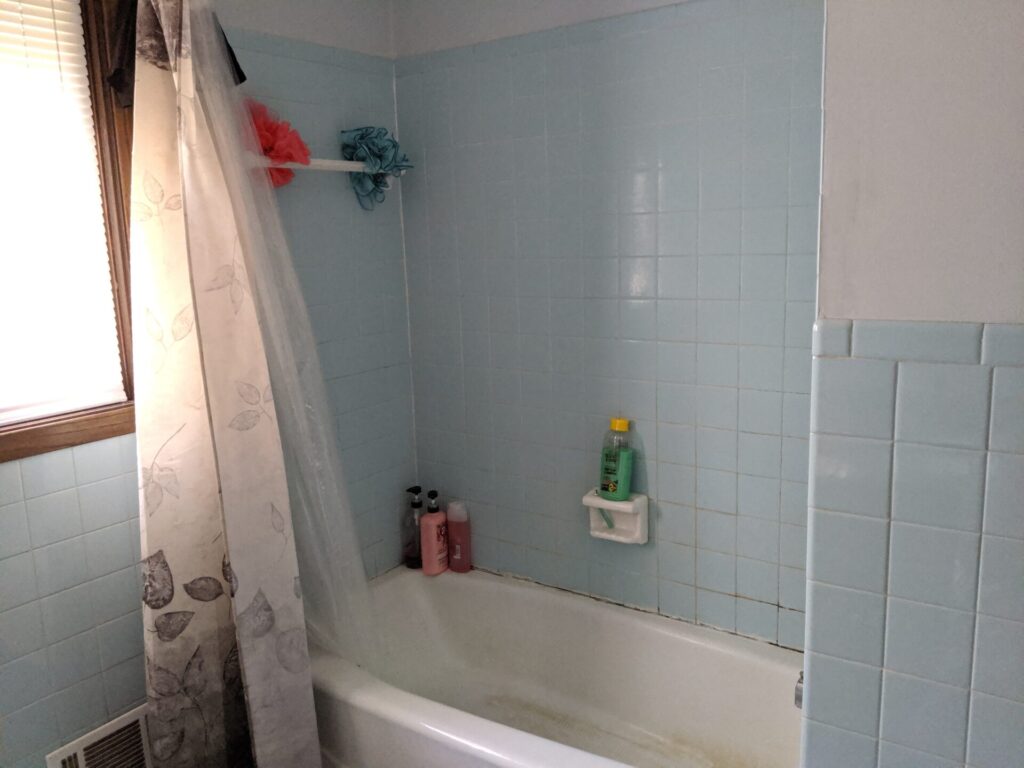
I talked a little more about the shower situation in my post about the plan. But, yes, I'm a little embarrassed to post that photo for the whole internet to see ... the shower/tub was in SERIOUS NEED of some love. And I even bleached the living snot out of it before taking photos.
But let's not focus on that .. here's the after:

So. Much. Better.
We thought about tiling the walls again, but decided to go with a surround. The whole idea was that we could get the shower operating again as quickly as possible since this is the only bathroom (other than the dungeon toilet).
But it did not go quickly at all.
In fact, I probably could have just tiled the wall and it wouldn't have made any difference in the timeline.
Long story short: I ended up re-plumbing the entire shower and tub basically in the middle of the night.
Joseph was out of town. I had both kiddos (2 y.o. and 7 months). I had to turn the water off to the entire house because there were no shut-off valves on the shower pipes (don't worry - I installed some). My hands were DESTROYED. There were pipes everywhere. The hardware store was closed.
It was a good time.
But it all ended up ok and everything works perfectly now!
After that plumbing adventure, I was happy to go back to something a little more familiar. So I tackled a DIY vanity makeover (tutorial HERE).
We seriously considered buying a brand new vanity and even thought about trying out a different size. But, ultimately, we decided to save some money and work with the existing cabinet.
Here's the before:
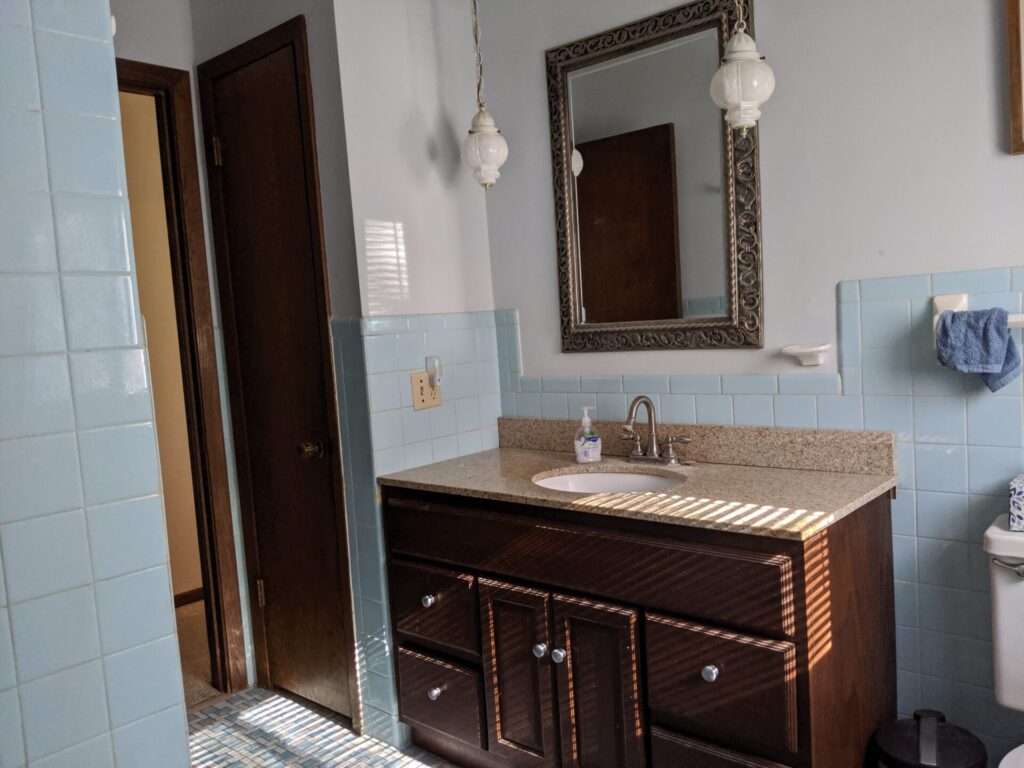
And the after:
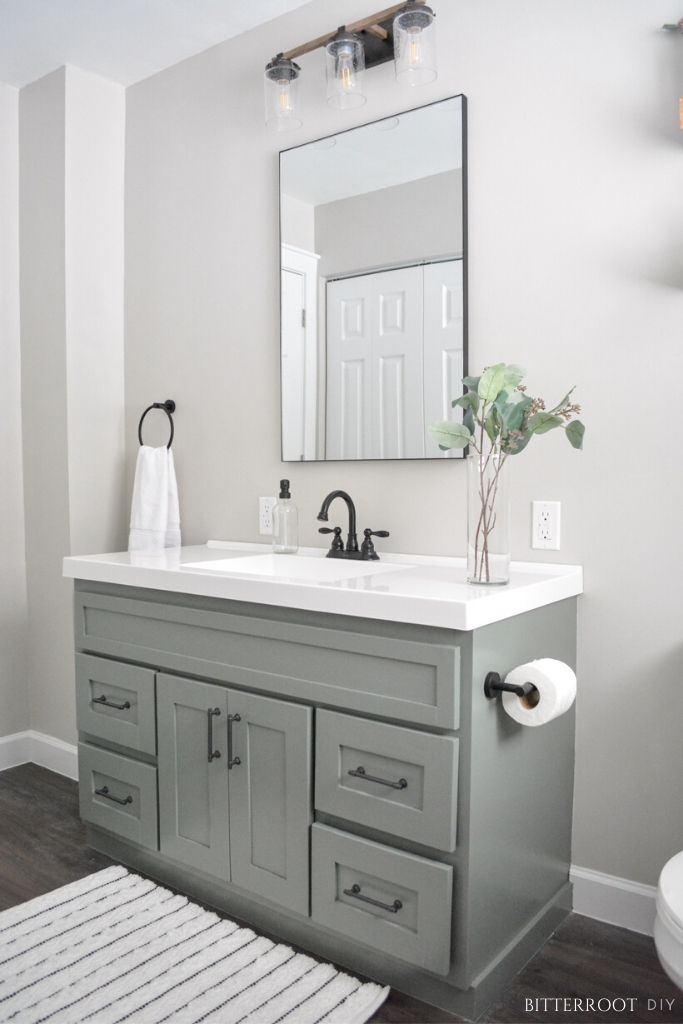
I'm working on the full tutorial for you all, but I built new shaker cabinet doors, new shaker drawer fronts, added new hardware, painted, and updated the countertop and faucet.
Honestly, it turned out WAY better than I was expecting! I think it really brings the whole bathroom together.
**UPDATE: see the full vanity makeover tutorial here.
I wasn't sure what to do above the toilet, but settled for a new set of floating shelves.
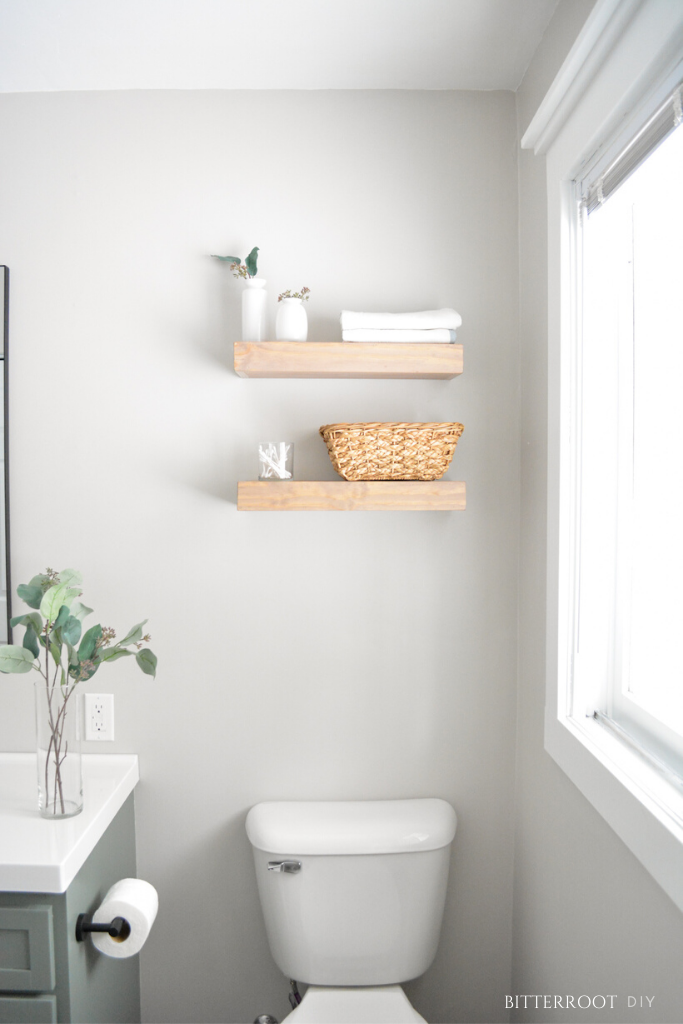
UPDATE: Grab the DIY floating shelves tutorial here.
Last, but not least, we installed brand new Lifeproof Vinyl Plank Flooring.
I originally wanted to install large stone tiles, but this Lifeproof flooring is SO comfy on our feet and much warmer than tile. It's held up great over time, even with kiddos splashing water all around!

And that pretty much wraps it up!
Though this was a challenging project, we're both so glad we did it. It makes the entire house feel so much nicer and newer. And, I tell you what, we'll know how to do a bathroom next time, and I'm sure (*fingers crossed) it'll go much more smoothly!
I've gathered as many sources as possible for you.
PAINT
Walls: Sherwin-Williams 7029 Agreeable Gray in eggshell
Trim: Sherwin-Williams 7006 Extra White in satin
Vanity: Sherwin-Williams 6207 Retreat in satin
SOURCES
- DIY Vanity Makeover
- LifeProof Seaside Oak Flooring
- Vanity Light Fixture
- Wood & Metal Wall Shelves
- Striped Bath Rug
- Mirror
- Large Basket
- Faucet
- Bathroom Accessory Hardware
Please let me know if you have any questions and I'll get back to you as soon as possible!
| Tylynn |
Thanks for stopping by!
For more project ideas, you can find me on Pinterest. And to stay up to date with the latest shenanigans, follow me on Instagram.
Don't forget to pin for later!

What a great renovation! I also love the flooring, is this type of flooring for bathrooms? Does it need to say waterproof?
Thank you! It's Lifeproof vinyl plank flooring from Home Depot. It is waterproof. I'm definitely not an expert on flooring, but yes I'd recommend waterproof flooring in a bathroom.
Hi - do you think this flooring could be laid over ceramic tile in a large second floor master bath? I want to skip demo so looking for light weight flooring. Floor & Decor has a new thin tile that my contractor said would work. Your bathroom is beautiful!! Thank you.
Hi Shasha, I don't remember if it can be installed over tile. You can look it up over on the Home Depot website and check out the specs - it'll say in there what types of flooring you can install it over.
What a gorgeous renovation! You should be so proud of this!
Could you tell me the overall room dimensions and the new closet dimensions?
Thank you! It was a lot of work but definitely worth it! The room is about 9' x 7'. The closet is 4' wide and about 2 1/2' deep.
the mirror link doesn't work. can you tell me where its from please!? thank you!
Sorry about that! I went and fixed it but here's the link - https://amzn.to/2WuJKdF
Did you paint the window? And if so, is it metal or wood?
Yes! It's wood and I painted it with Sherwin-Williams urethane trim enamel in extra white.
I love everything about this! The mirror that's linked looks like it has a thicker frame than the mirror in your photos. Is your mirror a different brand?
I had to link to a slightly different mirror a couple months after I posted the reveal because the link no longer worked. The style is pretty much the same though!
I love this! We are basically remodeling the same layout...and I would be so grateful if you could share what tub/shower combo you installed. For some reason I'm having the most difficult time choosing this or if I do find one I like it will not come in a left side drain. Thank you for sharing this beautiful remodel!
Thanks! We got the tub and shower surround at Menards. I'm not sure now exactly which one it was, but I just looked up the size we needed with the right drain location and picked one for a decent price. Sorry I don't have the exact link!
This concept is very good which give us information regarding the modern farmhouse bathroom renovations and reveal. It is a pleasure worth reading this article. I enjoyed reading this article and would suggest others to come In this particular blog and get all the information regarding it. If you are looking same kind of valuable information, then can also visit Jccbuild.nz.
How did you do the tub/shower wall? Great work and TIA for posting details. I plan to copy based on ur recommendations
I bought the tub and shower surround at Menards Home Improvement and attached them according to the instructions. When you order a tub and surround, it'll come with instructions to tell you how to attach them to the studs - depends on the brand.
Thanks!
thanks for the post
Can you tell me what the name of the Lifeproof flooring is please? I cannot find it on your page. TIA
Hi Lana,
It's Lifeproof vinyl plank flooring from Home Depot in the color seaside oak. There's a direct link to it under the "shop the post" widget at both the top and bottom of the page. Hope that helps!