
So you’ve decided to stain your finished project.
But how?
It’s simple, my friend. Stain is one of the most common finishes for home DIYers, right up there with paint. It’s wonderful for enhancing the natural grains of wood, as well as toning the wood to a desired color. Stain is also great for refinishing and updating wood … more on that later.
There are a few necessary steps to staining, but a lot of the process is sort of choose-your-own-adventure.

This post contains affiliate links. See my full disclosure here. Thank you for supporting Bitterroot DIY!
How smooth do you want the final finish?
To mix colors or to not to mix colors (yeah … that … )
Pre-stain conditioner or no?
Experiment some if you have time!
Otherwise, just go ahead and stick to the basics that I’ve outlined below.
Step 1. Prepare the Wood
Begin by sanding your project down to the desired smoothness. Begin with coarse grit and work your way up to finer grits: I generally start around 60, then 80, then 120, and 240 if I’m feeling really crazy and enjoying being covered in sawdust. They maker higher grits too, but they’re typically for between finish coats … again, choose your own adventure.
Once you’ve finished sanding, use a tack cloth to remove all sawdust. A shop-vac also does wonders to get rid of sawdust.
Step 2. Pre-Stain Wood Conditioner
I have mixed drinks about feelings on this one …
I’ve used pre-stain wood conditioner on some projects and not on others. The purpose is to help soft wood absorb stain more evenly, which it does. However, sometimes I like the “uneven” look. It doesn’t so much look uneven as it just accents the grain differently.
If you want to really accent and differentiate the grains, I’d say take a shot at stain without the wood conditioner. If you want a nice even finish, use wood conditioner.
Your best bet is going to be to test the different stains on an inconspicuous place to see what you like best. Or just go all-in and see what happens 😉 … not that I’ve ever stained without first testing …
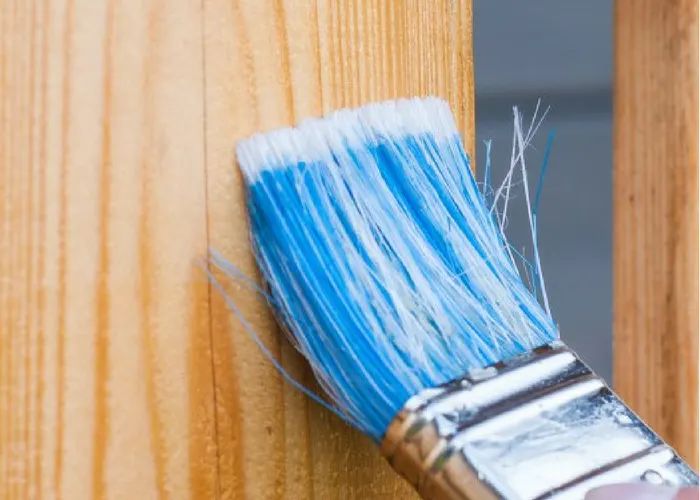
Step 3. Stain
Time to do some staining. Apply stain with a rag, brush, or cloth. There are different application techniques, depending on whether you use an oil-based (most common) or water-based stain. Check out my article on selecting the correct stain brush for more information.
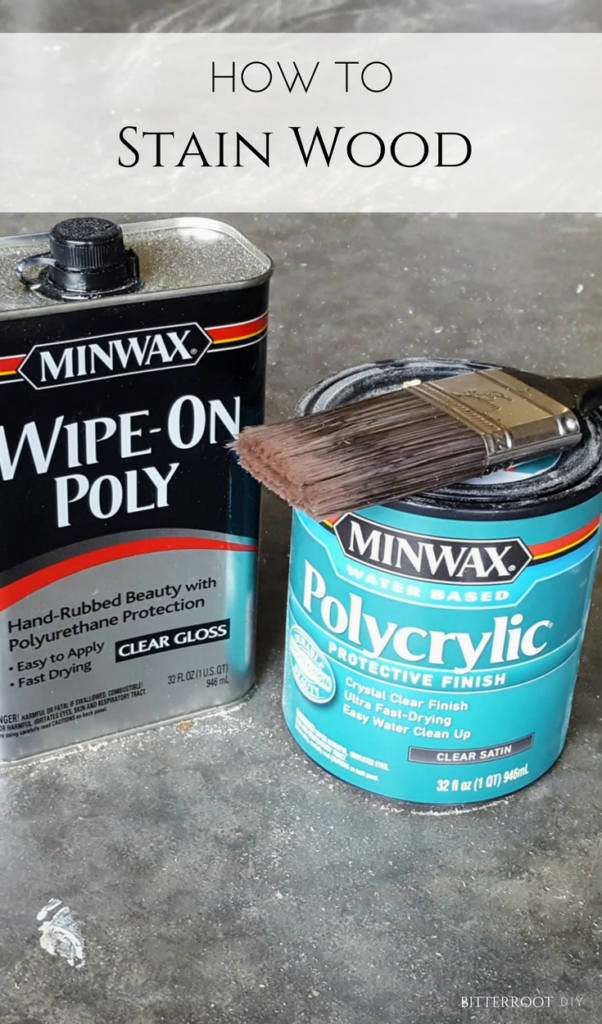
Step 4. Finish
After the surface is dry, apply a finish to protect the wood and stain. There are several finishing options, but polyurethane is one of the most common for stained projects. To read more about finishes, check out How to Select the Correct Wood Finish.
Let me know if you have any questions and I’ll get back to you as soon as possible!
![]()
![]()

Thanks for stopping by Bitterroot DIY!
For more project ideas, you can find me on Pinterest. And to stay up to date with the latest shenanigans, follow me on Instagram.
David Patchen
Sunday 17th of January 2021
Enjoying your site, thanks. Just finishing up the mobile workbench project which I scaled down and customized a bit with retractable casters.
BTW, the link on this page "How to Select the Correct Wood Finish." is broken.
tylynn_sattler
Monday 25th of January 2021
Thanks for letting me know!