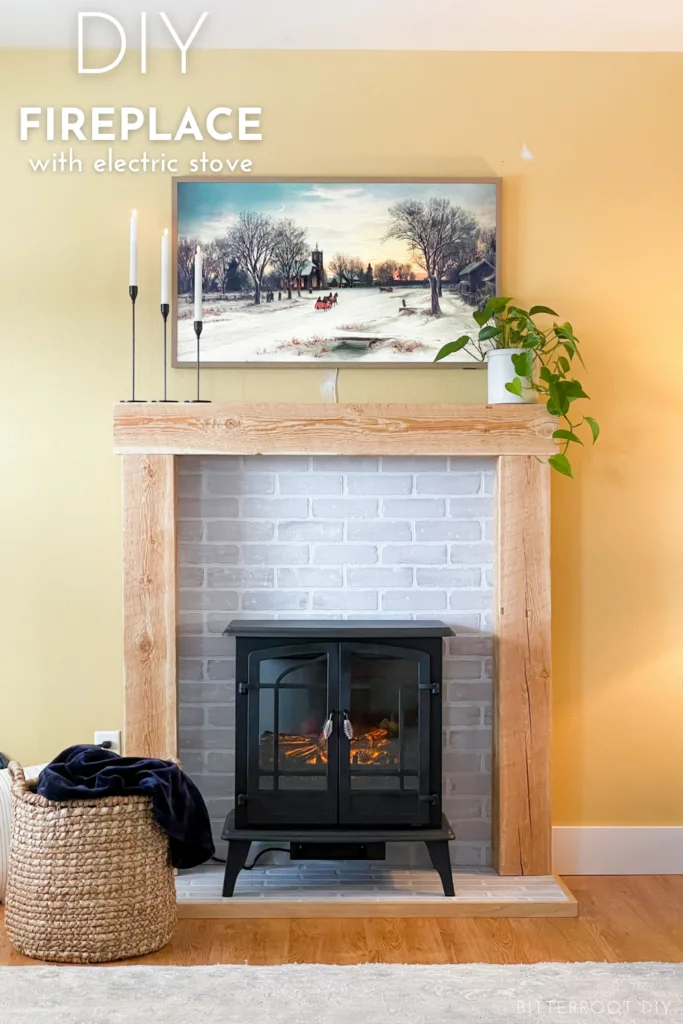
Build your own DIY fireplace mantel and surround with an electric stove.
This post may contain affiliate links. If you make a purchase from one of the links, I may make a small commission at NO EXTRA COST to you. Thank you for your support! See my full disclosure here.
Shop the Post:
When we were searching for a new house last spring, we REALLY REALLY wanted to find one with a fireplace. I had finished building a new gas fireplace in our first home RIGHT before we had the opportunity to move. And, living in the colder northern states, we used it all. the. time. So the fireplace was non-negotiable when we started searching for the next place. But, as non-negotiables usually end up when you actually start looking into the market, it became negotiated. And as luck would have it, we bought a house with no fireplace. Again.
Sad.
But I suppose it’s an opportunity to try my hand at building another one! And, really, how many times do you get to build fireplaces. Maybe a lot if you’re a fireplace builder … but that’s beside the point.
Anyways.
Of course, I’m already scheming and planning and designing. Just waiting for the money tree in the back yard to start producing. You know how it goes.
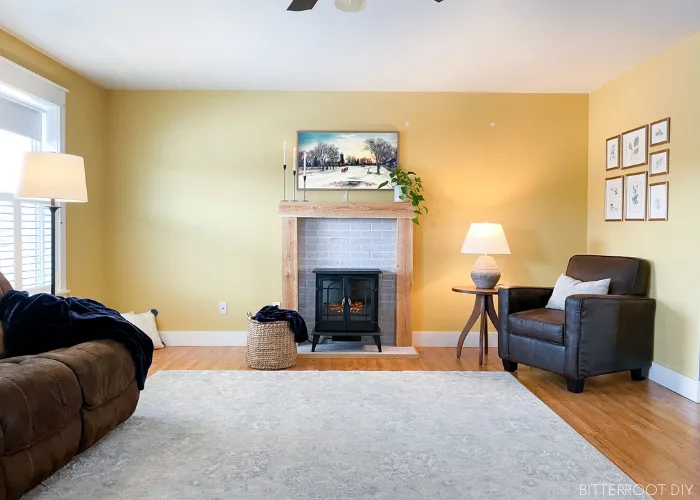
UNTIL THEN, I built this makeshift DIY Fireplace mantel and plopped an electric stove on it. Boom.
I’ll be honest – it was my sister’s idea. She built one of these like 2 years ago now. I’m just a copy cat.
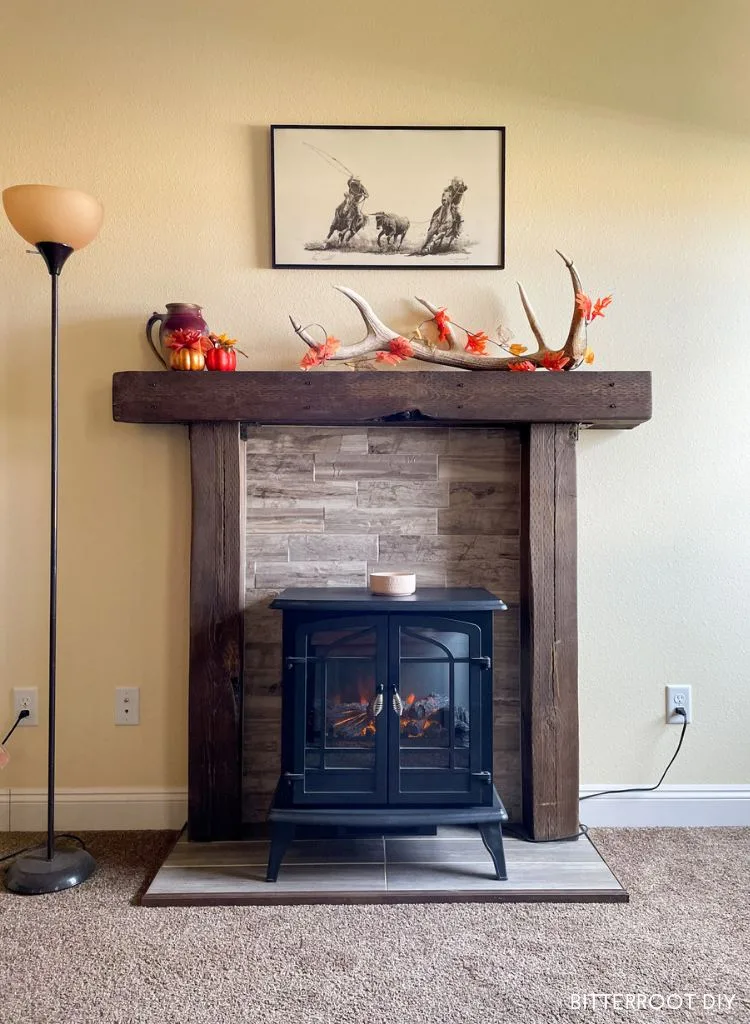
But, no shame! She was ok with it. She did a totally different style, which is really neat. I added some photos of hers at the bottom of this post for extra inspiration – it only seemed fitting since she inspired this whole project in the first place.
You can go so many different directions with it. So I’ll just give a lose tutorial on what I did, and you can take it from there! Customize the lumber, backsplash, size, stove, etc.
WHAT YOU NEED
- Brick Panel
- Electric Stove
- Hand Saw
- Pull Saw (optional)
- Miter Saw
- 7 1/4″ Circular Saw (or larger if you have one)
- Brad Nailer
- Orbital Sander
- Drill
- 1/2″ Drill
- Drill Block
- 1/2″ Drill Bit
- 1 1/2″ Hole Saw
- 1″ Finish Nails
- 1 1/4″ Finish Nails
- 1 1/4″ Self Tapping Screws
- 10″ TimberLok Screws
- Two 2″ Corner Braces
- SC Johnson Paste Wax
- Wood Glue
- White Paint of your choice
- Paint Brush
- Paint Pail
- Tape Measure
- Pipe Clamps (optional)
- Level
- Speed Square
- Pencil
- Safety Glasses
- Ear Protection
Lumber
- 1 – 6×6 @ 8′
- 1 – 6×6 @ 6′
- 1 – 4×8 Faux Brick Panel
- 1 – 1×2 @ 8′
- 1 – 1/2″ Plywood @ 2’x4′
- 1 – 1/4″ Plywood @ 4’x4′ (optional)
- 1 – 1×3 @ 8′
Cuts
- 2 – 6×6 @ 3′ 9″
- 1 – 6×6 @ 4′ 2″
- 1 – Brick Panel 3′ 6″ x 3′ 11″ (approx)
- 1 – Brick Panel 4′ x 1′ 6″
- 1 – 1/4″ Plywood @ 3′ 6″ x 3′ 11″ (optional)
- 1 – 1/2″ Plywood @ 4′ x 1′ 6″
- 2 – 1×2 @ 1′ 6″ with 45° miter on one end (short side)
- 1 – 1×2 @ 4′ with 45° perpendicular miter on each end (short side)
- 4 – 1×3 @ 1′ 6″
** I should also mention that I used up quite a bit of scrap wood on this project. So don’t mind that what should be plywood is just a half chunk of plywood and half chunk of an extra shelf I found in the shop (they’re still 1/2″ thick, which is the important part). If you’re buying all fresh lumber, use the lumber and cut lists above and disregard the janky photos.
Step 1.
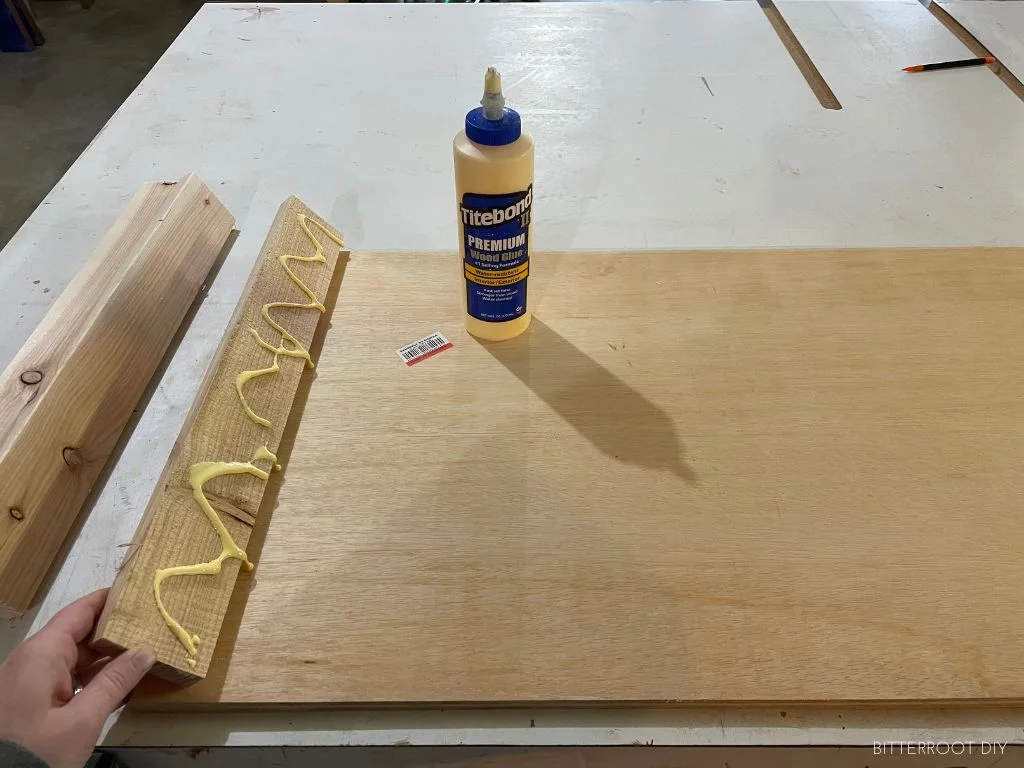
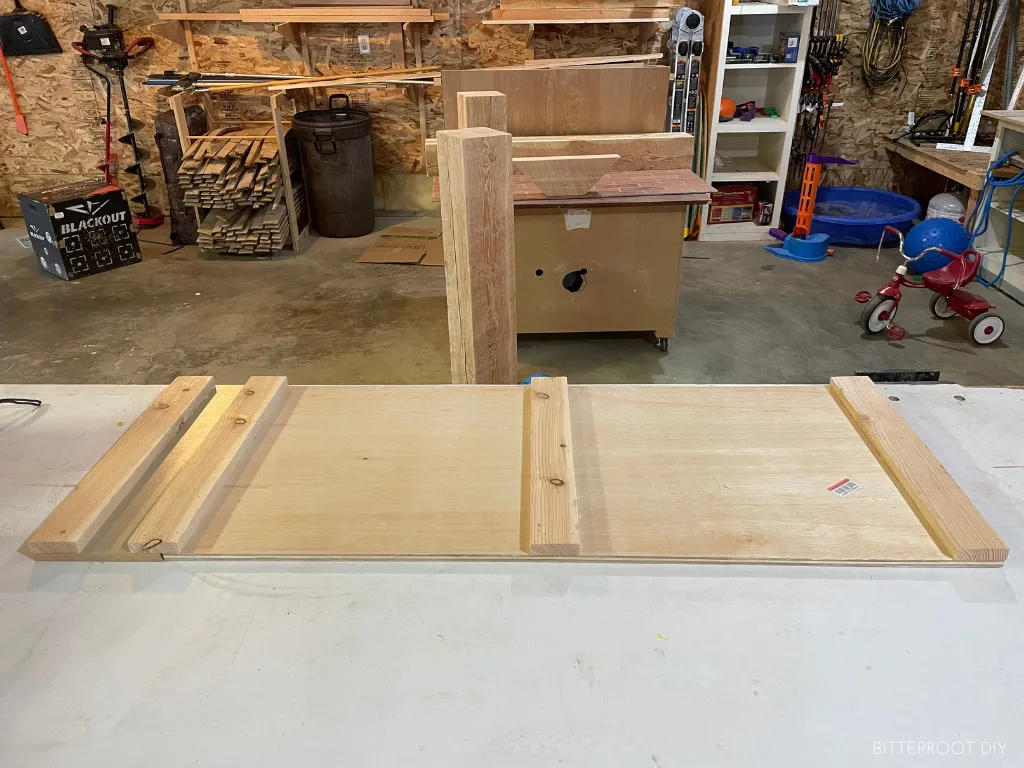
I started with the bottom platform. It’s 4′ wide, 18″ deep. Since it’s 4′ wide, you only have to rip the plywood and brick panel in one direction (full cut list is in the “LUMBER & CUTS” tab above).
I attached some 1×3 furring strips to the back with wood glue and 1″ finish nails.
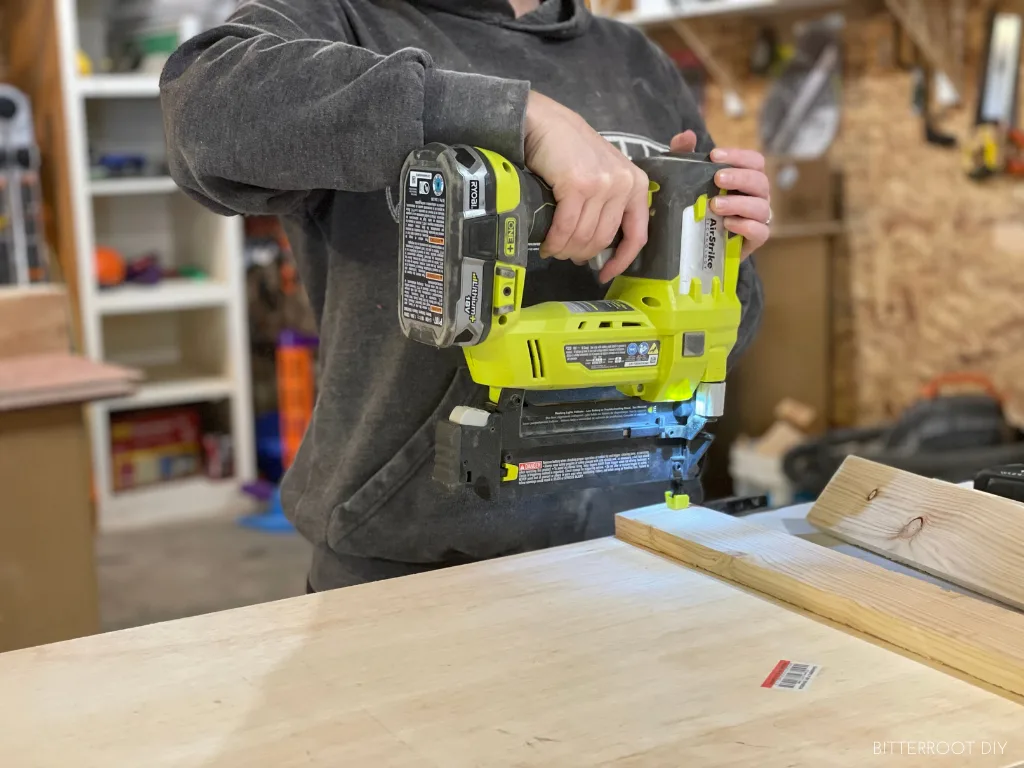
Place one on each end of your plywood and two through the middle. You’ll notice that I put two close together at one end. That just where I used a small piece of shelf and covered the seam with a 1×3. If you have a full 4′ piece of plywood, just center the furring strips across it. You just need one on either end to attach trim and a few in the middle so the platform is sturdy and won’t bend with weight on it.
Step 2.
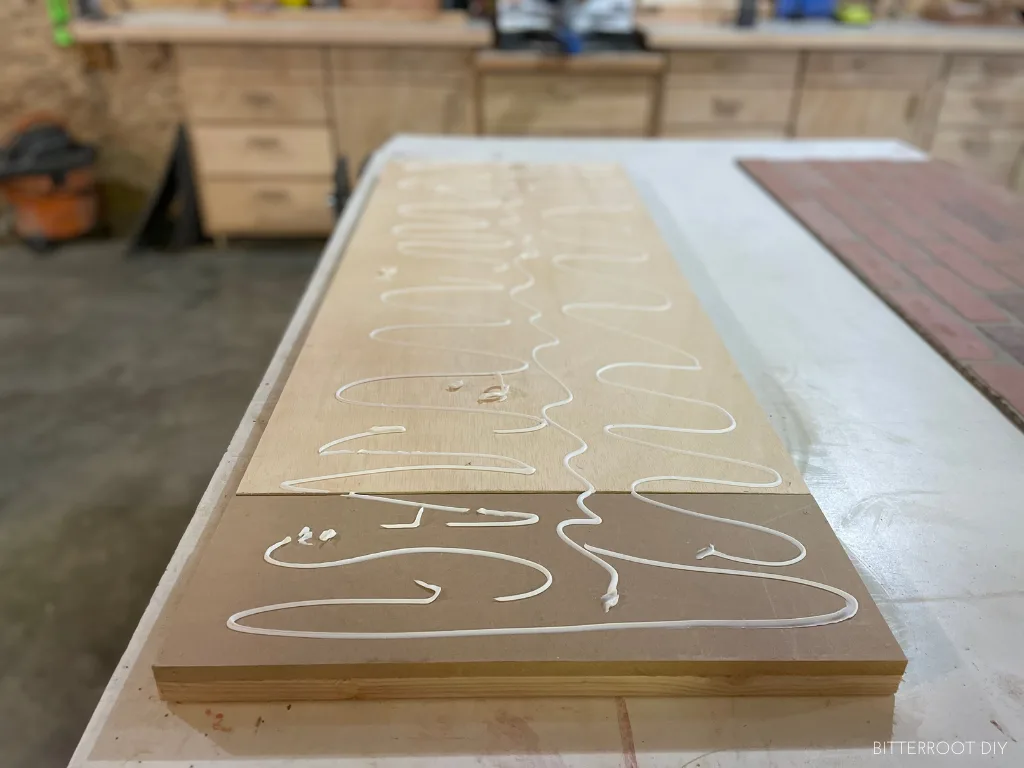
Next, I used some construction adhesive to attach the brick panel to the plywood base. Any multi-purpose adhesive should work, as long as it bonds wood and hardboard.
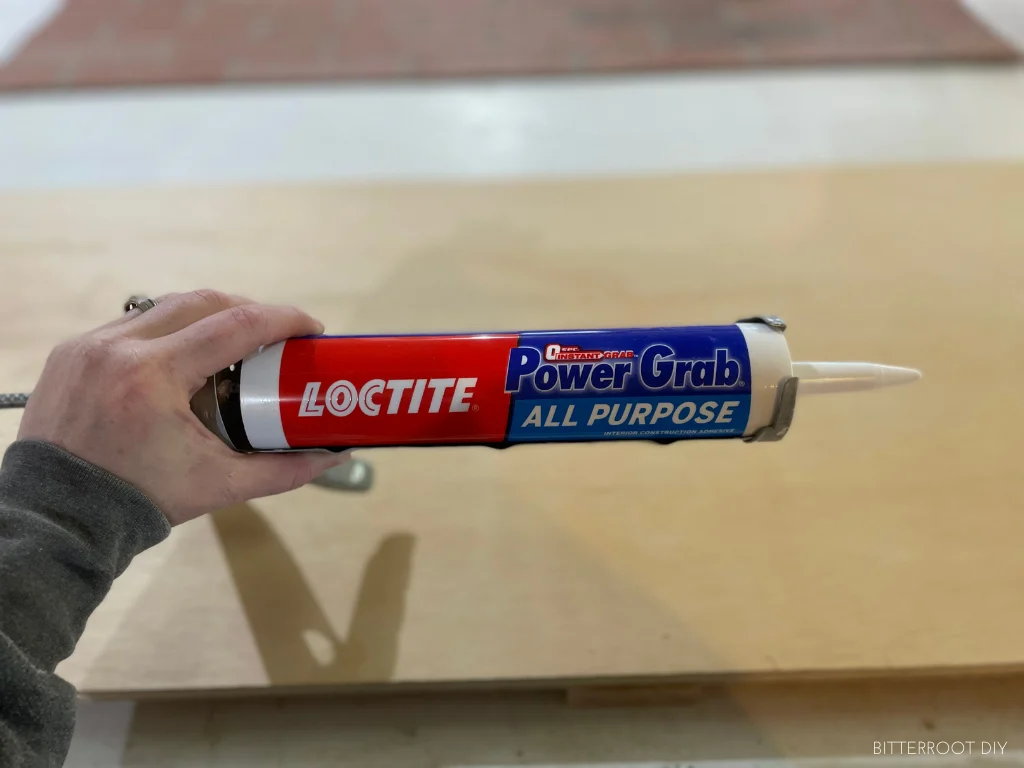
Apply a fair amount to your plywood base, and set the brick panel in place.
Use clamps, weights, any heavy objects to hold the brick in place while the adhesive dries.
Step 3.
I repeated the same process for the back panel.
You don’t necessarily HAVE to attach the back panel to plywood. I just wanted to to add a little more stability to the back. But, after building it, I think it would do just fine without the extra thickness since nothing ever really pushes on it – builder’s choice!
**Handy tip: I like to use my circular saw and a straight board as the guide to cut big sheets like this. I prop the sheet up on some scrap wood or a large sheet of foam so the blade has a place to run, and make the cuts. You could also use a track saw or table saw if you have one. Or Home Depot will often cut them to size in the store.
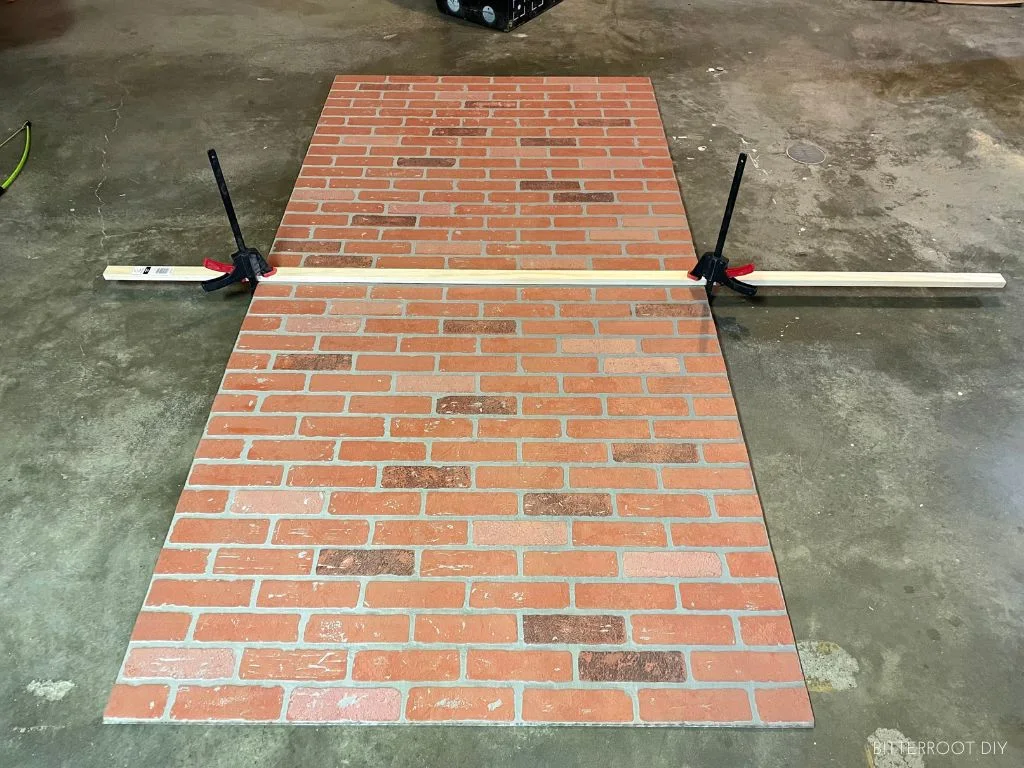
Once it’s cut down to size, apply adhesive to the plywood and attach the brick panel.
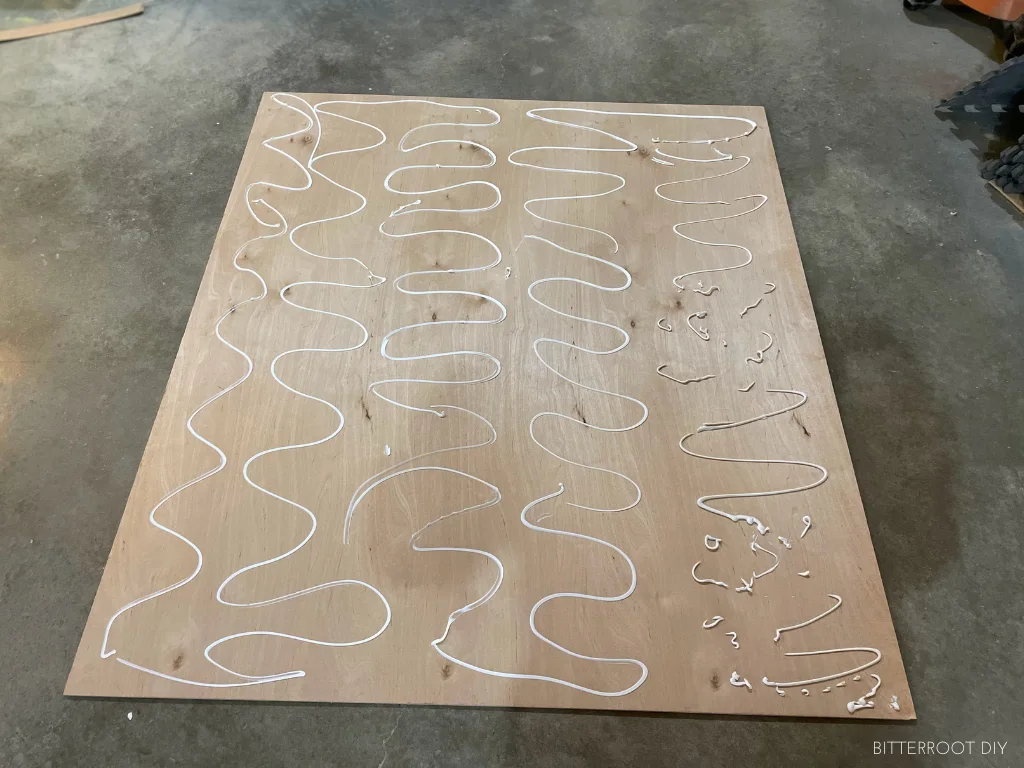
Again, use clamps and heavy objects or weights to hold the brick panel in place while the adhesive dries.
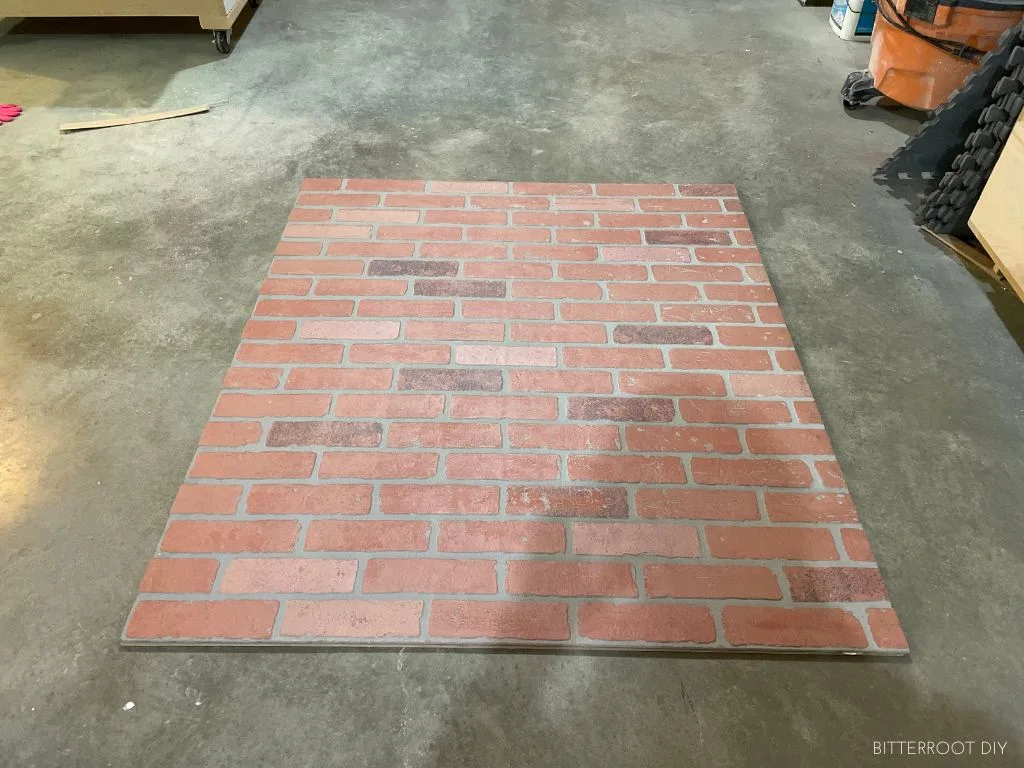
Step 4.
You can leave the brick its natural color, paint it, or whitewash it to tone down the red a bit.
To whitewash – grab a plain white paint (preferably flat, but you could make other sheens work as well), thin it with water, and mix well.
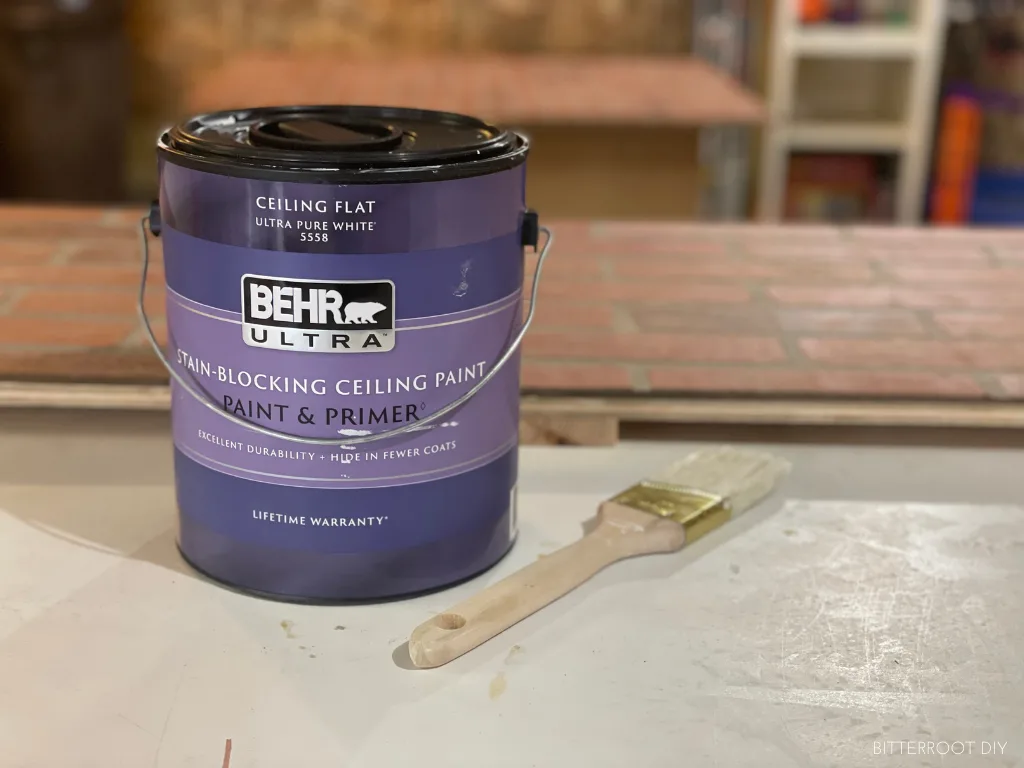
This is not a specific science – I just put some white paint in a pail and added water until it was thin (maybe about a 1:1 ratio). I had some extra ceiling paint on-hand, so that’s what I used.
Use a brush to apply the whitewash, let sit for a minute, then wipe off with a clean rag.
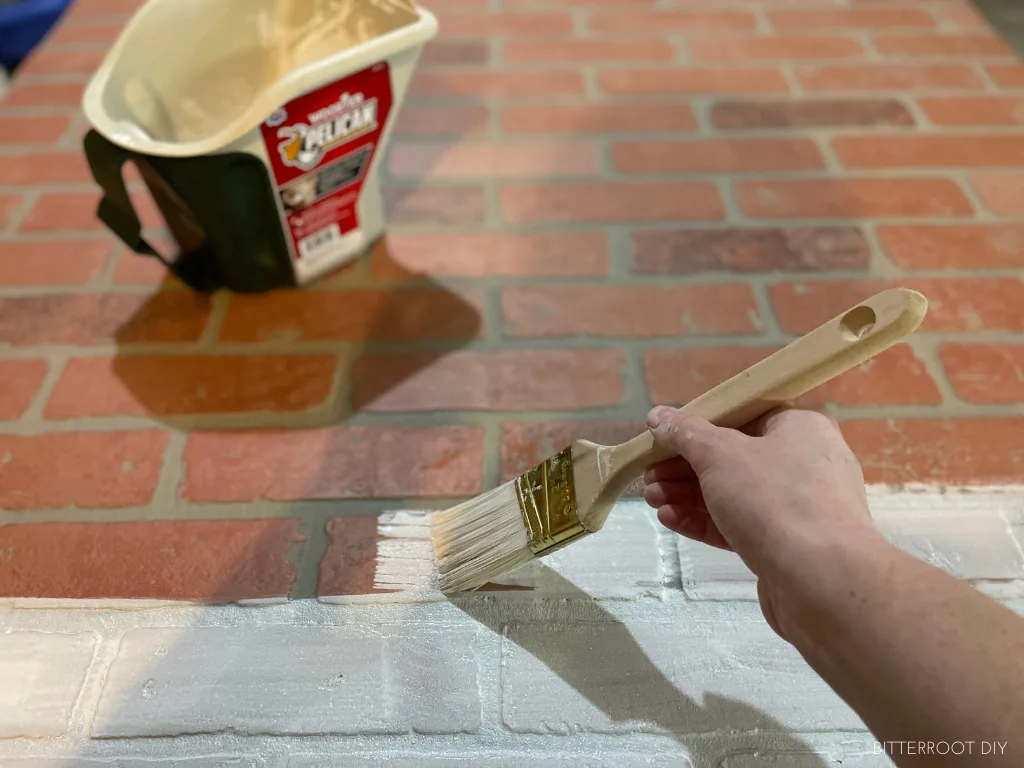
Repeat until you like the color.
I did two coats for both the platform and the back panel.
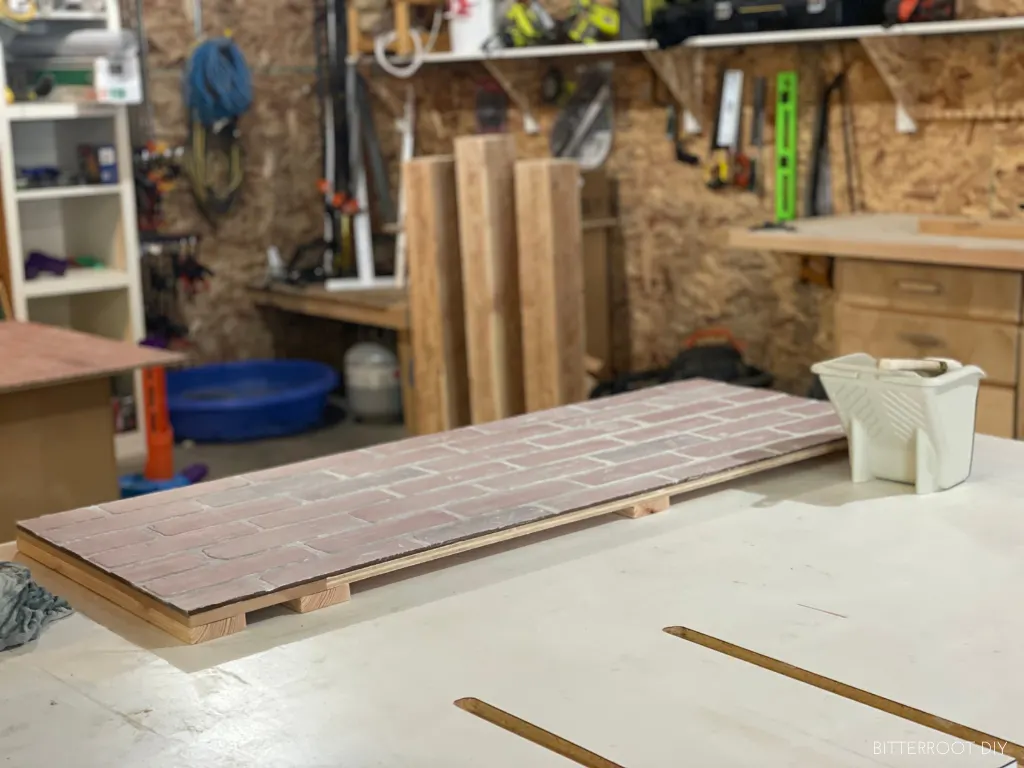
This is what it looked like after the first coat:
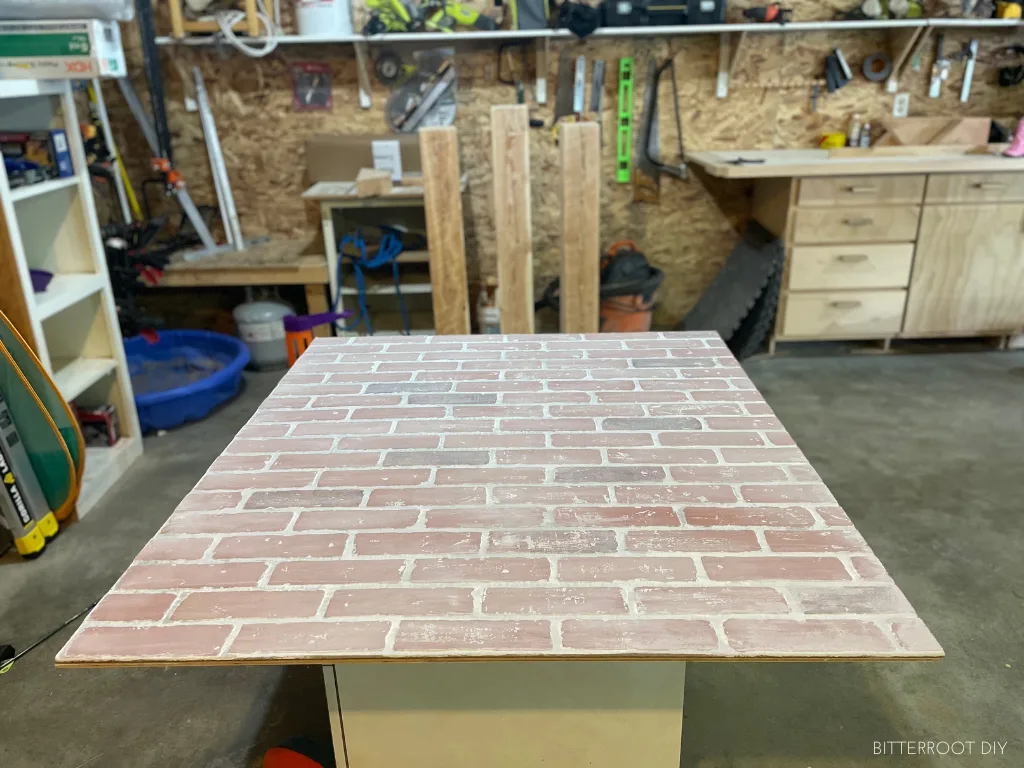
And second coat:
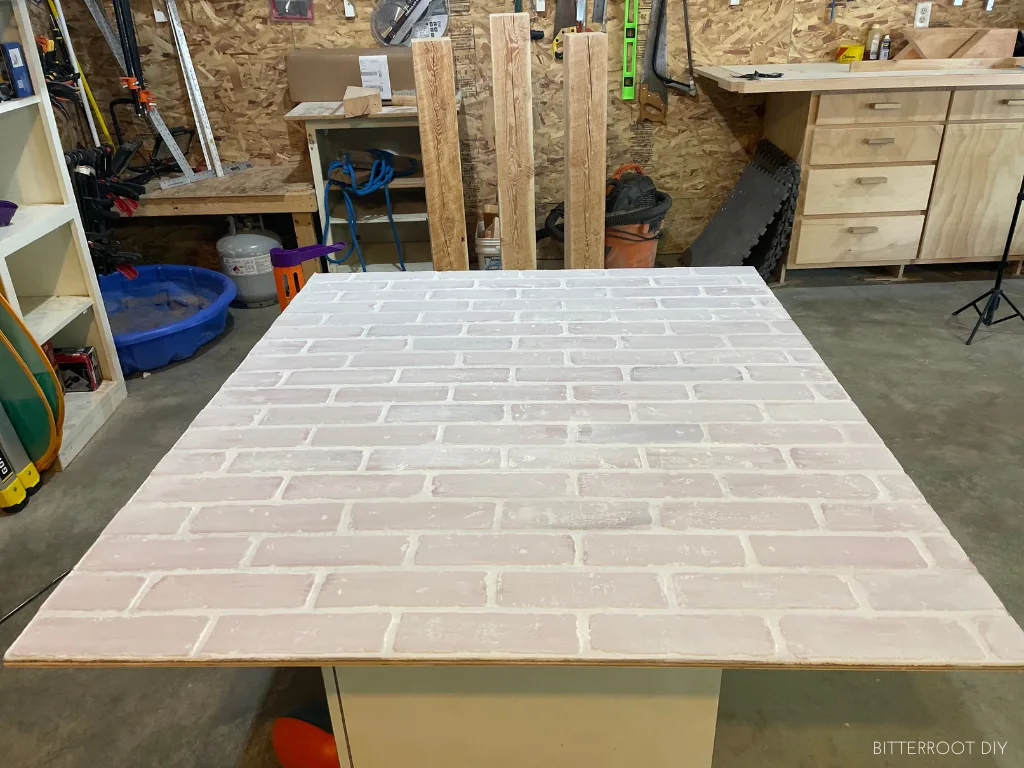
Step 5.
Now for the timbers – I got these rough sawn Douglas Fir 6x6s at a local sawmill. The big box stores typically don’t have as wide of a selection as sawmills, but you can still find larger timbers (often near the back or in the outdoor lumber yard). If you’re interested in a sawmill, simply Google search “sawmill (or lumber yard) near me.”
Cutting timbers this size takes a bit more work. There’s a few ways to do it, but I used my 7 1/4″ circular saw with a speed square as the guide to cut across one side, then the adjacent, then the next, and next until I had cut all four sides. Then I finished it off through the middle with a hand saw.
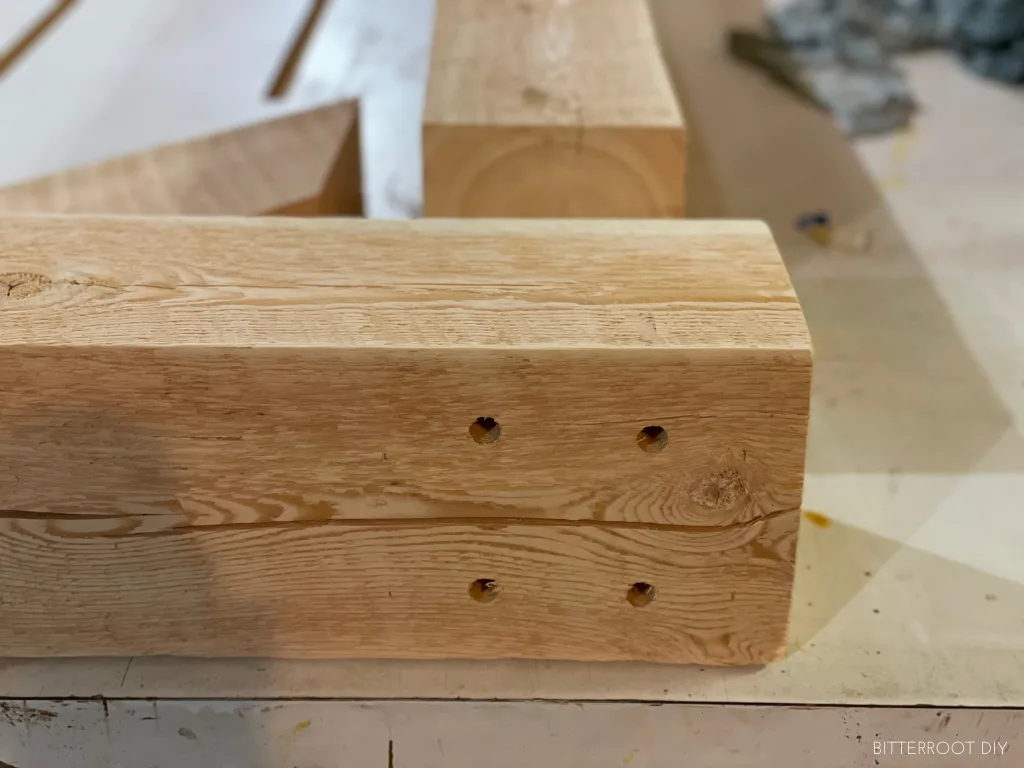
Once they’re all cut to size, use a drill block (or large drill press if you have it) to drill 1/2″ countersink holes for the TimberLok screws. Use a small piece of tape to mark the depth on your bit for the countersink. I recommend about 1″ for the 10″ TimberLoks. That gives you enough depth to secure the 6x6s and hide the screw heads but isn’t so deep that the socket will get stuck.
Ask me how I know.
PS – there may be a socket that became a permanent part of my mantel.
Rest in peace little socket. We appreciate your sacrifice in the name of this tutorial.
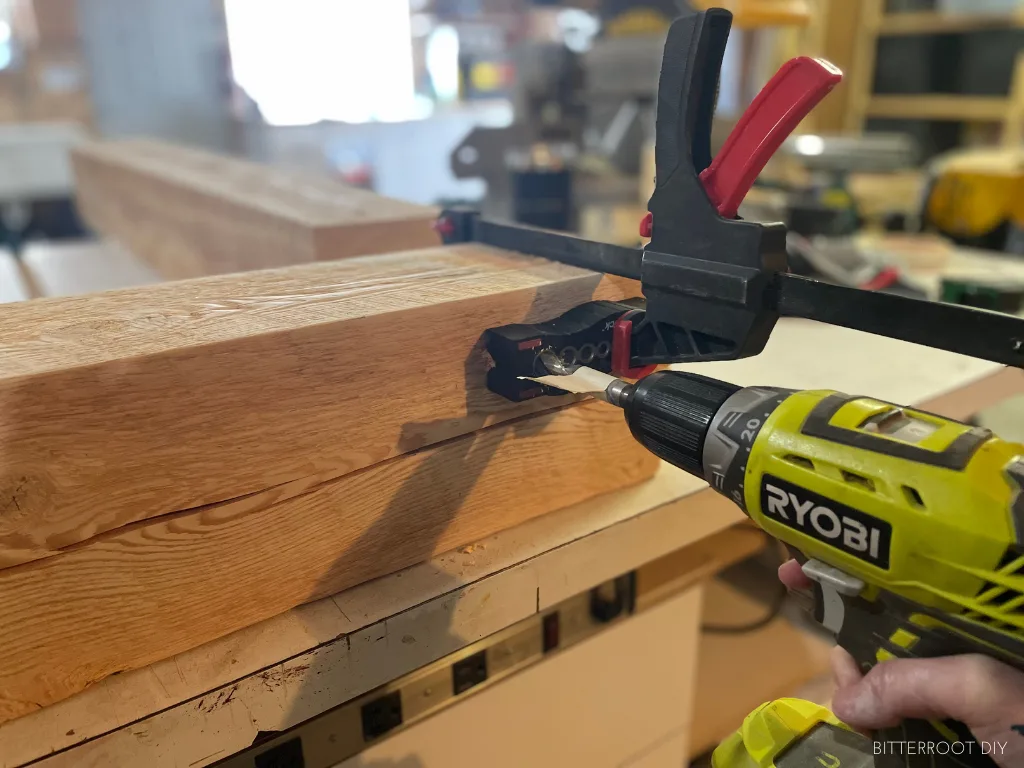
This little drill block is one of my favorite purchases ever. It guides the bit to ensure you drill a perfectly straight hole, and comes in handy all the time if you don’t have a drill press.
Step 6.
Clamp the boards in place and drive the TimberLoks into the legs.
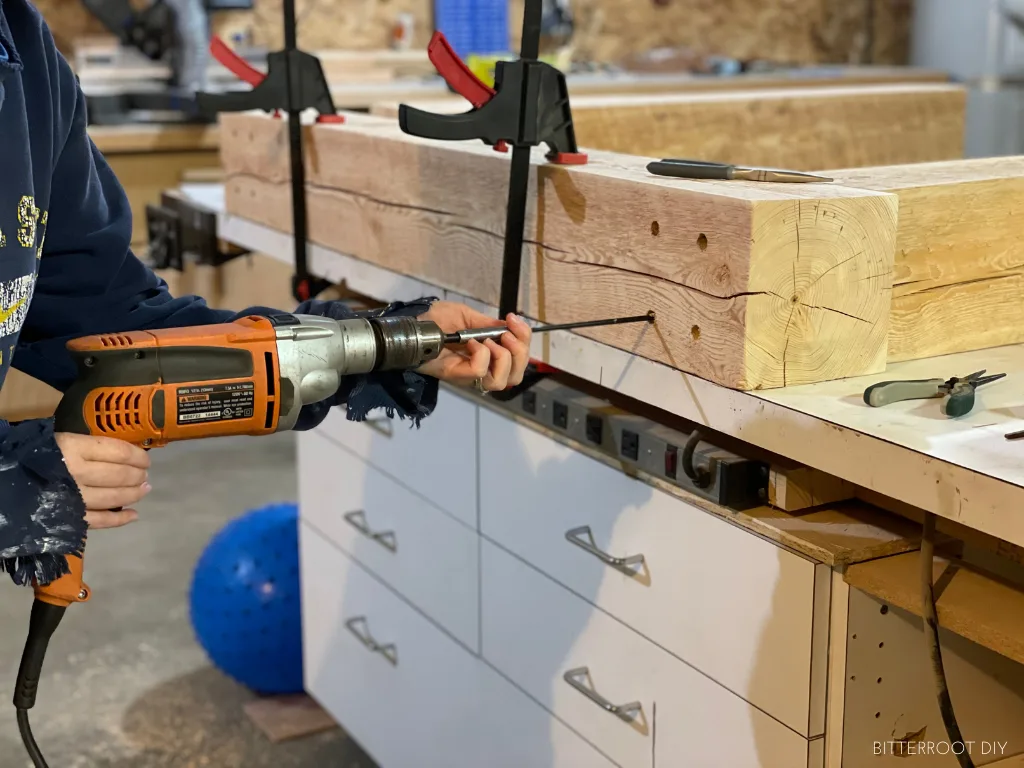
You may be able to drive them with a standard drill or impact driver, but I used a 1/2″ drill. It’s corded and has a ton more power for situations like this.
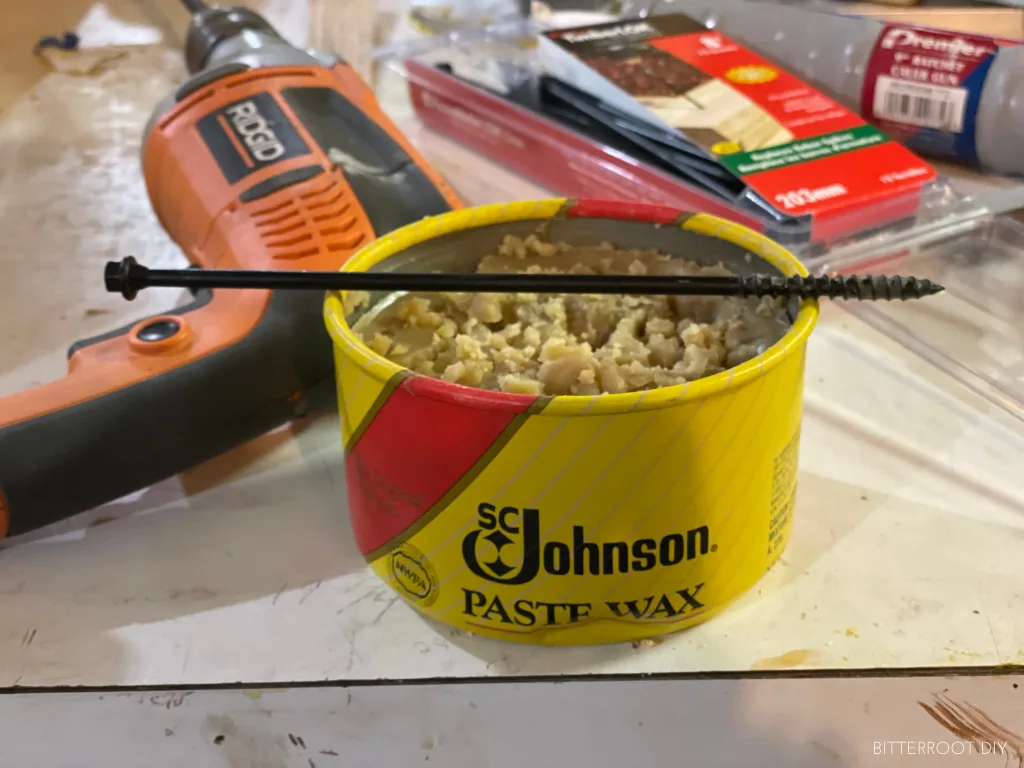
If you’re using a regular drill or impact, I HIGHLY recommend applying paste wax to the screws before driving them. It works wonders for big timbers or hard woods. I’ve also heard of people using dish soap or bar soap, but it can affect the moisture levels – though that’s more important with traditional joinery and fine woodworking.
Simply apply a small amount along the length of the screw and then you’re good to go.
Step 7.
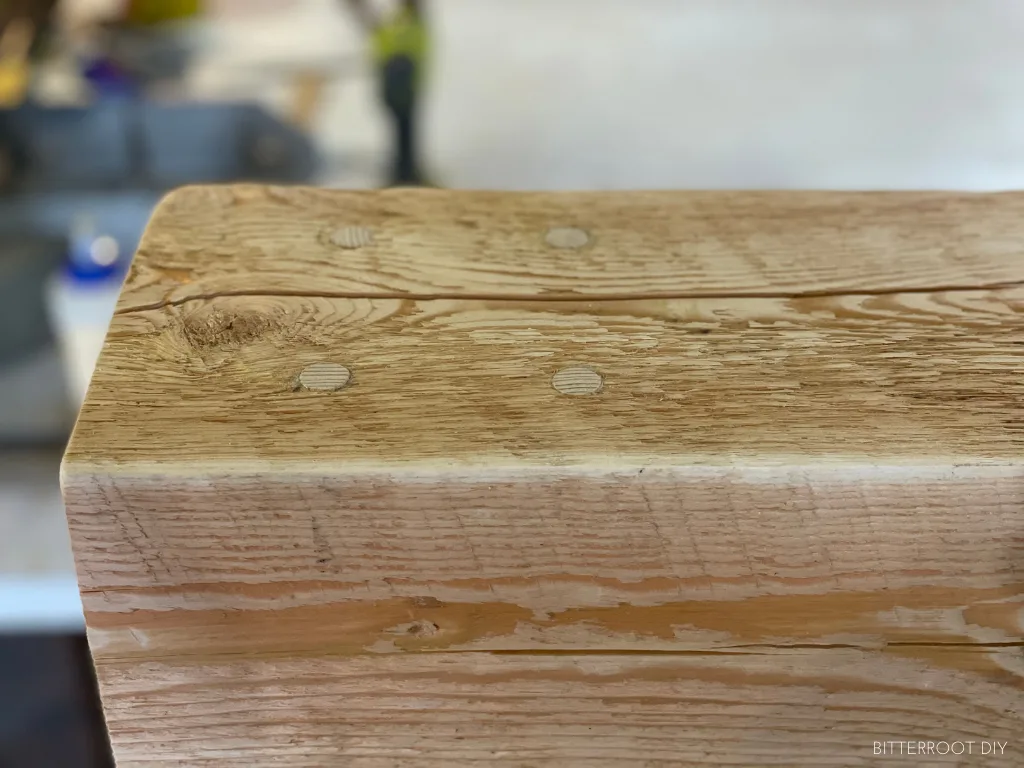
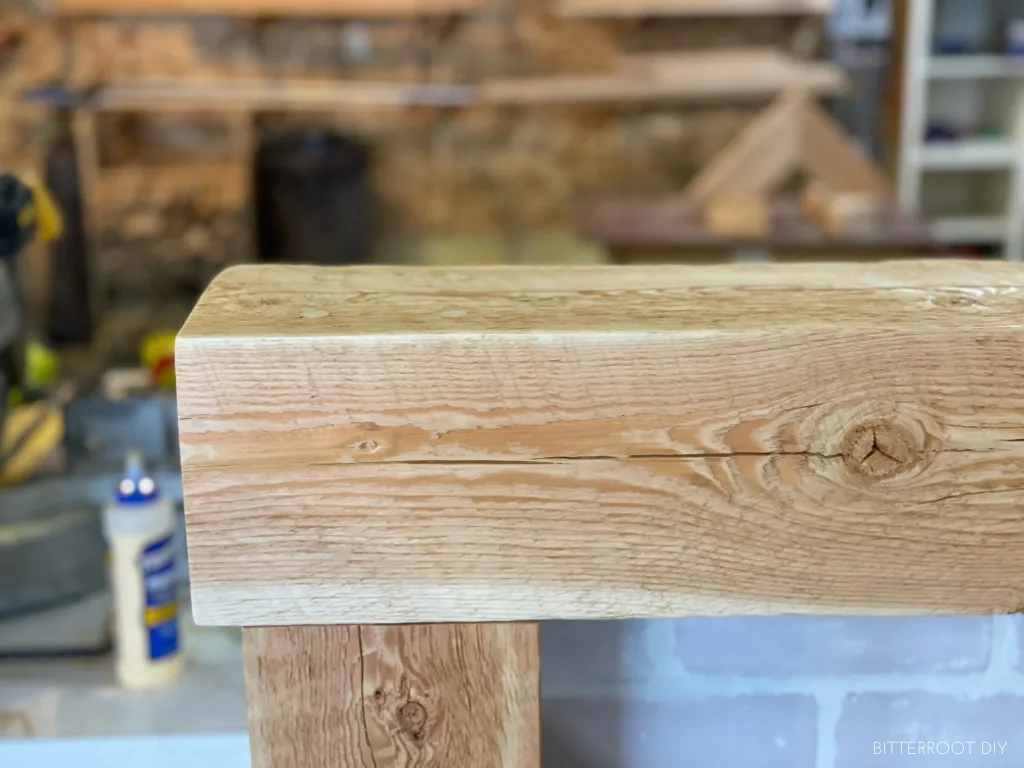
Once all the screws were in, I plugged the holes with a 1/2″ dowel. It’s totally optional – you can always just put a decoration on top of the holes to hide them – but if you choose to plug them, use wood glue to secure a 1/2″ dowel in the countersink hole, cut it flush with a pull saw, and sand smooth.
Ooooo.
Ahhhh.
Step 8.
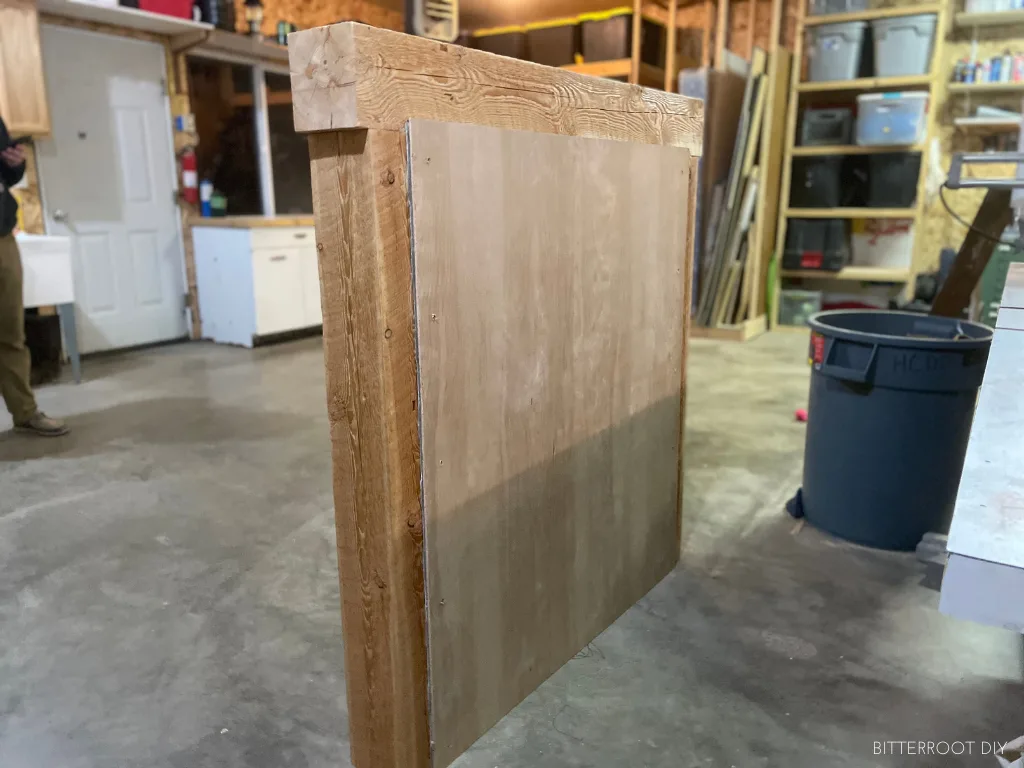
Attach the back with a few 1 1/4″ self tapping screws.
Step 9.
Ok, let’s finish up the platform.
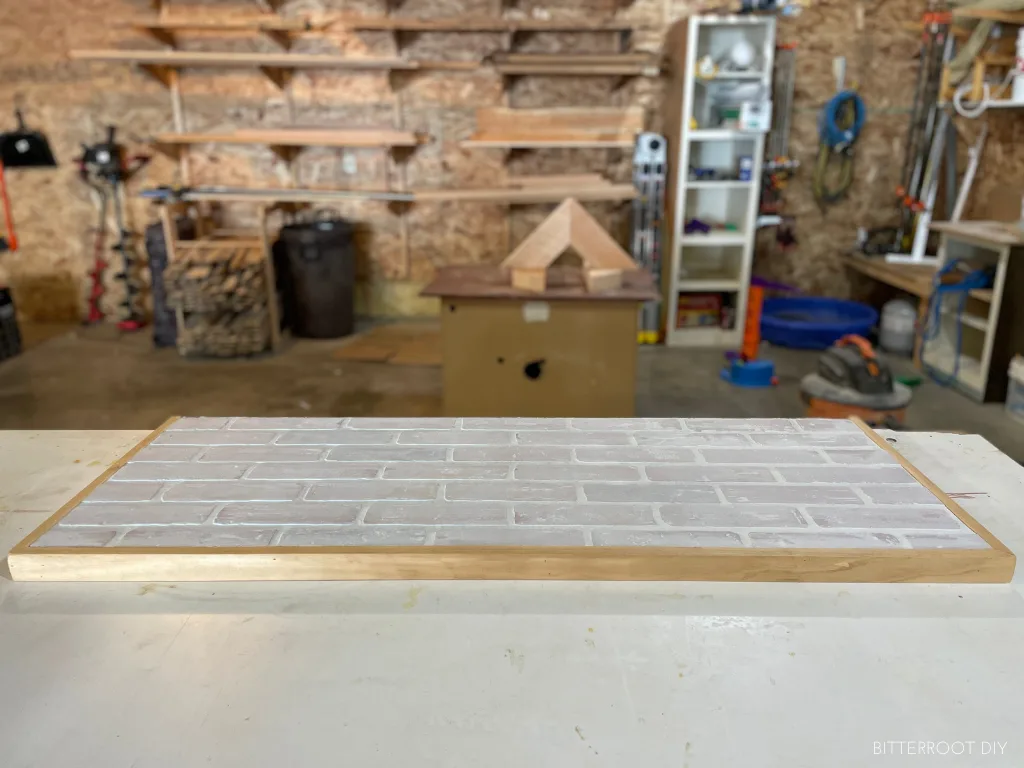
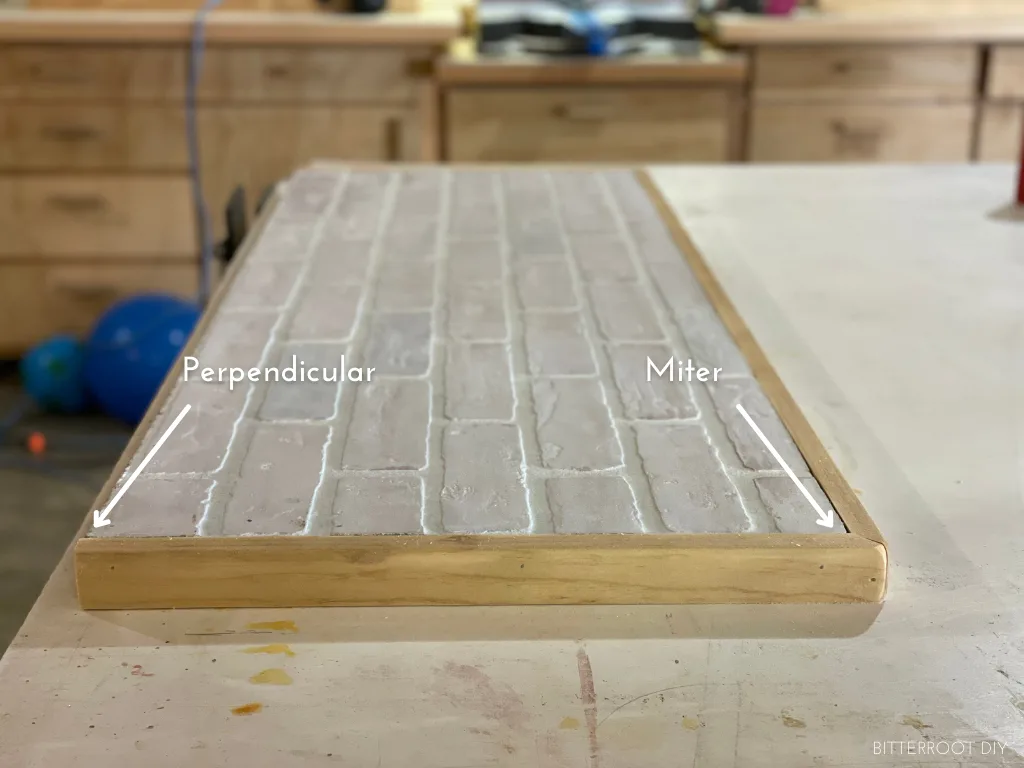
Cut 1x2s to fit along the sides and front of the platform, and attach with wood glue and 1 1/4″ finish nails.
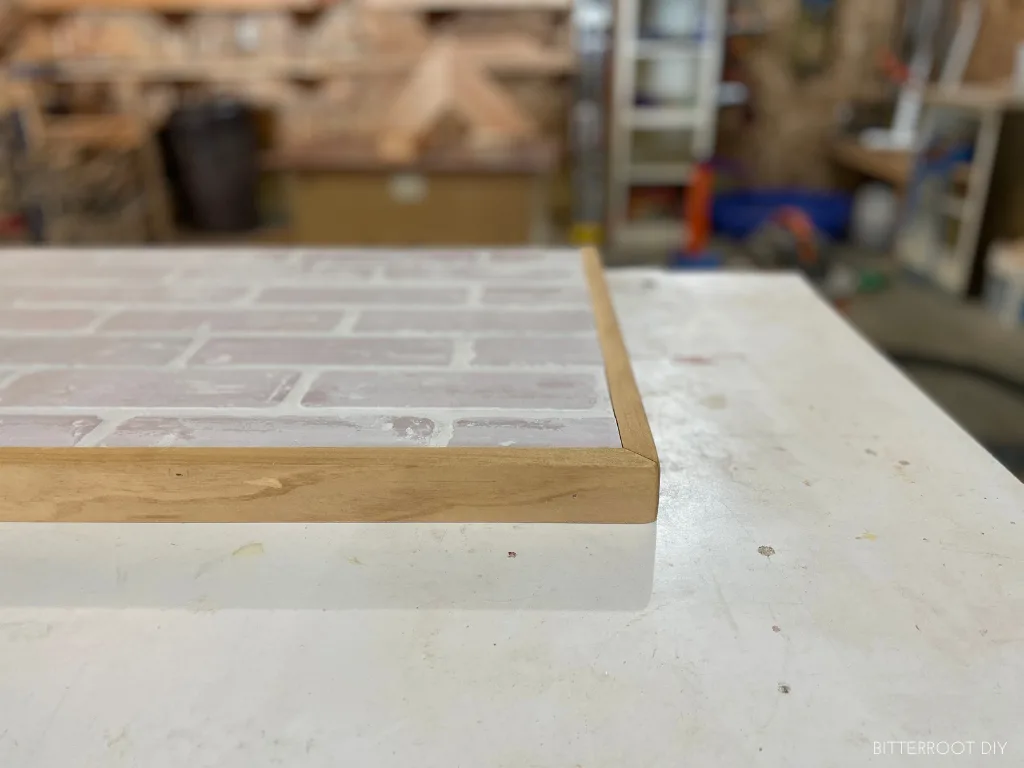
Miter the front corners at 45° for a seamless finish across the front.
Cut the back end of the side 1x2s perpendicular so they sit flush to the wall.
Step 10.
Stack the mantel on your platform and you should end up with something like this:
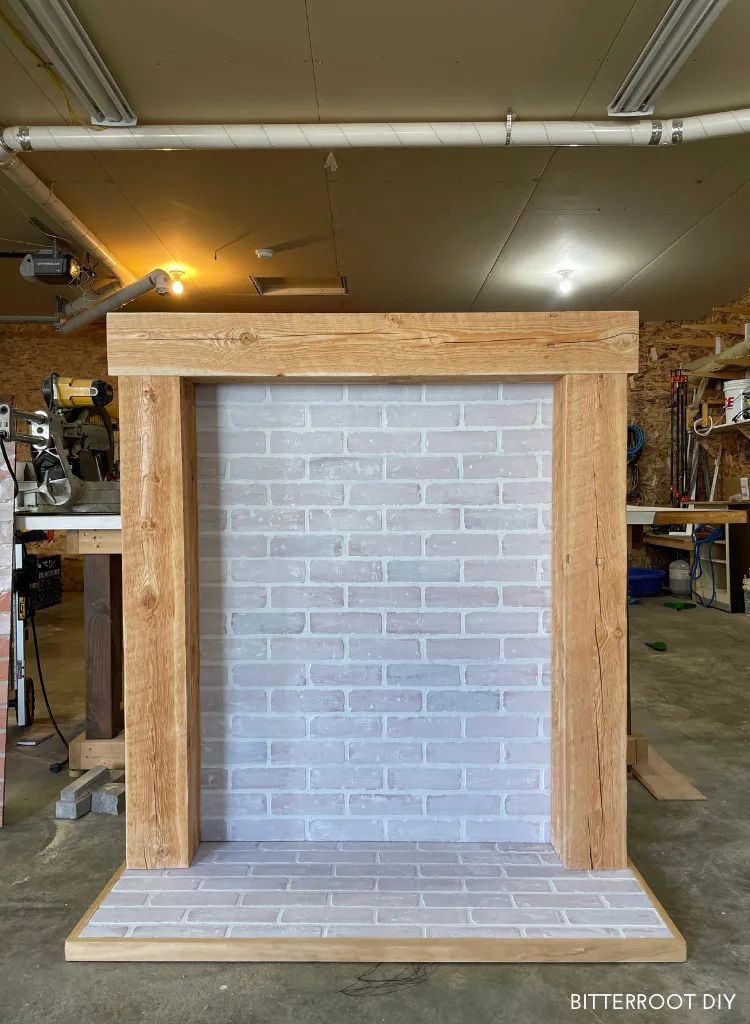
Before I moved it inside, I used a small hole saw to drill a hole in the back panel to run the stove cord through.
I just centered the stove on the platform and drilled the hole behind it where it’s hidden.
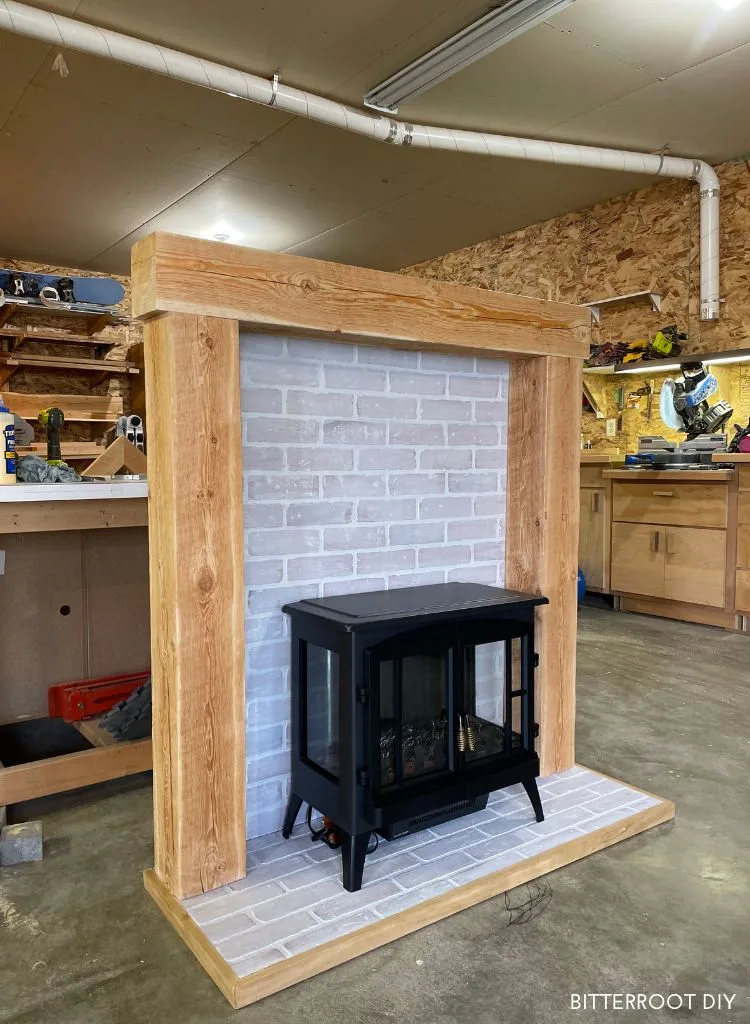
You may notice that I started with a different stove than the one you see in the finished photos in the house. I had ordered a smaller one first (it was a little cheaper), but ultimately decided it was worth paying a bit more for the bigger one to fill out the space better.
Step 11.
I moved it inside, centered the platform along the wall, and set the mantel on top.
Then I secured the mantel to the wall with two right angle brackets.
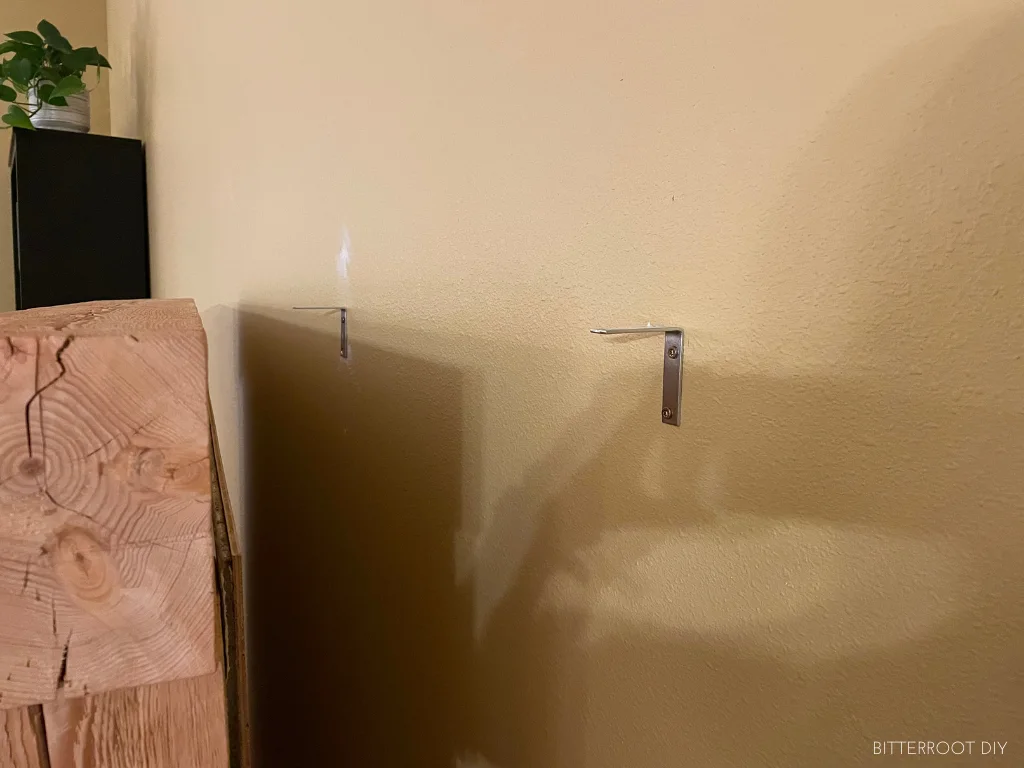
Just flip them upside down so they’re easy to hide with some decor.
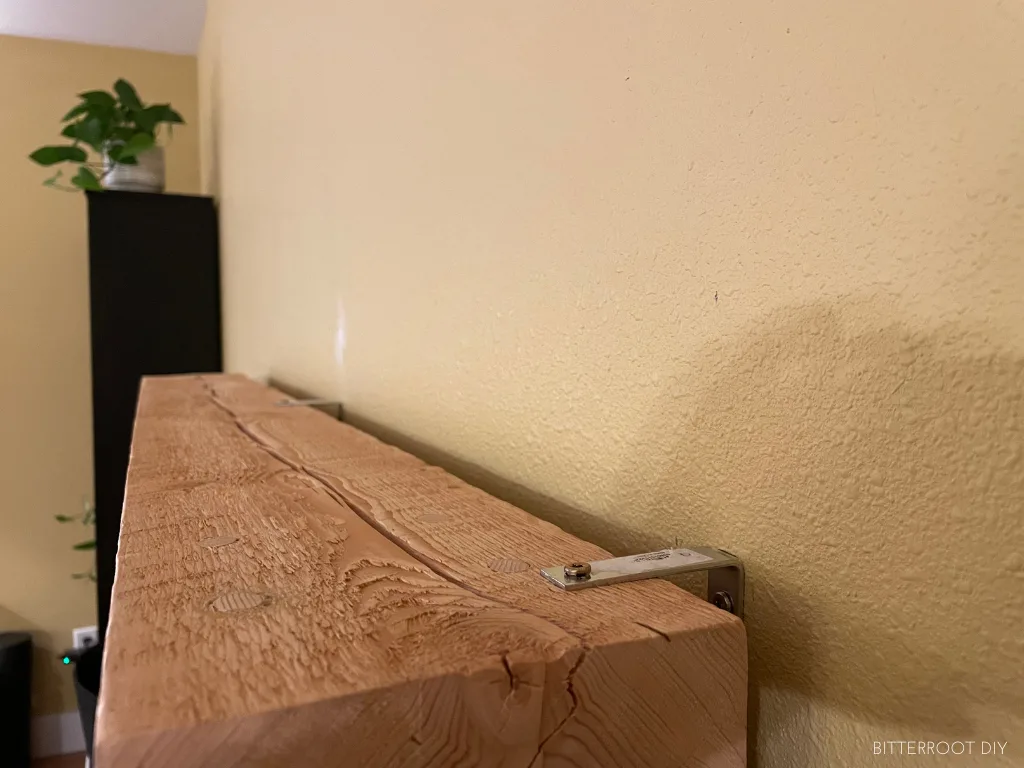
The mantel actually isn’t attached to the bottom platform at all – just set on it. But it’s plenty heavy to stay in place, and I secured the brackets into two studs in the wall so it won’t fall over.
Don’t mind the random wall patches – some day I’ll get to them.
Some day.
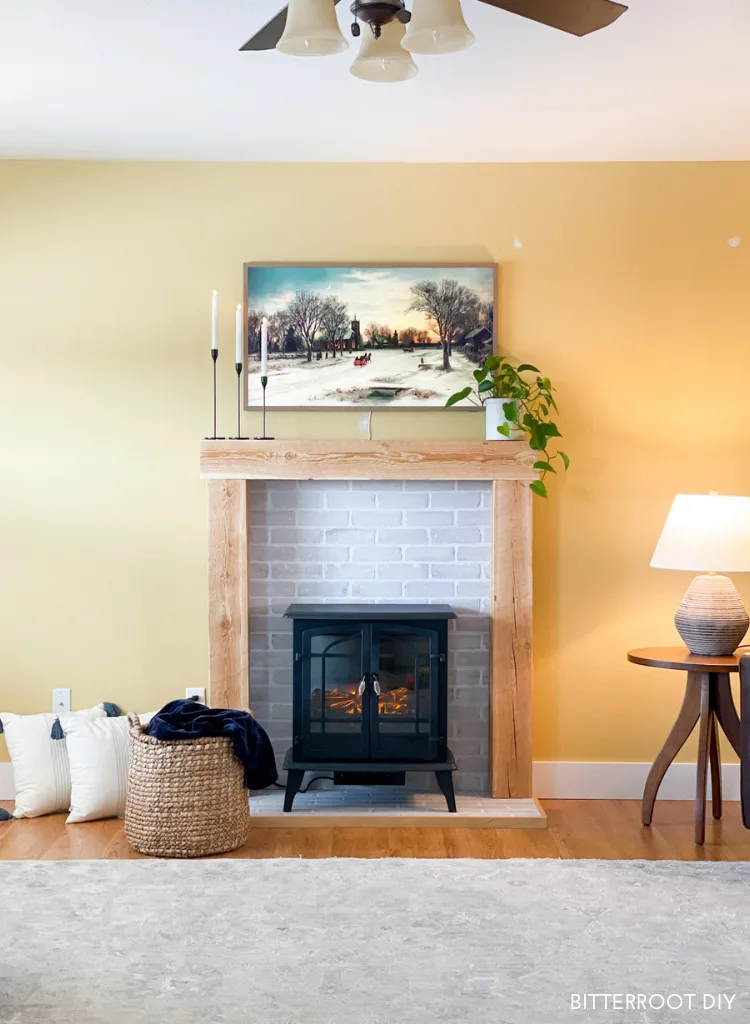
And there you have it!
The brick panel and 6x6s was quick, easy, and budget friendly. Since this is a temporary solution for our living room, it worked great.
My sister built hers as more of a permanent piece for their rental. She spent quite a bit more time on it and tiled the platform and back panel:
There are TONS of ways to build one of these, but I hope this gives you a good start! You can customize it exactly to fit your style and needs.
Happy building!
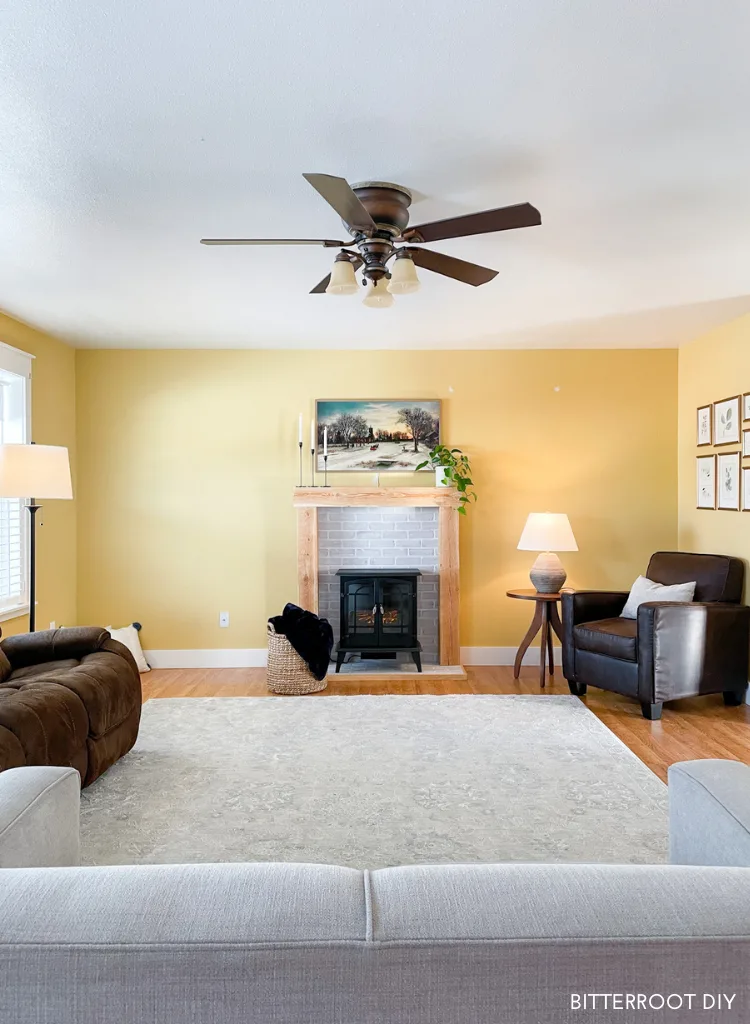
I’d love to see your take on this DIY fireplace, so tag me over on Instagram @bitterrootdiy or shoot me an email at bitterroot.diy {at} gmail.com if you build it!
As always, please let me know if you have any questions and I’ll get back to you as soon as possible.
– Tylynn
Don’t forget to pin for later!
