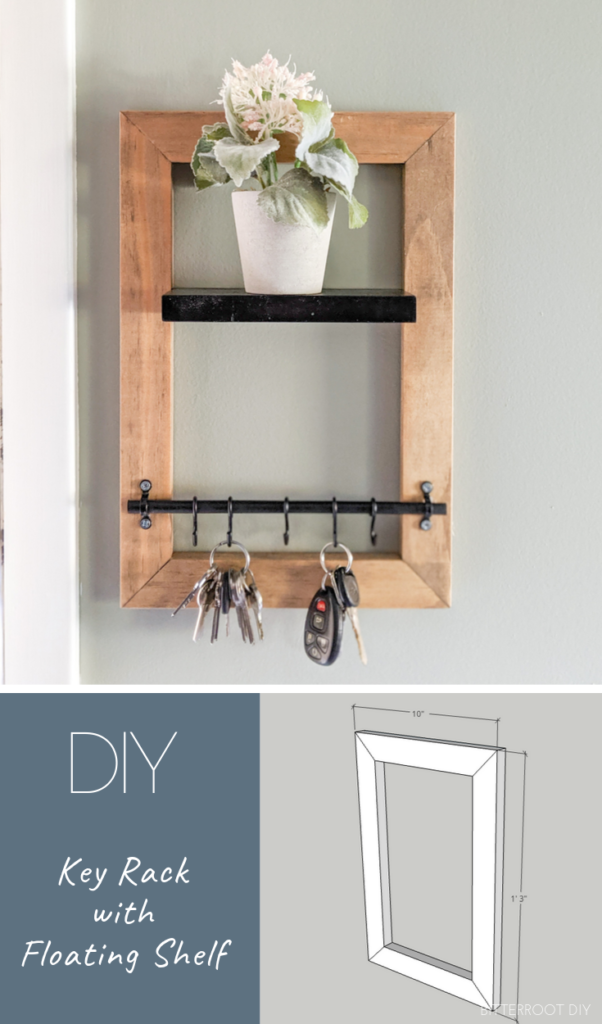
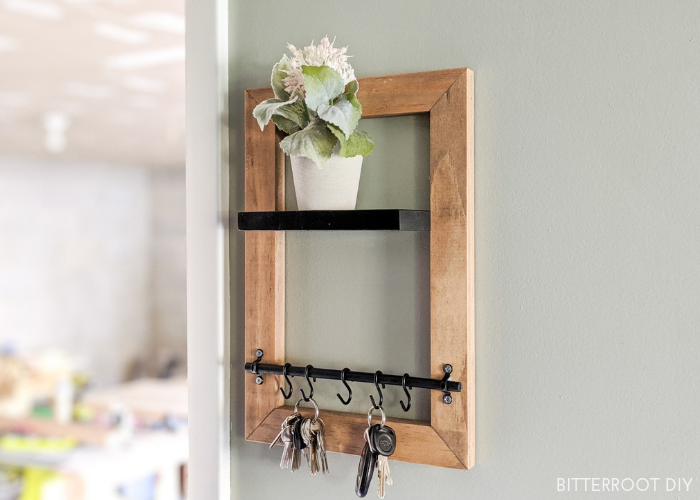
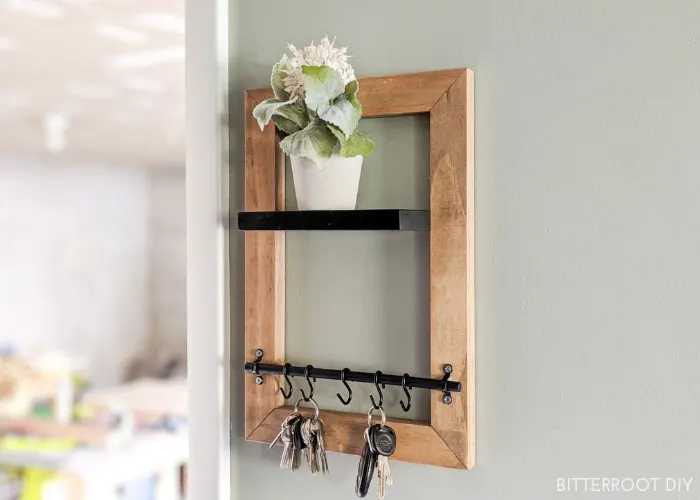
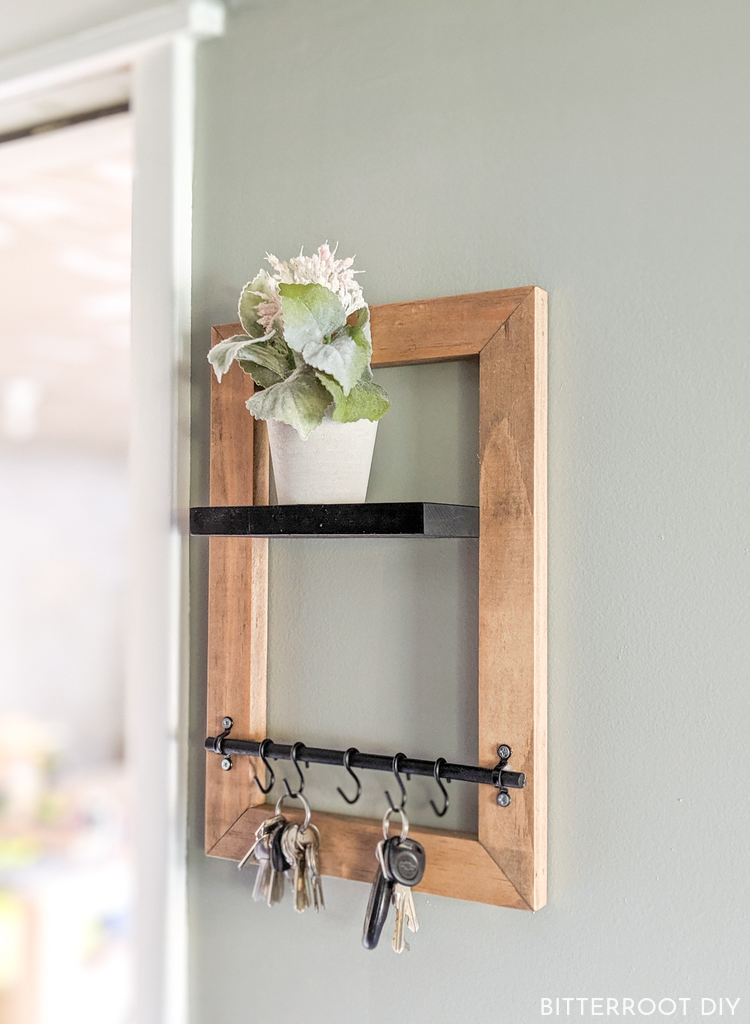
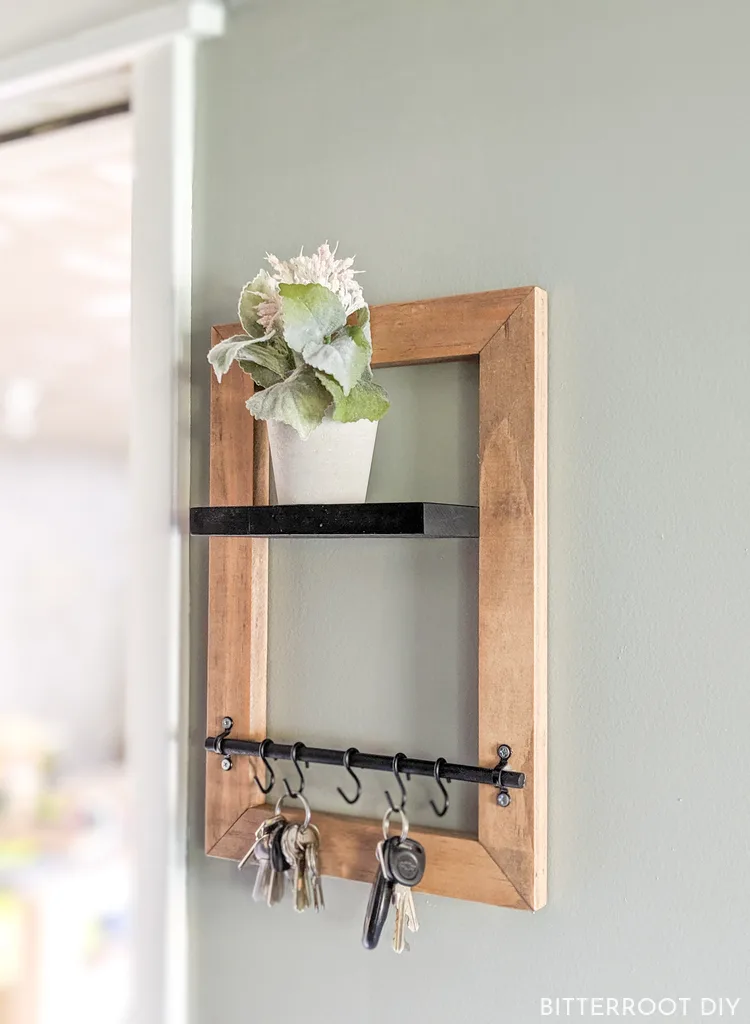
Build a DIY key holder with floating shelf to organize your entryway.
This post contains affiliate links. If you make a purchase from one of the links, I may make a small commission at NO EXTRA COST to you. This helps keep the tutorials and plans free here at Bitterroot DIY. Thank you for your support! See my full disclosure here.
It’s time for another At Home DIY challenge – this month is all about projects to decorate your walls! I kept things pretty simple for this one and put together a quick DIY key holder.
Enjoy the plans and don’t forget to check out the rest of the projects linked at the bottom of this post!
TOOLS & SUPPLIES
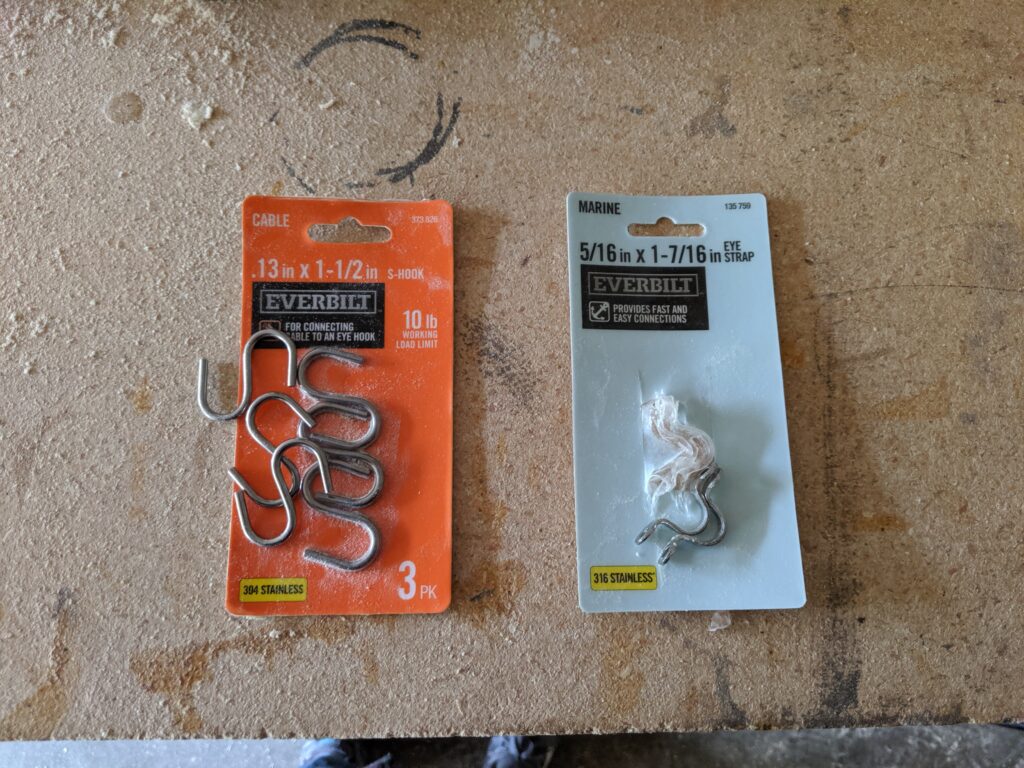
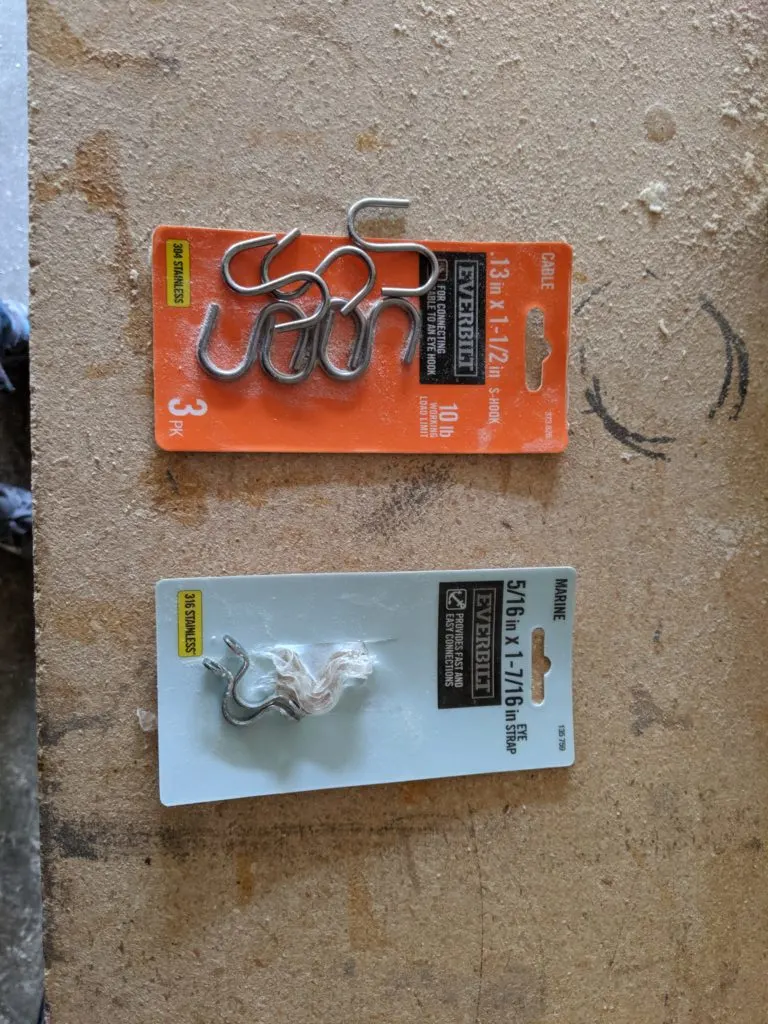
- 1 1/2″ S Hooks (also available at a hardware store or Home Depot)
- 5/16″ Eye Straps (available at a hardware store or Home Depot)
- 3″ Mending Plates
- Black Spray Paint
- Miter Saw
- Brad Nailer
- 1 1/4″ Finish Nails
- Orbital Sander
- Tape Measure
- Clamps
- Wood Glue
- Level
- Speed Square
- Pencil
- Safety Glasses
- Ear Protection
Lumber:
- 1 | 1 x 2 @ 6′
- 1 | 1 x 4 scrap piece
- 1 | 1/4″ Dowel (you can find dowels in the trim aisle at Home Depot)
Cuts:
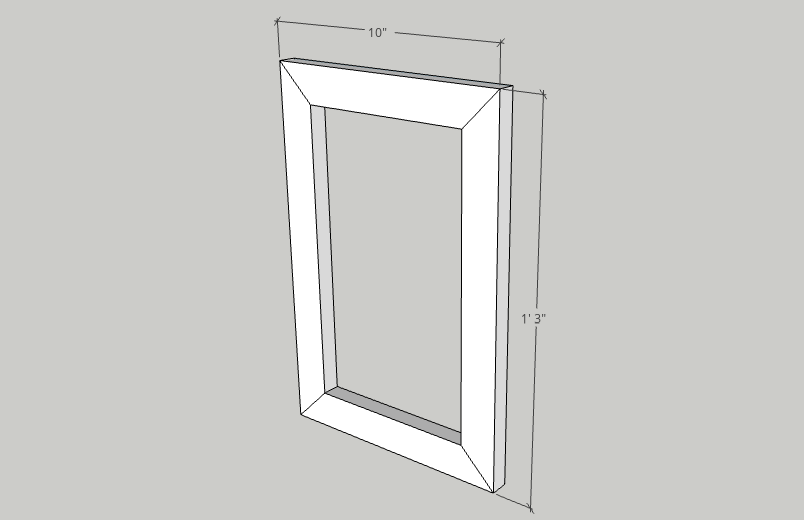
- 2 | 1 x 2 @ 15″ with perpendicular 45 degree miter (long side) (frame)
- 2 | 1 x 2 @ 10″ with perpendicular 45 degree miter (long side) (frame)
- 1 | 1 x 4 @ 7″ (shelf)
- 1 | 1/4″ Dowel @ 9″ (key holder)
Step 1.
Build the frame as shown.
Use wood glue and finish nails to attach the frame pieces to each other.

You could get away with using just wood glue if you prefer – simply clamp the frame down tightly until the glue dries completely.
I didn’t have a good set up to clamp miter corners, so I just drove two 1 1/4″ finish nails through the side into the adjoining board at each corner joint.
Once you’ve built the frame, sand and stain it as desired. I stained this one with a custom mix of Minwax “Provincial” and Varathane “Sunbleached”.
Step 2.
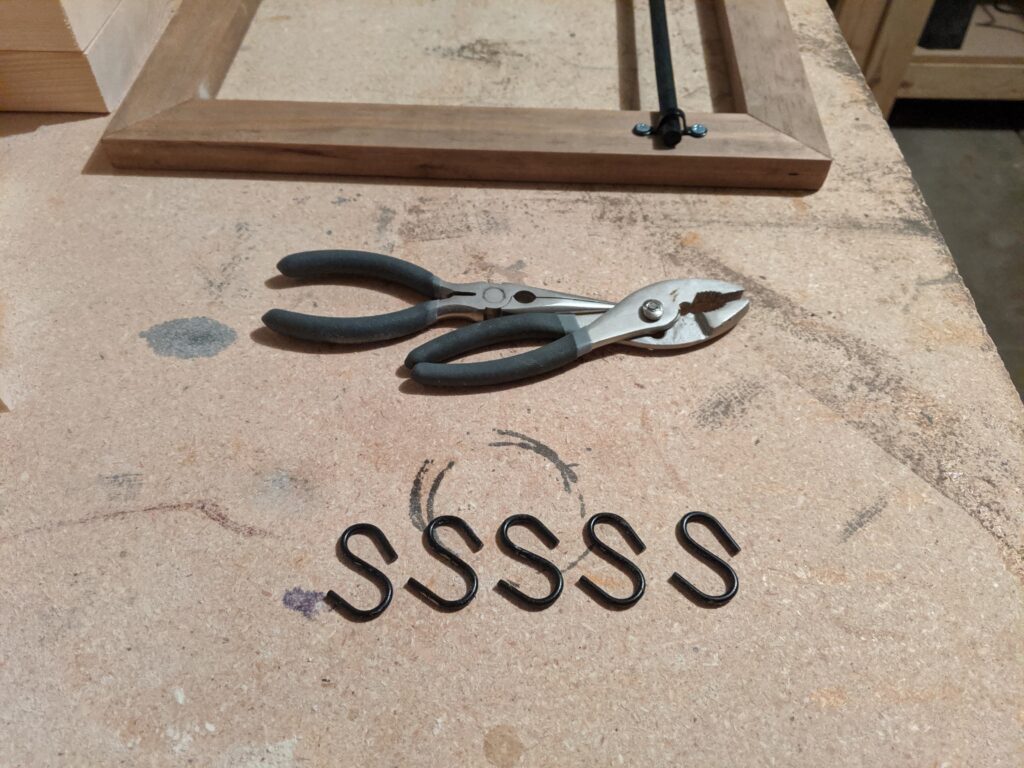
While the stain is drying, prep the hardware.
I used five 1 1/2″ s hooks, a 1/4″ dowel, and two 5/16″ eye straps for the key holder. I grabbed the hardware and dowel at Home Depot, but you should be able to find them at most hardware/home improvement stores.
First, use pliers to bend one end of the s hooks in slightly so they won’t slip off the dowel. It doesn’t take much, so be careful not to close them too much or they won’t fit on the dowel.

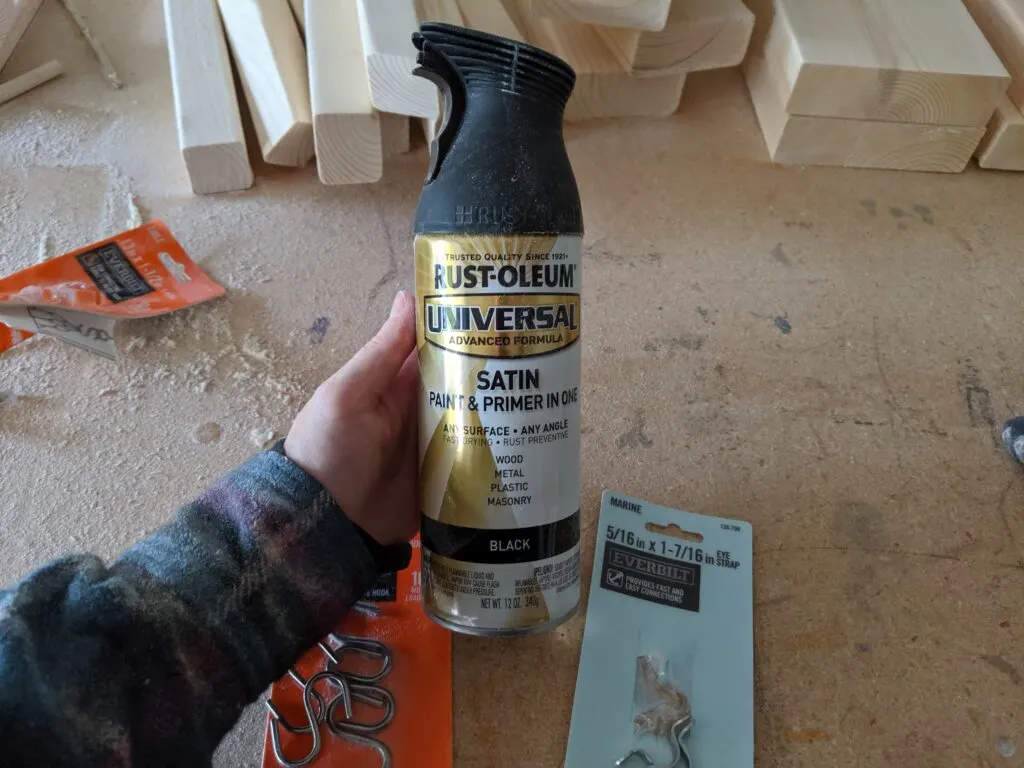
Next, paint the hooks, eye straps, and shelf. I used Rustoleum black spray paint in “satin” and really like the matte look. However, a glossy sheen might look even more like metal.

**Tip: As you can see in the above photo, I painted the hooks before bending them. The pliers scuffed up the paint, so I ended up having to paint them again. I recommend bending them first so you only have to paint once.
Step 3.
Attach the eye straps on either side of the frame.
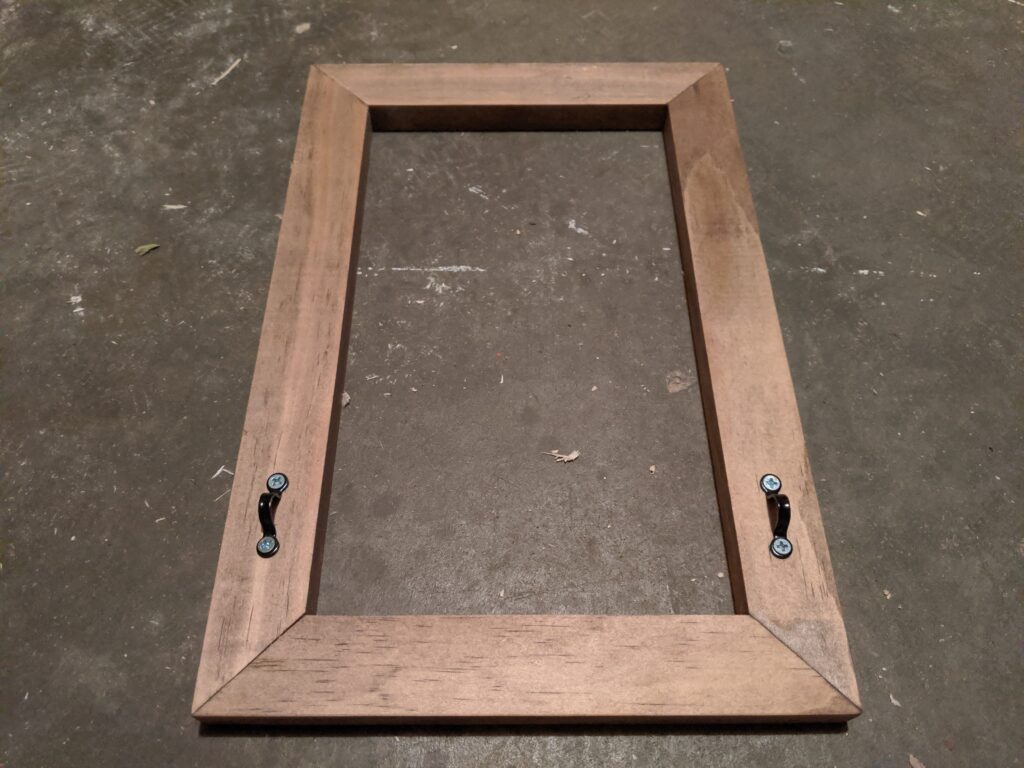
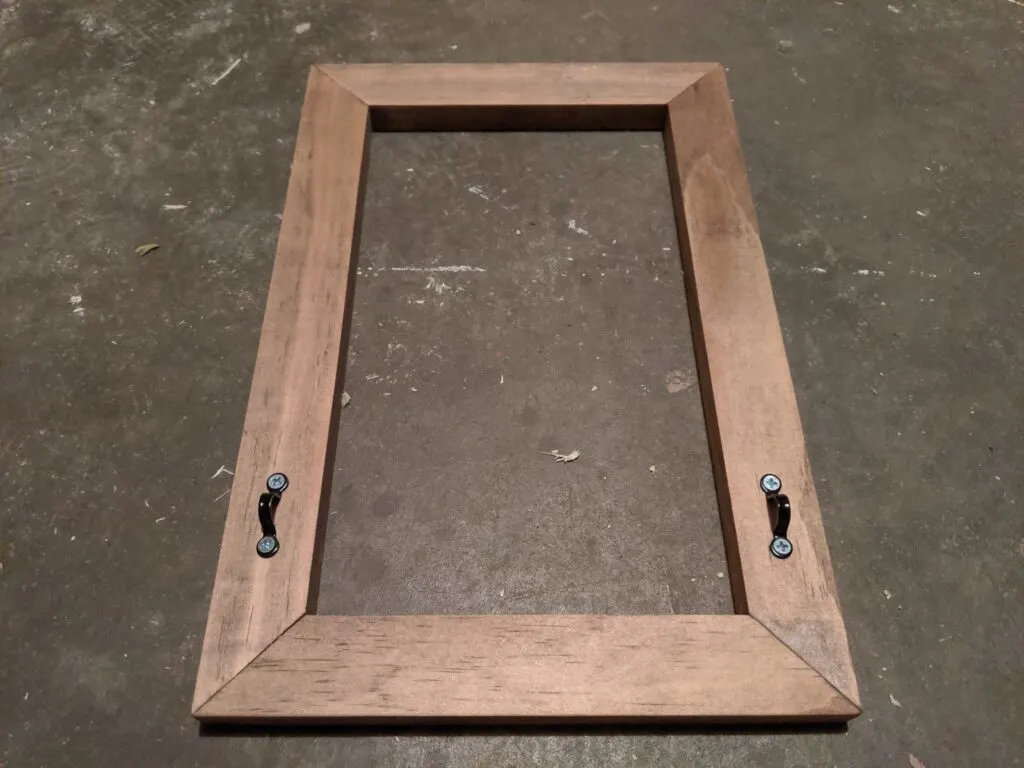
I placed the eye straps 3″ from the bottom of the frame, but that’s completely arbitrary. Feel free to move them up or down depending on where you want the keys to hang. Paint the screws black to match the rest of the hardware. I went back and touched them up with black paint at the very end.
Step 4.
Use two 3″ mending plates to attach the floating shelf.
Position the mending plates 5″ from the top of the frame (5″ from top of frame to top of plate) and attach them to the frame with 1/2″ screws (or whatever screws came with the plates).
Once the plates are attached to the frame, center the shelf, make sure it’s level, and attach it to the plates. I used 2″ screws for the shelf to make sure it’s plenty strong.
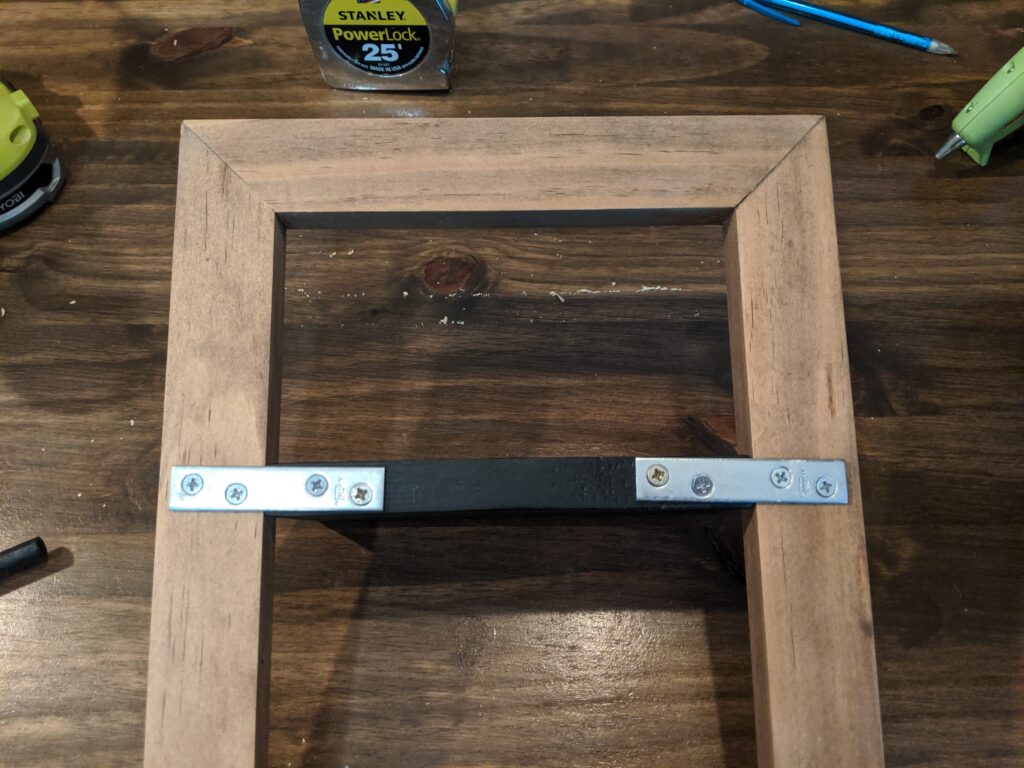

I didn’t get the plates perfectly level (as you can see in the photo), but the shelf is level.
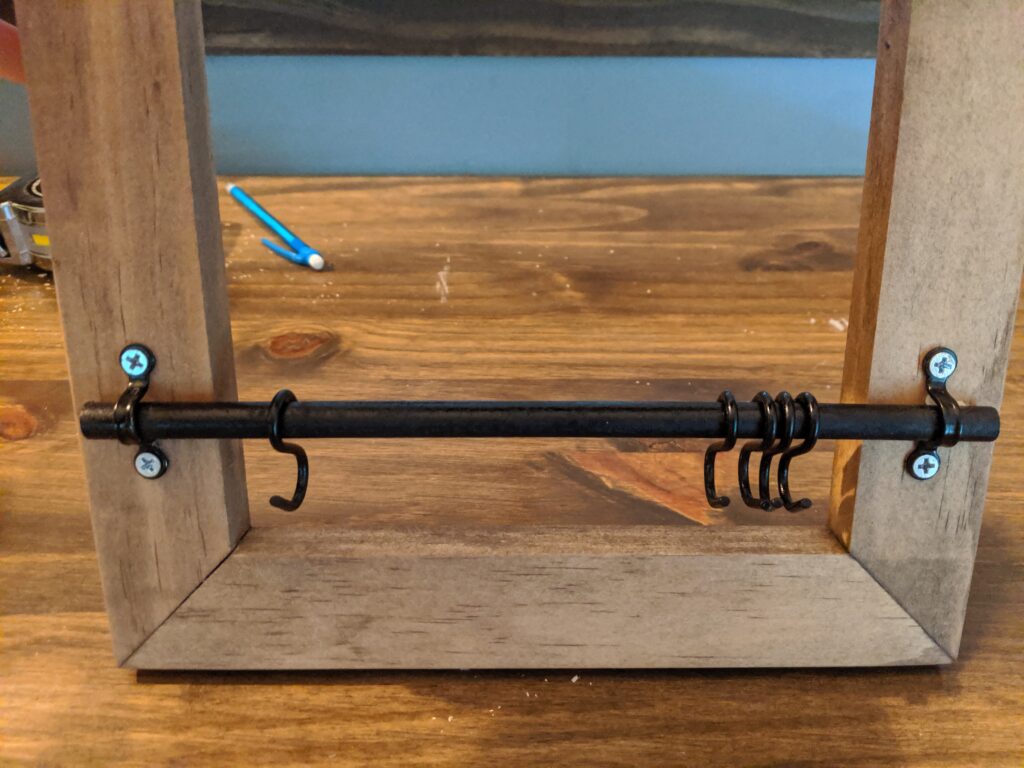
Step 5.
Thread the hooks onto the dowel and slide it into place on the eye straps.
Place a small dab of hot glue one either end of the dowel to attach it to the frame so it won’t slide around.

Hang it up on the wall, and you’re good to go!
I used command strips to hang it.
Please let me know if you have any questions and I’ll get back to you as soon as possible!


Thanks for stopping by!
For more project ideas, you can find me on Pinterest. And to stay up to date with the latest shenanigans, follow me on Instagram.