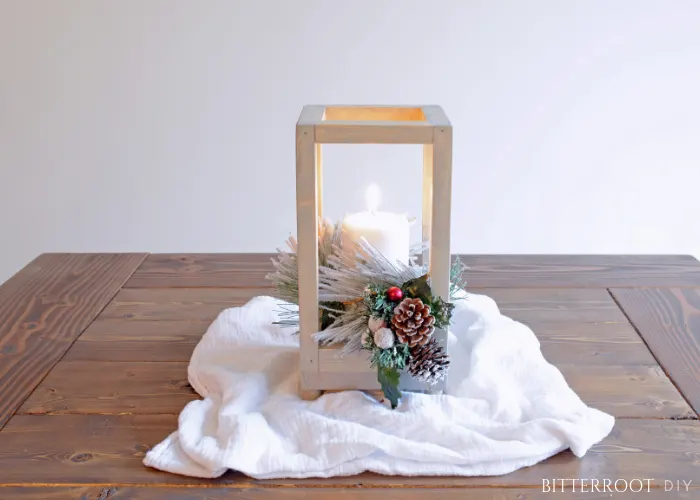
Build a lantern centerpiece for a beautiful Christmas table setting.
This post may contain affiliate links. If you make a purchase from one of the links, I may make a small commission at NO EXTRA COST to you. This helps keep the tutorials and plans free here at Bitterroot DIY. Thank you for your support! See my full disclosure here.
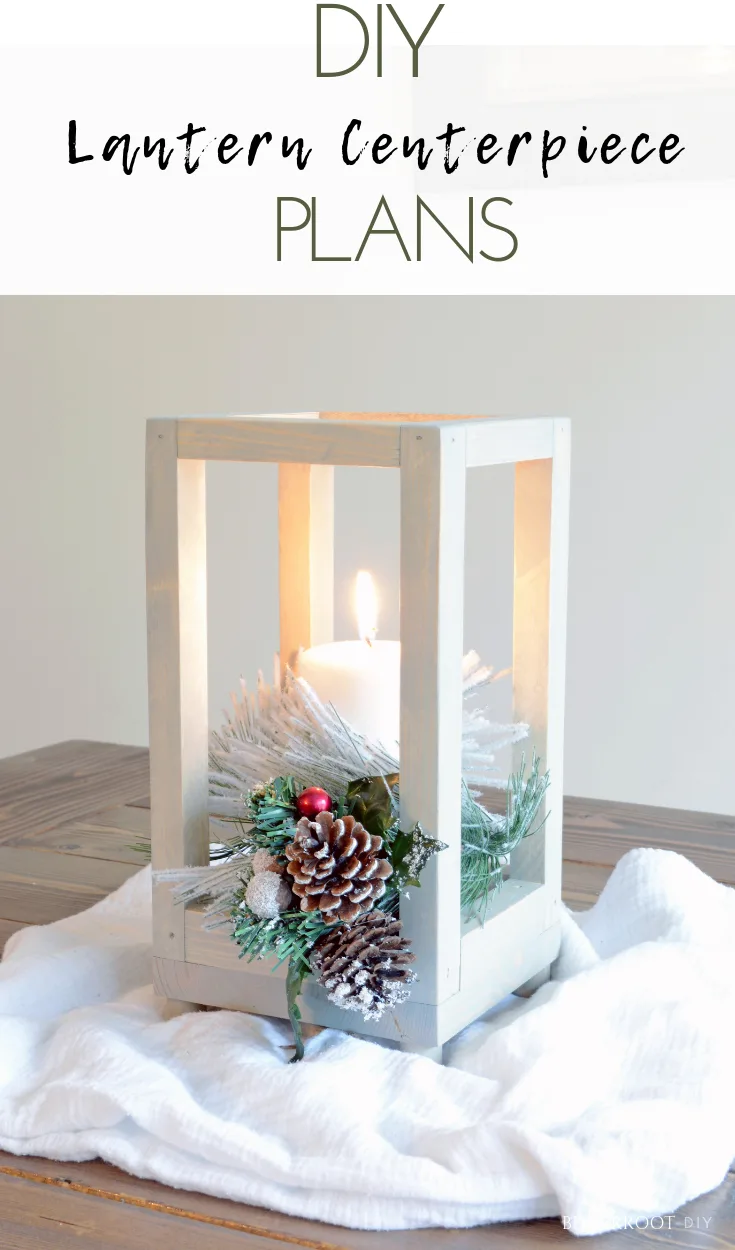
This week I joined in with a group of very talented bloggers to bring you some Christmas table setting ideas. I kept things pretty simple here and am happy to bring you plans for a lantern centerpiece!
If you missed it, last year I put together a vintage sled centerpiece. We have a smaller, square dining table this time around. So I downsized to the lantern for a beautiful, but compact, statement piece. If you have a longer table, you could try a couple few lanterns (maybe even different sizes) for a really beautiful candle display.
Enjoy the free plans!
And once you’ve finished your lantern, head over to check out all the other great Christmas table setting ideas below!
Tools & Supplies:
- Wood Glue
- Finish Nailer & Nails (or a hammer)
- Stain
- Candle
- Christmas Sprays
Lumber Cuts:
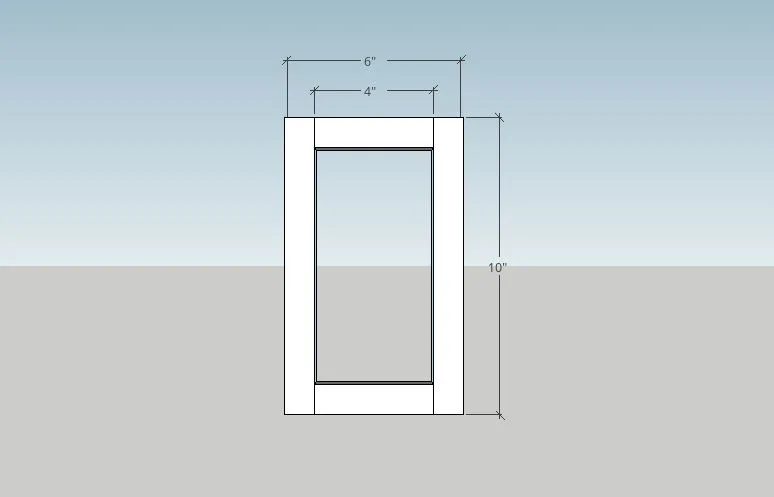
- 4 | 1″ x 1″ Square Dowel @ 10″ (columns)
- 8 | 1″ x 1″ Square Dowel @ 4″ (rails)
- 1 | 3/4″ Plywood @ 6″ x 6″ Square (base)
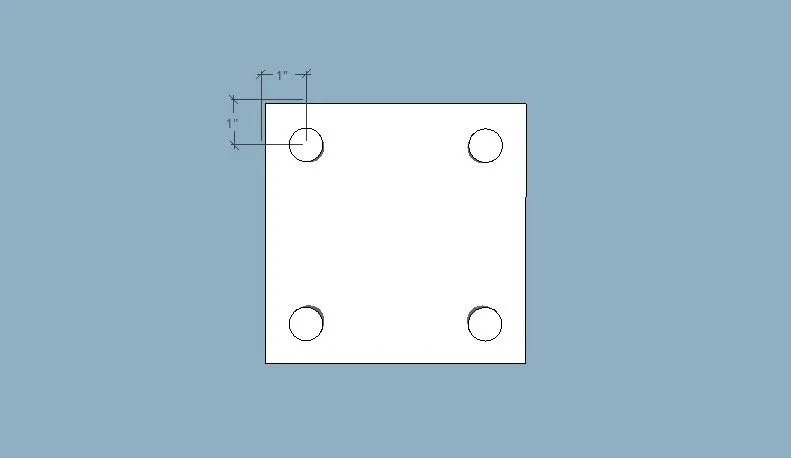
- 4 | 3/4″ Dowels @ 1″ (feet)
I typically include a full lumber list on projects. However, this lantern is such a small amount of lumber and can be completed mostly with scrap wood. If necessary, adjust measurements to work with your scraps. For reference: I cut the 1″ x 1″ dowels and rails out of a 1″ thick board and the 6″ x 6″ base from a 1 x 12 scrap board. I had extra 3/4″ dowels, but you can purchase them at Walmart or any lumber/home improvement store.
Step 1.
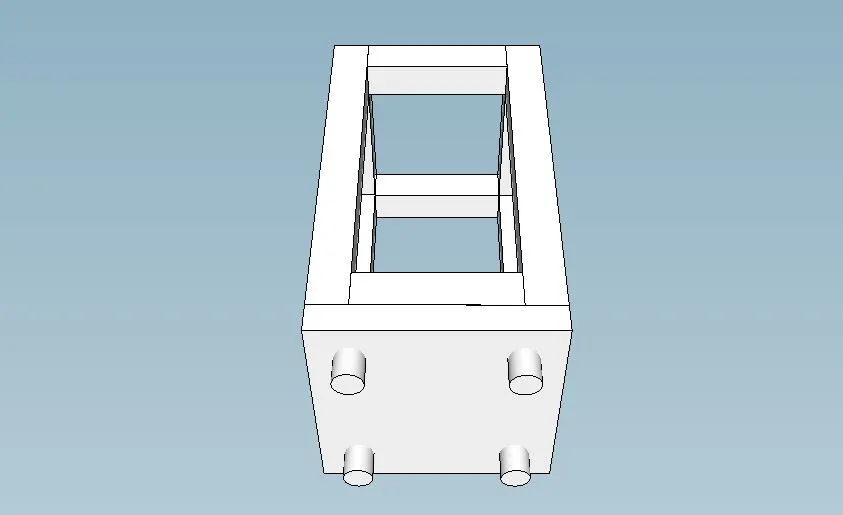
Drill four 3/4″ holes for the dowel feet. I used a 3/4″ forstner bit and drilled 1/4″ deep.
Step 2.
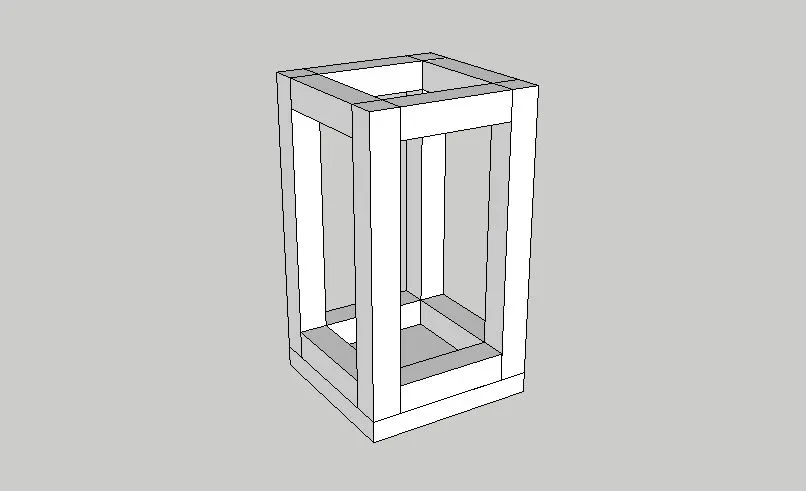
Build two sides for the frame of the lantern. Attach the rails to the columns with wood glue and finish nails. I used 2″ finish nails.
Step 3.
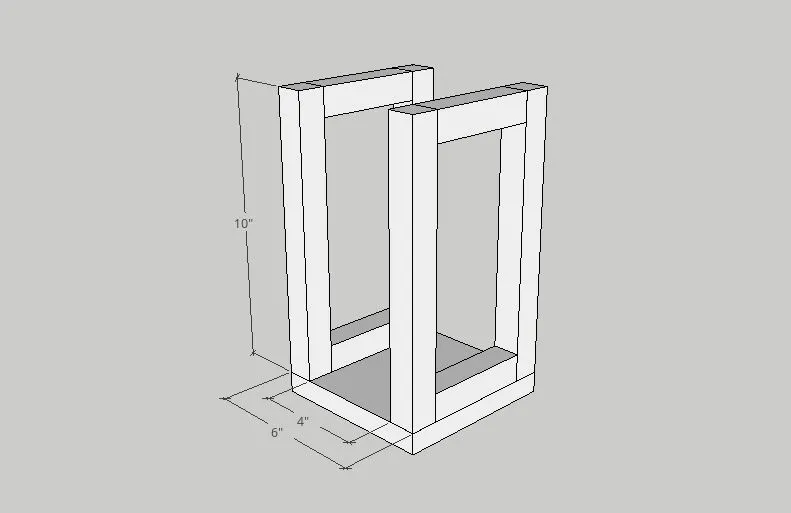
Position the frames flush with the edge of the base and attach with wood glue and finish nails.
Step 4.
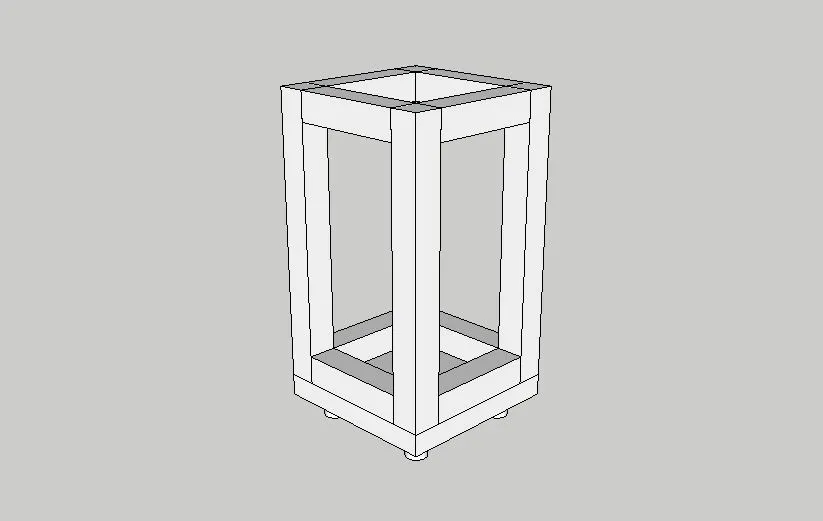
Complete the lantern by attaching the last bottom two rails with wood glue and finish nails, followed by the last top two rails.
Step 5.
Insert the dowel feet into place and attach with wood glue.
The dowels should be tight in the 3/4″ holes, so wood glue is plenty strong to hold them!
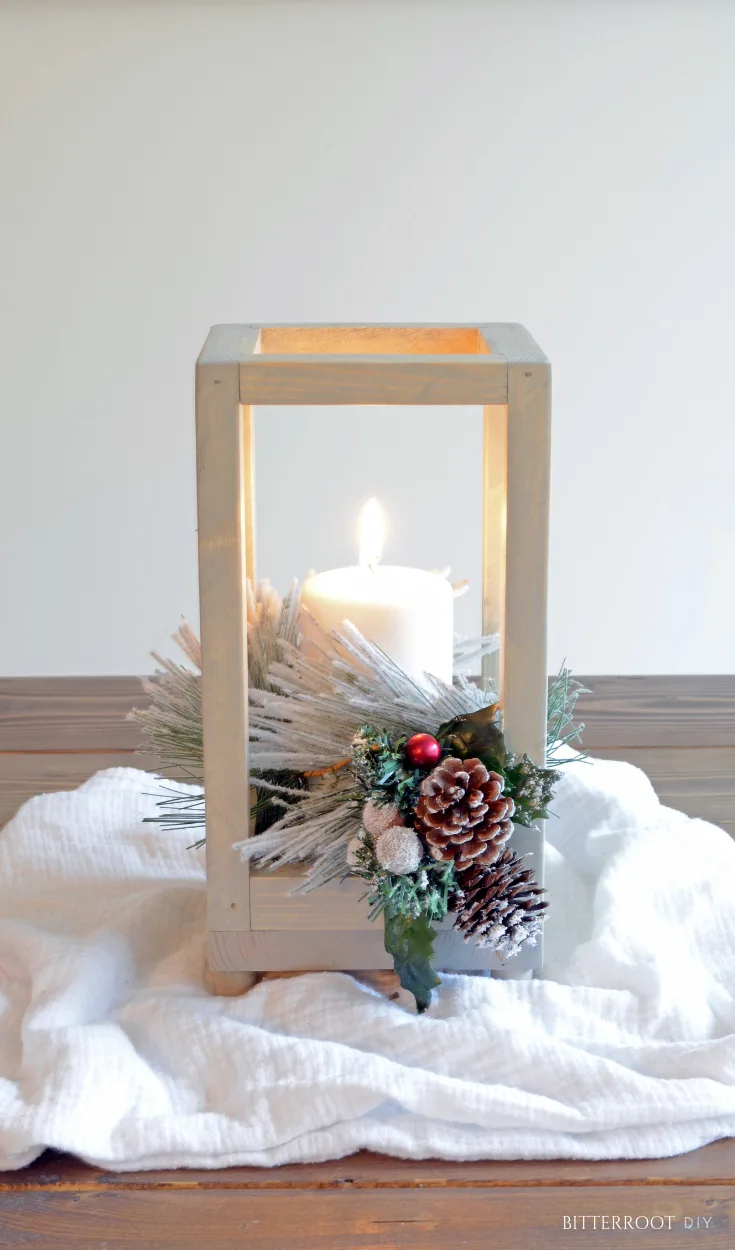
Sand and finish as desired! I stained the lantern with Varathane sun-bleached and sealed it with clear satin polycrylic spray.
Add a candle of your choice and a few Christmas sprays around the base aaannnd
Voila, you have yourself a beautiful centerpiece!
Please let me know if you have any questions and I’ll get back to you as soon as possible.
Don’t forget to check out the rest of these great ideas:

Monday: Cozy Traditional Home | Bitterroot DIY |

Tuesday: A Wonderful Thought | Frazzled Joy | Craftivity Designs | Life on the Bay Bush | A Purdy Little House | Intelligent Domestications

Thursday: North Country Nest | Polka Dot Poplars
Thanks for stopping by!
For more project ideas, you can find me on Pinterest. And to stay up to date with the latest shenanigans, follow me on Instagram.




Kelly
Tuesday 11th of December 2018
Such a beautiful centerpiece and a great tutorial! Thanks for joining in on this hop and have a Merry Christmas! Best, Kelly
Kimberly
Friday 7th of December 2018
Beautiful centerpiece! I will have to get the hubby on making a lantern like this for us. ;)
tylynn_sattler
Friday 7th of December 2018
Thank you so much! They're quick and fun to make :)
Shirley Wood
Tuesday 4th of December 2018
Your lantern is really pretty.
tylynn_sattler
Thursday 6th of December 2018
Thanks Shirley!
Amanda @ The Bay Bush
Tuesday 4th of December 2018
This is so pretty! I never would have guessed it was homemade from looking at it! Beautiful!
tylynn_sattler
Thursday 6th of December 2018
Thankyou!
Sue Purdy
Tuesday 4th of December 2018
What a great lantern. It's adorable. Thank you for sharing.
tylynn_sattler
Thursday 6th of December 2018
Thanks Sue!