Hey all, thanks for stopping by Bitterroot DIY!
For more project ideas, you can find me on Pinterest. And to stay up to date with the latest shenanigans, follow me on Instagram.
This year I am lucky enough to be participating in a Christmas tablescape blog hop with 8 other talented bloggers! If you’re stopping by from the hop, welcome and don’t forget to visit the other bloggers linked below!
I like to focus on building here at Bitterroot DIY, so I whipped up a cute sled centerpiece for this hop. It only took about half an hour to make … and I even did it twice since it completely fell apart after the first attempt (don’t ask…)
This post contains affiliate links. See my full disclosure here.
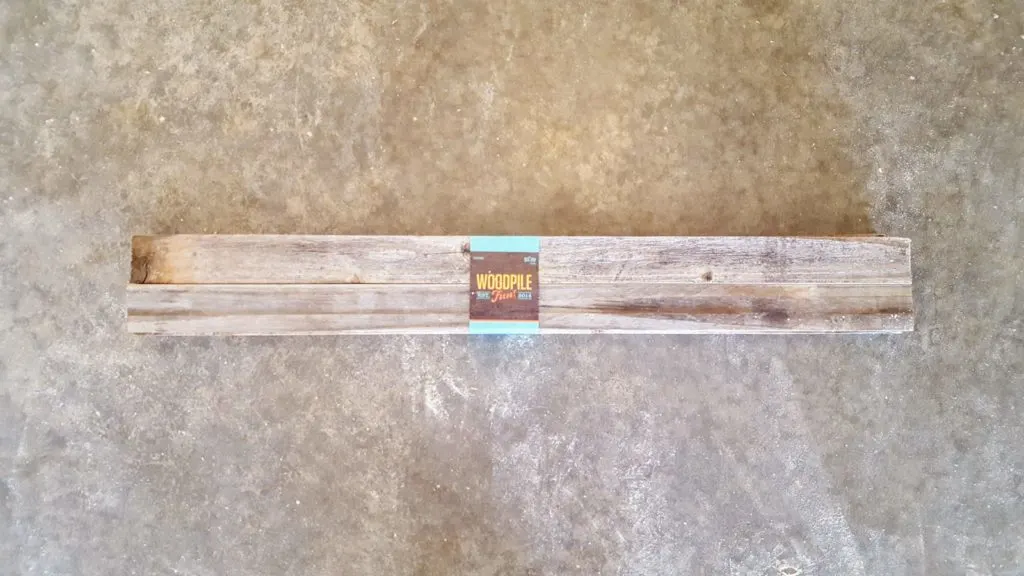
The Woodpile Fun barnwood bundles make this project especially quick. Check out your local hobby lobby for a pack, or head to your backyard to search for some weathered wood!
The size is completely up to you, but the wood from the bundle I used was approximately the dimensions of a 1 x 2.
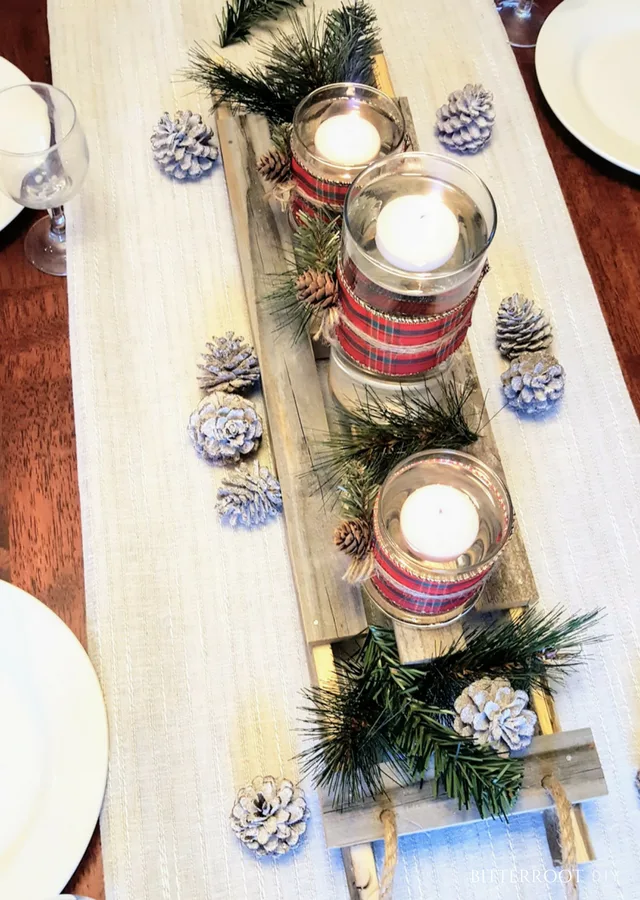
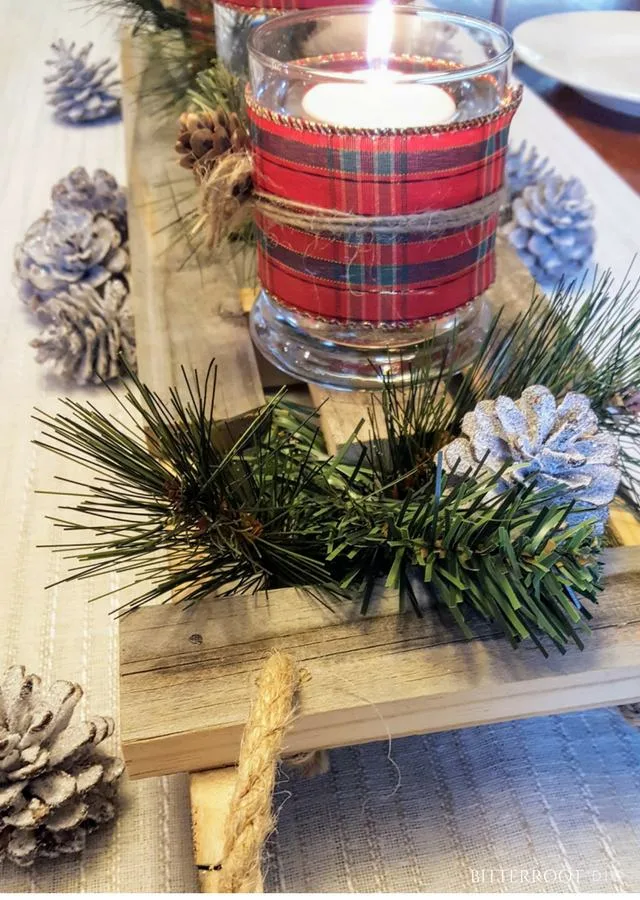
Once you complete the sled, place it at the center of your table atop a simple table runner and add the rest of the decor.
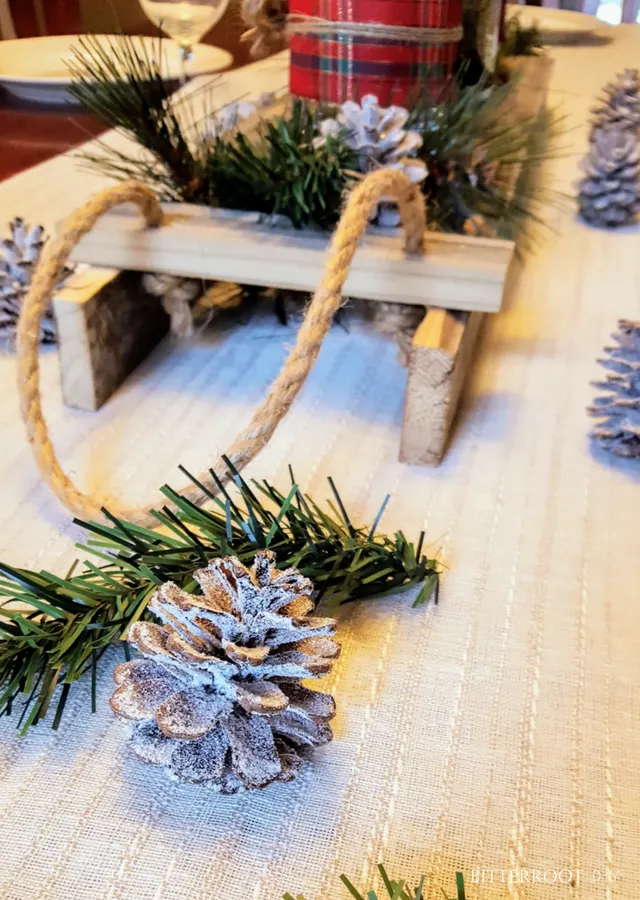
Start with a plain set of glass vases, wrapped with Christmas ribbon, jute, and a pine cone and place them at the center of attention. Next, add some floating candles, snowy pine cones, and branches (I used a pine branch garland and simply cut pine pieces off to spread along the table).
Finish it all off with Christmas dishes and you’re good to go!
Tools & Supplies for Sled
- Barnwood Bundle
- Jute Rope
- Spare 1 x 2
- Miter Saw
- Drill
- Hammer
- Finish Nails
- Tape Measure
- Square
- Clamps
- Wood Glue
- Pencil
- Safety Glasses
- Ear Protection
Christmas Table Decor Supplies
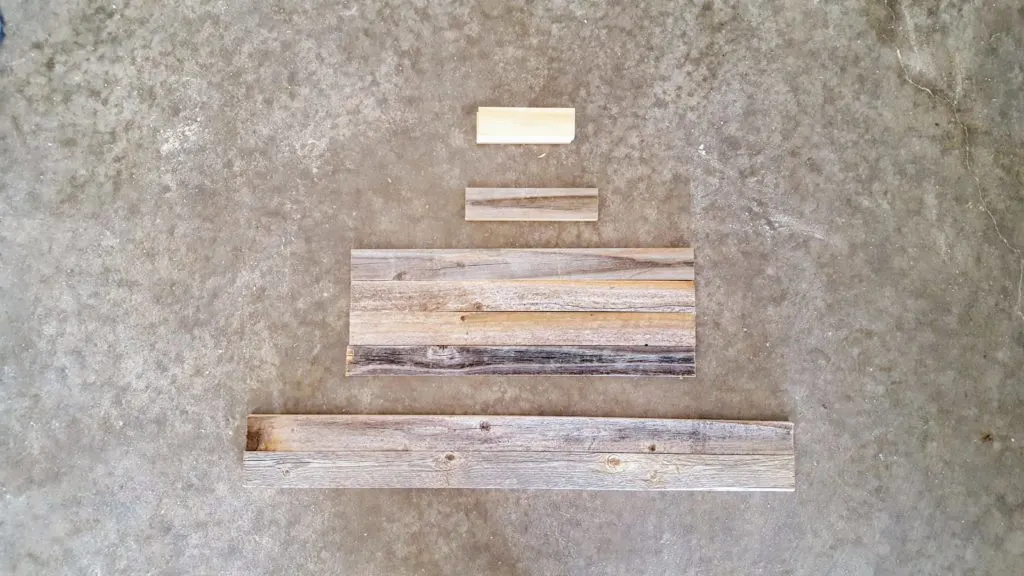
Cut List:
- 2 | Barnwood @ 28″ (runners)
- 2 | 1 x 2 @ 5″ (rungs – I just used some spare 1×2 that I had lying around)
- 3 | Barnwood @ 18″ (slates)
- 1 | Barnwood @ 7″ (steering support)
Step 1. Cut Boards to Length
Cut boards to length according to the cut list.
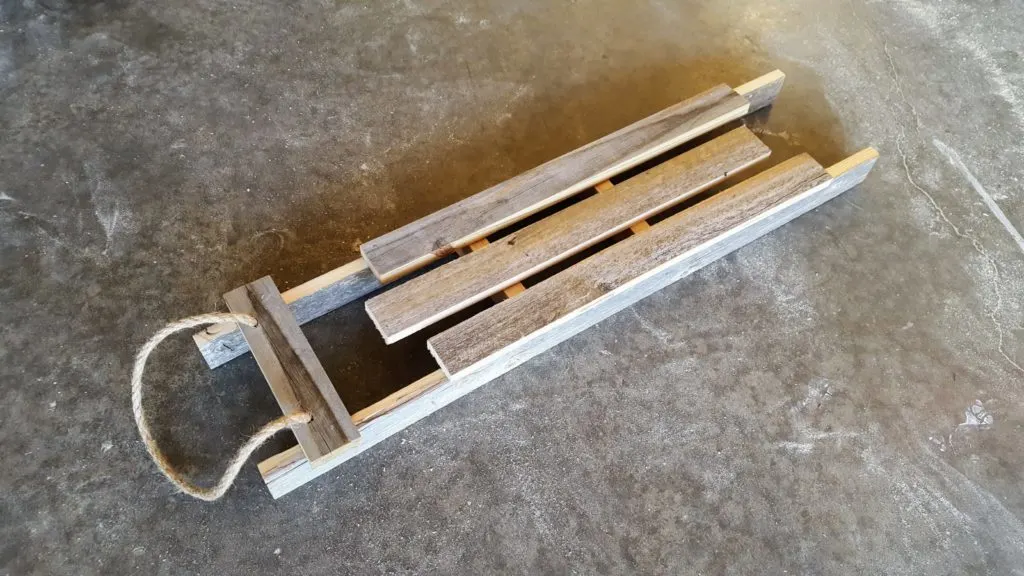
*The photo shows four slates: I had originally planned to use four, but decided I liked three better when I was putting it together.
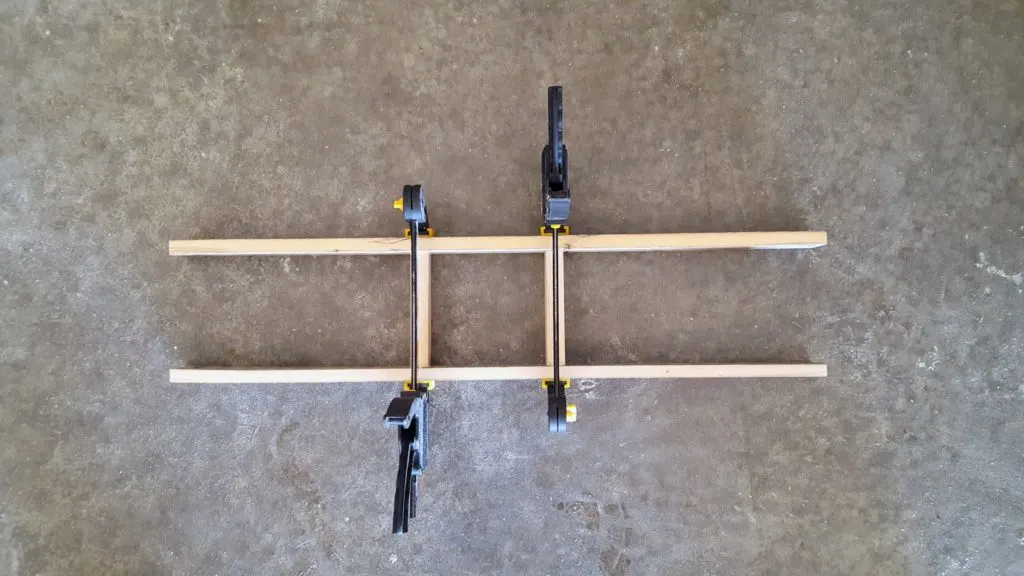
Step 2. Runners
Connect the sled runners with 1 x 2 rungs. Position the rungs flush with the top of the sled to provide support for the slates (added in the next step). Attach the 1 x 2s to the runners with wood glue and finish nails.
Clamp in place and let the wood glue to dry.
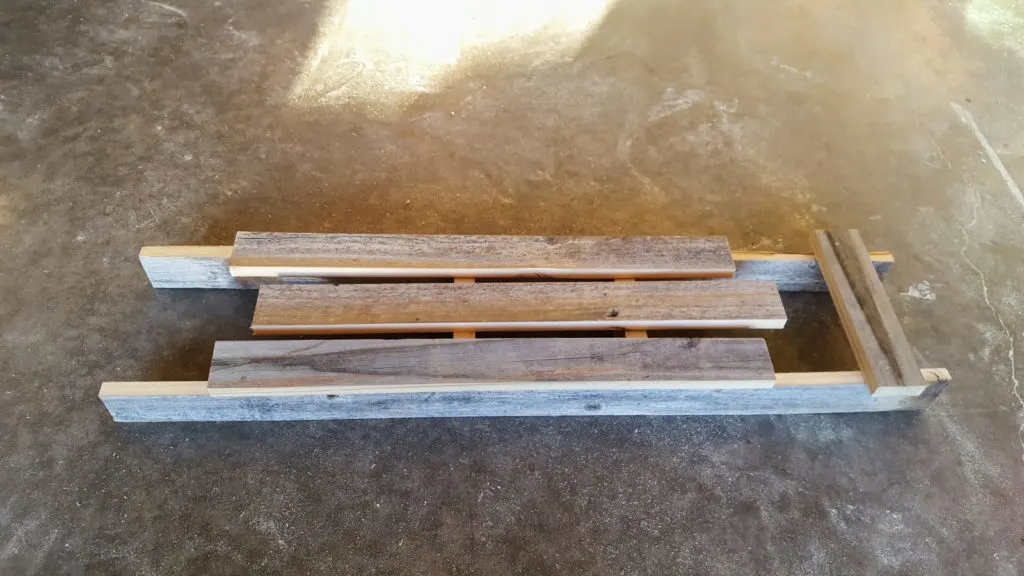
Step 3. Slates
Place the outermost slates flush with runners and attach with wood glue and finish nails. Place the third slate in the middle of the sled and attach to the 1 x 2 rungs with wood glue and finish nails.
Step 4. Steering Support
Position the front steering support about 1 ½” from the top of the runners and attach with wood glue and finish nails.
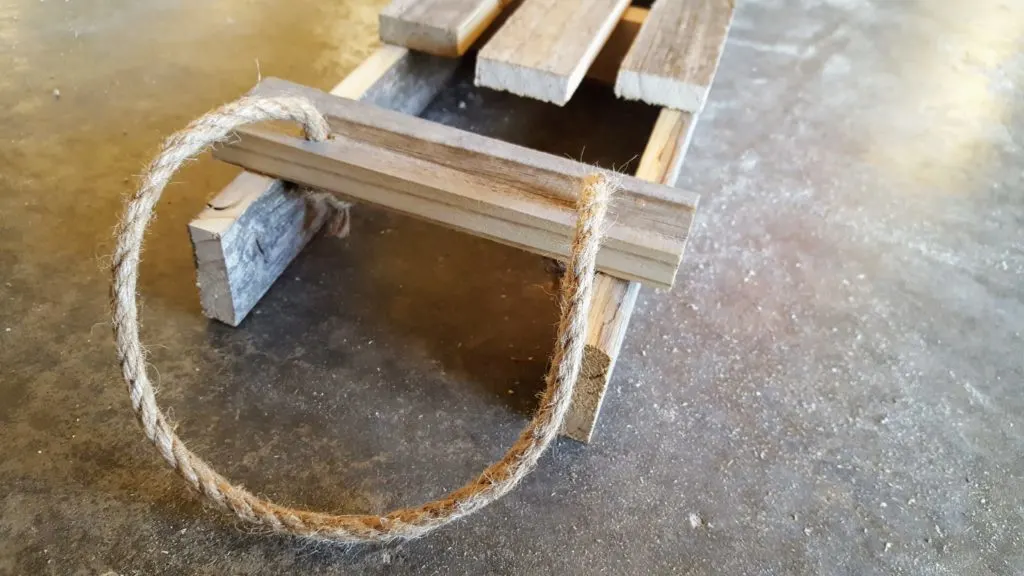
Step 5. Steering Rope
Drill two holes through either side of the steering support. Thread both ends of the jute rope through the holes and tie a knot at the ends. Adjust the rope into place.
And that’s that!
It’s a fun Christmas craft and adds something unique to your tablescape!
I just love the look of the snowy pine cones and pine branches against the weathered barnwood!
And the little floating tealights add just the right sparkle.
Let me know if you have any questions and I’ll get back to you as soon as possible! And please do share your photos if you make your own sled. I’d love to see it!



Kelly
Friday 8th of December 2017
This is such a creative and rustic idea for a centerpiece! I love it! Thank you so much for joining in on this hop and I hope you have a Happy Holidays! Best, Kelly
Denise
Saturday 2nd of December 2017
What a cute project! It makes such a great centerpiece too!
Lora
Friday 1st of December 2017
Love this idea for a centerpiece! It's creative, simple, and rustic -- right up my alley.
A Very Plaid Christmas Tablescape - Loveland Lodge
Wednesday 29th of November 2017
[…] Bitterroot DIY […]
Snowy Neutral Christmas Tree Tablescape - The Chelsea Project
Wednesday 29th of November 2017
[…] Bitterroot DIY […]