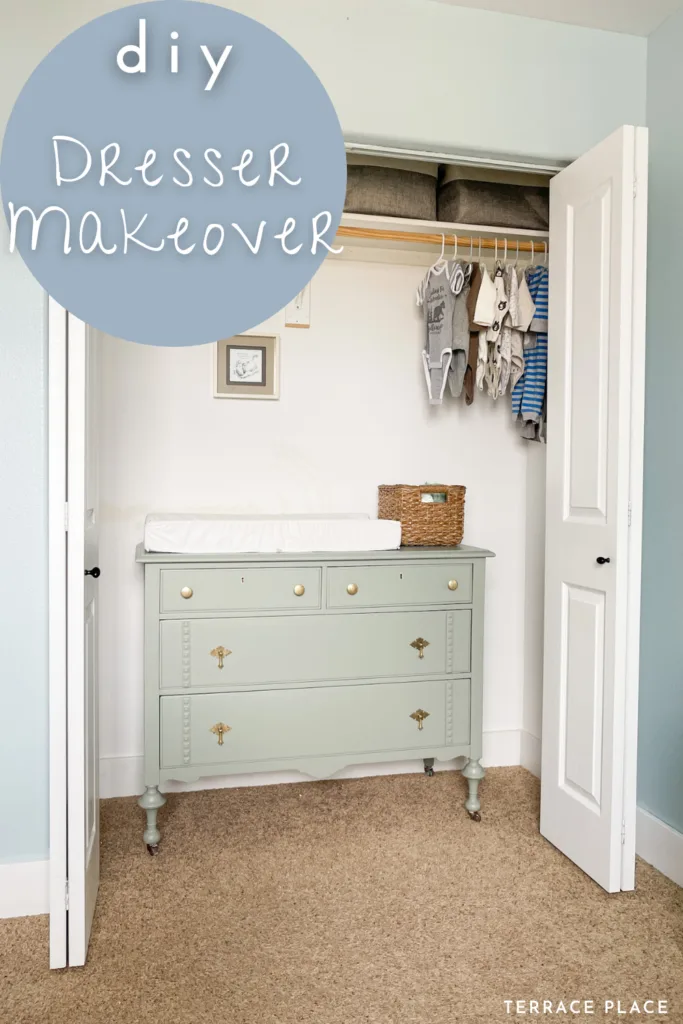
Fix up your old vintage dresser by giving it a fresh coat of paint and restoring the hardware.
This post is sponsored by KILZ®. All thoughts and opinions are my own.
This post contains affiliate links. If you make a purchase from one of the links, I may make a small commission at NO EXTRA COST to you. Thank you for your support! See my full disclosure here.
- KILZ 2® All-Purpose Primer
- BEHR® Satin Cabinet & Trim Enamel “Nature’s Gift”
- Fine Finish Foam Roller
- Paint Brush
- Paint Sprayer (optional)
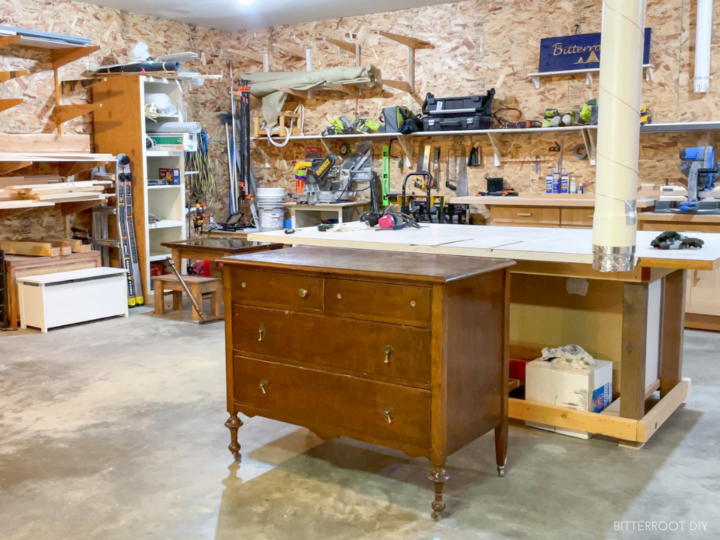
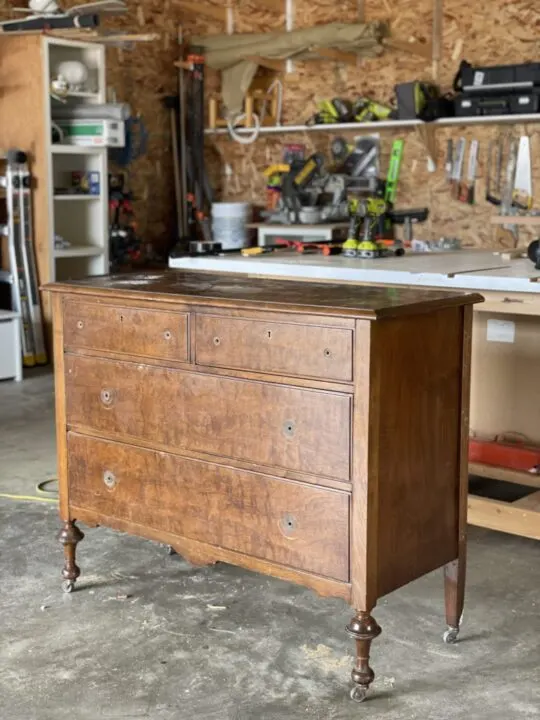
One of the projects on my list in the next couple months is our son’s nursery. I’m thinking a mix of the new cottage-esque style (I think the design world is calling it “cottagecore”) and vintage aircraft. It’ll be calm and nature-inspired, with a few rustic touches, or, in this case, aircraft touches. Even though I’m still a few weeks out from the project, I saw this perfect old dresser on Facebook Marketplace and just couldn’t pass it up. I gave it a quick deep clean, hit it with the sander to scuff up the old finish, primed it with KILZ 2® All-Purpose Primer, and painted it with BEHR® Satin Cabinet & Trim Enamel in the color “Nature’s Gift”.
Oh. And I may have cut the back completely off …

Have you ever been on the search for a cute vintage dresser only to discover that the dimensions aren’t quite right, or it’s oddly, hugely deep? Maybe it’s just me, but I think the standard depth for dresser used to be around 22″-24″, and today it’s closer to 18″. How do I know that? Well, all the vintage dressers I’ve seen are between 22″-24″ deep and most the dressers I found on the Anthropologie website are 18″.
Very scientific study, I know.
Really, like I said – maybe it’s just me and the dressers I’ve found so far. But, either way, I’ve had this crazy question for a few months now – can you cut the back off an old vintage dresser and make it more narrow?
Short answer – yes.
Long answer – read on.
Part 1: The Goal
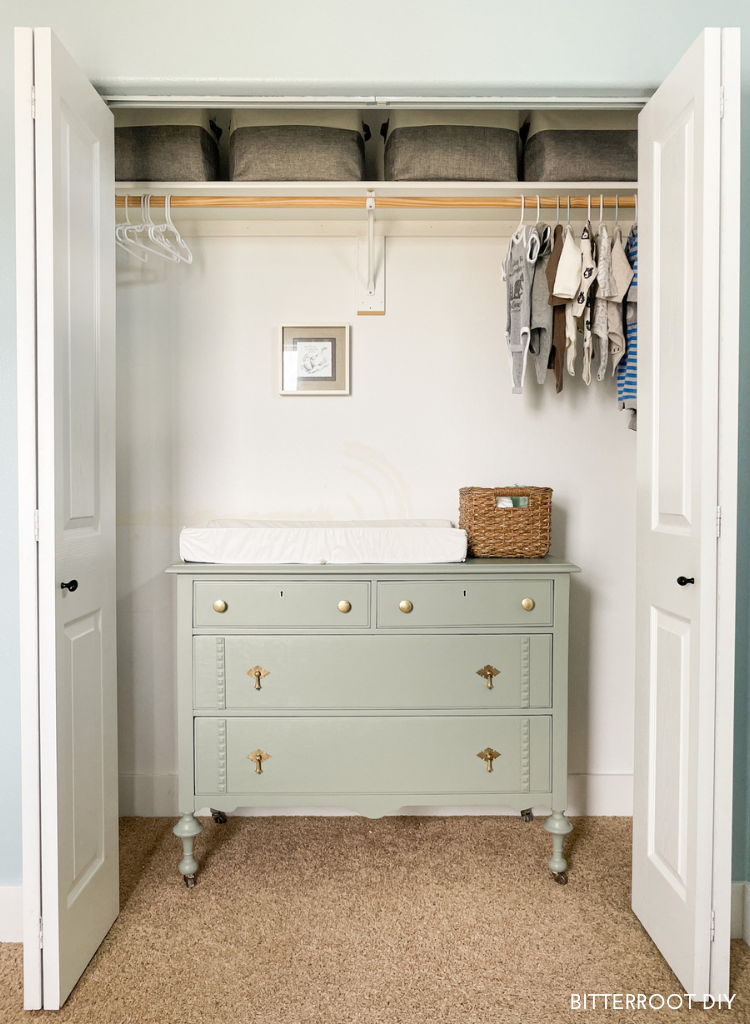
His room is pretty small but has a sizeable closet. I wanted to fit the dresser in there to leave the rest of the room open for the crib, a reading corner, and play area. I found a beautiful old dresser on Facebook Marketplace and figured this was the perfect time to answer my own question. The dresser was 24″ deep and needed to be slimmed down to about 18″ to fit in the closet.

Perfect. No problem.
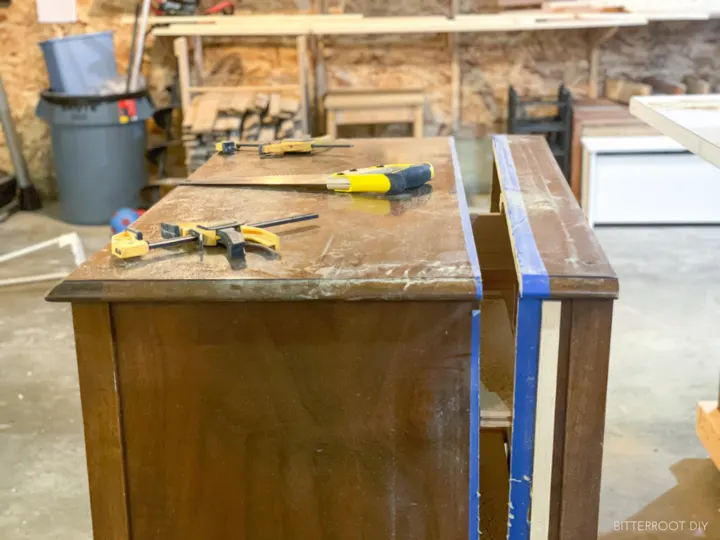
Part 2: Let’s Cut
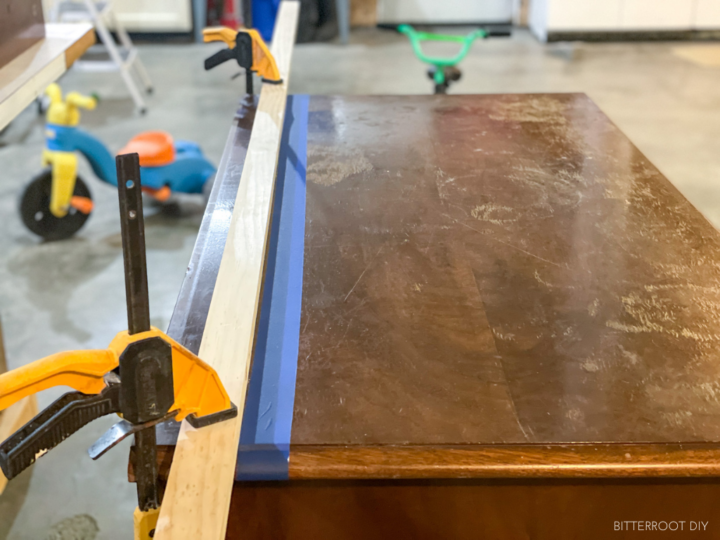
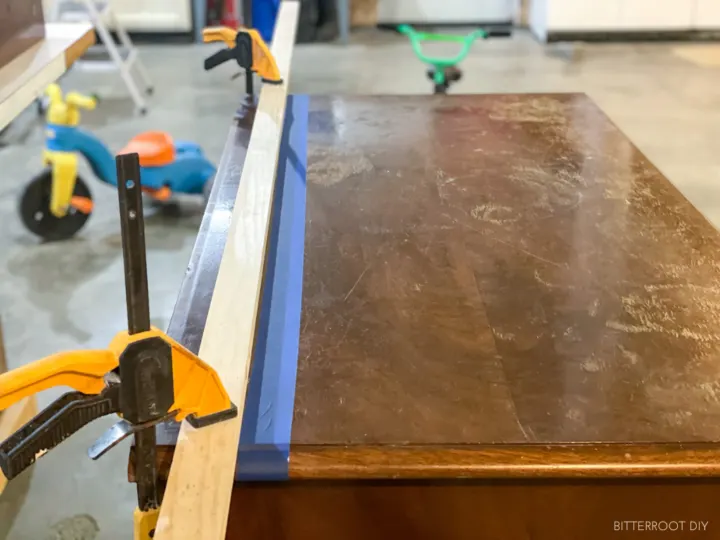
I removed all the drawers, hardware, and any fasteners that I didn’t want to accidentally hit with the saw (tabletop fasteners and drawer slide hardware). I measured, marked, clamped a guide in place and ripped the top and sides down to size with a circular saw.
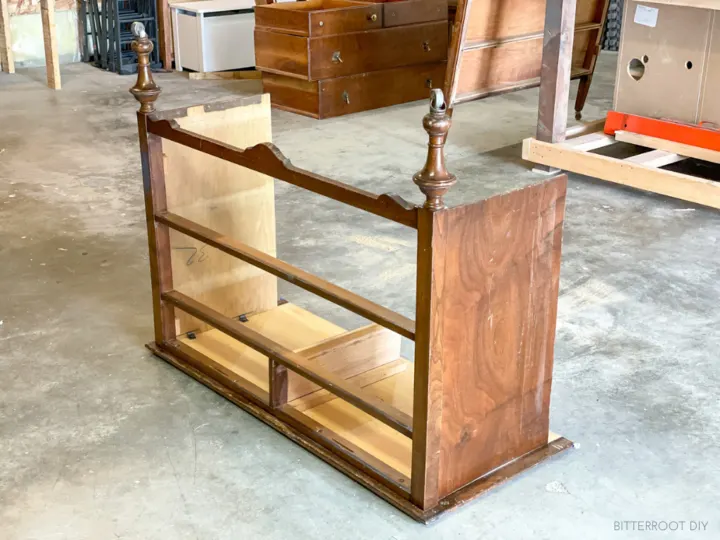
The back peeled away pretty easily, then I dissassembled the rest of the interior framing and was left with – dun dun duuun –
A lot of work ahead of me.

Part 3: D-I-WHYYY
You know that point in every project where you regret everything?
Yeah.
When I finished cutting the back off and taking the whole dresser apart, I realized just HOW BIG this project was going to be. Granted, it was also about midnight at that point, so maybe that had something to do with the deep pit I felt in my stomach. But, alas, this was not going to be the “quick dresser flip” I had pitched to my husband. Nope.
This was an all-in dresser rebuild, restore, refinish, regret-to-report-this-is-going-to-take-longer-than-I-thought-can-you-watch-the-kids-for-the-forseeable-future sort of project.
Now, I didn’t pay very close attention before I started the project (hello, it was the middle of the night when I decided to start this adventure. Why? That’s when the kids sleep…). But once I took a closer look, I saw the craftsmanship that went into this piece. It was a legit, hand-built dresser with real joinery, oak framing, walnut drawers with dovetailed sides, the whole nine yards.
Then I got a little nervous. It was a beautiful piece. And I just cut it right in half. Nice.
Part 4: We Shall Rebuild
At that point I had no choice but to rebuild it as best I could.
I mean, not that I had considered just burning the whole thing and pretending it never happened because I didn’t exactly have time to take on something quite that big right now. No. That didn’t cross my mind at all.
But once I saw how nice it was, I knew I had to keep going.
I reattached the back, cut the drawers down to size and rebuilt them, and secured everything with wood glue, a wing, and a prayer. Just as easy as that.
Kidding.
There were some hiccups along the way. But I got it figured out.
First, the plywood sides were originally attached with what’s called a “shouldered dado” joint – it’s very strong. Once I cut the sides off, I sanded the legs back down smooth so I could reglue them to the shorter sides. I thought about recutting the dados, but there wasn’t a great way to do it with the back still assembled. The rest of the joints were also very well done, so taking it apart to cut new dados wasn’t an option. Instead, I opted to glue the sides directly onto the legs and added bracing from the inside of the frame to strengthen it.
I added pocket holes along the top of the back panel and drilled them into the bottom side of the top of the dresser (I should add arrows in all directions to that sentence haha!). The, moral of the story is: I reattached the back panel as best I could given the situation.
Next, I cut the drawers to their new length. The table saw blade only cut a few inches, so I ran each drawer through it to start the cut and then finished it by hand. I reattached the original backs with wood glue and finish nails.
I had planned to replace all the drawer slides with new ones, but there wasn’t enough clearance. Most drawer slides require 1/2″ clearance and this dresser only had 1/4″ on each side. The drawers were built with beautiful dovetail joints, so rather than cut off the sides and lose the dovetails, I decided to restore the original slides. The original builder made the slides in such a way that that also entailed rebuilding quite a bit of the interior framing.
Now, I know this is kind of a high-level view of how I made it narrower. There’s not really a good one-size-fits-all tutorial for cutting up an old vintage dresser because it ALL depends on how it was originally built. But that’s the quick run down. When it was all said and done, I had rebuilt pretty much every part of the dresser.
Which led me to …
Part 5: The Beginning
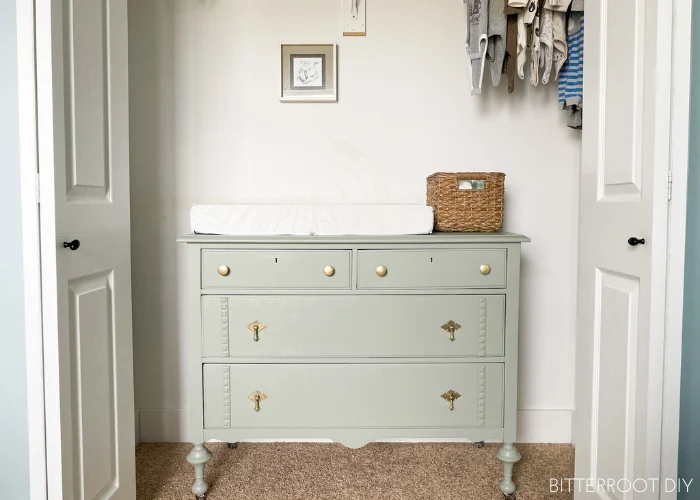
It looks SO DIFFERENT, right?!

I know, I know. It’s the best vintage dresser makeover on the internet. You’re welcome.
Okay, maybe it looks exactly the same. But, in my defense – it was actually a LOT narrower! What started as a 24″ deep dresser was now just 18″ deep and perfect to fit in the nursery closet. After all that rebuilding, I FINALLY made it back to what felt like the beginning.
Before I moved on to refinishing, I added a couple pieces of molding to the bottom two drawers to give them a little more character. I used wood glue and a couple finish nails to attach them.
Part 6: How to Paint a Vintage Dresser
– Prep
Whether it’s cabinets, furniture, trim, etc. surface prep and priming is hands-down the most important part of painting and/or refinishing. The new finish is only as good as your prep and primer. If the old finish is peeling or cracking, the new paint will just peel up right along with it. The goal is to make sure there’s a strong bond between the old finish and raw wood and to create a strong bond between the old finish and new finish.
To prep the dresser, I lightly sanded it with 120 grit sandpaper. If any of the old finish is peeling, you’ll want to sand it all the way off. If the old finish is in decent condition (like this dresser was), you just have to scuff the surface a bit to give the primer something to adhere to. I used an orbital sander for the flat surfaces, hand sanded all the curves, vacuumed off the dust, and gave it a quick wipe down with a damp rag to make sure there wasn’t any dust residue.
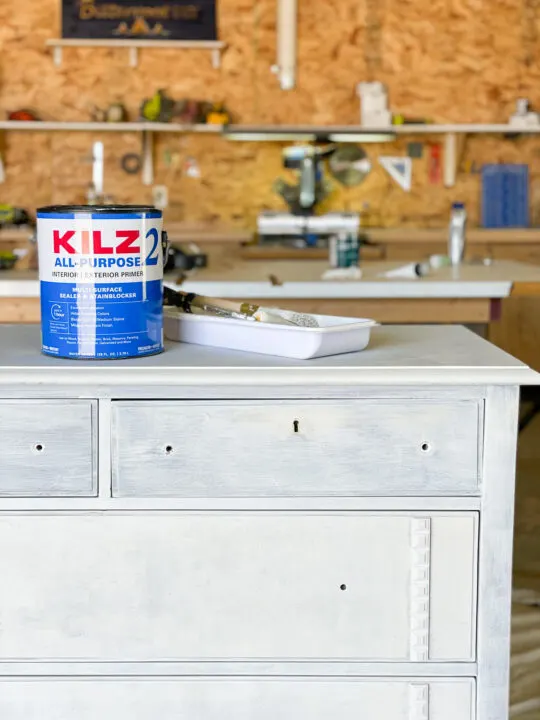
– Primer
Then I applied a coat of KILZ 2® All-Purpose primer. I used a brush for tight spots and a fine finish foam roller for the flat surfaces. Primer is the key element to ensure you have a strong bond between the old finish and new finish, that the old color is hidden and won’t bleed through, and to help give you a smooth surface to paint. It bonds to the old finish, hides the old color, and gives the new paint something to adhere to. KILZ 2® All-Purpose primer dries quickly, seals old stains well, and has excellent adhesion. It’s also water based, so it doesn’t stink nearly as much as oil based primers.

– Paint
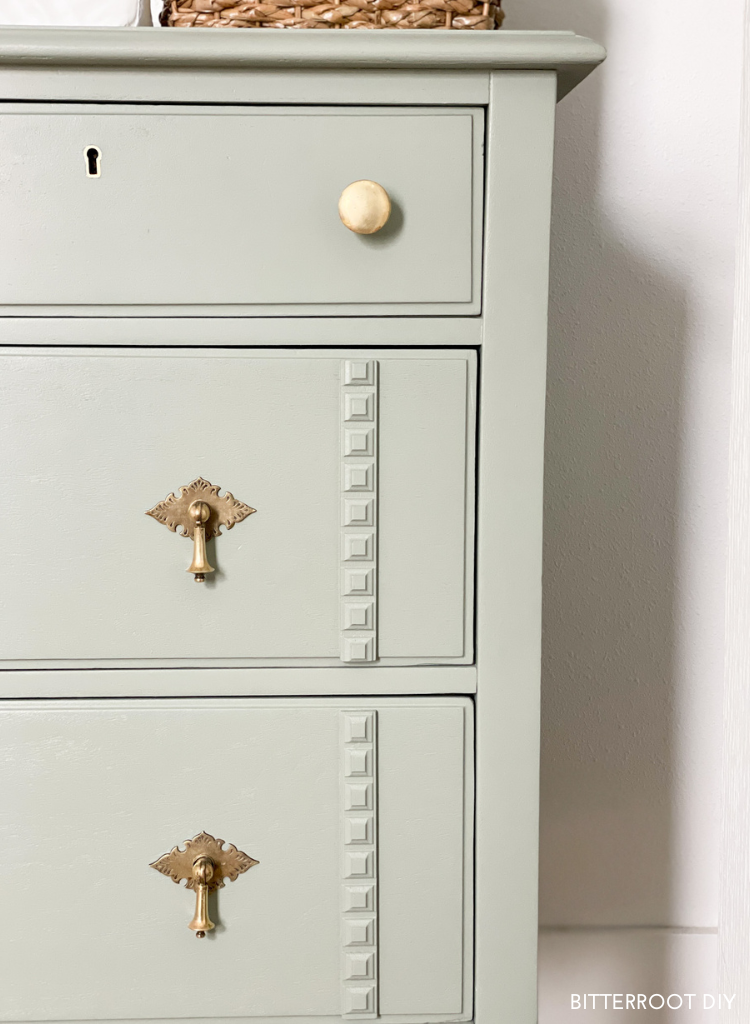
Once the primer dried, I broke out my Home Right Finish Max sprayer to paint the dresser with BEHR® Satin Cabinet & Trim Enamel. Trim enamels dry harder than standard wall paint and offer some more protection, so I use it quite a bit on dressers since they see a lot of wear and tear. The color is “Nature’s Gift”.
You can apply primer with a sprayer as well, but it will usually take a few coats since you have to thin it enough to spray. I opted to brush & roll the primer and spray the paint this time – just personal preference. If you don’t own a sprayer, stick with the brush and rollers for the paint. I recommend using fine finish rollers for a project like this. They give you a nice, smooth finished surface that’s as close to spraying as you can get.
– Hardware
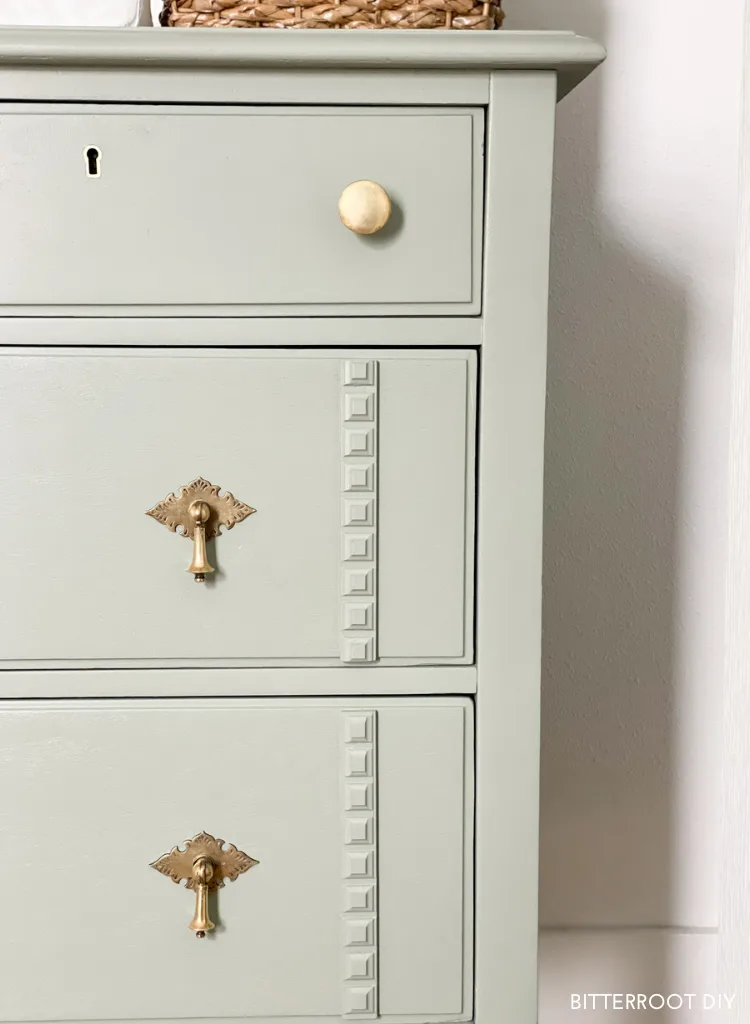
Last but not least, I cleaned up the old hardware with the help of some Bar Keeper’s Friend and put them back on the drawers.
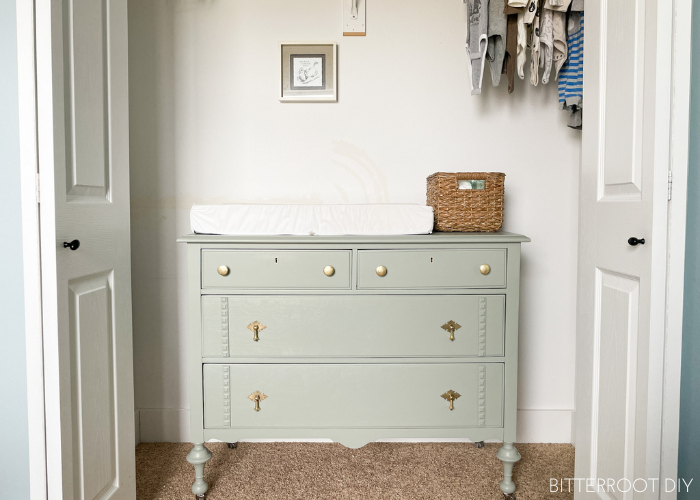
And here it is – a brand new old vintage dresser!

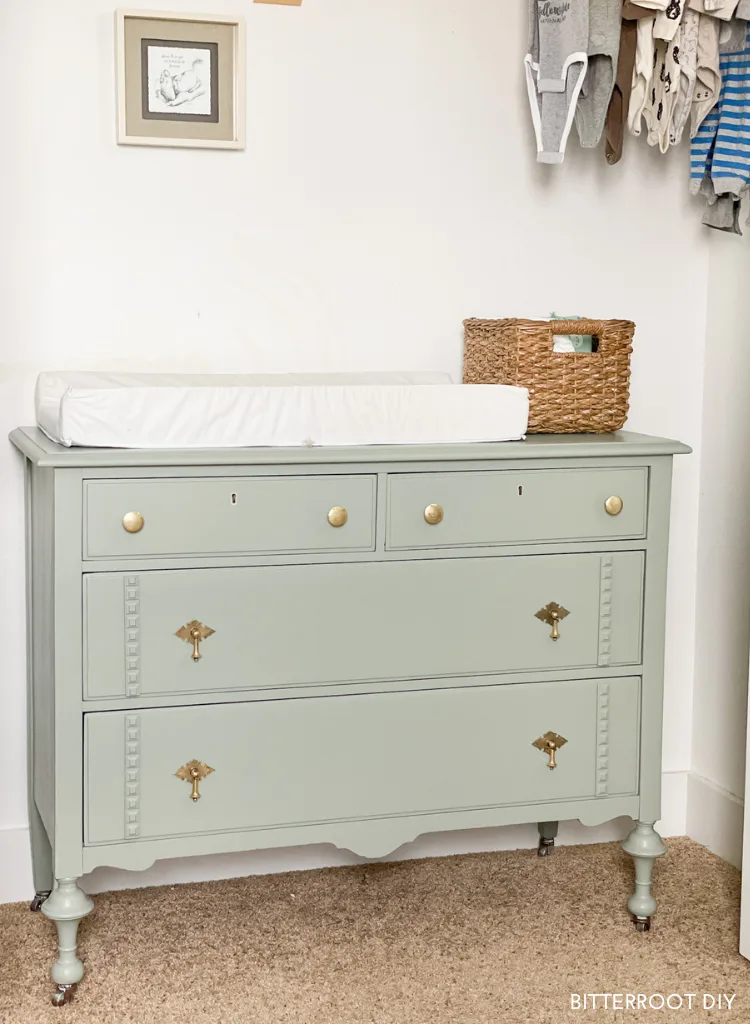
It’s just the vibe I was going for: fresh and rustic with a bit of old cottage charm and character. Please excuse the weird rainbow-looking lines on the back of the closet wall … this room is still in progress and I had to patch a few spots.
Now that it’s finished and in the room, was it worth it? Would I ever cut the back off another dresser?
Ask me in a few weeks haha.
Kidding.
It’s a totally doable project. I would just note that it’s a lot more in-depth than I first thought. It’s not a quick-fix way to get a cute dresser. Honestly, it’s probably close to the same amount of work as building one from scratch, if not the same. Trying to redo someone else’s work adds a whole new level of complication to a project than just working from the ground up. However, it does have a ton of character AND I was able to save an otherwise worn out old dresser.
So, overall – yeah, I’m glad I did it. I love how it turned out and it’s the perfect piece to start off our son’s nursery!

I’d love to see your take on a vintage dresser makeover. Tag me over on Instagram @bitterrootdiy or shoot me an email at bitterroot.diy {at} gmail.com if you fix up one of your own!
Please let me know if you have any more questions and I’ll get back to you as soon as possible.
| Tylynn |