There are multiple ways to cut crown molding, but the simplest method is to cut it with the angled “flats” rested squarely along the fence and base of the saw. With this method, you only have to adjust the miter angle, rather than both the miter and bevel.

My first experience with crown molding was when I extended the kitchen cabinets to the ceiling a couple months ago. It took a few cuts to get the hang of things, but after a couple sets of inside and outside corners, things went quickly.

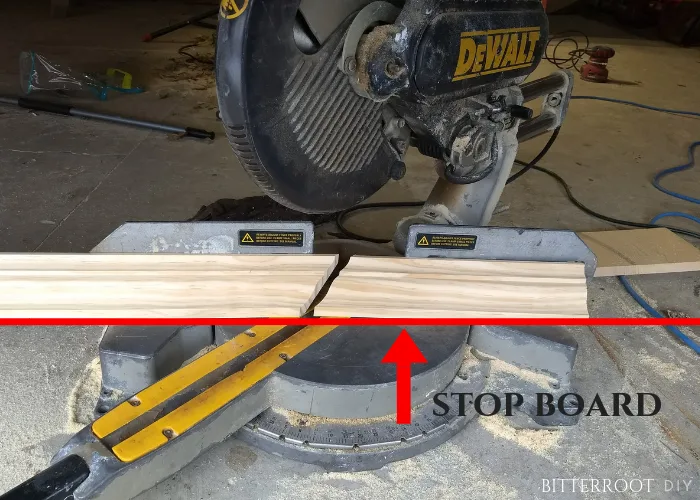
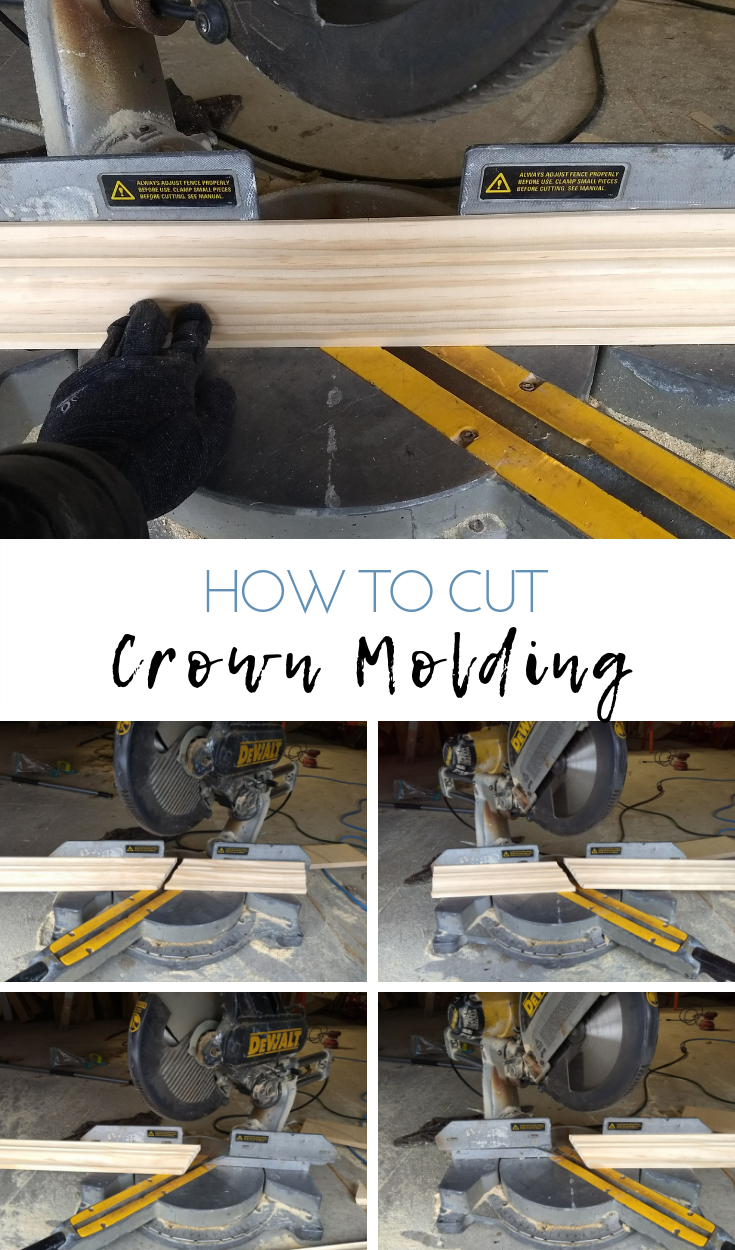
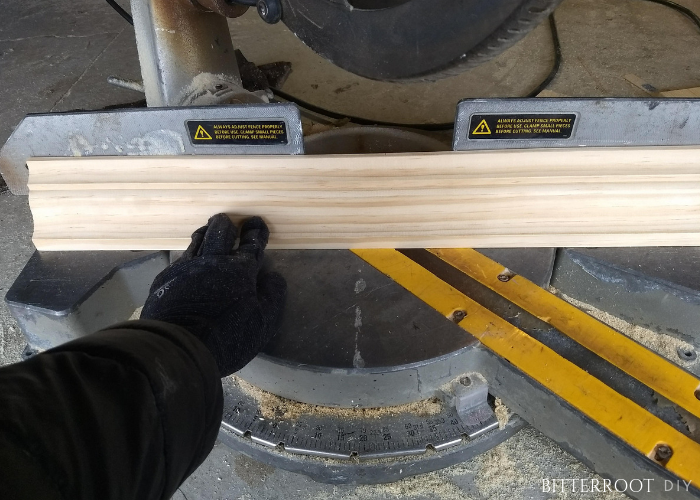
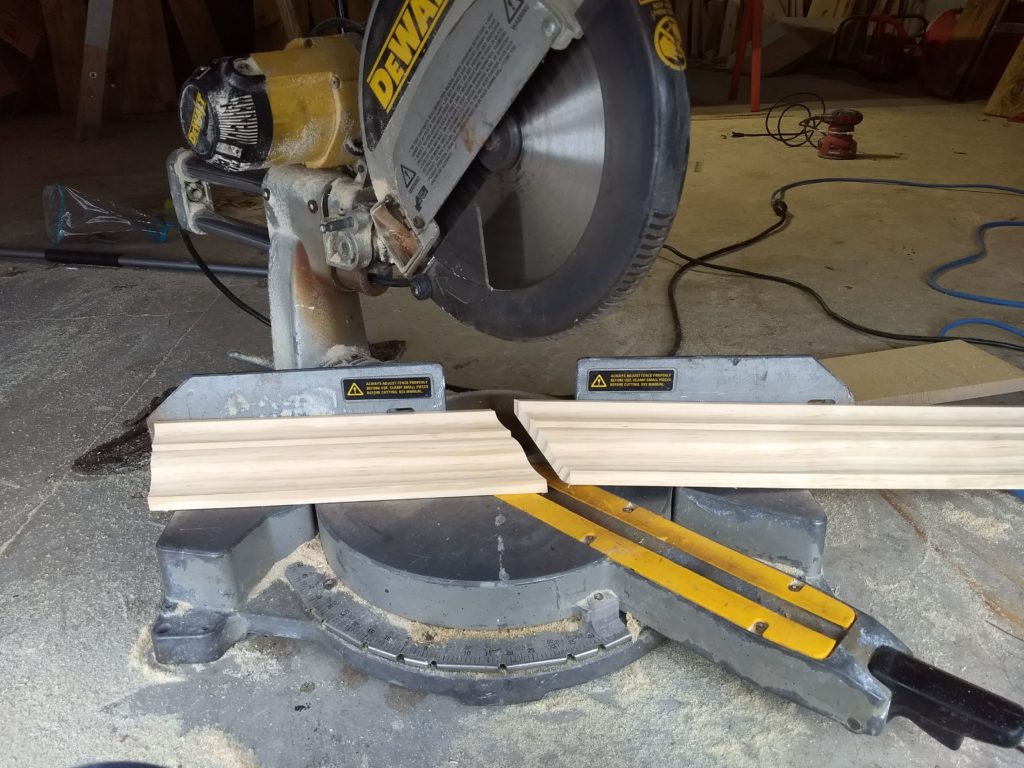
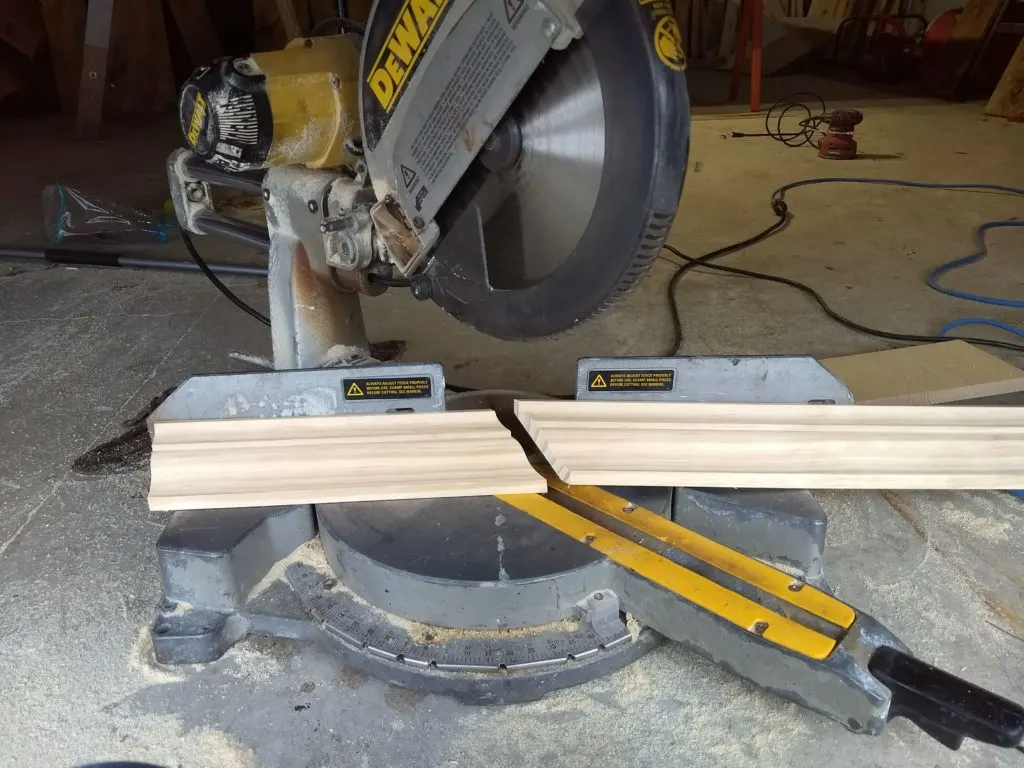
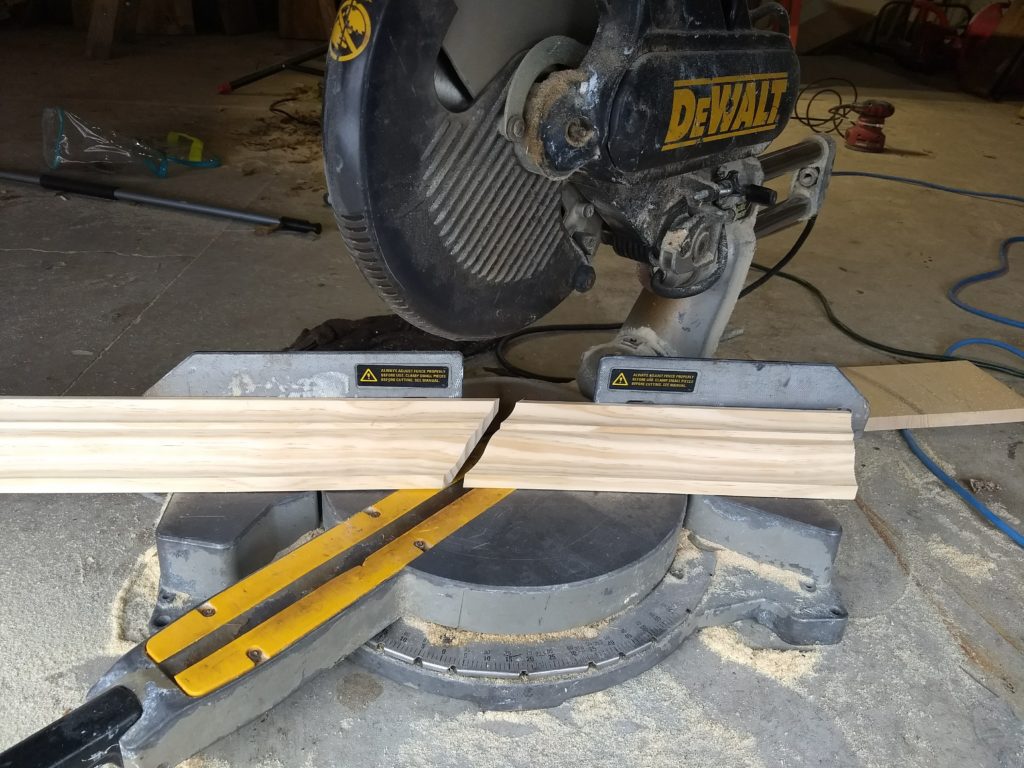
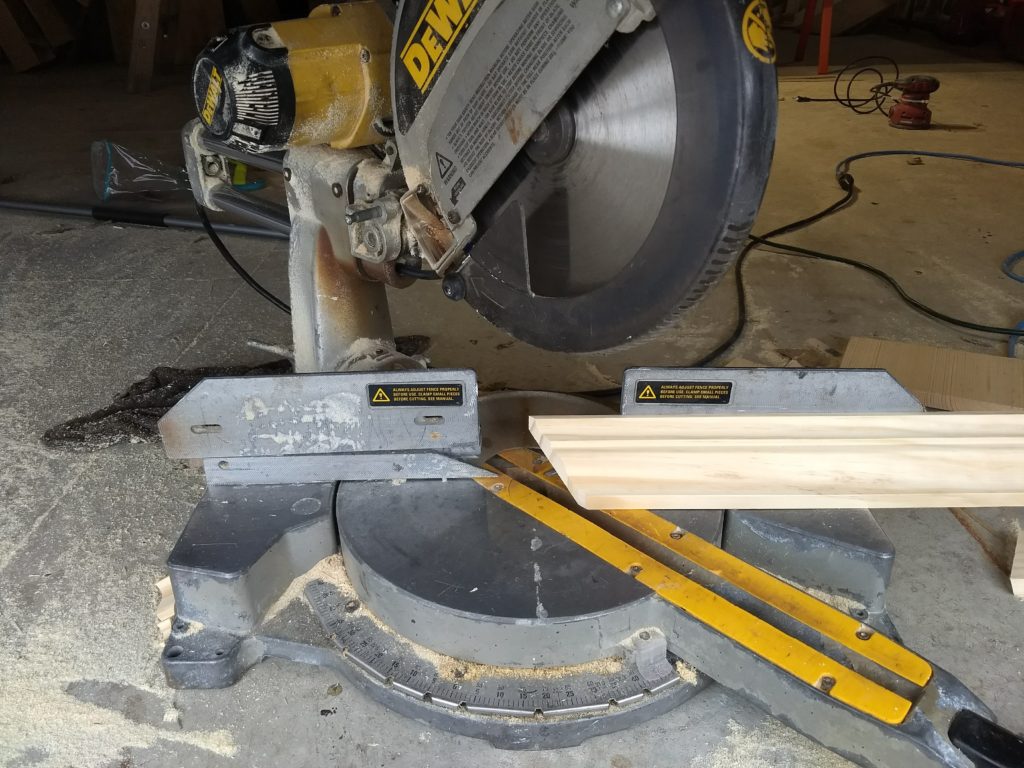
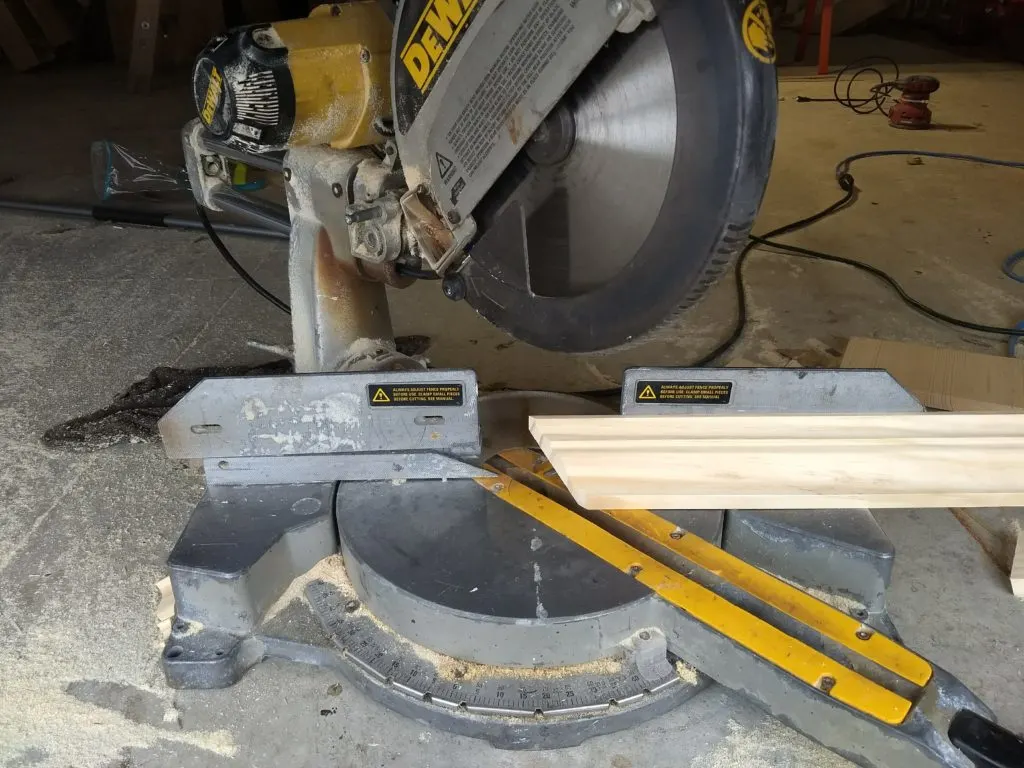
To cut crown molding using only the miter angle, place the crown molding upside down across your saw. The more elaborate side is the bottom, so cut with that side up. Position the molding with the top and bottom angled “flats” (where it rests against the wall and ceiling) flush with the fence and base of the saw. The molding should be sitting at an angle when the flats are flush – just how it will sit against the ceiling and wall. It’s important to keep the angle consistent for every cut so that the molding lines up during installation. For extra security, clamp a stop across the base of the saw so the molding sits in the exact same spot every time.
I did not use a stop, but I highly recommend it if you have the setup.
Simply clamp a spare board across the saw with the edge butted up against the crown, as marked in the above photo.
Outside Corner
There are two components to an outside corner – right and left.
Right Side
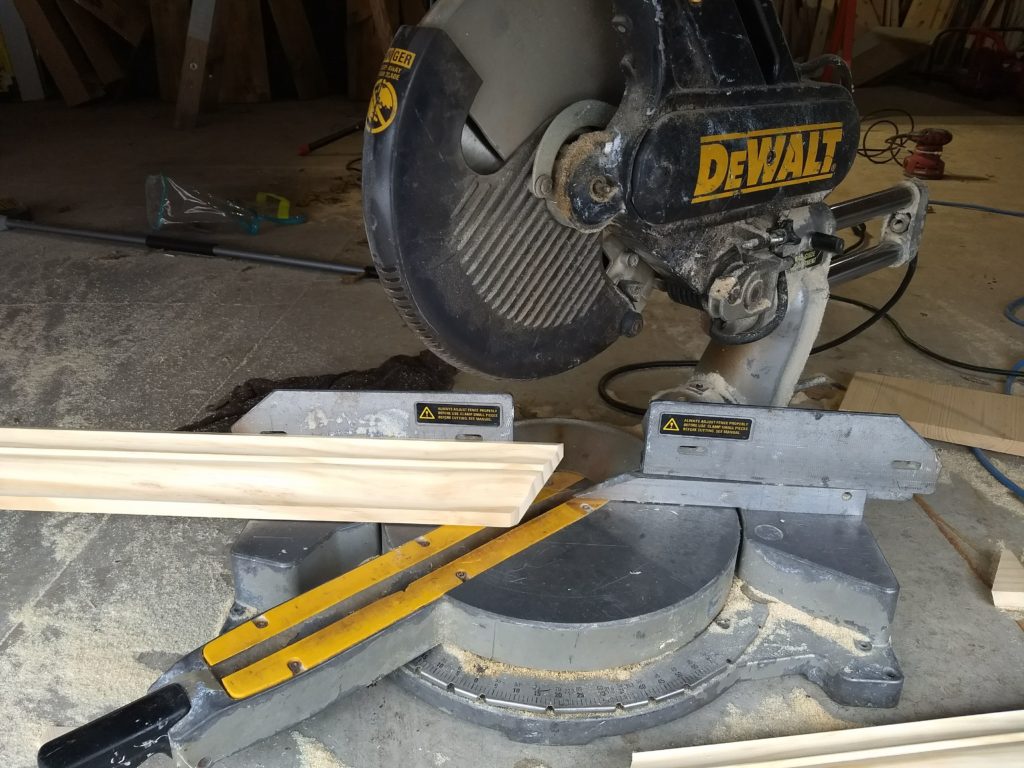
Place the “keep piece” to the left of the saw. Turn the saw to a 45° miter to the right. Make your cut.
Left Side
Place the “keep piece” to the right of the saw. Turn the saw to a 45° miter to the left. Make your cut.

Inside Corner
There are also two components to an outside corner – right and left.
Right Side
Place the “keep piece” to the left of the saw. Turn the saw to a 45° miter to the left. Make your cut.
Left Side
Place the “keep piece” to the right of the saw. Turn the saw to a 45° miter to the right. Make your cut.
Remember to cut the molding upside down in order for this method to work.
I put together a very simple template if you’re interested in a printable copy to take to the shop: How to Cut Crown Molding Template.
Please let me know if you have any questions and I’ll get back to you as soon as possible!
| Tylynn |
Thanks for stopping by!
For more project ideas, you can find me on Pinterest. And to stay up to date with the latest shenanigans, follow me on Instagram.