If you’re just joining, welcome to the Bitterroot Scrap Wood Series!
Head over to Day 1 to catch the beginning of the shenanigans, as well as our exciting news.
Long story short – I’m sharing a new scrap wood project every Monday, Wednesday, and Friday in May and this is Day 4!
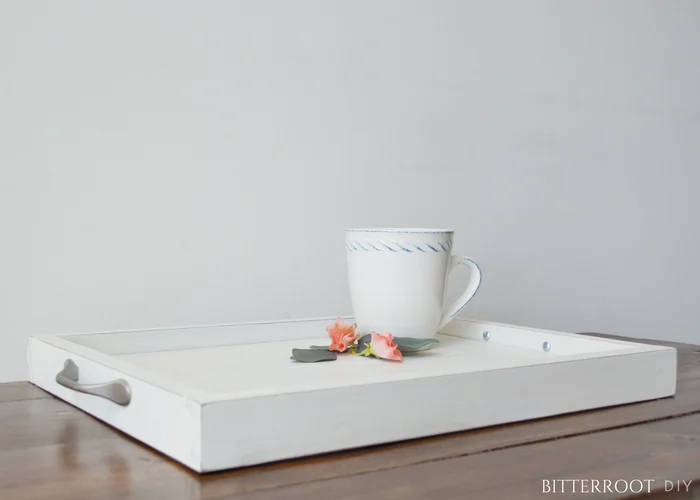
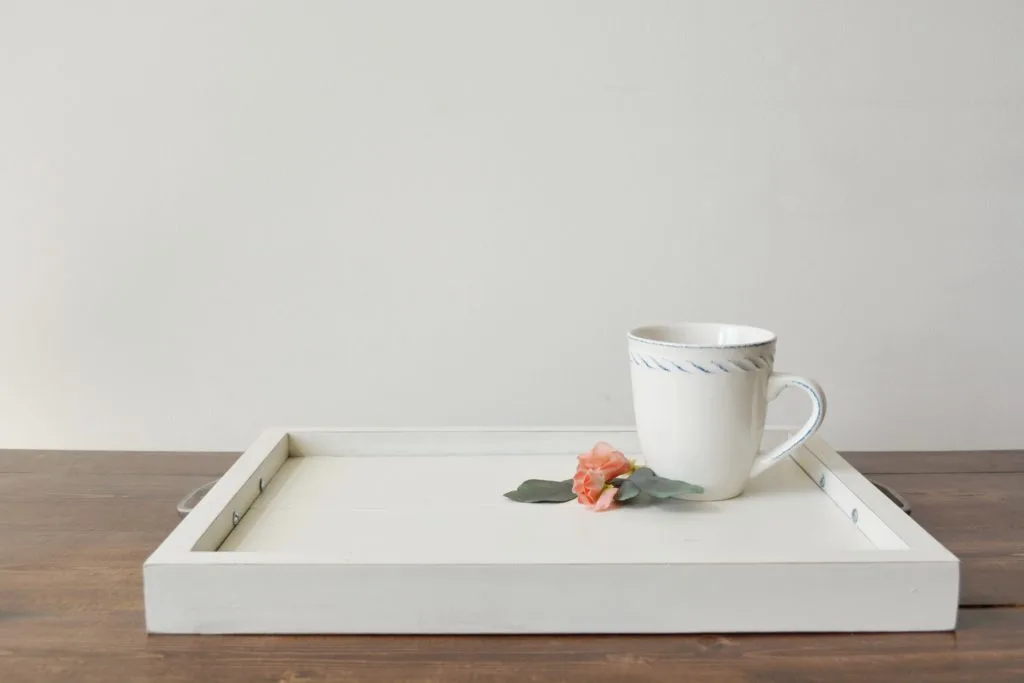
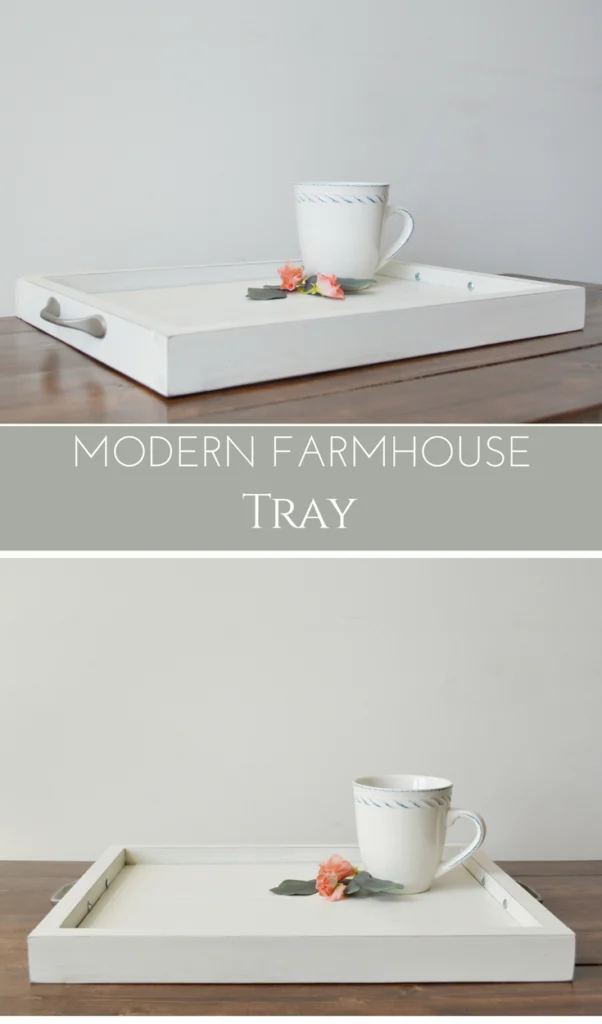
Today I’ve got an easy modern farmhouse tray for you!
Use it to serve.
Use it to decorate a coffee table.
Gift it.
Hang it on the wall and pop a wreath in the middle.
The sky’s the limit with a tray!
 This post contains affiliate links. If you make a purchase from one of the links, I may make a small commission at NO EXTRA COST to you. This helps keep the tutorials and plans free here at Bitterroot DIY. Thank you for your support! See my full disclosure here.
Tools & Supplies:
- Wood Glue
- Finish Nailer and Nails (or hammer and nails)
- Handles
Lumber:
- 1 | 1 x 6 @ 4’
- 1 | 1 x 2 @ 6’
Cuts:
- 2 | 1 x 6 @ 20” (base)
- 2 | 1 x 2 @ 21 1/2” (sides)
- 2 | 1 x 2 @ 11” (ends)
Step 1.
Position the two 1 x 6 base pieces flush with each other along their long sides and attach with wood glue. Clamp in place and let dry.
Step 2.
Attach the 1 x 2 ends with wood glue and finish nails. They should sit flush with the edges of the base. Clamp in place and let dry.
Step 3.
Attach the 1 x 2 sides with wood glue and finish nails. Clamp in place and let dry.
Step 4.
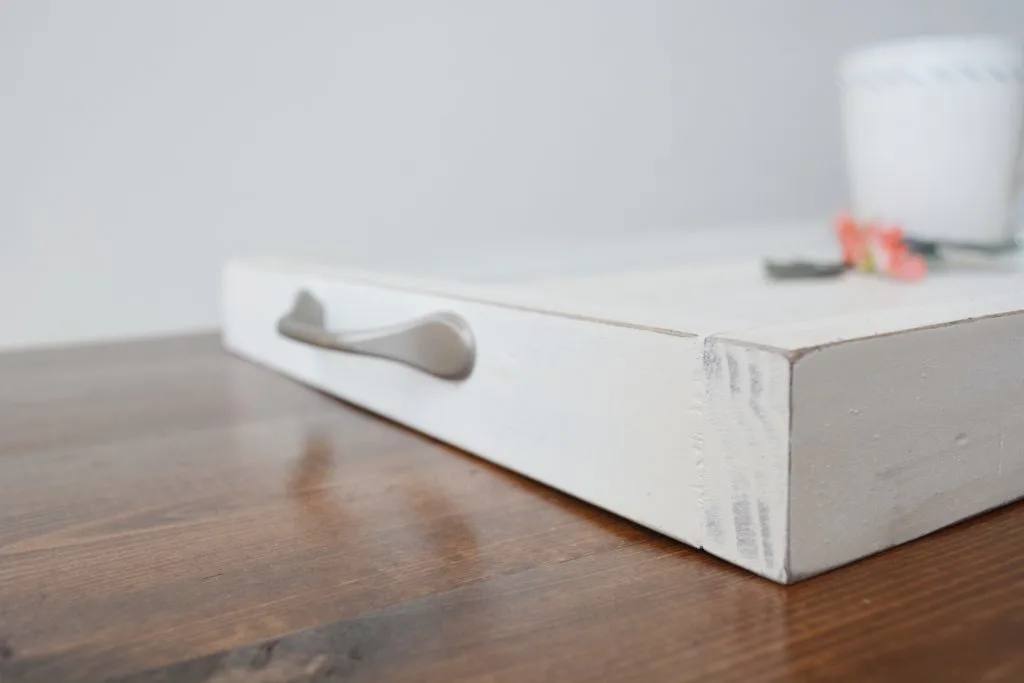
Sand and finish as desired. I stained the tray with Minwax Special Walnut, let it dry, and then added a coat of Rust Oleum Heirloom White. Once the paint was dry, I scuffed the edges and corners with some sandpaper for that nice modern farmhouse finish.
Step 5.
Last but not least, add handles on the ends!
Let me know if you have any questions and I’ll get back to you as soon as possible.
Thanks for stopping by!
For more project ideas, you can find me on Pinterest. And to stay up to date with the latest shenanigans, follow me on Instagram.


