Hi all! With this new baby on the way, I started thinking we’re probably going to need a place for diaper changing as well as a place to keep new baby’s clothes! I did quite a bit of research into changing tables vs dressers and decided to go the dresser route. We don’t have a ton of space in what will be the baby room. It’s currently the “catch-all” room – full of super valuable items random stuff. Kinda like a “junk drawer” (other people have those right?) … except this is the whole room.
But alas, I digress.
Anyways, the dresser is the most compact way to store baby items and have a changing area in the small space. Plus, as baby gets older he’ll already have his very own dresser! Score.
I was originally going to build the dresser from scratch, but ended up finding a steal of a deal on Craigslist on an old IKEA dresser. A dresser refurb was also less intimidating than building from scratch, so off I went. Someday I’ll build one … but not quite yet.
Step 1.
Destroy dresser.
Ok, maybe that’s a bit of an exaggeration … how about just “disassemble dresser.” This is just a process of figuring out how the thing is held together. Then, undo it! Start with the hardware, then move on to the frame.
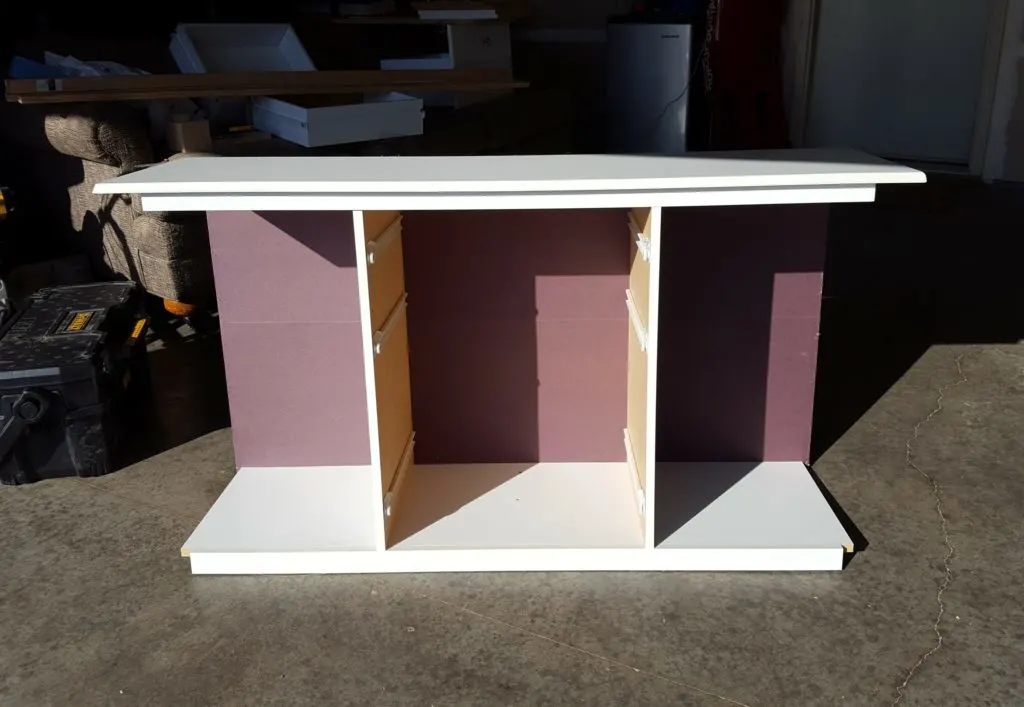
I removed the sides, legs, doors, drawers, and trim. That left me with the interior frame and dresser top.
Step 2.
Re-build everything you destroyed. Build it better. Much better.
Try one layout, redo, redo, redo … until you like it and everything fits. You really have to plan the whole re-build out before you start in order to make sure it’ll all fit together.
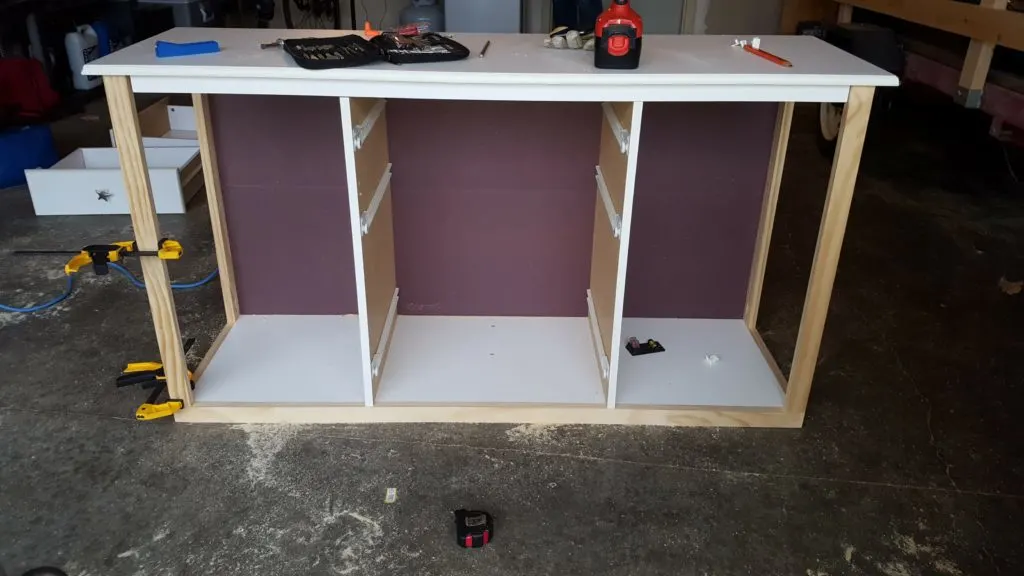
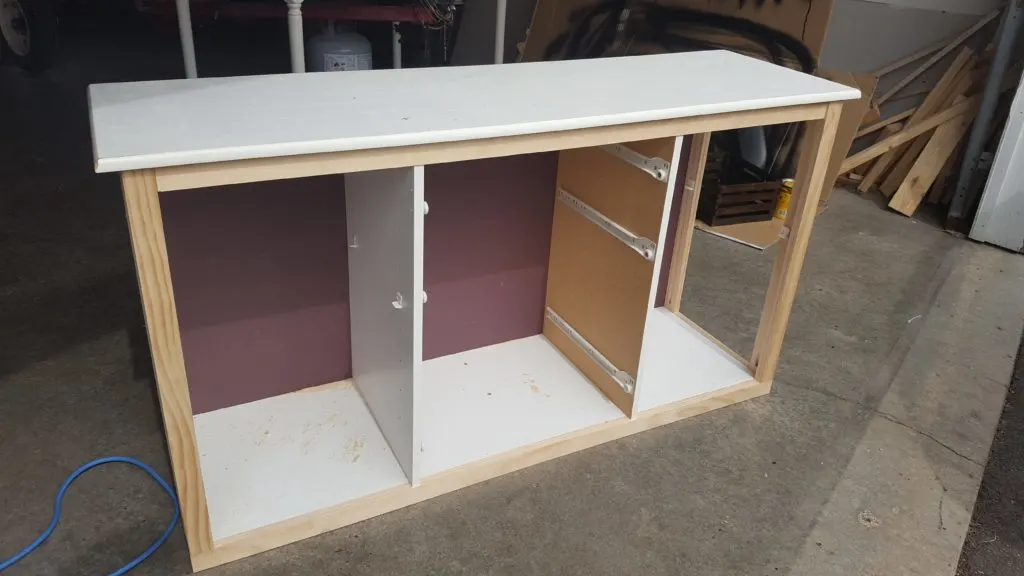
I started with trim. It took some finagling, but I eventually figured out how to get everything to mesh with the existing pieces.
I made all the measurements, cut the new trim to size, and attached with pocket holes and screws to the existing top and bottom of the dresser.
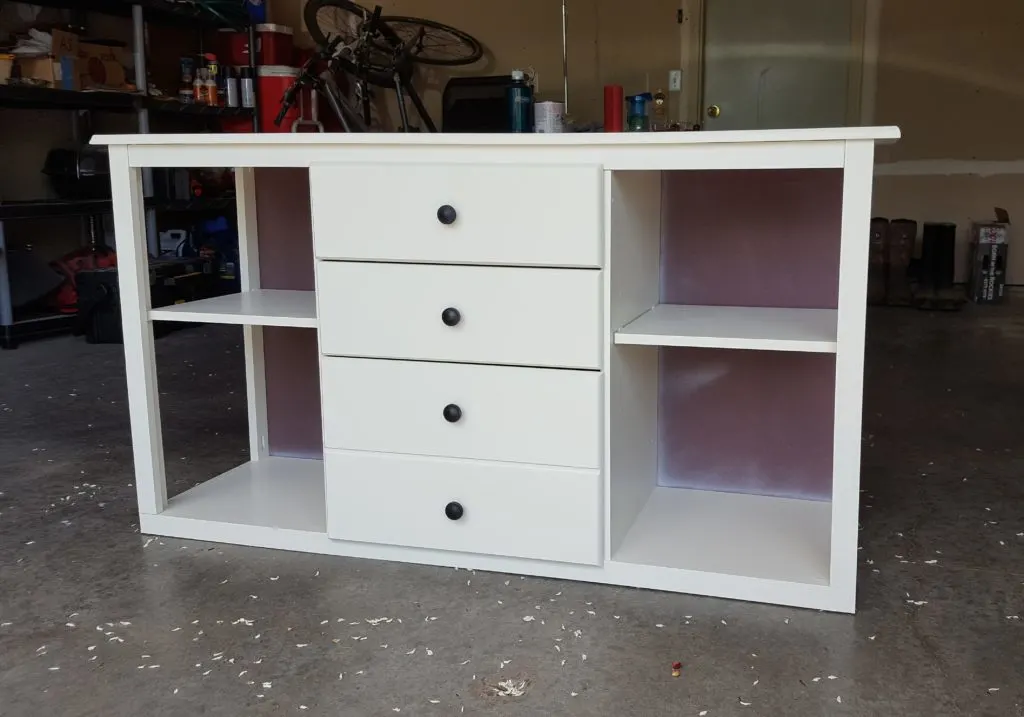
I had originally planned to keep the existing top trim, but decided to replace it once I had redone the rest of the trim and framing. The existing top trim wasn’t quite long enough to line up with the new sides and also didn’t match the new wood trim. This is what I ended up with when it was all said and done:
The dresser looked much more uniform and put-together with wood trim and framing all around.
Step 3.
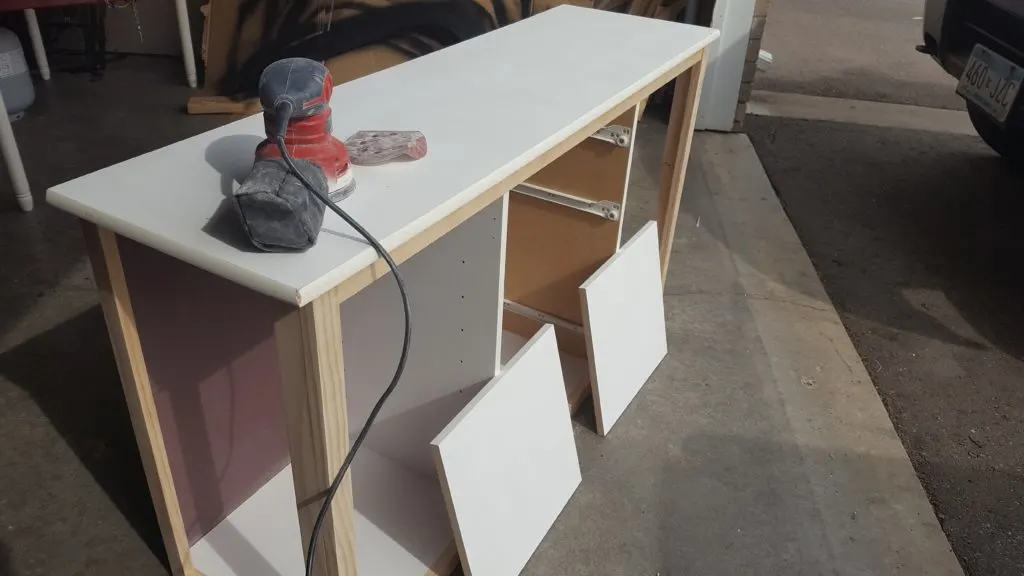
Sand. Everyone’s favorite part!!! This dresser is originally from IKEA, which means it’s laminate rather than real wood. Though I generally like the look of stain, it doesn’t work for laminate. So I ended up researching how to prep and paint laminate and simply followed the same process for the new wood parts in order to get a uniform look.
To paint laminate, I started by “scuffing up” the surface with a high-grit (220) sandpaper in order the get the primer and paint to adhere properly.
Step 4.
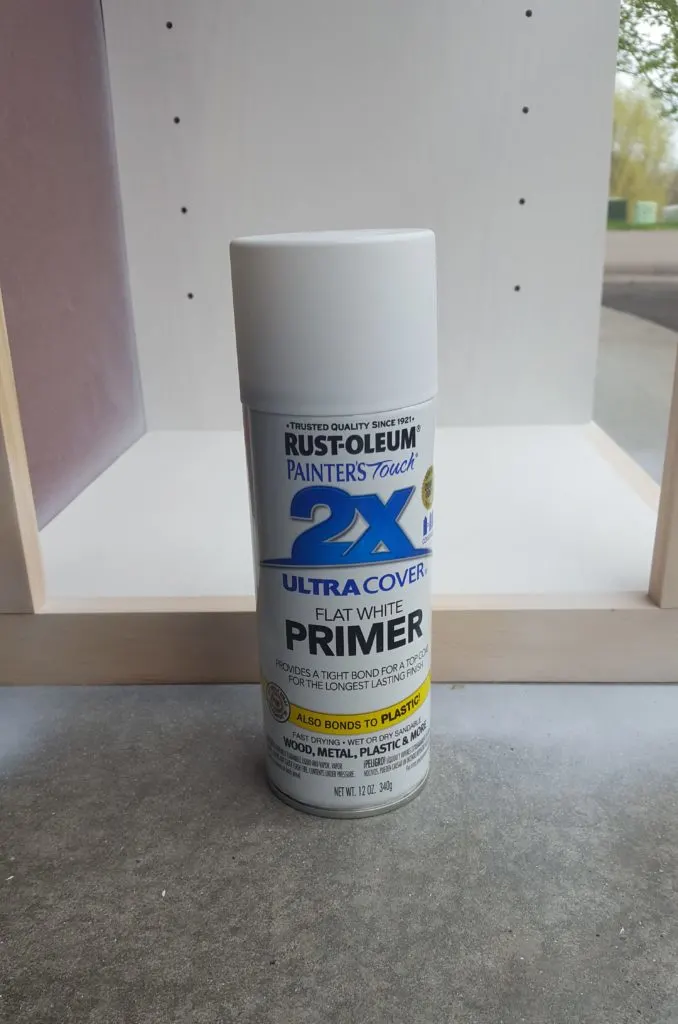
Once I finished scuffing the laminate surface, I primed the entire dresser with Rustoleum Painter’s Touch Flat White Primer.
The flat white worked well to cover both the laminate and new wood pieces so that I had an even surface to start painting. Also, spraying the primer saved me oodles of time!
If you’re planning on painting a darker original piece with a light color, I would suggest using the paint-on primer rather than spray-on to ensure full coverage. Since this dresser was white to begin with, I felt comfortable with the spray-on option.

Step 5.
Paint. Since I’m partial to stain, this was my first experiment with painting furniture. There were highs. There were lows. Some parts look like a 4 year old did it. Others look professional. The conclusion: it’s a learning process.
I used Rustoleum Painter’s Touch Ultra Cover in satin heirloom white. Once I got the hang of things, I really enjoyed this paint. It covers well and is rated for indoor or outdoor use, so it’s good to go as is.
I started with the top of the dresser, so that ended up a little rough. However, I’m planning on putting the baby changing pad and a crate for diapers on top of it anyway which will hide the paintbrush lines. (If interested, you can see the diaper crate here!)
Next, I painted the trim and interior. Those ended up much smoother than the top of the dresser … thank goodness 🙂
To finish things off, I painted the shelves and drawer fronts and added some new hardware.
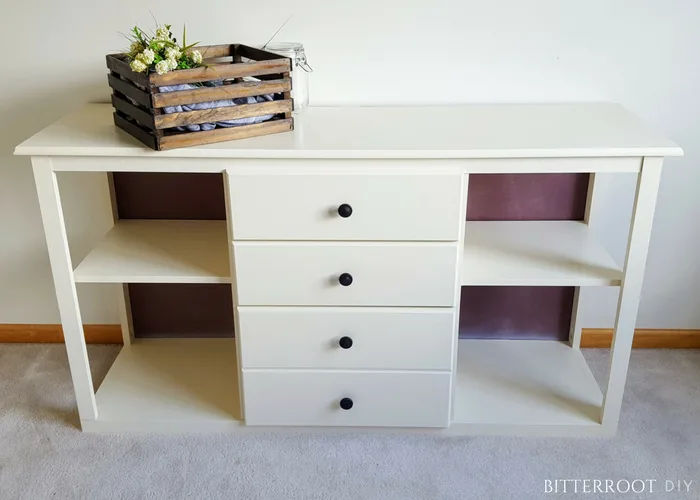
All in all, I’d say the dresser ended up looking halfway decent!
I love the heirloom white color. It’s a beautiful subtle tone that works well with the baby items that will be stacked all over it 🙂
His clothes will fit in the drawers down the middle of the dresser, and the open side shelving will provide plenty of space to add a couple baskets to stock diapers, wipes, extra blankets, etc.
Great for maximizing capacity in a small space!
If you’re looking to do a refurbish project, I’d summarize it into this easy step-by-step:
- Disassemble
- Experiment with new pieces
- Reassemble
- Sand
- Prime
- Paint
- Seal (if necessary)
- Add new hardware and accessories
Safety Precautions:
***when sanding laminate, make sure to wear a mask and safety glasses and work in a well ventilated area. ***
Let me know if you have any questions and I’ll get back to you as soon as possible!
Happy Upcycling!


