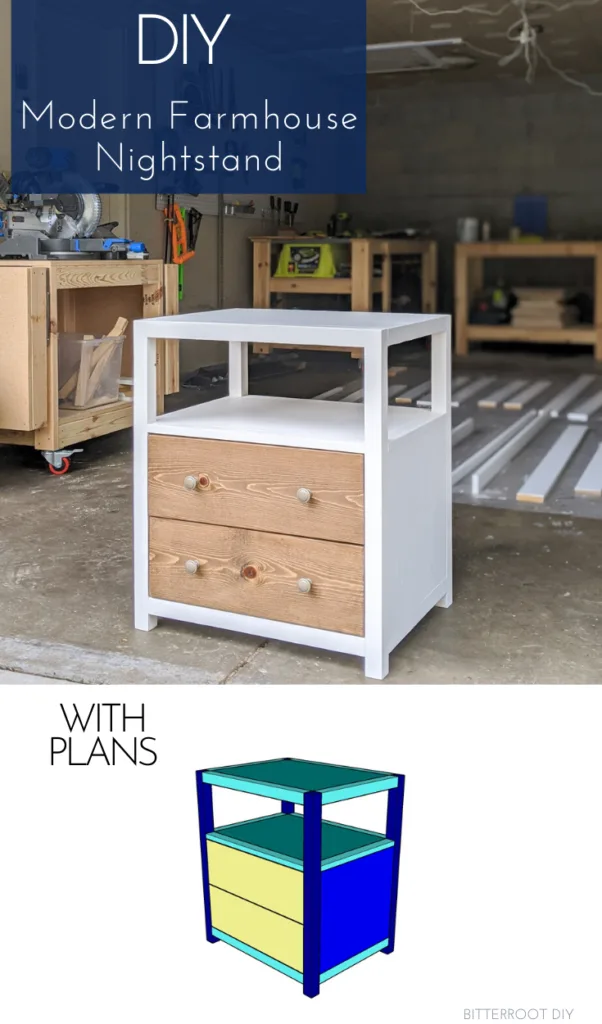
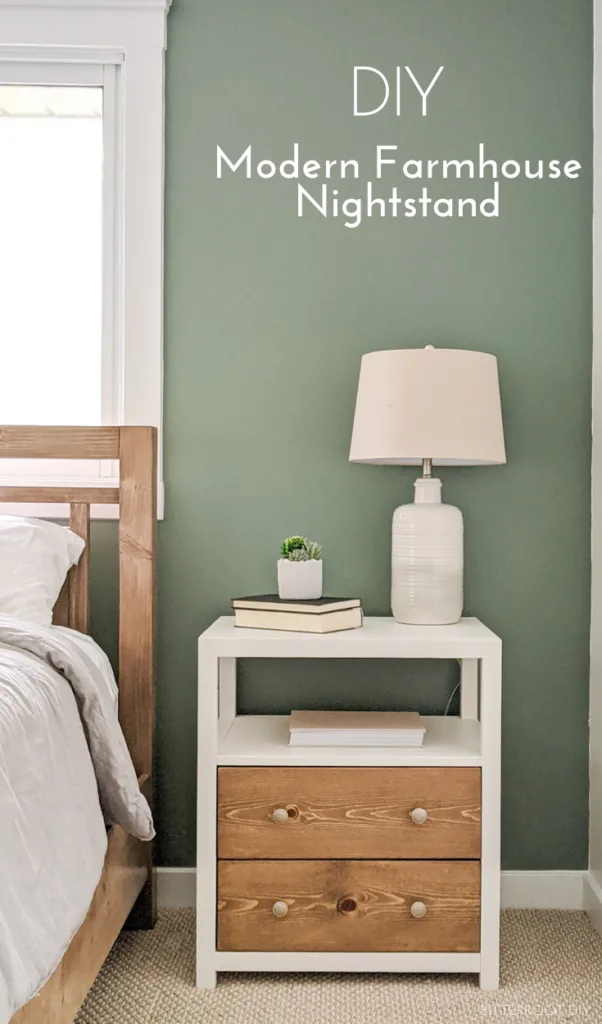
Build your own DIY modern farmhouse nightstand with these plans.
Head to my new YouTube channel for the full video on how I put this DIY Modern Farmhouse Nightstand together. And don’t forget to SUBSCRIBE while you’re there to see lots more how-to videos.
This post may contain affiliate links. If you make a purchase from one of the links, I may make a small commission at NO EXTRA COST to you. This helps keep the tutorials and plans free here at Bitterroot DIY. Thank you for your support! See my full disclosure here.
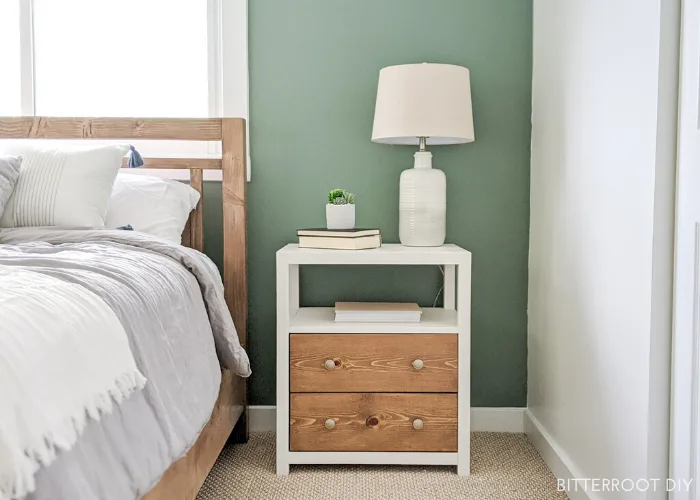
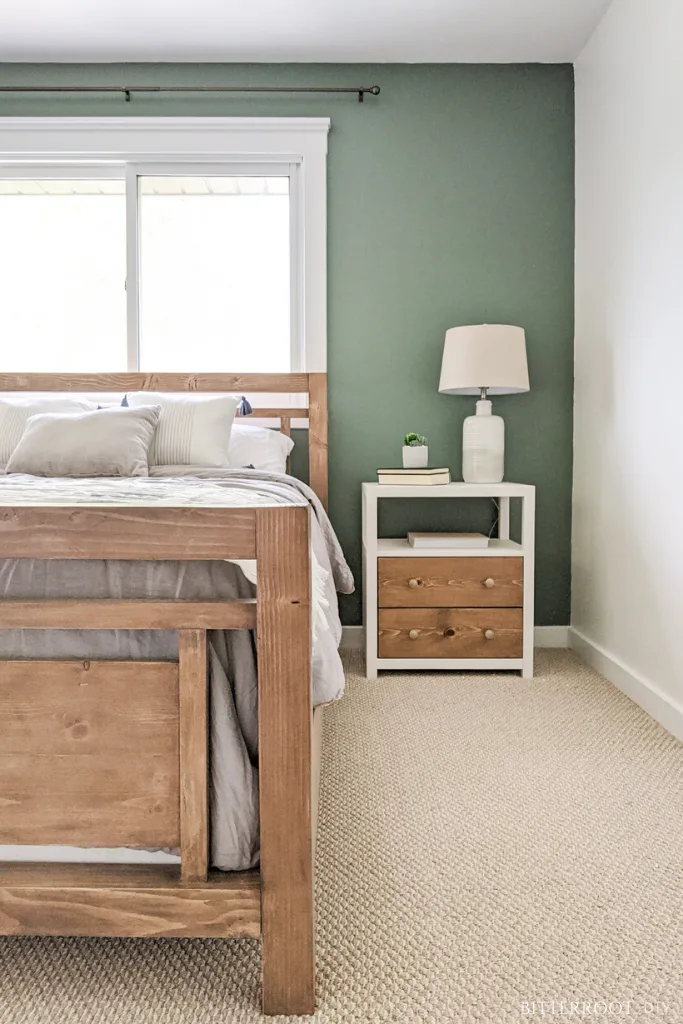
I’ve been working on a master bedroom makeover lately, and built a brand new bed and nightstands to finish it all off! My goal was clean lines and a little more geometric than what I’ve done in the past, so I designed both the bed and nightstands with that in mind. I’m not sure exactly what category that puts them in, but let’s just go with “modern farmhouse”.
Just a heads up – these nightstands are pretty large. Make sure to double check the dimensions before you start building to make sure they’ll fit in your space.
Enjoy the plans!
** These plans are written for ONE NIGHTSTAND **
- 14″ Drawer Slides
- Champagne Drawer Knobs
- Minwax Pre-Stain Wood Conditioner
- Chestnut Minwax Gel Stain
- Water Based Gloss Polyurethane
- Kreg Pocket Hole Jig (that’s the one I use – there are simpler ones as well)
- Miter Saw
- Orbital Sander
- Drill
- 2 1/2″ Pocket Hole Screws
- 1 1/4″ Pocket Hole Screws
- Wood Glue
- Tape Measure
- Pencil
- Safety Glasses
- Ear Protection
The lumber and cut lists are available for purchase. Your purchase also includes a downloadable PDF of the plans. If you prefer, the plans are available in the post below – you simply have to calculate the lumber and cut lists yourself.
There are a lot of different ways to build drawers, so I didn’t specify exactly which method to use in these plans. If you need more direction, here are links to three different ways I like to build drawers.
How To Build Drawers:
- Build a Drawer with Pocket Holes
- Build a Drawer with Inset Bottom Panel
- Build a Drawer with a Finish Nailer
How To Install Drawer Fronts:
I made a YouTube video as well.
I included the dimensions for the drawers to fit this nightstand in Step 10.
Step 1.

Assemble the first closed-in side of the nightstand as shown above. Line the 1×2 and 2×2 up evenly with the ends and outside edge of the plywood and use wood glue and 1 1/4″ pocket hole screws to attach the plywood side to the top 1×2 and bottom 2×2.
Step 2.
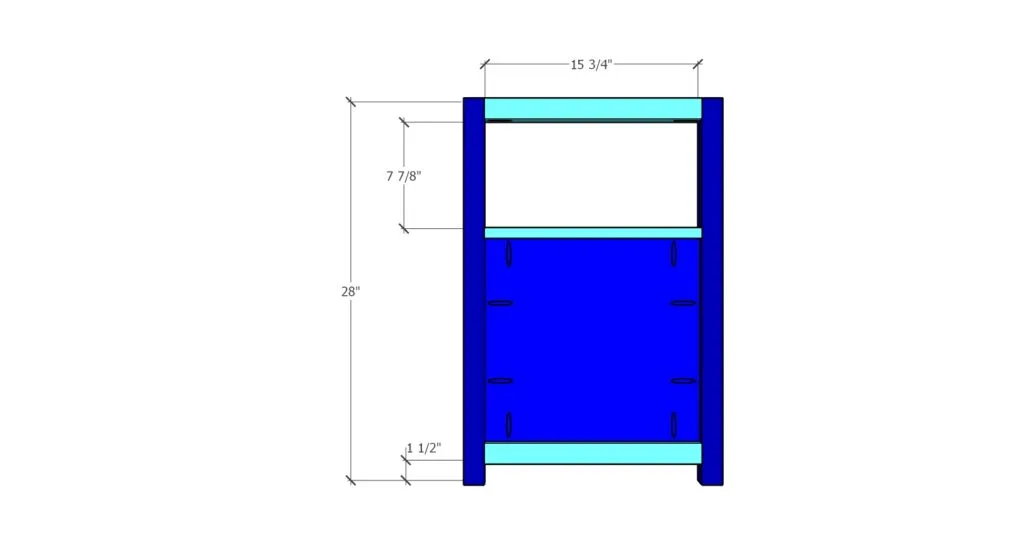
Attach the closed-in section from Step 1 to the legs with wood glue and pocket hole screws. Line the middle 1×2 and bottom 2×2 up evenly with the legs. That should align the plywood evenly with the outside of the legs as well. Use 1 1/4″ screws on the 1×2 at the top of the plywood. You’ll have to drill the pocket hole on the inside edge of the 1×2 so the plywood doesn’t cover it. Use 2 1/2″ screws for the bottom 2×2.
Attach the top 2×2 to the tops of the legs with wood glue and 2 1/2″ pocket hole screws. Make sure to line the top 2×2 up flush with the tops of the legs since this will be visible on the top of the nightstand.
Step 3.

Repeat for the opposite side of the nightstand. You should end up with two identical sides.
Step 4.
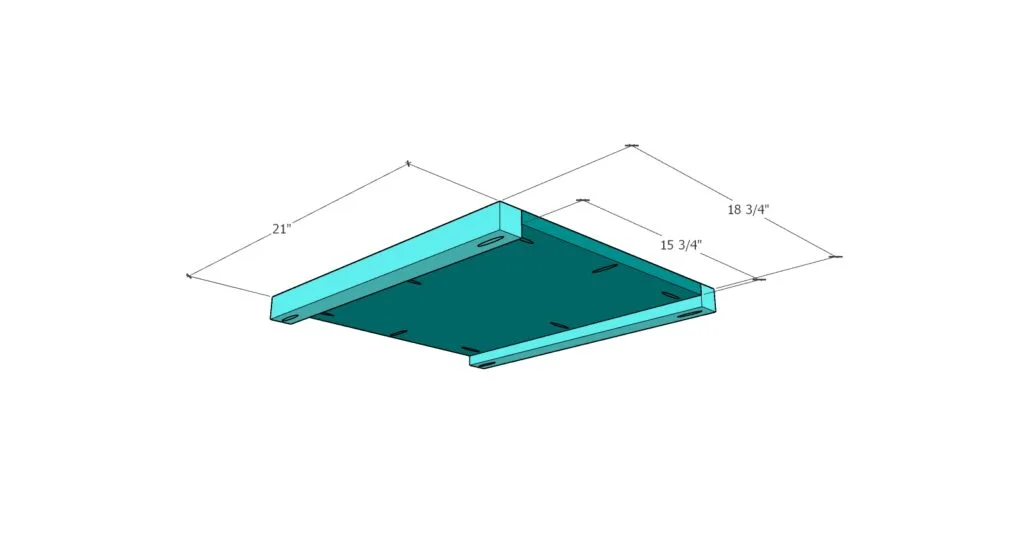
Build the top shelf as shown. Line the plywood shelf up flush with the top of the 2x2s and use wood glue and 1 1/4″ pocket hole screws to attach it. The diagram is a view from the bottom to show you where to place the pocket holes.
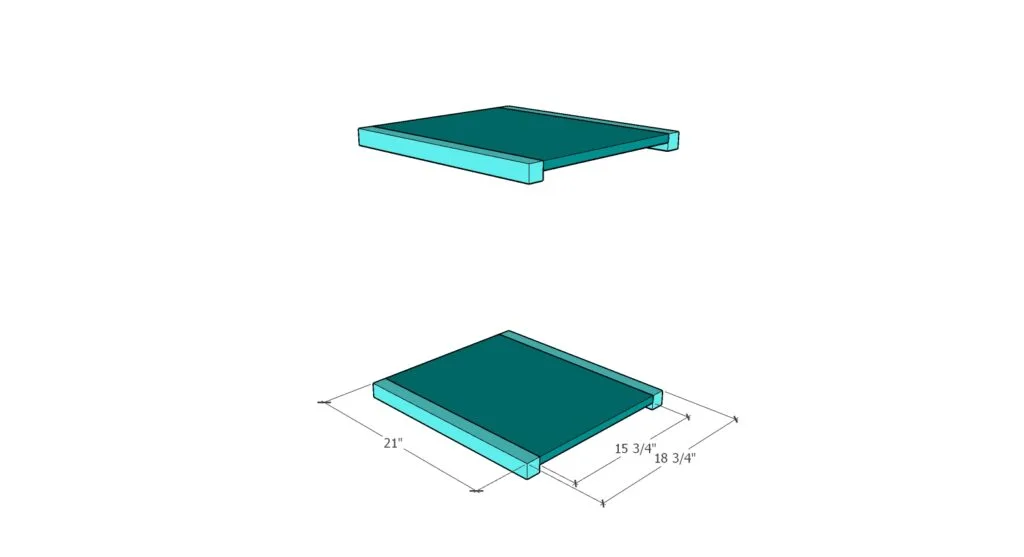
Repeat for the bottom shelf.
Step 5.
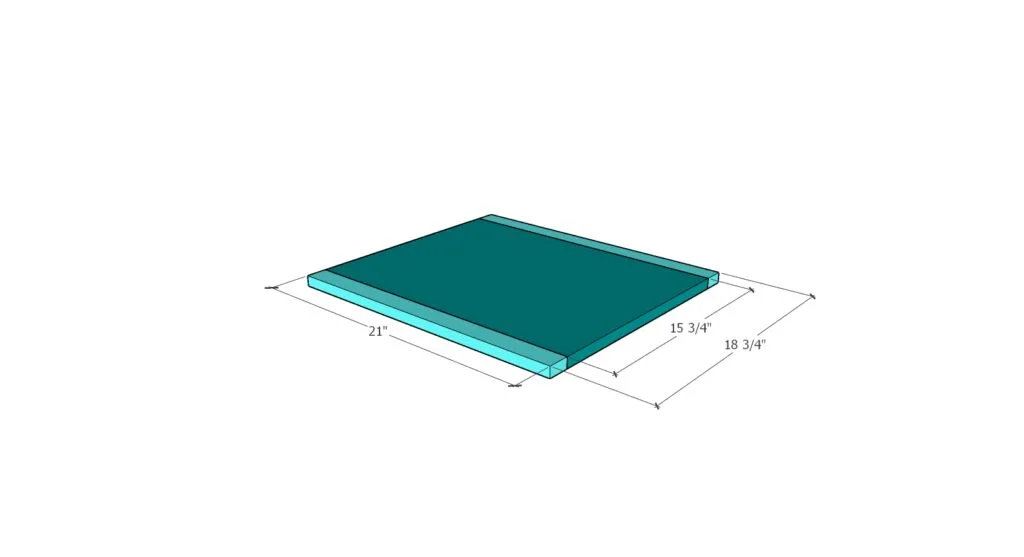
Build the middle shelf. Use wood glue and 1 1/4″ pocket hole screws to attach the plywood to the 1×2.
Here’s a bottom view to see the pocket holes:
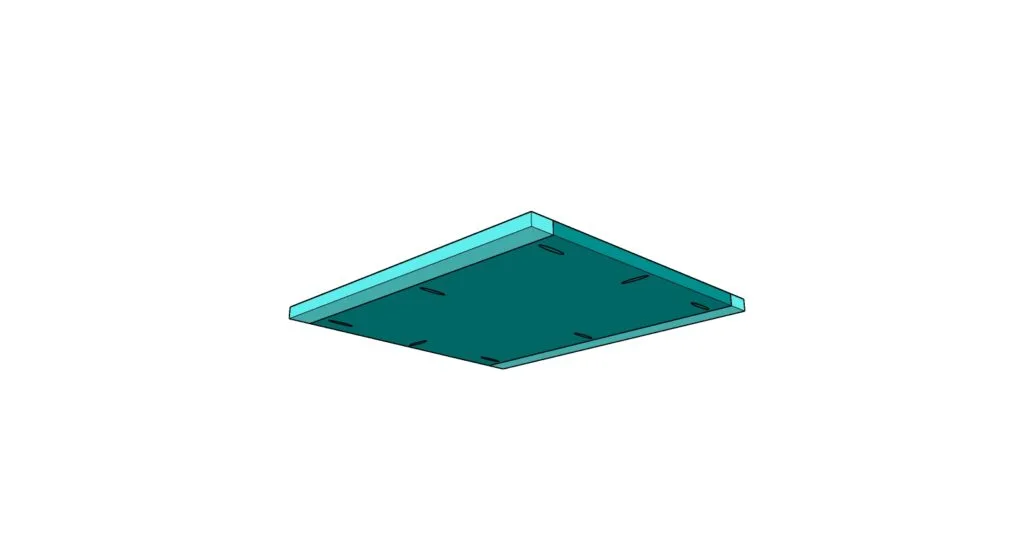
Step 6.
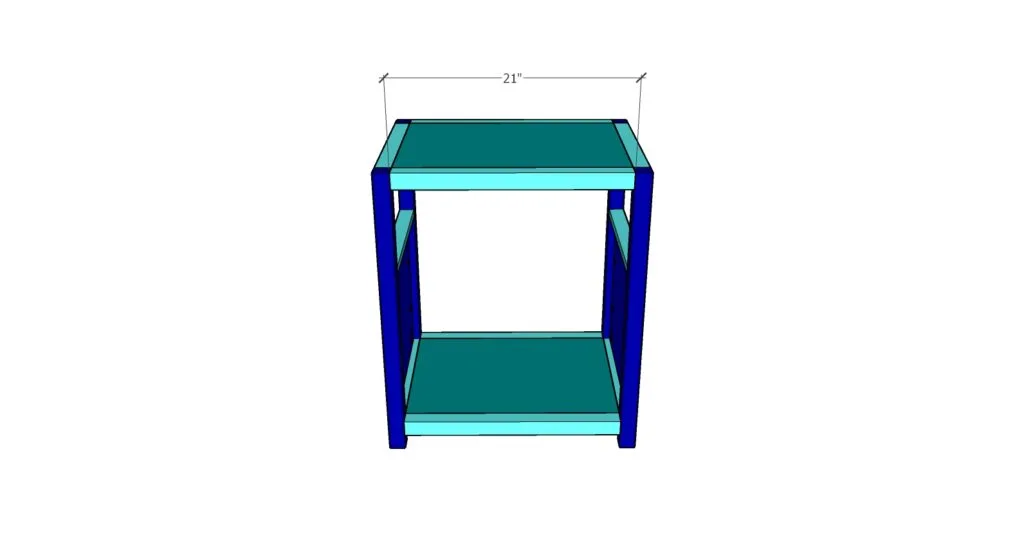
Attach the top and bottom shelf to the sides of the nightstand with wood glue and 2 1/2″ pocket hole screws. Place pocket holes on the bottom of the 2x2s to best hide them.
Use one pocket hole on each end of the 2x2s. Stagger them so you don’t hit the pocket hole from the side frame that you built in Steps 2 & 3.
Step 7.
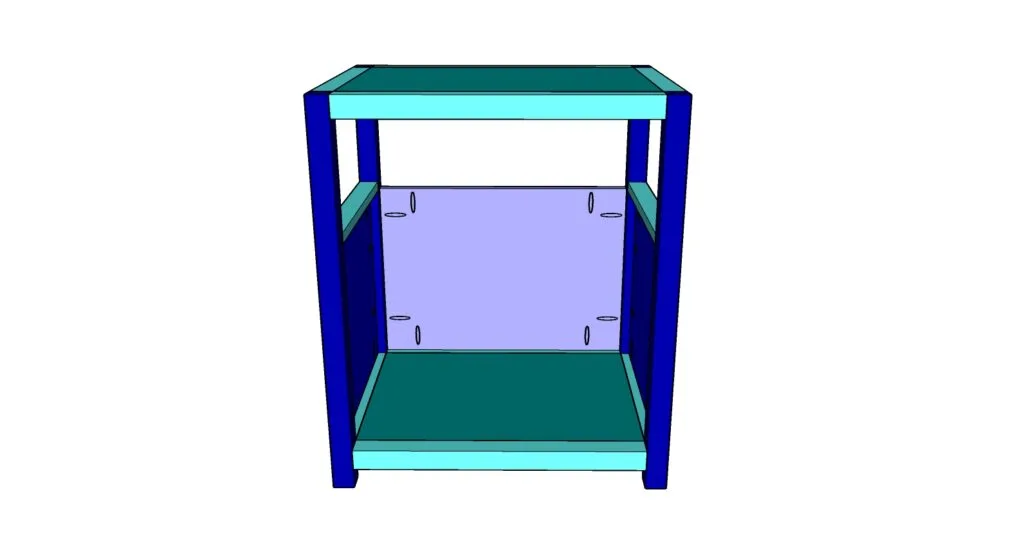
Use wood glue and 1 1/4″ pocket hole screws to attach the back of the nightstand to the legs.
Step 8.
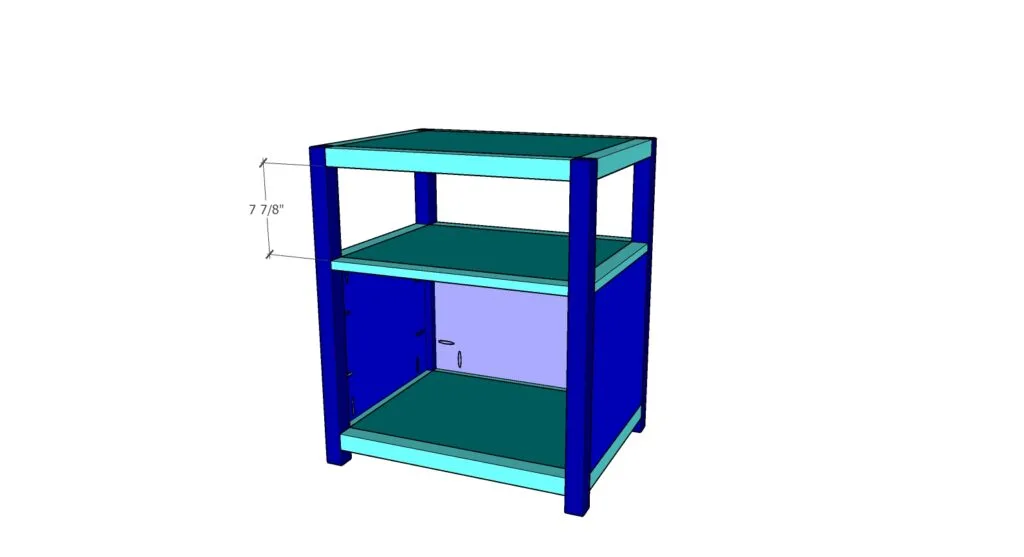
Attach the middle shelf to the legs and sides with wood glue and 1 1/4″ pocket hole screws. Place pocket holes on the bottom to best hide them.
Here’s a bottom view to show how all the pocket holes line up:

Step 9.

Depending on the type of drawer slides you use and how you build the drawers, you may have to add shims along the insides of the nightstand so they sit flush with the inside of the legs.
I used 1x2s and attached them to the plywood sides with 1 1/4″ screws. The location of the shims will differ depending on what type of slides you use as well, so I didn’t give dimensions here.
Step 10.
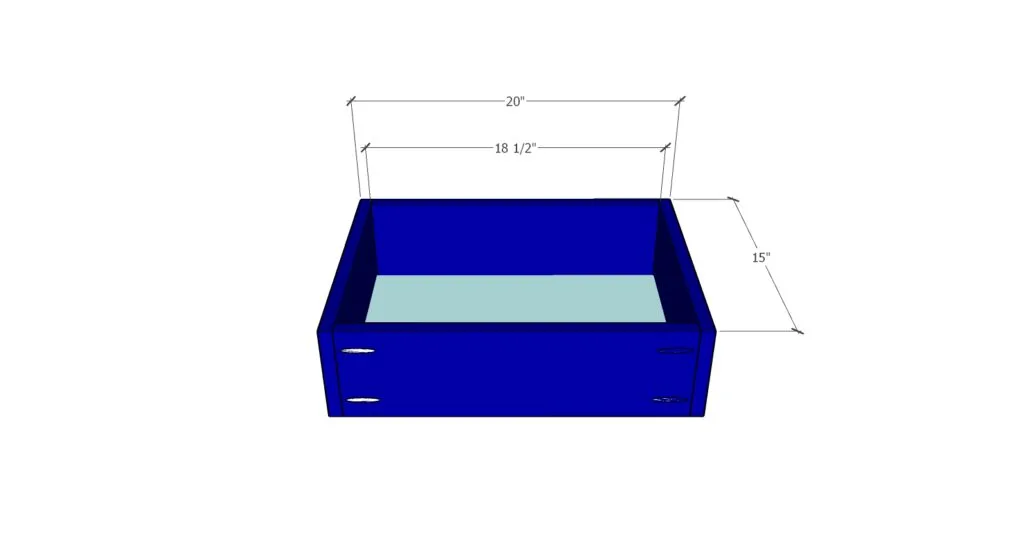
Build the drawers for the nightstand. I recommend completing the frame of the nightstand and then building the drawers to fit. Most drawer slides require 1/2″ clearance on each side between the drawer box and frame. Make sure to double check the clearance on the drawer slides to confirm. If that’s the case, build the drawers according to the dimensions above.
I used 14″ bottom mount slides for these drawers. Another great option is these 14″ ball bearing slides. They’re full extension and a little nicer, but they’re more expensive. It’s totally up to you. I’ve used both for different projects and have had good luck with each.
I typically use wood glue and 1 1/4″ pocket hole screws to put the drawer box together and either staple 1/4″ plywood onto the bottom or route a groove along the bottom edges of the drawer box and inset the 1/4″ plywood bottom into it.
As stated earlier, I have separate tutorials for different ways to build drawers if you need. You can find the tutorials linked at the top of the post. There’s also a YouTube video.
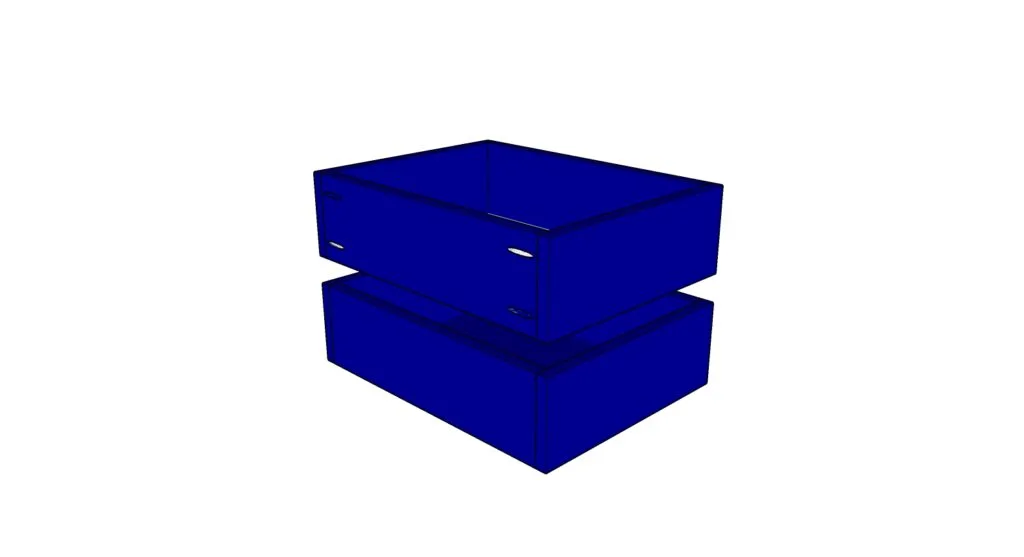
Once you’ve built both drawers, install them in the nightstand with your drawer slides of choice.
Step 11.
Install the drawer fronts.
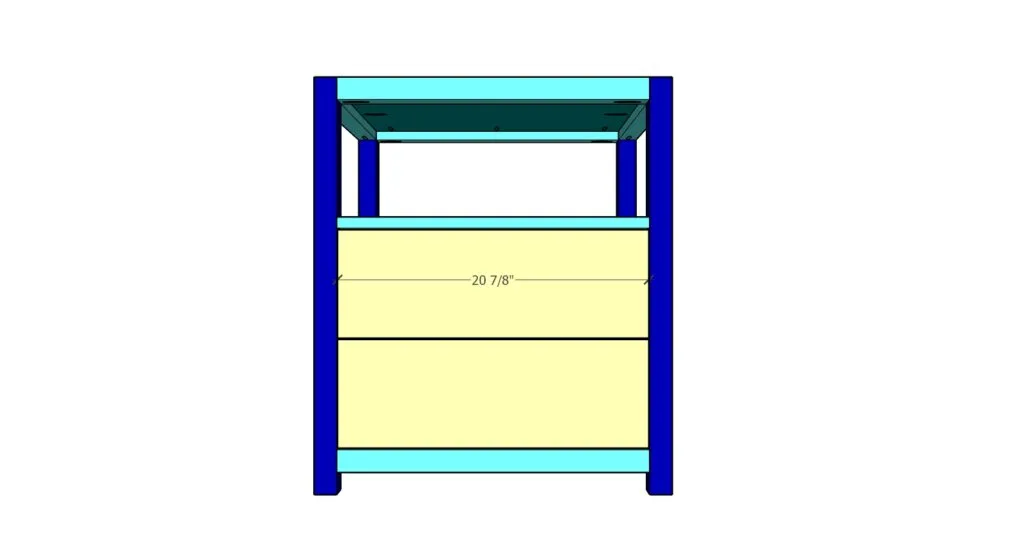
Leave an 1/16″ gap between the ends of the drawer fronts and legs. Leave 1/8″ between the drawer fronts and on the top and bottom.
I also have a separate post on installing drawer fronts linked at the top of the post if you need.
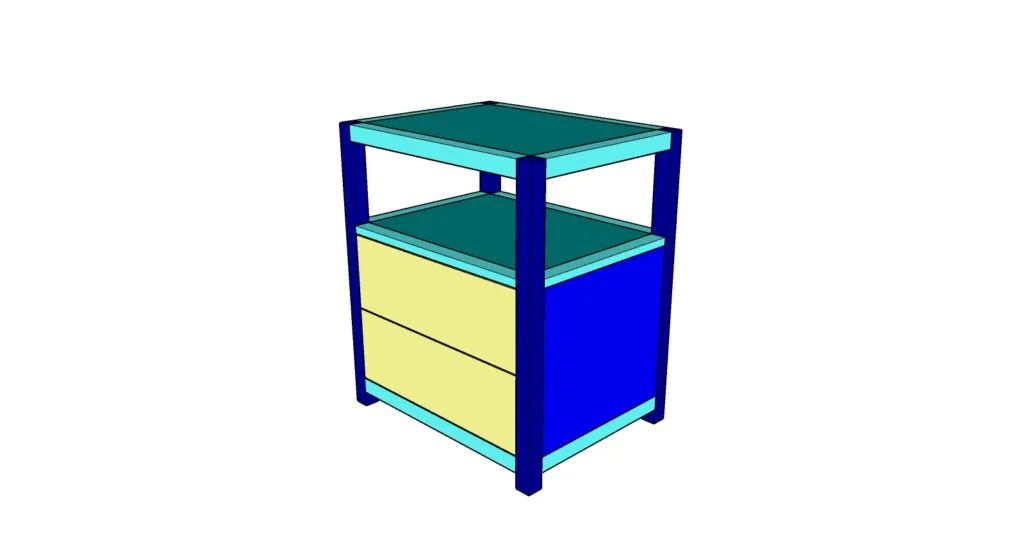
And there you have it – a DIY modern farmhouse nightstand!
Sand and finish with your favorite paint and/or stain.
I painted the frame of the nightstand with Sherwin-Williams Urethane Trim Enamel in Alabaster (satin sheen) and stained the drawer fronts with Minwax Gel Stain in chestnut. I sealed the drawer fronts with water based polyurethane to protect the wood.
Last but not least, I added some beautiful champagne knobs. I actually spray painted some old black knobs I had lying around, but these champagne knobs from amazon are pretty much identical!
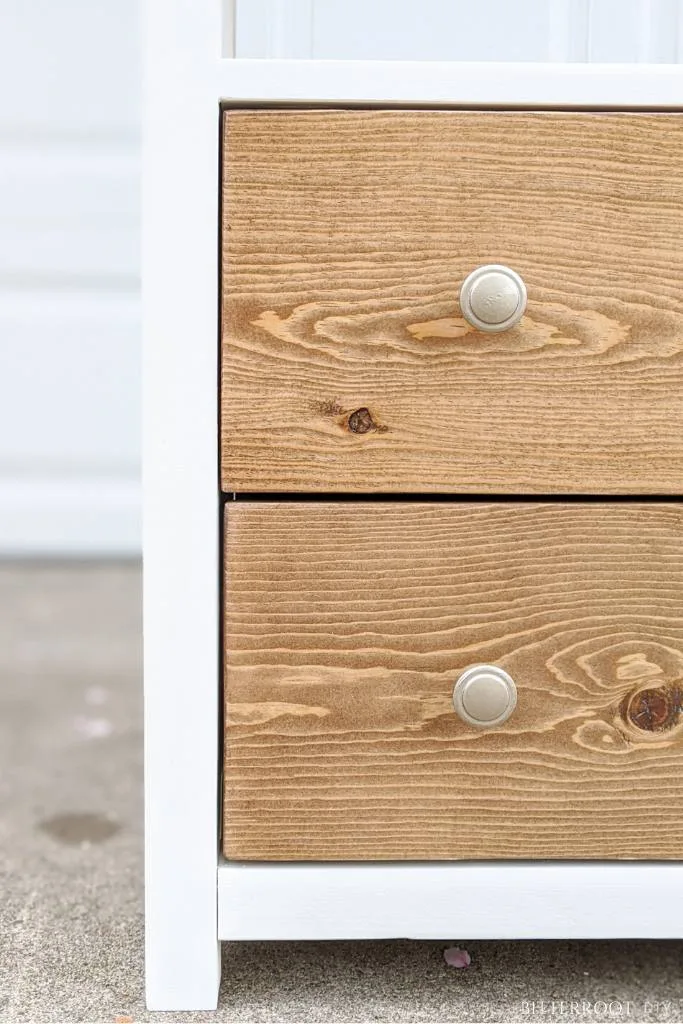
I haven’t done many pieces with a paint and stain combo, but I’m so excited about how these turned out. Might have to try it out on a few more projects!
Please let me know if you have any questions and I’ll get back to you as soon as possible.

Thanks for stopping by!
For more project ideas, you can find me on Pinterest. And to stay up to date with the latest shenanigans, follow me on Instagram.
