
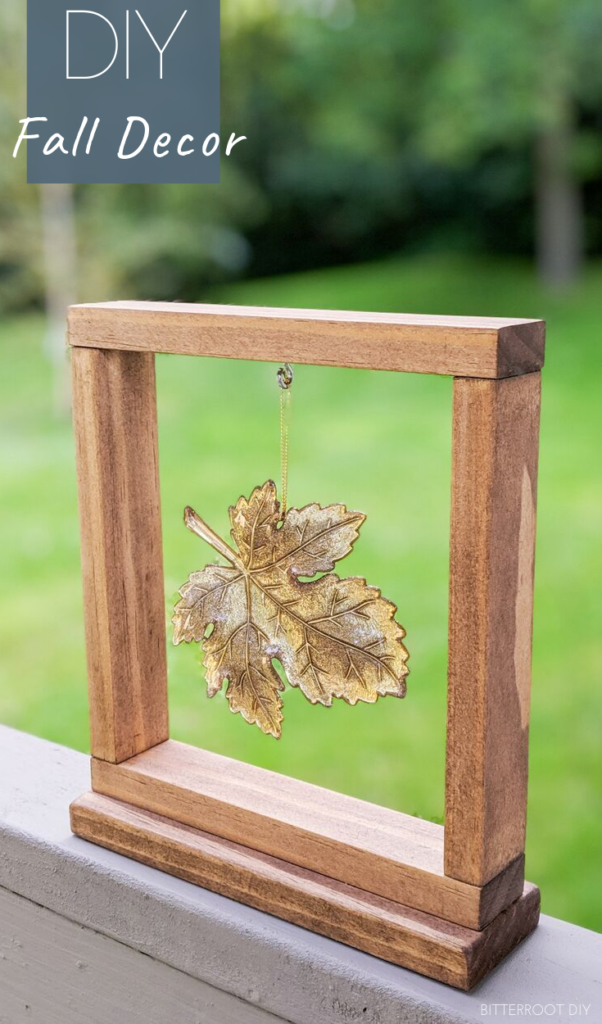
Make your own DIY fall decor with this tutorial – great for a fall centerpiece or to put on a shelf.
This post may contain affiliate links. If you make a purchase from one of the links, I may make a small commission at NO EXTRA COST to you. This helps keep the tutorials and plans free here at Bitterroot DIY. Thank you for your support! See my full disclosure here.
It’s time for another At Home DIY challenge – this month is all about projects you can do for under $20. We’re starting to see some fall colors up here in Minnesota, so what better way to bring in the season than with a fun DIY fall decor project!
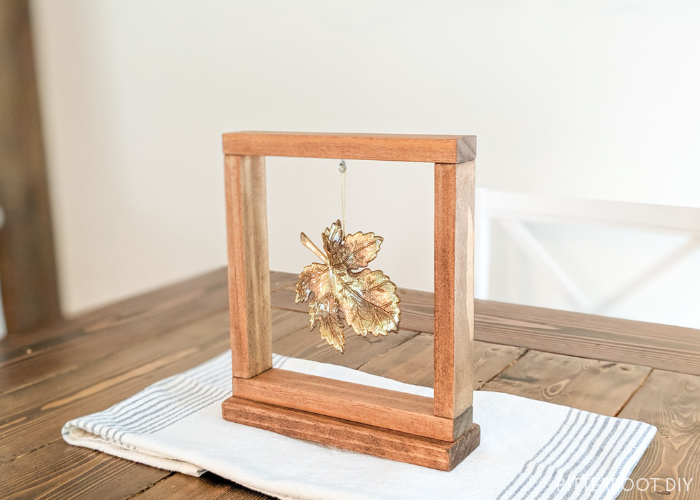
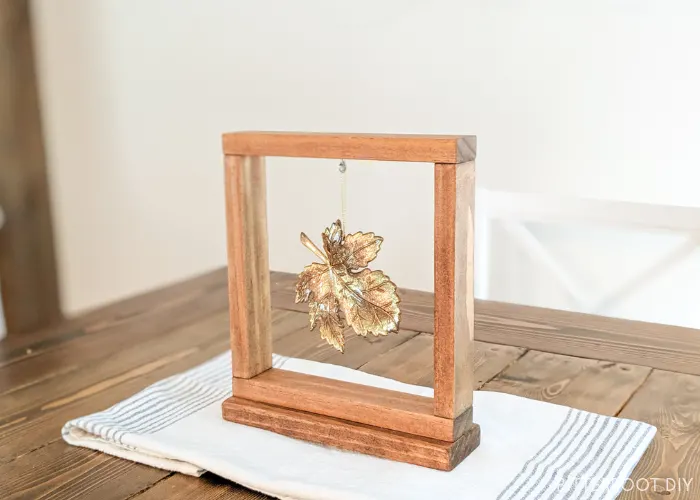
I’m not exactly sure what to call this, but this “framed leaf thingy” is so quick to put together. Just nail some boards, hang a faux leaf, and you’re good to go! It would look wonderful as a centerpiece or on a shelf.
Enjoy the tutorial!
Tools & Supplies:
- Miter Saw
- Brad Nailer
- 1 1/4″ Finish Nails
- Tape Measure
- Clamps
- Wood Glue
- Speed Square
- Pencil
- Safety Glasses
- Ear Protection
Lumber:
- 1 | 1 x 2 @ 6′ (or scraps – you only need about 30″ but 6′ is the shortest they usually sell)
- 1 | 1 x 3 @ 6′ (or scraps – again, 6′ is the shortest they usually sell)
Cuts:
- 2 | 1 x 2 @ 8 1/2″ (top & bottom)
- 2 | 1 x 2 @ 7″ (sides)
- 1 | 1 x 3 @ 8 3/4″ (stand)
Step 1.
Cut your boards to length, then sand and stain them.
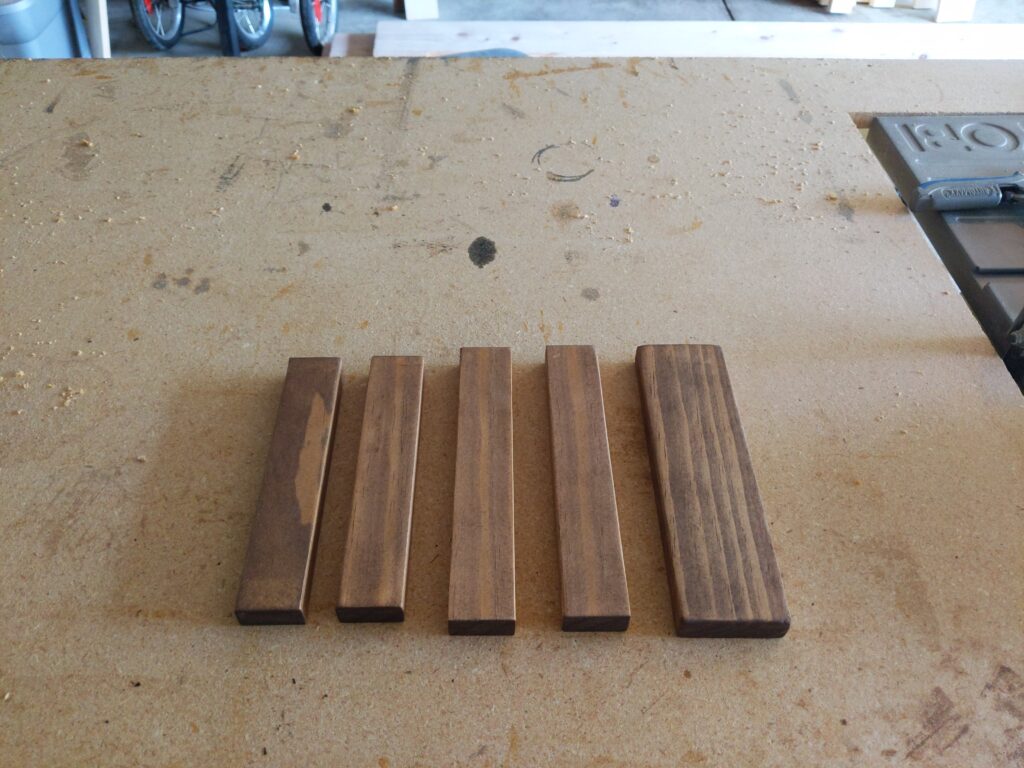
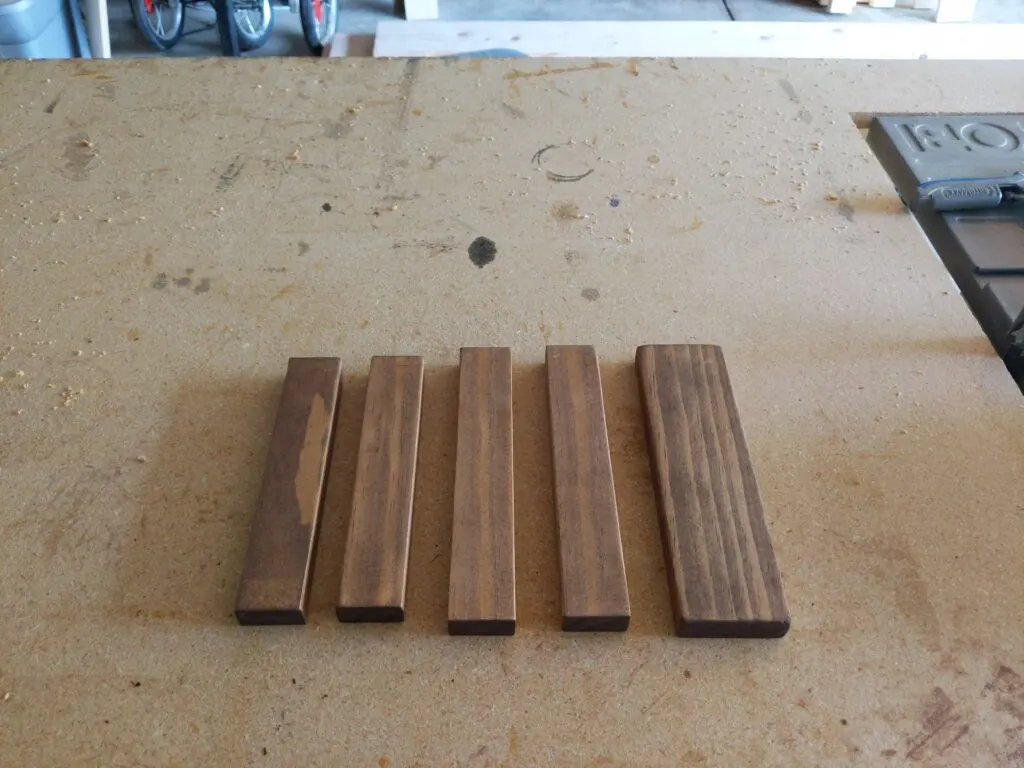
Wood glue prevents stain from soaking into the wood. I decided to sand and stain before assembly so I didn’t have to worry about missing any spots at the joints. Wood glue doesn’t adhere quite as well through stained boards, however, since this is just a decoration I wasn’t too worried about structural integrity. The wood glue over stain is plenty strong for something like this.
You can most definitely choose to sand and stain after assembly if you prefer!
Step 2.
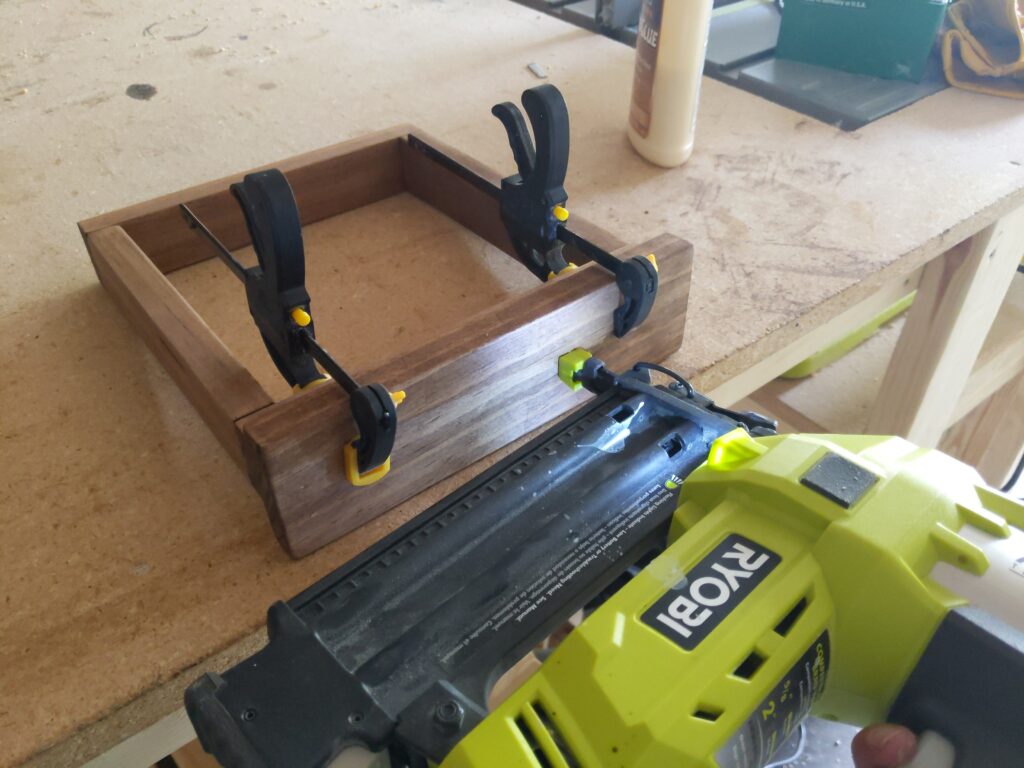
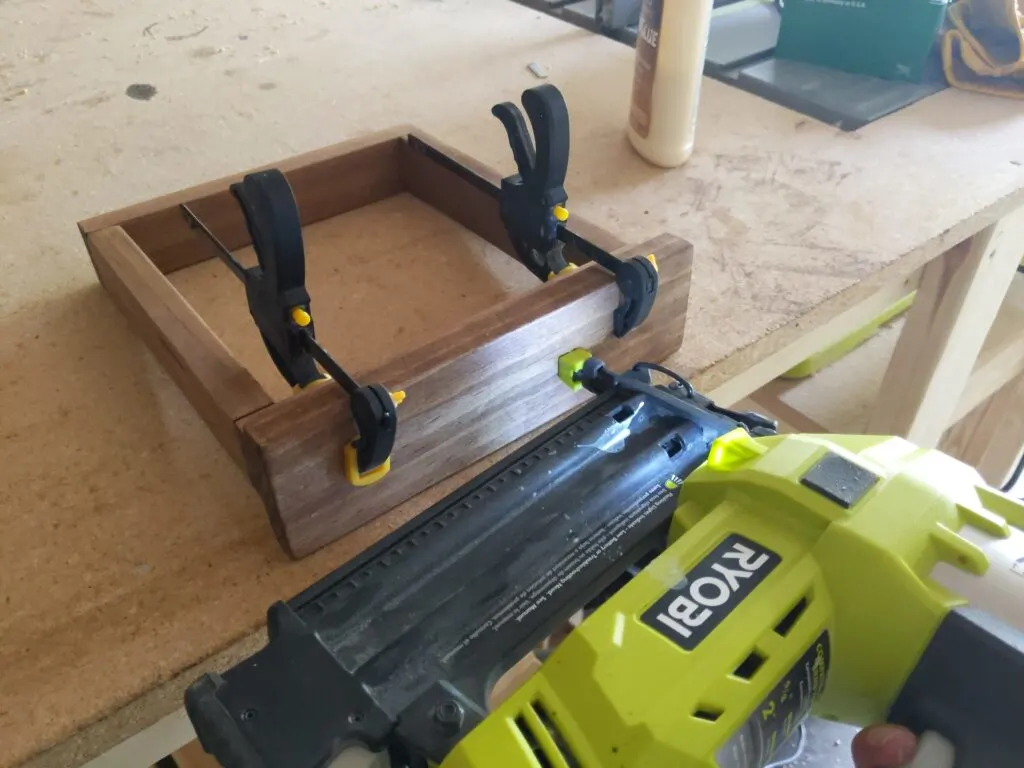
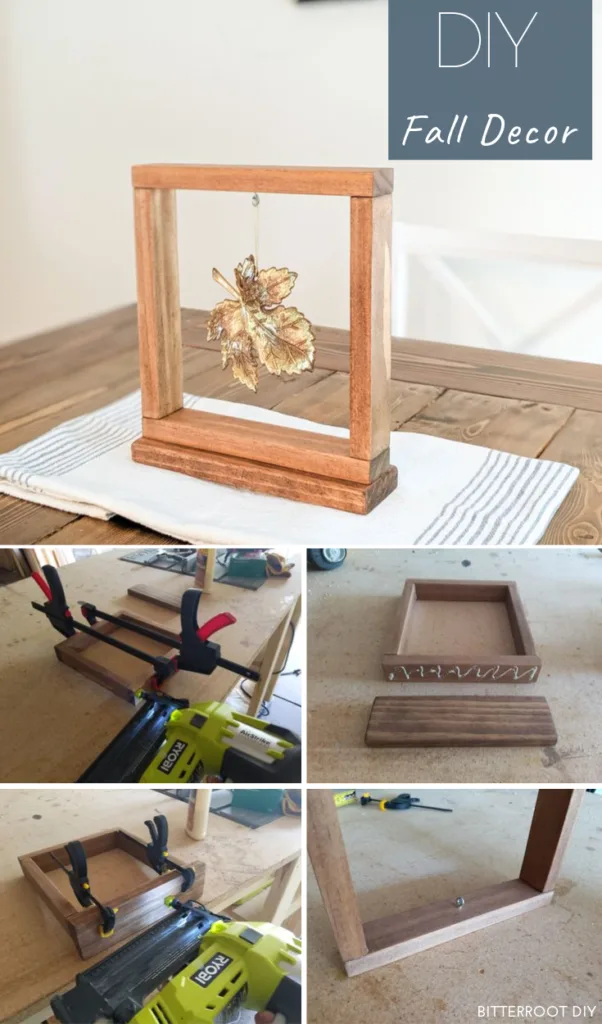
Apply wood glue to the ends of the 7″ side 1x2s and clamp into place with the 8 1/2″ top and bottom pieces.
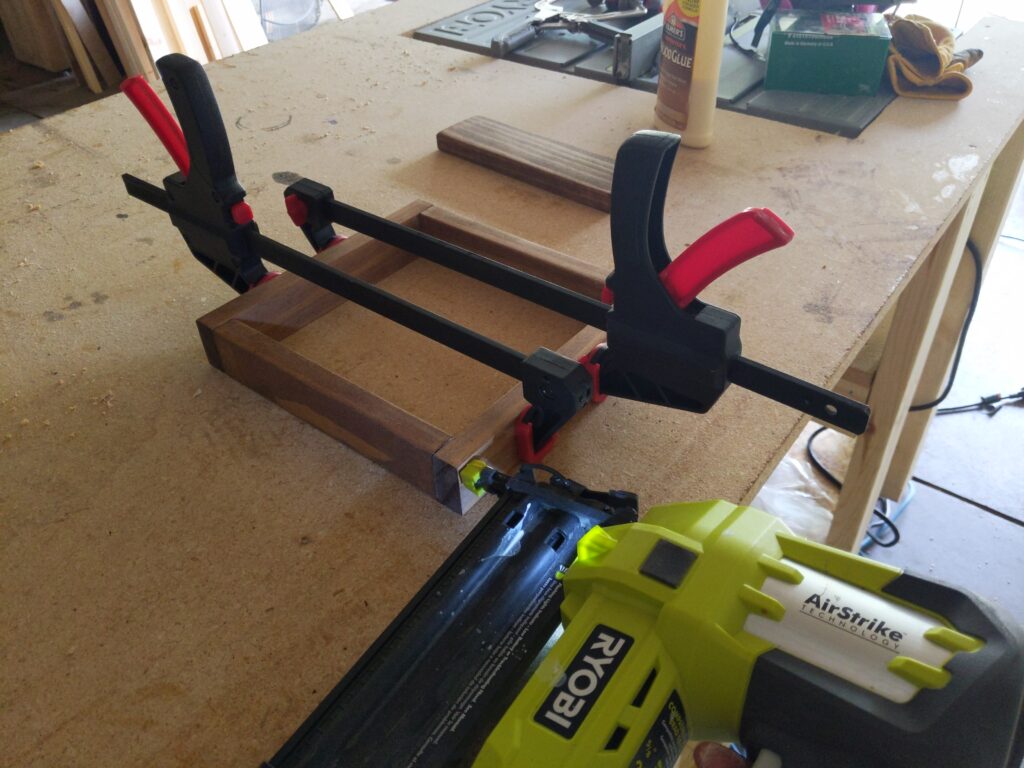

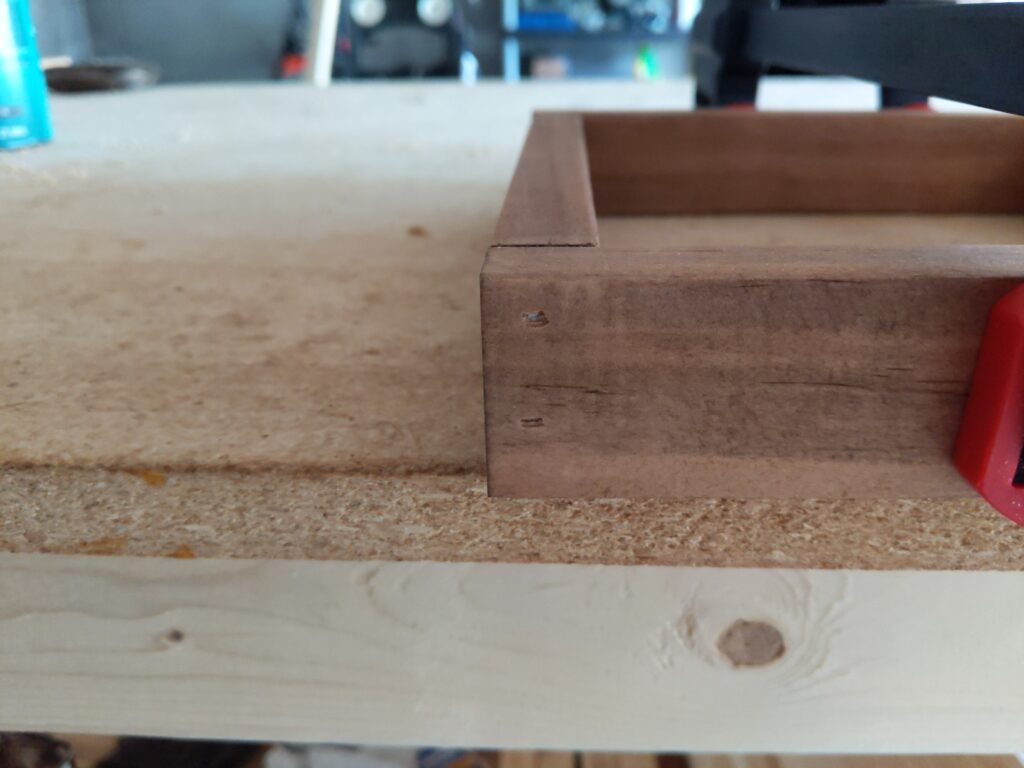
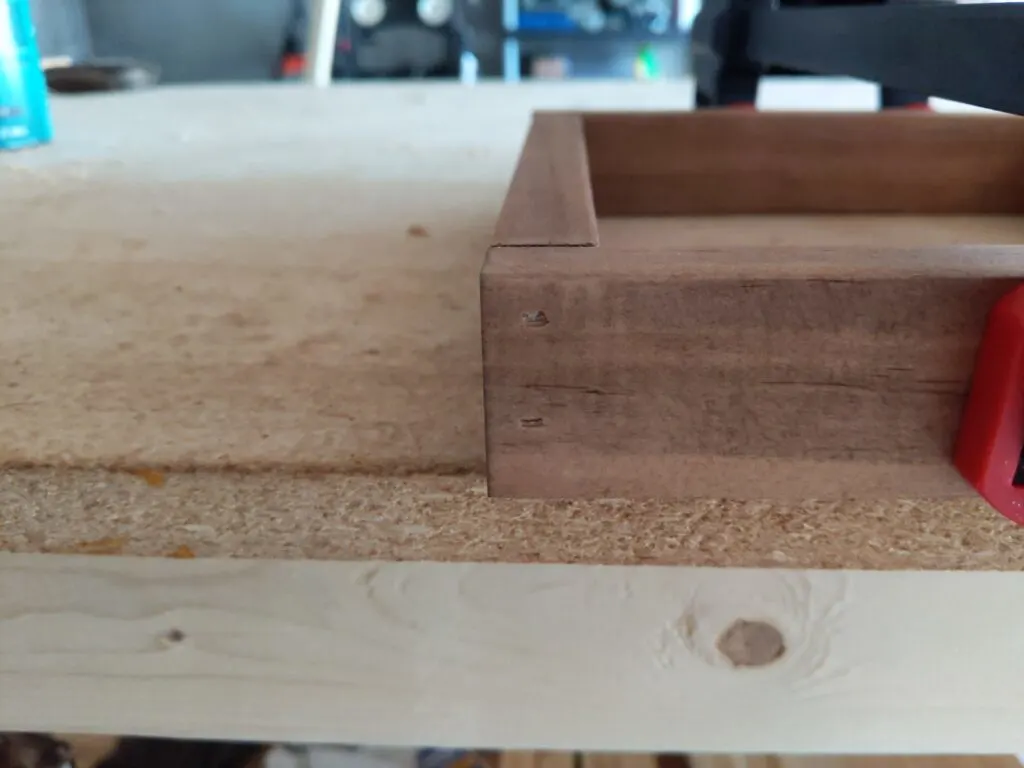
Drive 1 1/4″ finish nails into the ends of the frame to secure the joints.
Step 3.
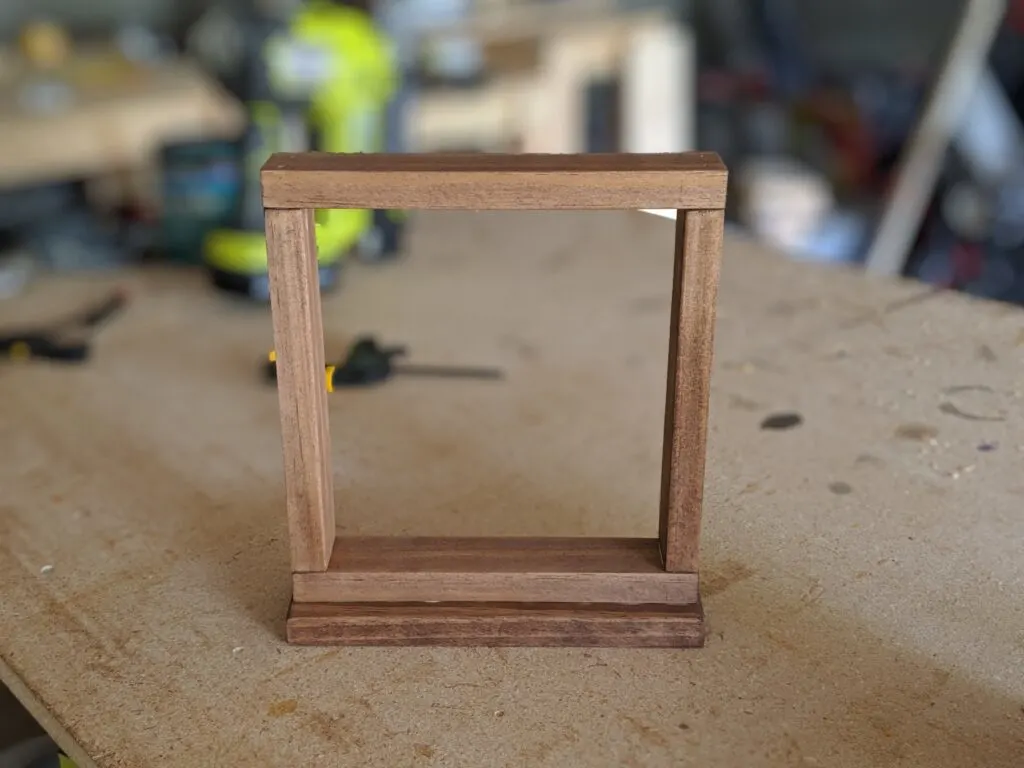
Once the frame is assembled, center the frame on the 1×3 stand (the stand should extend 1/8″ on either end of the frame and 1/2″ to either side).
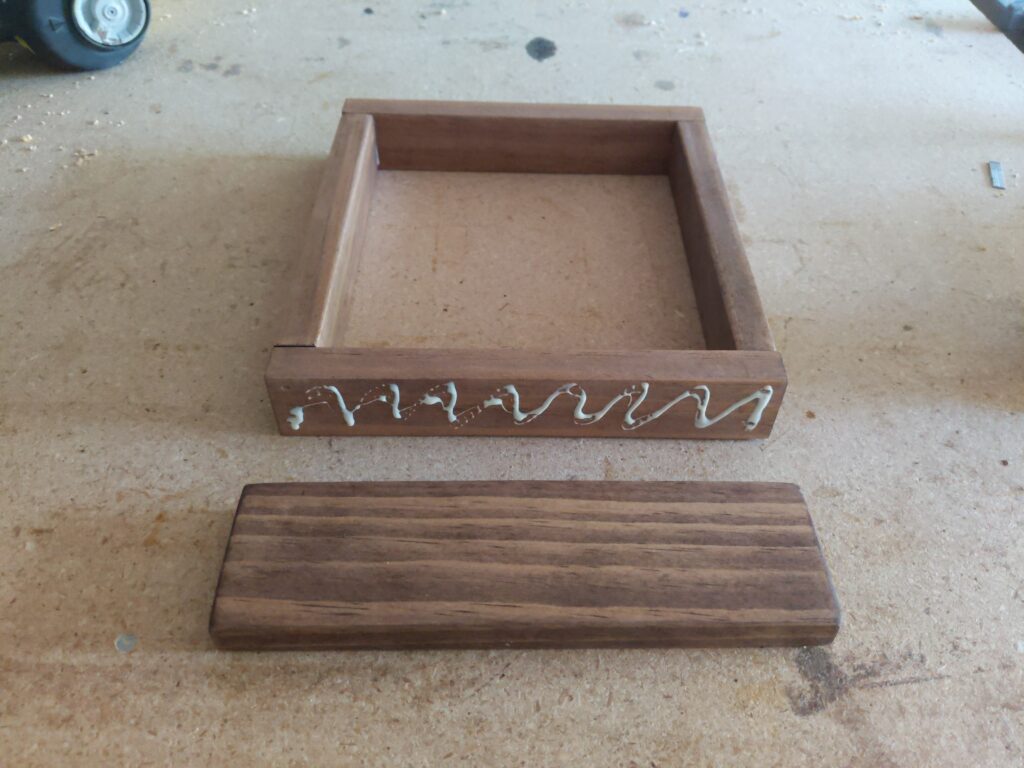

Attach the stand to the bottom of the frame with wood glue and 1 1/4″ finish nails.
You should end up with this:

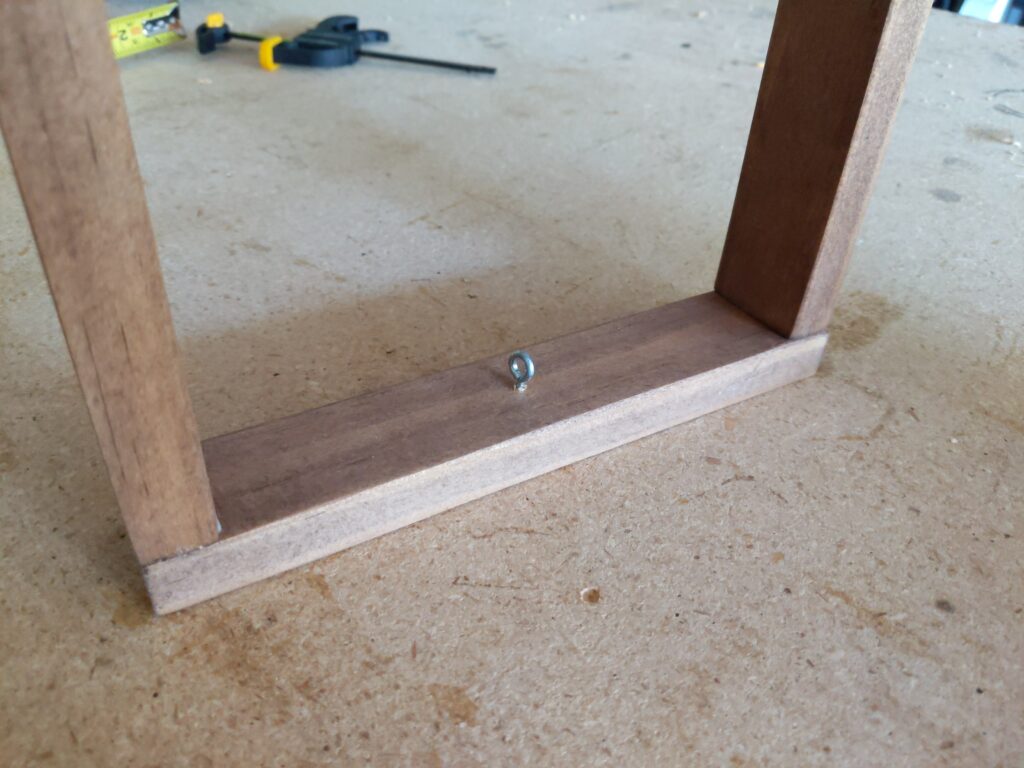
Step 4.
Flip the frame upside down and center a small cup hook on the bottom of the top of the frame.

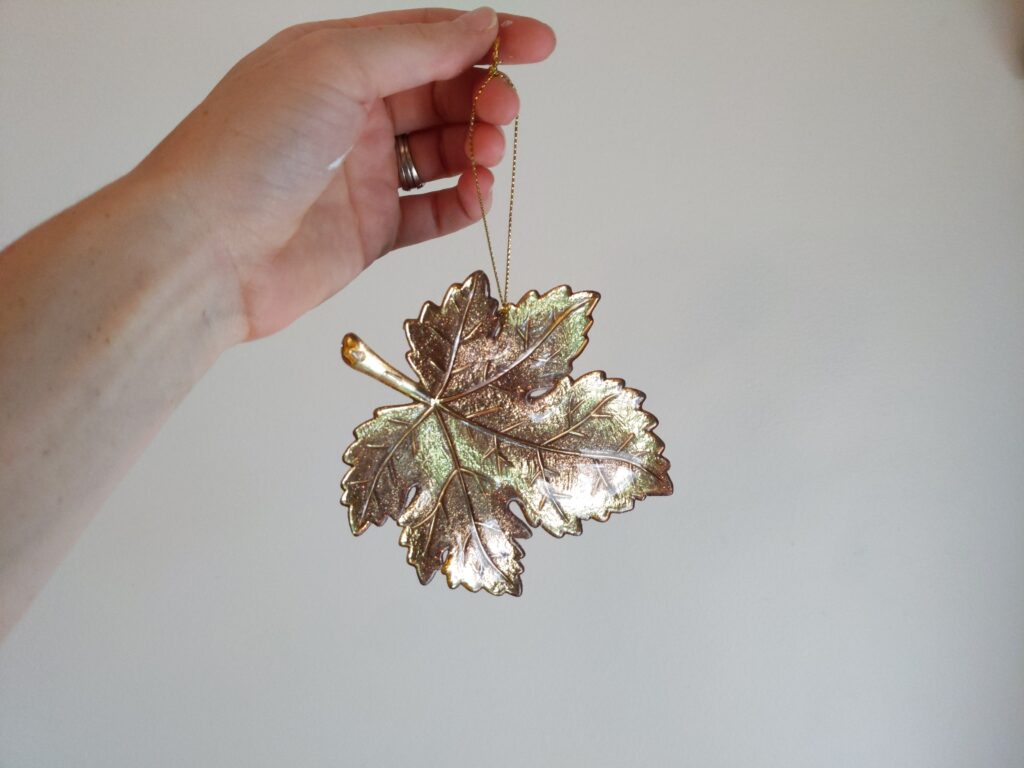
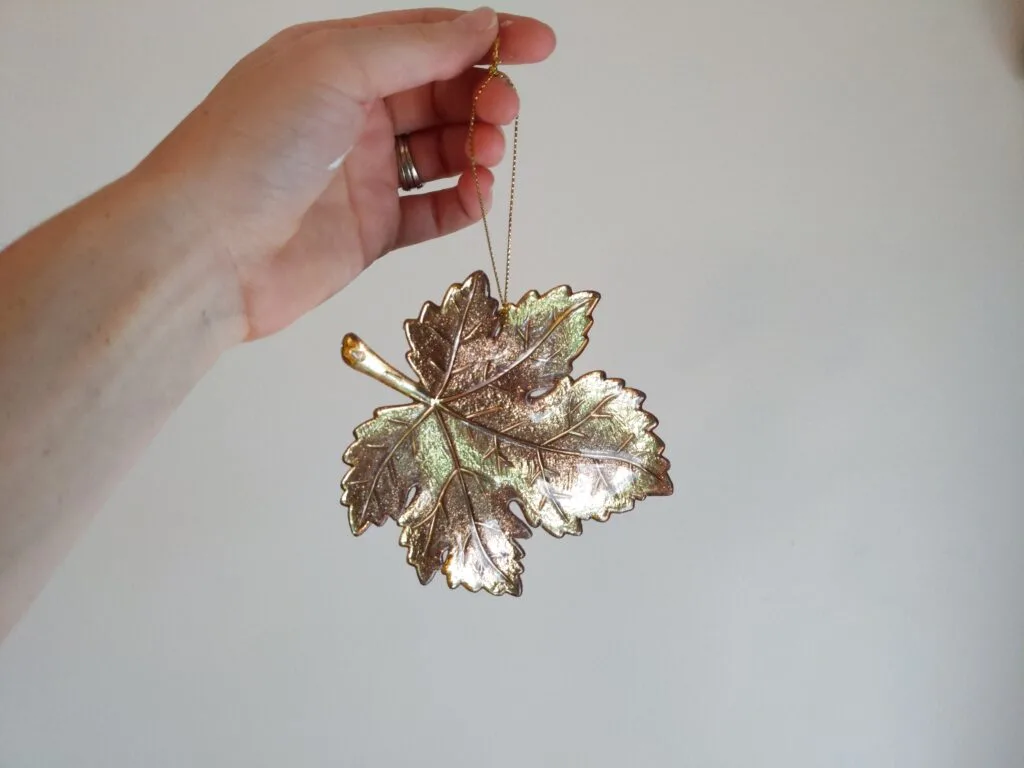
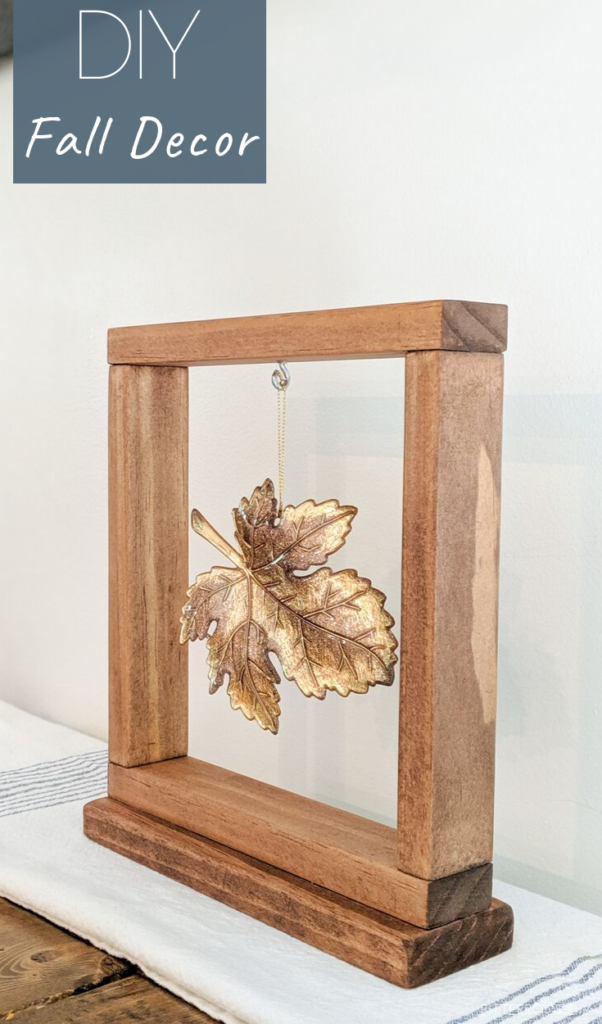
I found this neat leaf “ornament” at Hobby Lobby. You can find all sorts of different ones at any craft store – simply select one that matches your style. Or you can hang something entirely different – totally up to you!
Step 5.
Hang the decoration of your choice on the cup hook in the top of the frame.

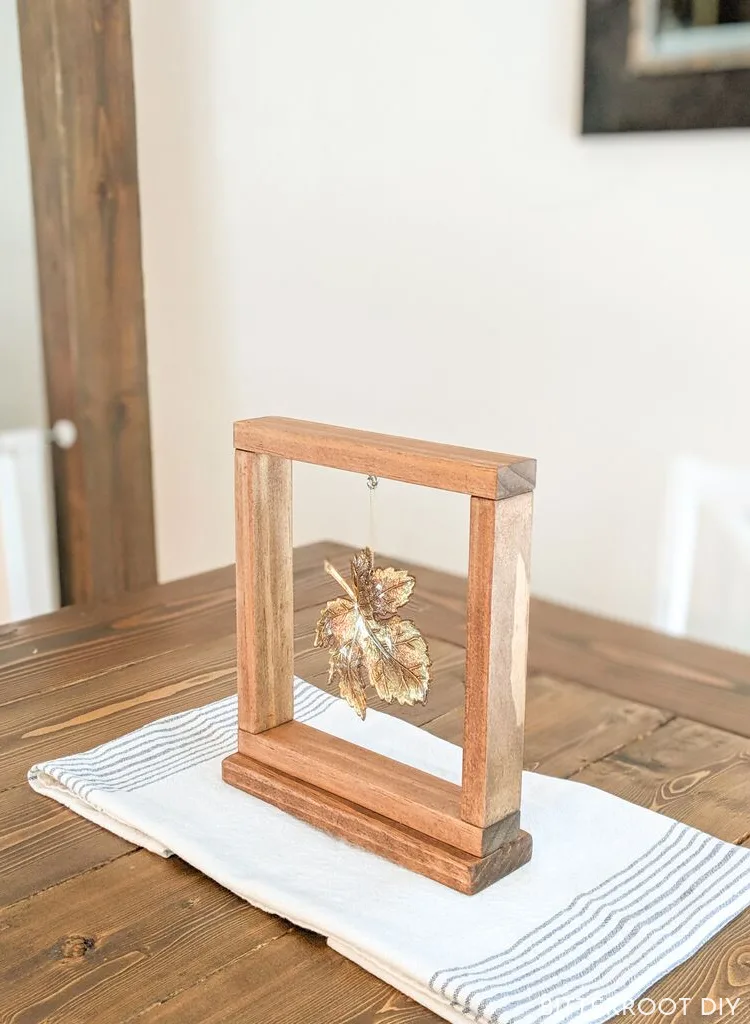
And there you have it – a beautiful DIY fall decoration!
And the cool part is, you can change the decoration out for any season – try an ornament or snowflake in there for Christmas!
Please let me know if you have any questions and I’ll get back to you as soon as possible.
And don’t forget to check out the rest of the projects you can do for under $20!


Thanks for stopping by!
For more project ideas, you can find me on Pinterest. And to stay up to date with the latest shenanigans, follow me on Instagram.


Christine
Tuesday 24th of September 2019
Oh!!! Love this!! Such a unique way to display a special ornament!!