
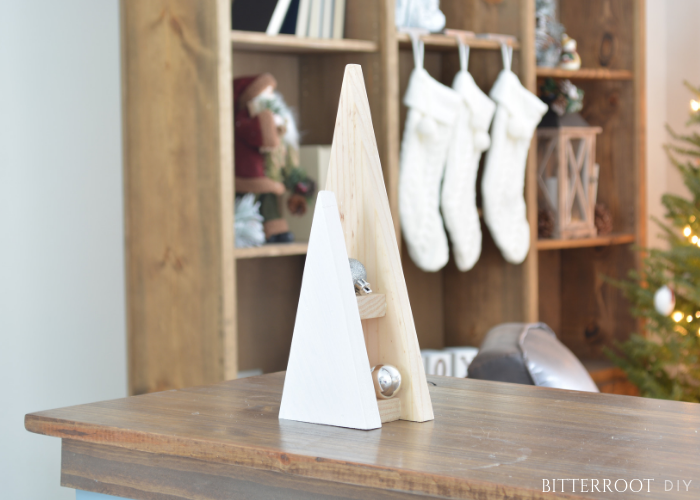
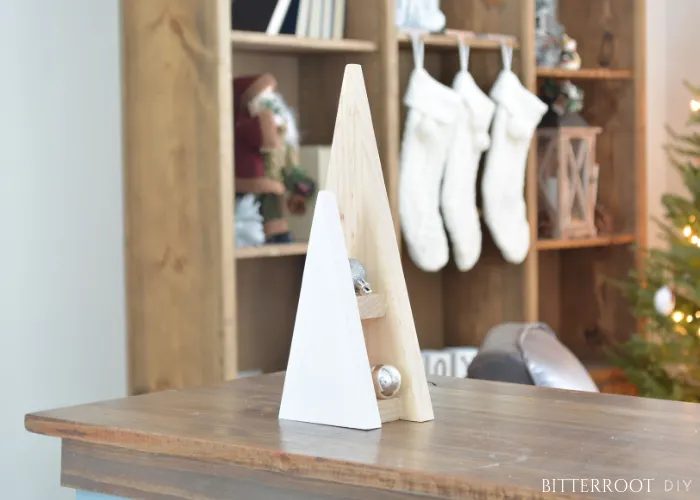
Build a geometric Christmas tree for a great DIY Christmas decoration.
This post may contain affiliate links. If you make a purchase from one of the links, I may make a small commission at NO EXTRA COST to you. This helps keep the tutorials and plans free here at Bitterroot DIY. Thank you for your support! See my full disclosure here.
This geometric tree is actually the product of the cutoffs from the 3D Christmas tree. It was just a happy accident and ended up being one of my favorite Christmas decorations this year! Don’t you just love it when that happens?!
If you need a project to escape the chaos in the next 10 (!!!) days before Christmas, this is the tree for you.
It’s simple. It’s fun. It’s stylish. Your 2 year old can steal it off the bookshelf and bang it around the house and it’ll hold up great … ask me how I know … It’s everything you need in a Christmas decoration!
Enjoy the free plans!
Tools & Supplies
- Jigsaw
- Wood Glue
- Finish Nailer
- 1 1/2″ Finish Nails
- Paint or Stain of your choice
- Mini Ornaments
Lumber:
- 1 | 1 x 8 @ 6′ (or just long enough to cut both trees)
- 1 | 1 x 2 long enough to cut 5″
** If you build this from the cutoffs from the 3D tree, use a 1 x 10 to fit the whole width of the 3D tree.
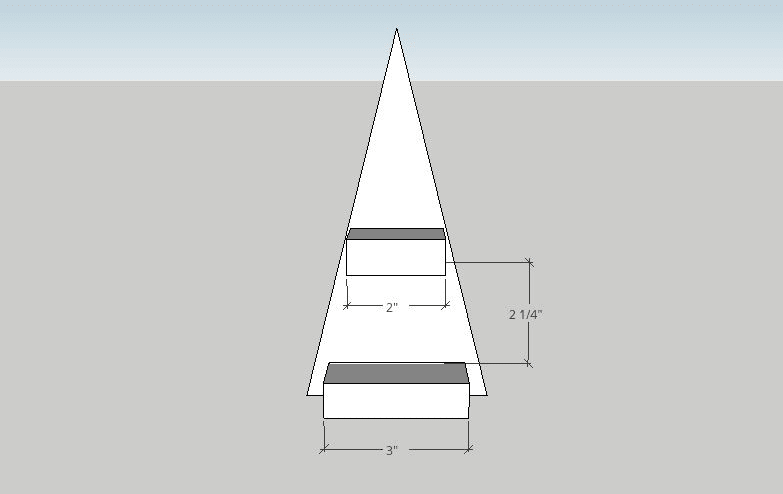
Step 1.
Mark out two triangles with the following dimensions along a 1 x 8 board and cut them out with a jigsaw:


Step 2.
Attach the 1 x 2s to the small tree with wood glue and finish nails. Position the bottom shelf centered and flush with the bottom of the tree. Place the top shelf just below where it meets the edges:

Put finish nails in from the back of the tree through the 1 x 2s:


Step 3.
Offset the bottom shelf 3/4″ form the edge of the large tree and attach with wood glue and finish nails.


Fill the nail holes in the front tree with wood filler (or just leave them if you don’t mind).


Once the wood filler dries, sand and finish as desired.
I painted the small tree with white acrylic paint, but any kind of wood paint or stain will work. I left the shelves and large tree unfinished for a more modern look.


Please let me know if you have any questions and I’ll get back to you as soon as possible!
I’d love to see it if you build from these plans! Tag me on Instagram @bitterrootdiy. I’ve also saved a video of this project on my Instagram profile under highlights.


Thanks for stopping by!
For more project ideas, you can find me on Pinterest. And to stay up to date with the latest shenanigans, follow me on Instagram.

