
I have definitely not been keeping up with posts lately … again. But today I’m finally back with another set of plans for you! If you follow me on Instagram, you know I’ve been crazy crazy busy renovating a bedroom for our son Weston. I can’t even explain how much this room needed some love. It was full of wonderful 70’s pea green carpet, thin dark wood trim, panel doors, and popcorn ceiling. Fast forward 3 weeks and many hours of DIY, and now I think it might be my favorite room in the house!
I’ll have more details on each step of the makeover (as well as a final reveal) coming in the next couple weeks, but for now let’s start with the first piece of furniture – a custom DIY 3 drawer dresser!


This post may contain affiliate links. If you make a purchase from one of the links, I may make a small commission at NO EXTRA COST to you. This helps keep the tutorials and plans free here at Bitterroot DIY. Thank you for your support! See my full disclosure here.
My friend Anika drew up the full plan set for this dresser and I couldn’t be happier with how it turned out! You can grab the full plans over at Anika’s DIY Life, but here are a few of the highlights and details on hardware!


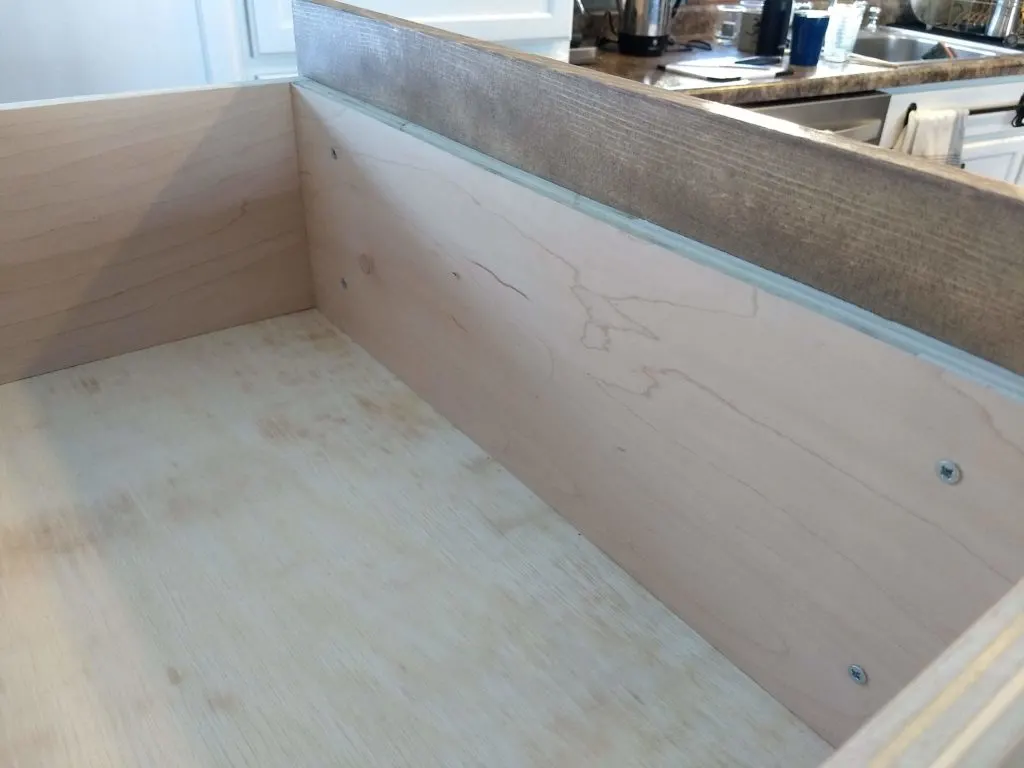
I started by assembling all three drawers. Since this is a kid’s room dresser, the drawers don’t have to hold a ton of weight. So this simple drawer works great. All you need is your trusty Kreg jig, some wood glue, and nails. And, if you don’t own a Kreg jig, you can always just screw through the sides of the drawers to attach them. No special tools or joinery here!
First, I joined all four sides of the drawer. Then I added a bead of wood glue along the bottom edge and stapled the bottom of the drawer on. Piece of cake!

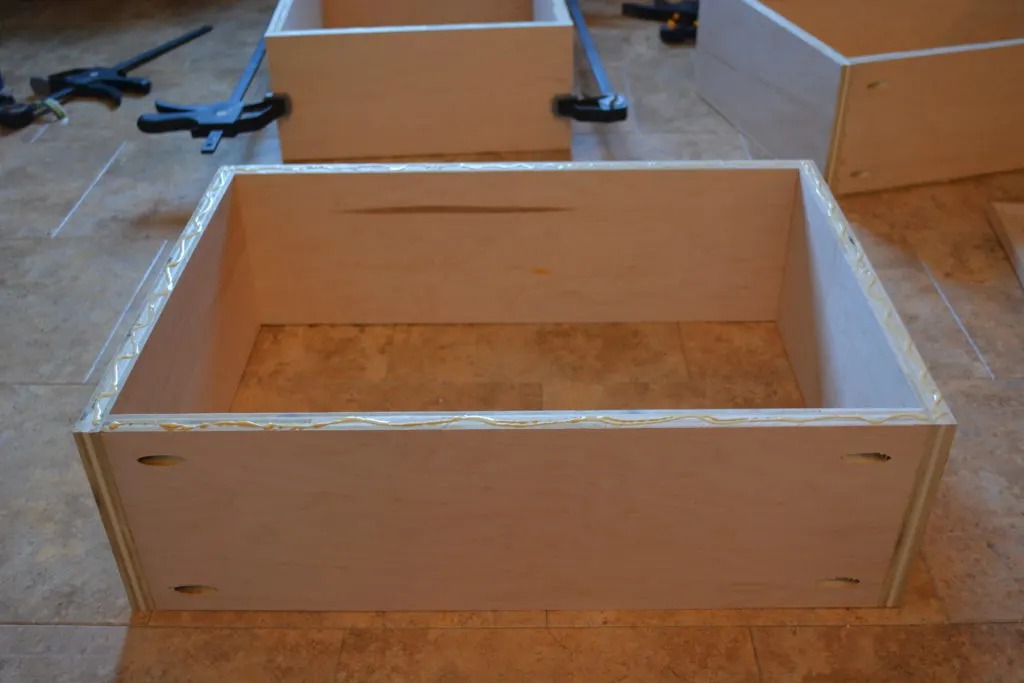
I used bottom mount drawer slides on all three drawers for additional support on the base. Between the wood glue, 1 1/4″ finish nails, and slides, that drawer base isn’t going anywhere. But, in case you’re still skeptical, I have three dressers in the house with these types of drawers and haven’t had a single issue!
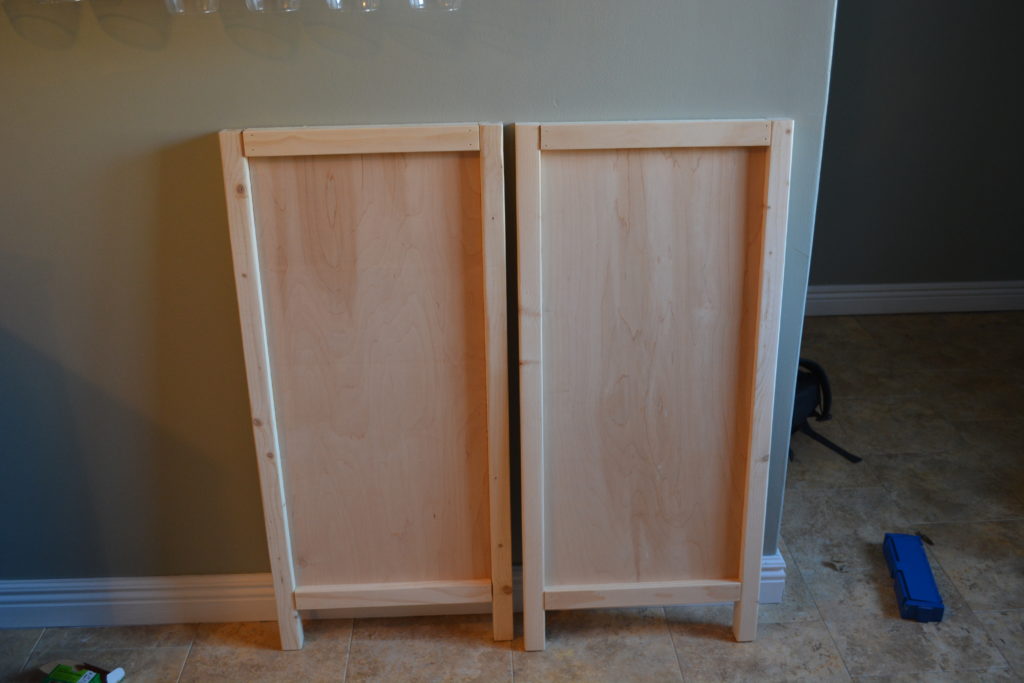
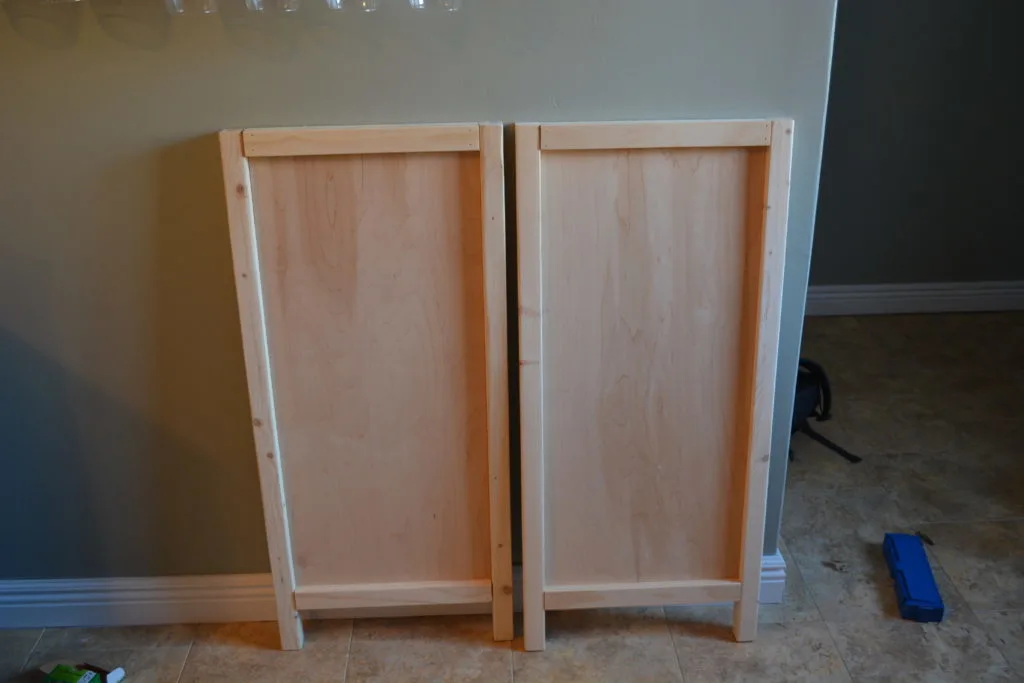
After the drawers, I assembled the sides of the dresser:
Next, I joined the sides together. I started with the bottom of the dresser, then the top frame 2x2s, and then the drawer dividers:
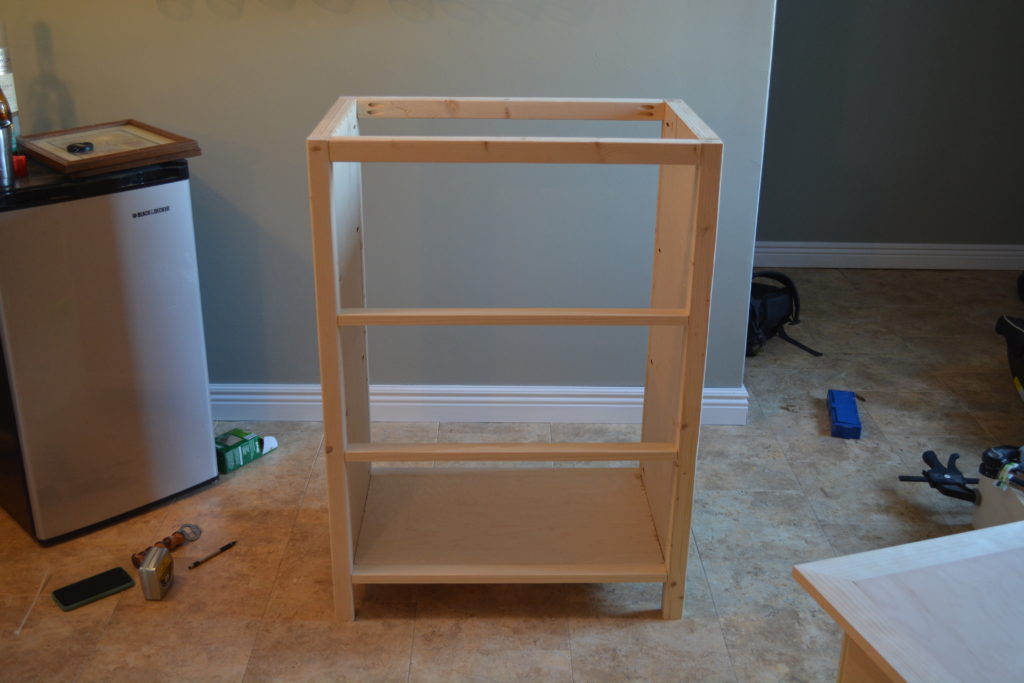

Then I built and attached the top of the dresser. As you’ll see in the plans, it’s just a 3/4″ piece of plywood with a 1×3 frame.
Once all the pieces were ready to go, I gave everything a good sanding and stained it. I used Varathane provinicial stain, mixed with a little Varathane sun-bleached. I don’t have the exact ratio, but just add the sun-bleached to the can of provincial a little bit at a time until it’s your ideal color! After the stain dried, I sealed it with a couple coats of spray on polyurethane. All the finishing supplies are available at the Home Depot if you’re interested.
Now, I don’t always stain and seal before assembly. However, this dresser was easier to finish without the back (which is unfinished). I also decided just to stain the drawer faces and leave the drawer boxes unfinished. Feel free to change things up to whatever works best for you.
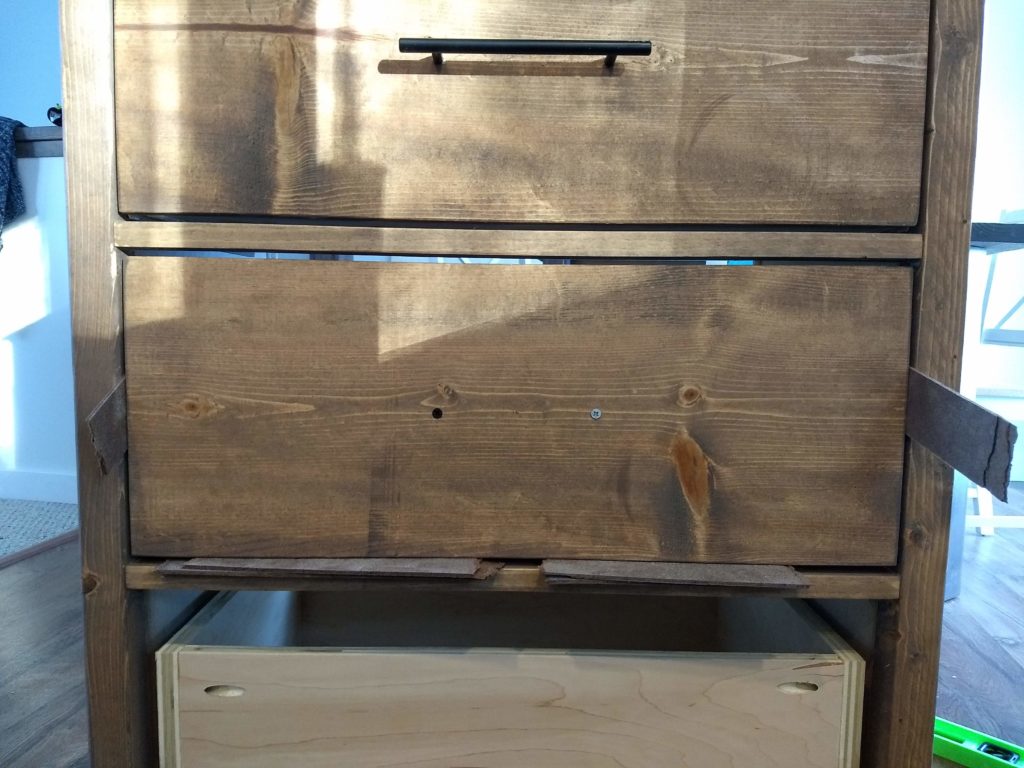
You can see the dresser hanging out on the bottom right here just before staining:


Last but not least, I attached the drawer faces. I recently picked up this handy dandy tip from Brad at Fix This Build That, and I have to say it works like a charm!
Start by attaching all the drawer slides to the dresser and drawer boxes. While the drawer faces are still separate from the drawers, mark and drill the holes into the drawer faces for the drawer hardware. Set the drawer face into it’s slot and shim it into position with spacers. I used 1/8″ scrap boards, but playing cards, envelopes, cardboard, ect. works just as well.
Once the drawer face is positioned correctly, screw it to the drawer box through the holes you drilled for the hardware.

While the face is attached with the temporary screws, pull the drawer out and add permanent screws from the inside of the drawer.

Remove the temporary screws from the drawer face and finish installing the drawer hardware. Boom, bam, boom – you’re good to go!
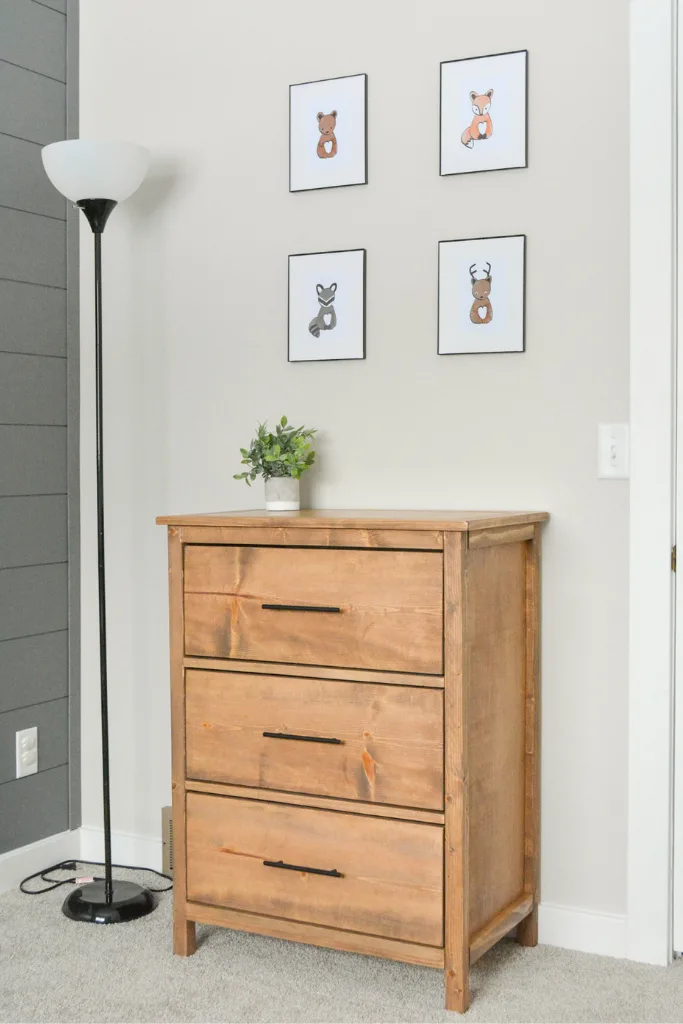
I used these beautiful matte black bar pulls and absolutely love how they look against the wood. They’re a great price and feel high quality – win win!

Please let me know if you have any questions and I’ll get back to you as soon as possible.
I’d love to see it if you build from these plans! Tag me on Instagram @bitterrootdiy!


Thanks for stopping by!
For more project ideas, you can find me on Pinterest. And to stay up to date with the latest shenanigans, follow me on Instagram.


Cierra
Tuesday 9th of February 2021
Hi there, I tried accessing your plans and it says it's not found. Is there an alternative link for it? Thank you.
tylynn_sattler
Wednesday 10th of February 2021
This was a collaboration project, so you can find the plans here: https://www.anikasdiylife.com/simple-diy-dresser-plans/
Nena
Monday 18th of January 2021
I love this little dresser! Just curious how the drawers are held in place.
tylynn_sattler
Monday 25th of January 2021
Thanks - they're on drawer slides.
Kat Vail
Saturday 5th of September 2020
How much did this cost you to make?
tylynn_sattler
Wednesday 9th of September 2020
I don't usually give cost estimates since it depends on the cost of materials in your location, as well as what tools & supplies you already have on-hand.
women's print dress
Wednesday 21st of August 2019
After going over a number of the articles on your website, I honestly appreciate your way of blogging. I added it to my bookmark webpage list and will be checking back soon. Please check out my web site too and let me know your opinion.
Cindy
Wednesday 6th of March 2019
What color gray is your plank wall?
tylynn_sattler
Wednesday 20th of March 2019
Hi Cindy,
It's Benjamin Moore "steel wool"