
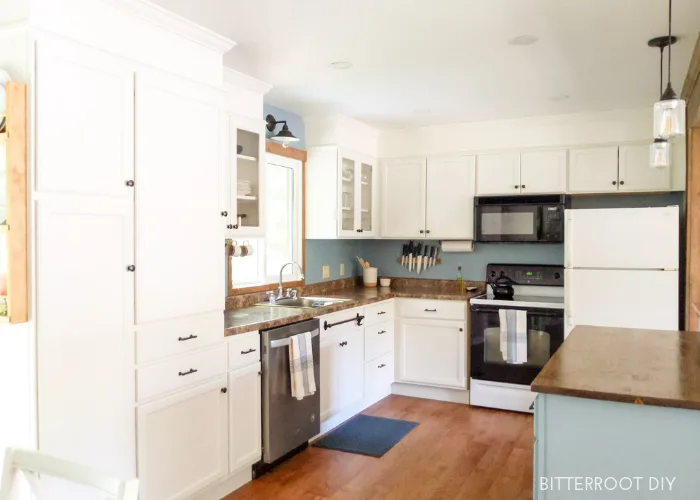
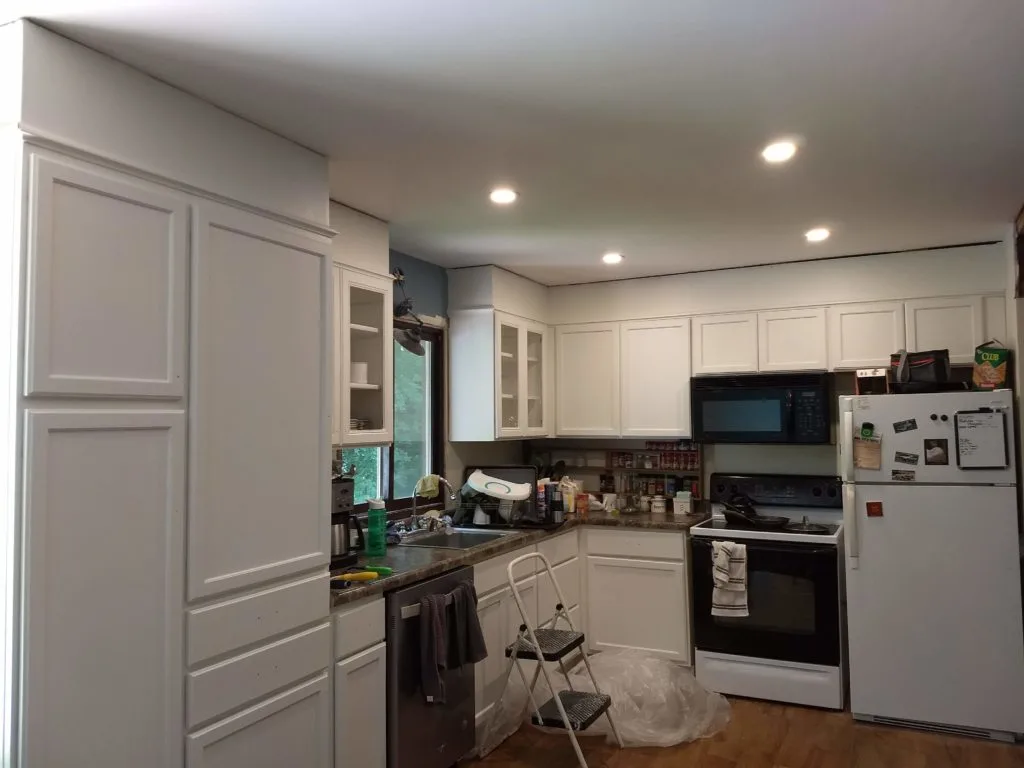
Extending your kitchen cabinets to the ceiling is a great way to get that high-end-kitchen look without breaking the bank for all new cabinets. If you’ve been tossing the idea around, GO FOR IT! Best. Decision. Ever.
Now, I’ve seen a lot of people extend cabinets to the ceiling with real wood. That’s definitely the way to go if you want to add more cabinet space or top shelves. But if you just want to make your cabinets look taller and don’t need more cabinet space, which is what I was going for, this is the method for you! All you need is some drywall, extra blocks of 2×2, and crown molding. It saves a boat-load of money and no one will ever know the difference.
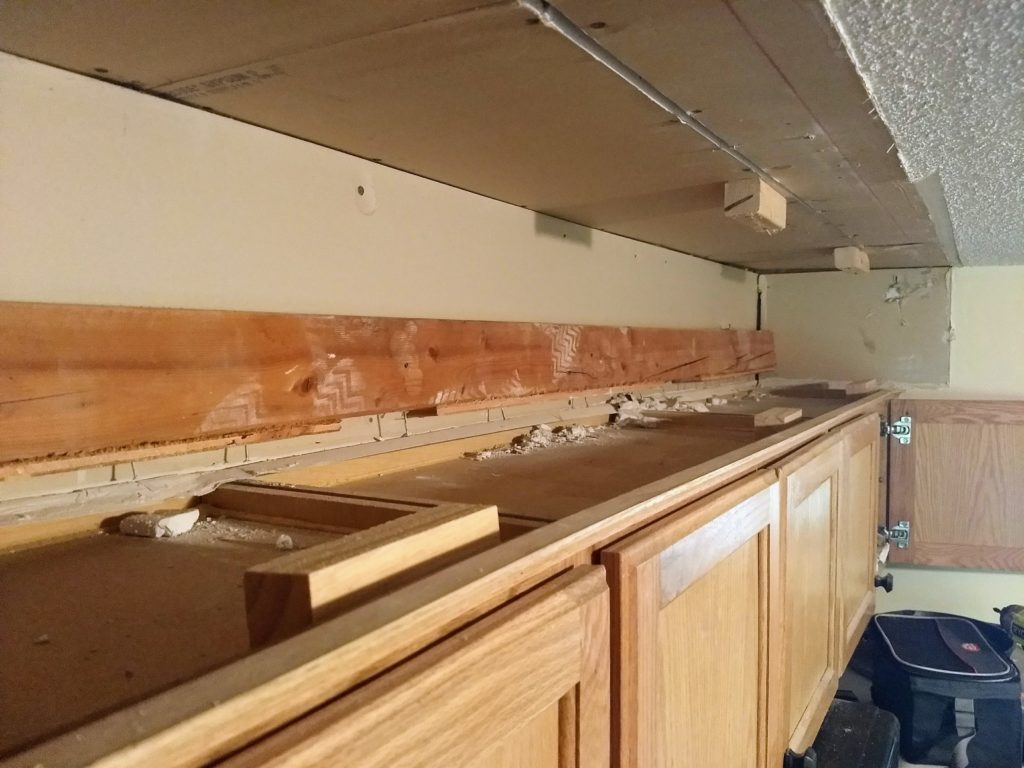
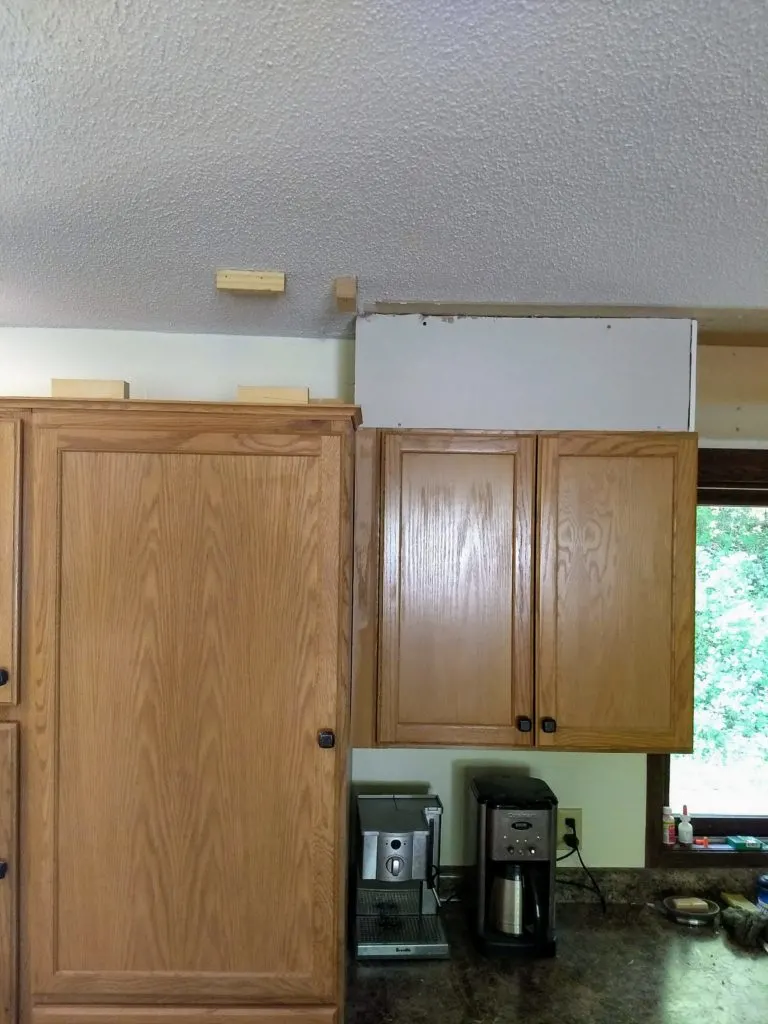
The first step on this journey was to remove the fur down above our cabinets. That was a whole different beast. If your cabinets have that stylish little topper, go ahead and start by demo-ing it. If you don’t have a fur down, you can get right to work building up the tops.
I’ve added links for a lot of the supplies, but they should all also be available at your local home improvement store – whatever’s most convenient!

This post contains affiliate links. If you make a purchase from one of the links, I may make a small commission at NO EXTRA COST to you. This helps keep the tutorials and plans free here at Bitterroot DIY. Thank you for your support! See my full disclosure here.
Tools & Supplies:
- Drywall
- Spare 2×2
- Crown Molding
- Half Round Molding
- Finish Nails
- Brad Nailer
- 2 1/2″ Screws
- 1 3/4″ Screws
- Drill
- Drywall Mud
- Drywall Tape
- Drywall Sanding Block
- Putty Knives
- Paintable Caulk
Step 1.
Place 2×2 blocks along the top of the cabinets and ceiling where the drywall will attach. Line the blocks up evenly with each other and such that the drywall will sit flush with the front of the cabinets when you attach it.

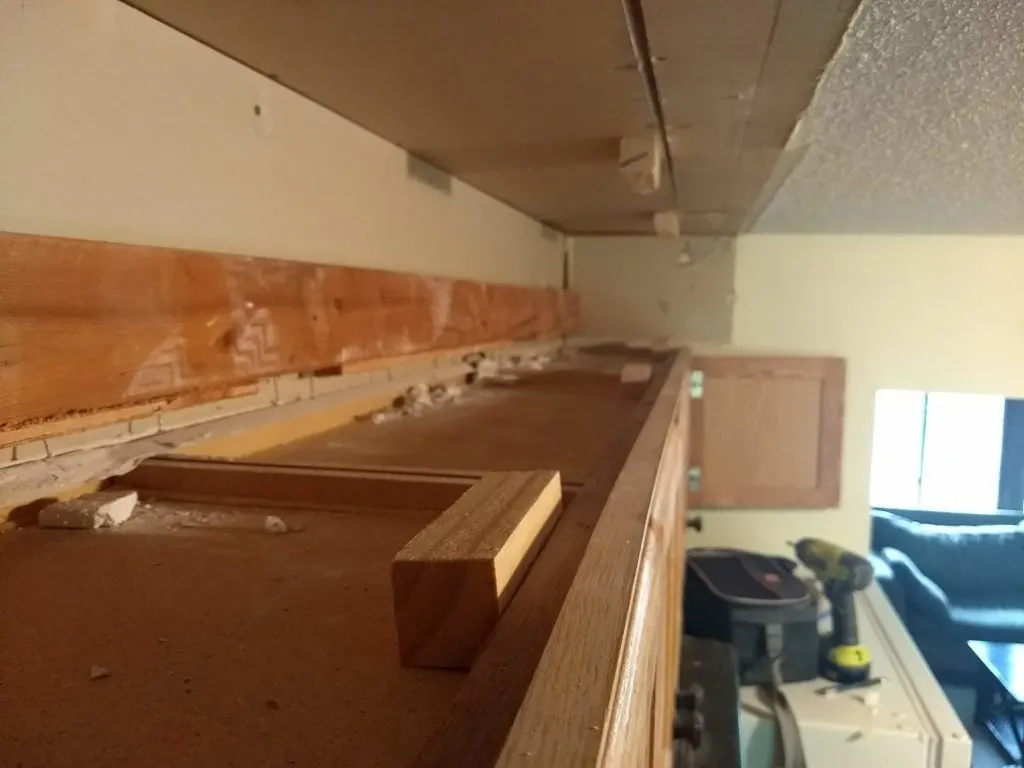
I used 1 3/4″ screws for the blocks along the tops of the cabinets and screwed them in from the bottom (inside the cabinet). I used 2 1/2″ screws for the blocks in the ceiling and lined them up with studs as much as possible. Drywall isn’t terribly heavy, so there are a couple extra blocks up there that aren’t attached to a stud. But it’s best to get them into a solid stud.

Step 2.
Measure from the top of the cabinets to the ceiling and cut the drywall accordingly. Place the drywall and attach it to the blocks on the top and bottom with drywall screws.
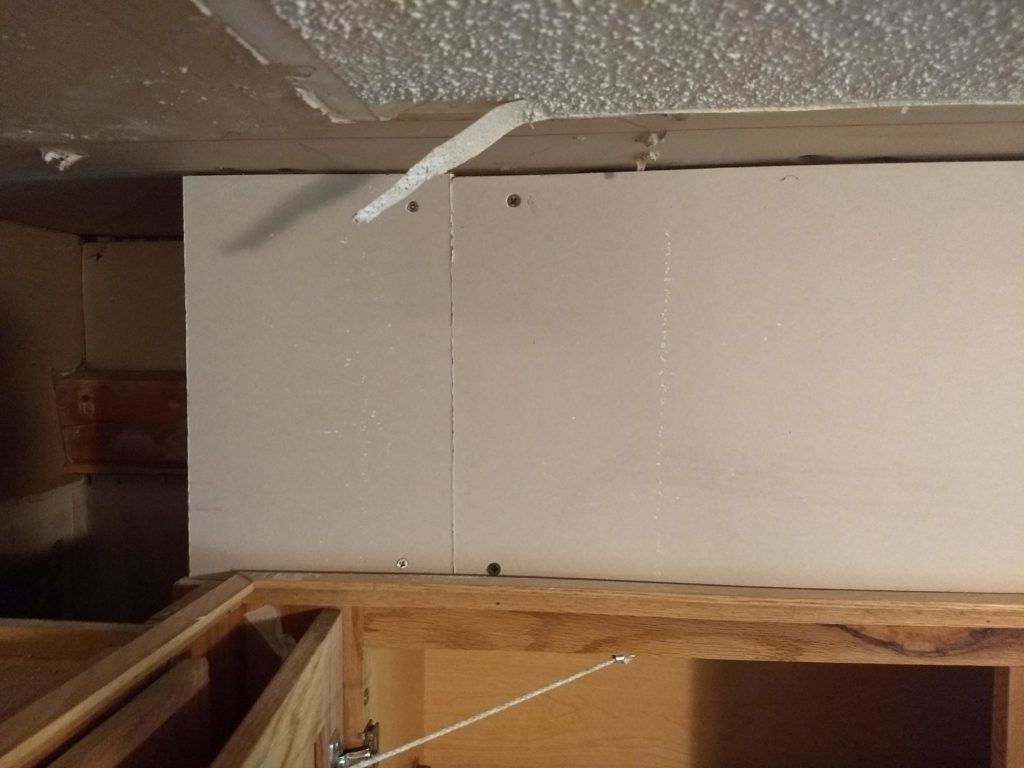

The top of the drywall doesn’t have to be exactly flush since you’ll be adding crown molding up there anyways.
Just work your way around the cabinets until they’re all built up.

Step 3.
Once you’ve got all the drywall up, it’s time for mud & tape.

Start by thinning the drywall compound to a workable consistency. It takes some practice to figure out what works best. Add water until you can easily spread the mud without gaps and holes – too thin and it will run, too thick and it’ll pull off onto the knife. Take some time to play around with it until you like what you have.
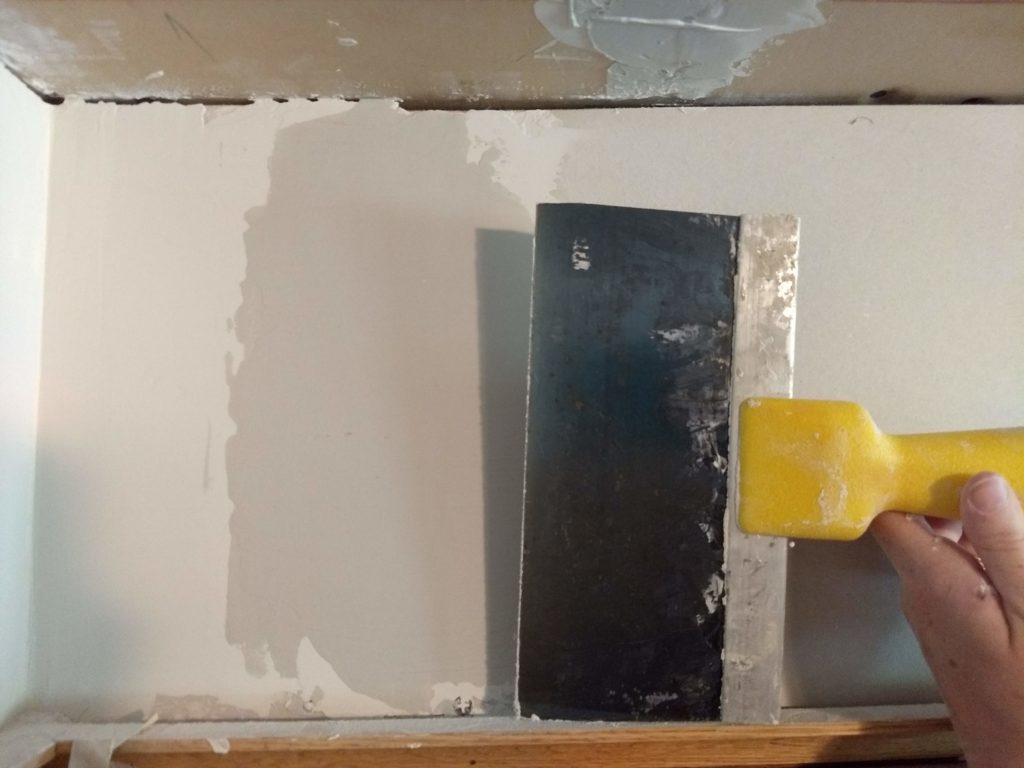
Then apply a layer of compound to the seam with a putty knife:
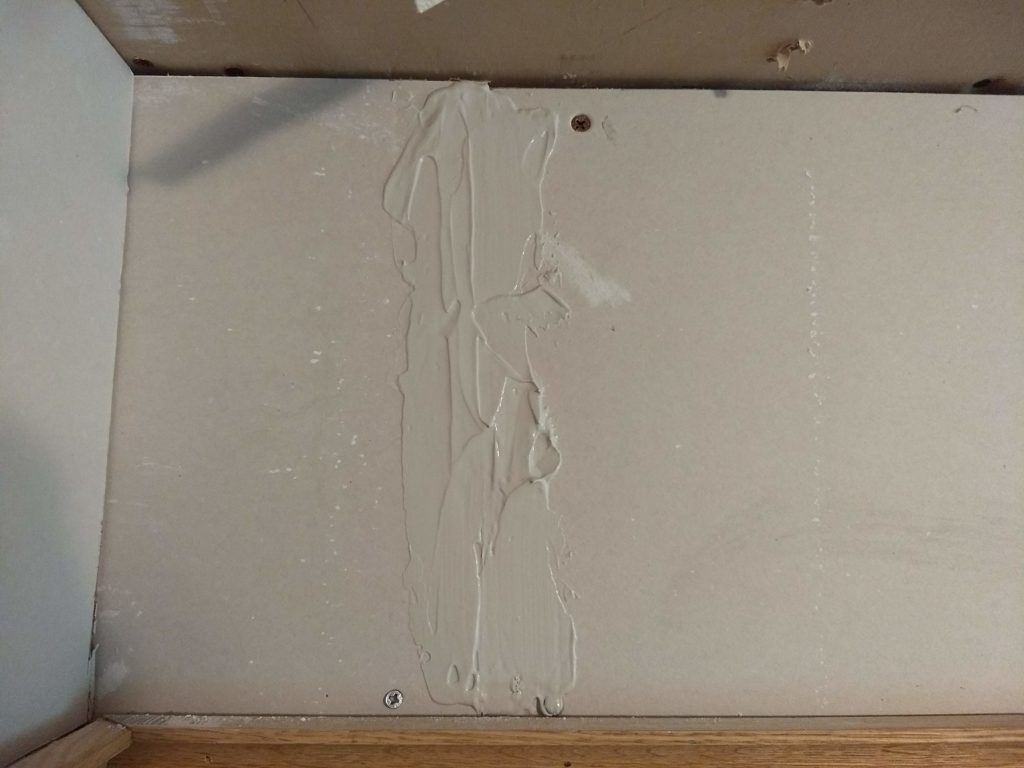
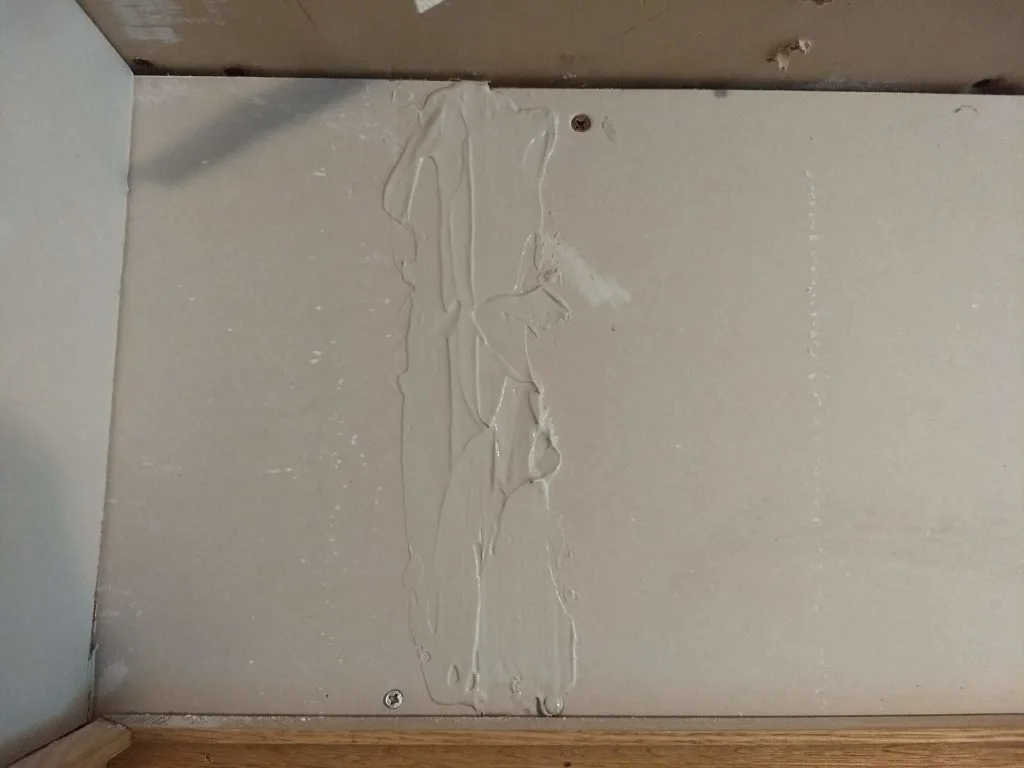
Stick the tape on:
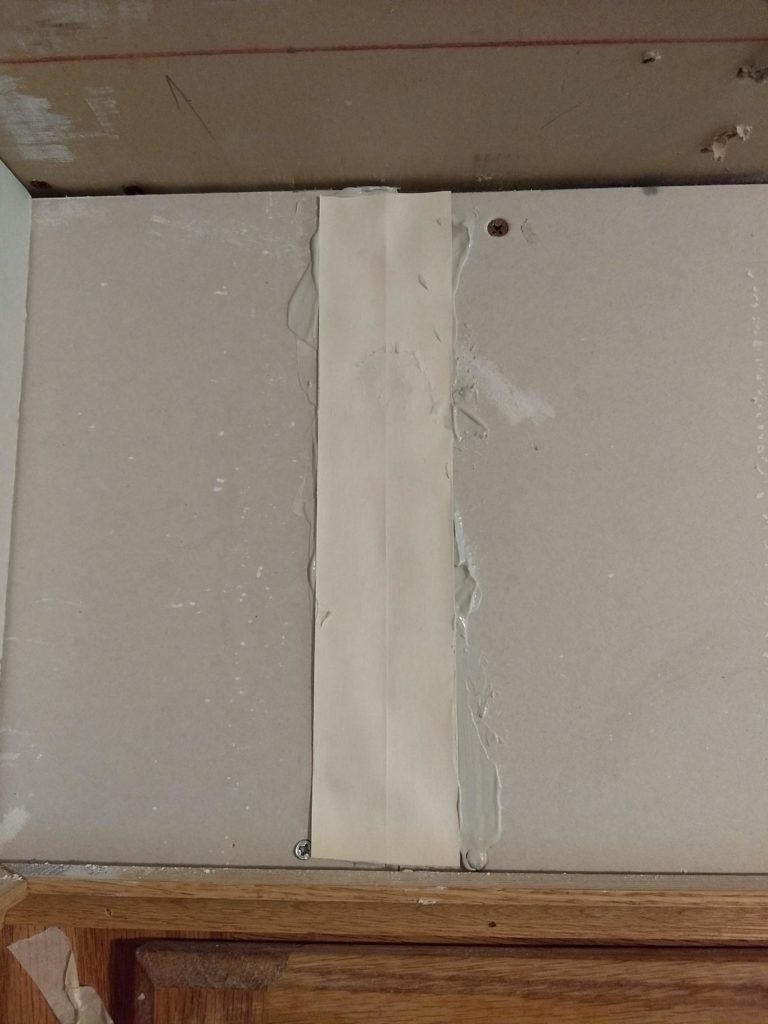
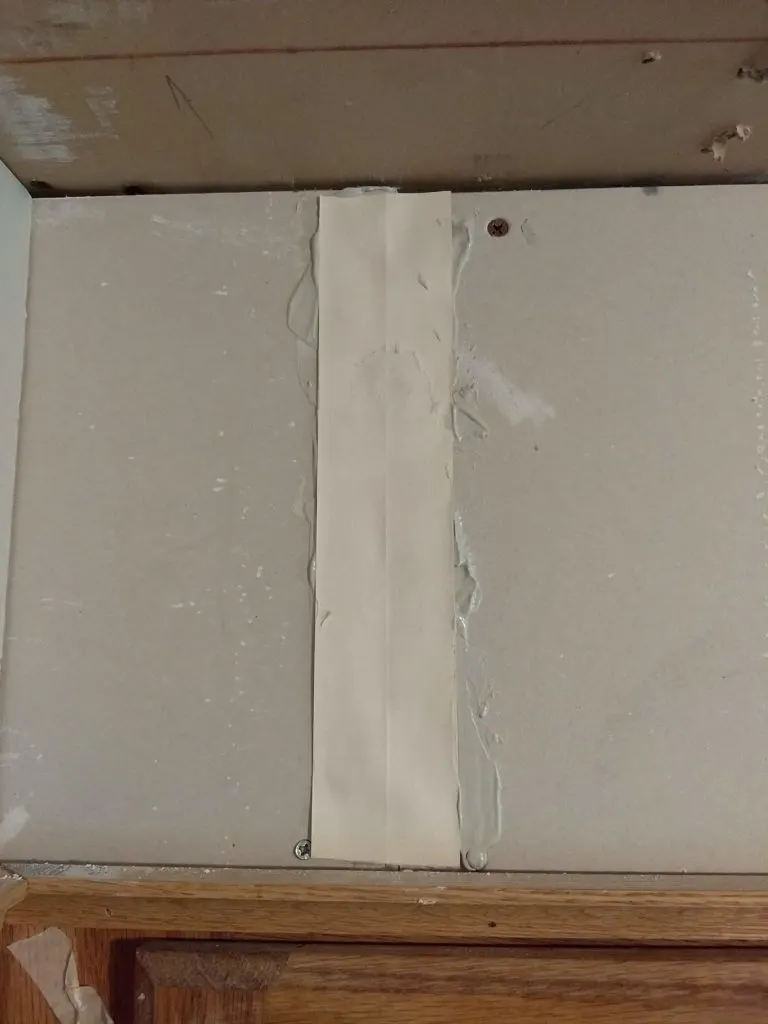
And press the extra mud out with the putty knife until you have a pretty smooth surface and the tape is secure:
Add another layer of mud over the tape, smooth it out as best as possible, and let it dry according to the manufacturer’s instructions.
An extra wide taping knife is really handy here to get everything smoothed out nicely:

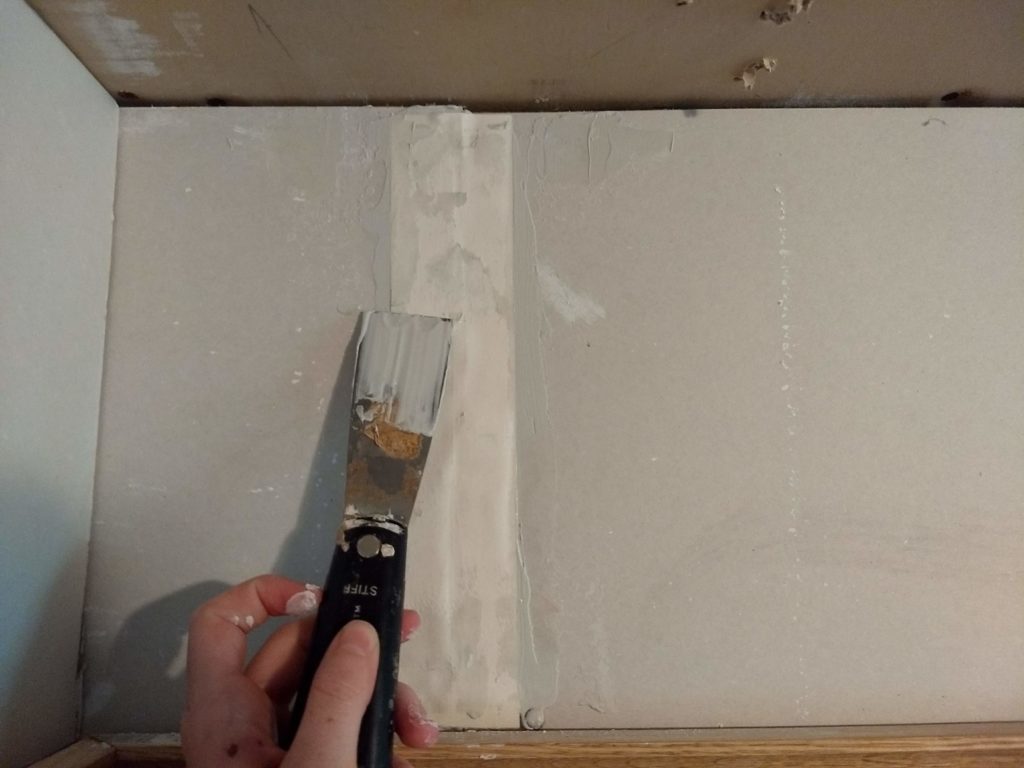
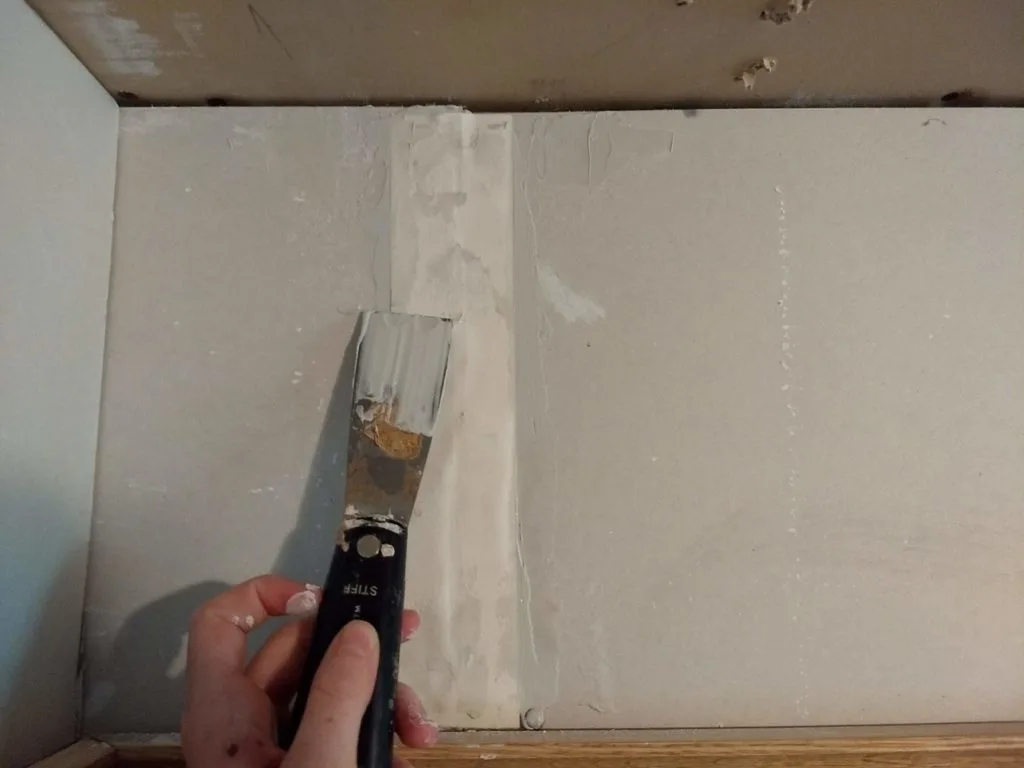
After the mud dries, sand it down to a smooth transition from drywall to mud to drywall … you don’t want to be able to see any lines or gaps or bumps where the joint is.
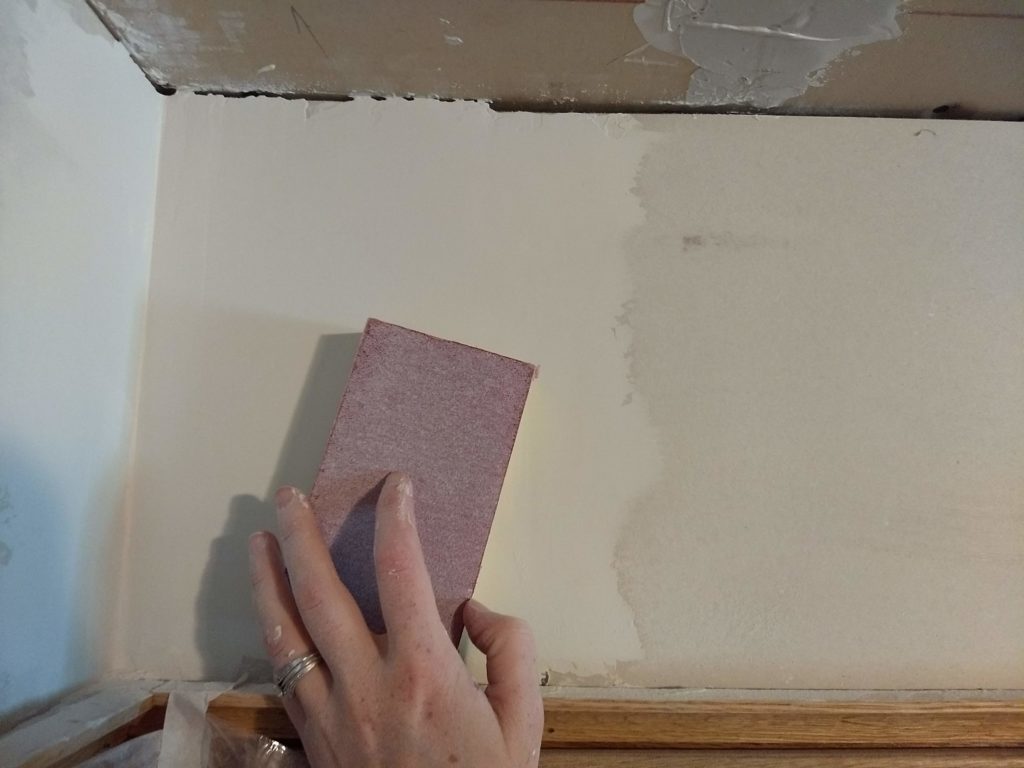
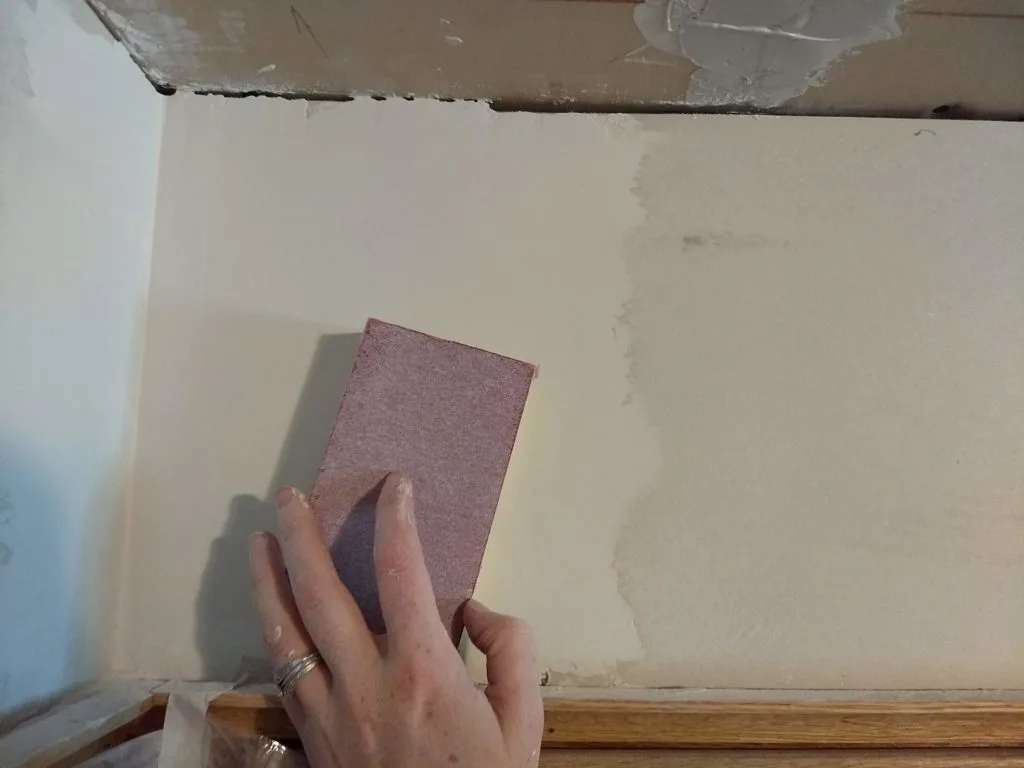
Repeat as necessary until the joint is seamless and completely covered. The corners take quite a few more coats than the middle joints, but it’s worth the time to do it correctly.
Step 4.
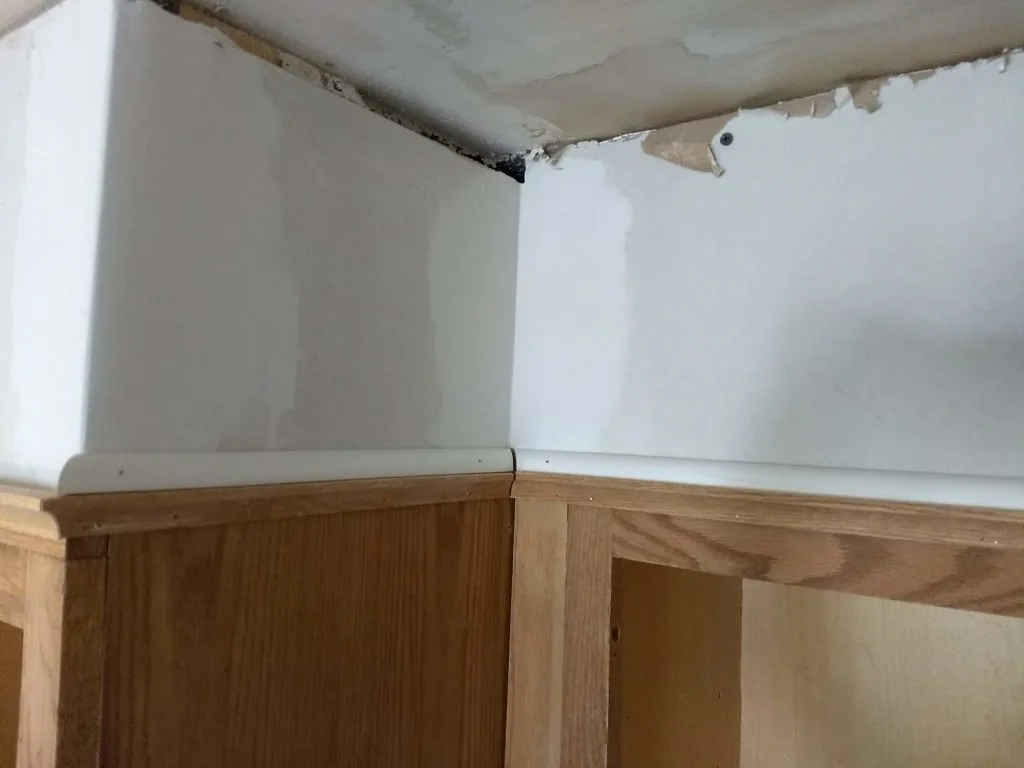
After all the mud & tape, I added half round molding along the bottom of the drywall to help cover the joint and make it look like part of the cabinets – more of a natural transition.

Step 5.
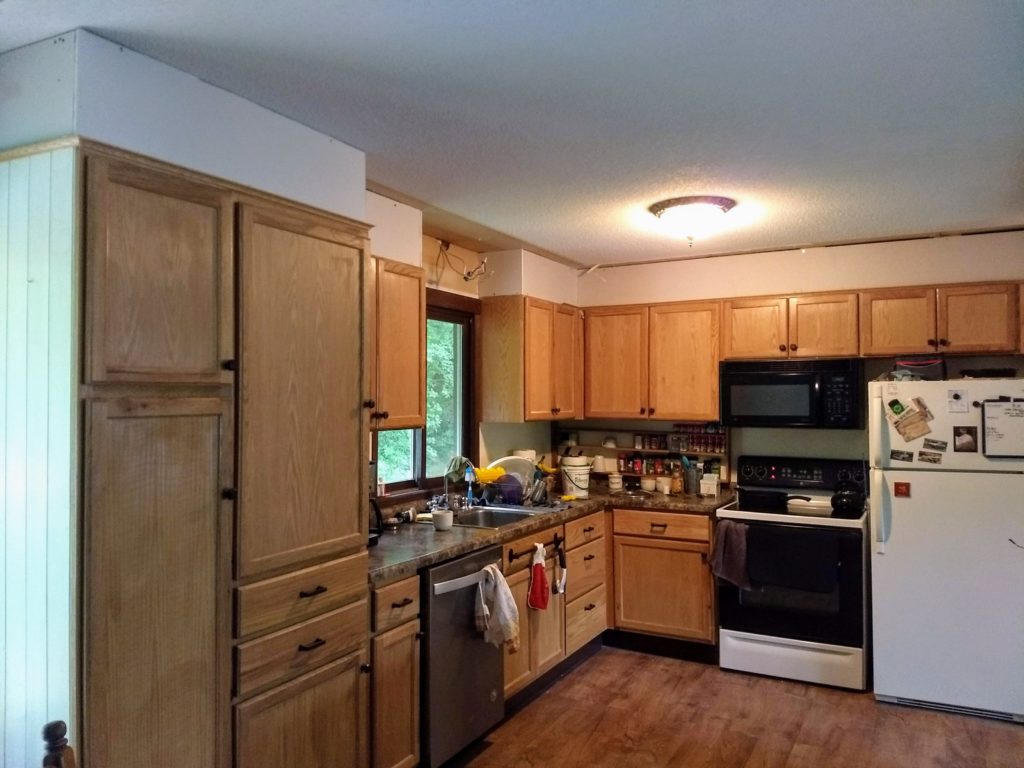
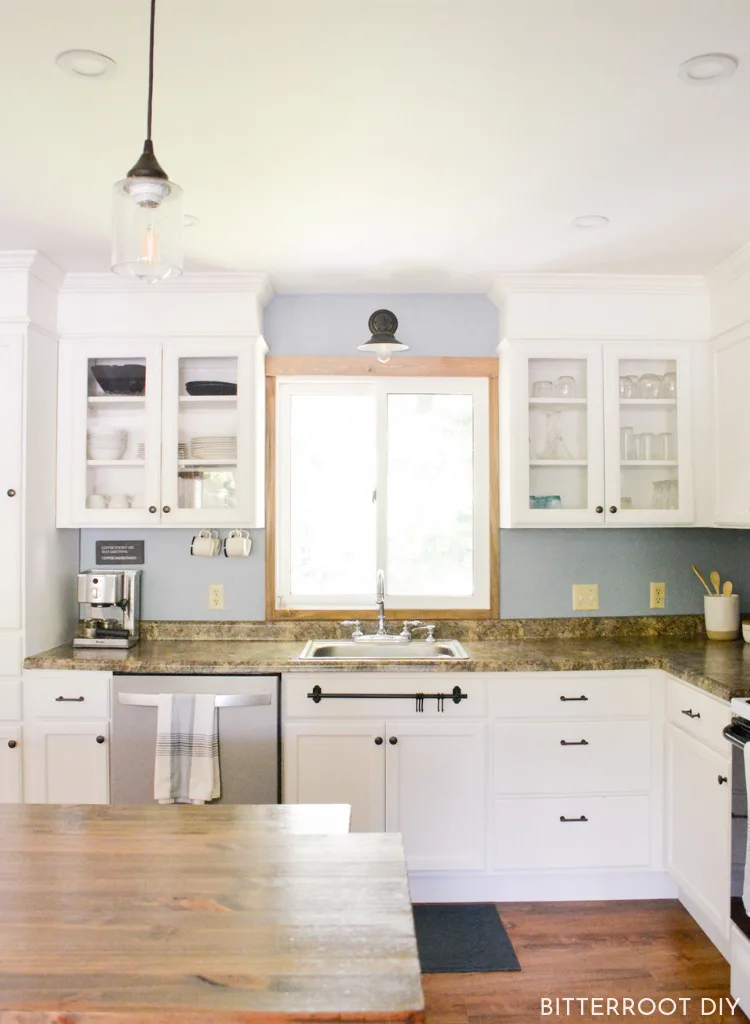
So there’s a lot that changed in this next photo … in the midst of extending the cabinets to the ceiling, I also painted all the cabinets, ceiling, and walls, added glass doors, and installed new can lights.
It’s hard to tell since so many things changed, but paint was the only new thing I did to the drywall since adding the half round along the bottom (step 4).

I highly encourage painting the new drywall and half round before putting the crown molding up. I cut the crown molding and did a dry-fit to make sure it all fit well, but then I actually painted it separately. That way I didn’t have to worry about taping off and edging the ceiling. All I had to do was put the crown molding up and it covered the joints and edges. Which brings us to Step 6 …
Step 6.
Install the crown molding along the top of the cabinets.
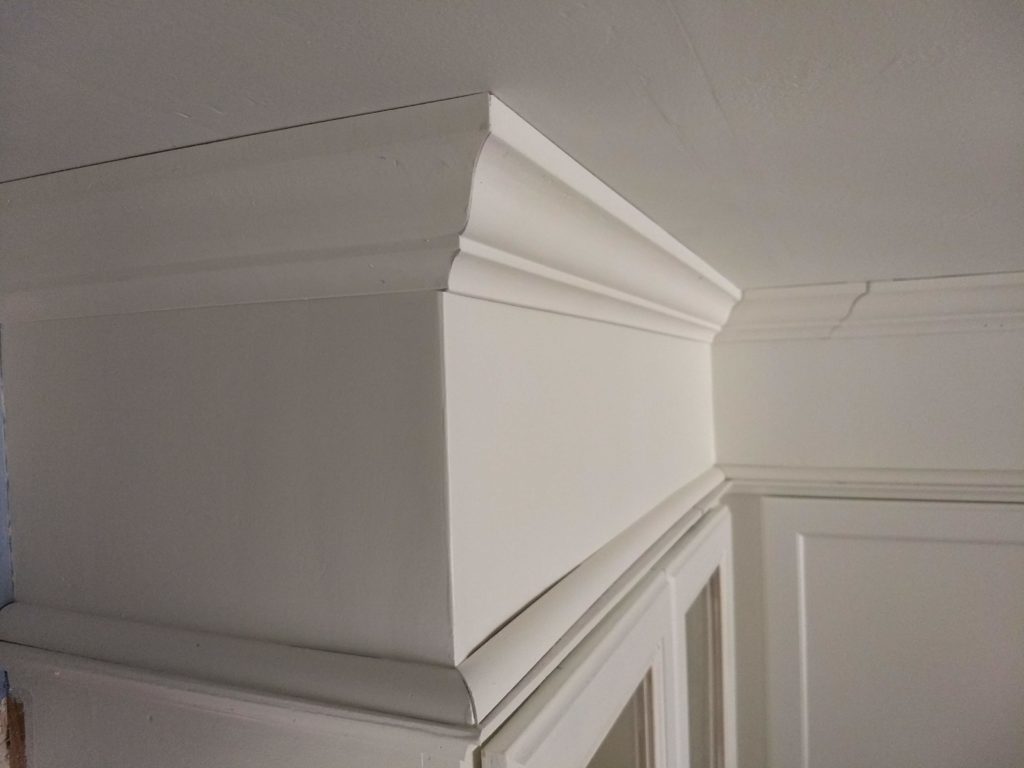
I installed crown molding all the way around the kitchen to finish things off nicely.
If you need more info on crown molding, here are a few handy tips to help you get started.
Step 7.
Last, but not least, seal all joints with caulk. I used paintable caulk so that I could touch up the joints and nail holes with the same color paint as the cabinets. It’s up to you, but I do recommend using the paintable stuff … saves a headache when you have to fix something.

And there you have it! High-end cabinets for a fraction of a fraction of the cost.

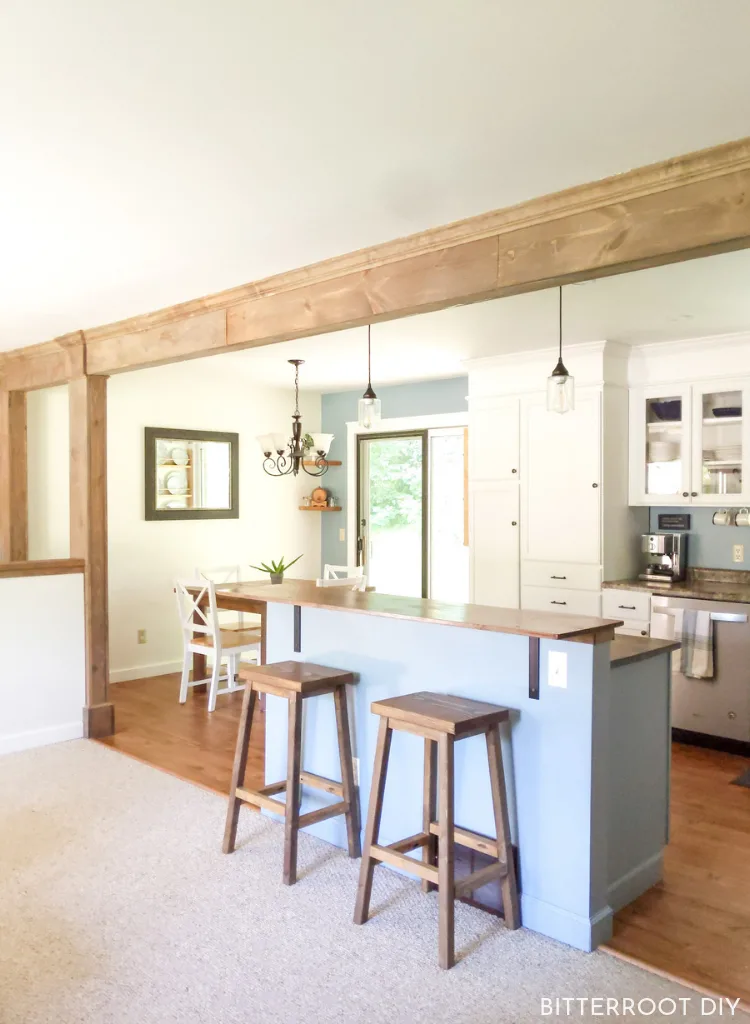
The kitchen is still very much under construction, but extending the cabinets to the ceiling was a HUGE improvement. I’m so happy with it!
*Update: the kitchen is done! Check out the final reveal here.
Please let me know if you have any questions and I’ll get back to you as soon as possible.
And you can stay up to date on the latest from the renovation over on Instagram.


Meghan
Thursday 18th of February 2021
Hi! I love this so much. Sorry if I missed this but how did you attach the crown mounding? Like where the screws nails etc ended up being. Just the drywall? Thank you!
tylynn_sattler
Saturday 20th of February 2021
Hi Meghan,
The nails go into the wood blocks I added to attach the drywall to along the bottom and just into the drywall along the top. Drive the nails at a slight angle when you're just going into drywall to help them get a good hold. I haven't had any issues with the crown moving when I did it this way.
Thanks!