
This year, it was time for a new fall wreath. I made one a few years ago when we first got married and this blog was brand new (see it here). It served us well for many years! This fall I wanted to go with a little different style. I love the neutral grassy wreaths (or the corn husk ones – anything wispy and simple). We have a few feather reed grass plants right in the front of our house, so it worked perfectly to go that route. I just used clippings from the plants for the bulk of the wreath!


This post contains affiliate links. If you make a purchase from one of the links, I may make a small commission at NO EXTRA COST to you. Thank you for your support! See my full disclosure here.
Head on over to my Instagram and follow along to see more projects like this come together in real time! I also saved the details for this projects to my story highlights, under “fall wreath”.
- Hot Glue Gun
- Straw Wreath Form (lots of sizes)
- Floral Wire
- Cotton Twine (I used that one, which is technically butcher’s twine, but there are lots of other options from Amazon as well)
- Antique Blue Velvet Ribbon
- Curly Twig Picks (Hobby Lobby)
- Brown Dried Caspia (Hobby Lobby) – similar option from Amazon HERE.
- Dried Reed Grass (from the yard) – similar options from Amazon HERE, HERE, HERE.
1. Dry the Oranges
To start things off, I dried some orange slices. I didn’t have an exact plan, so I sliced a whole orange into slices, though I ended up only using a few.

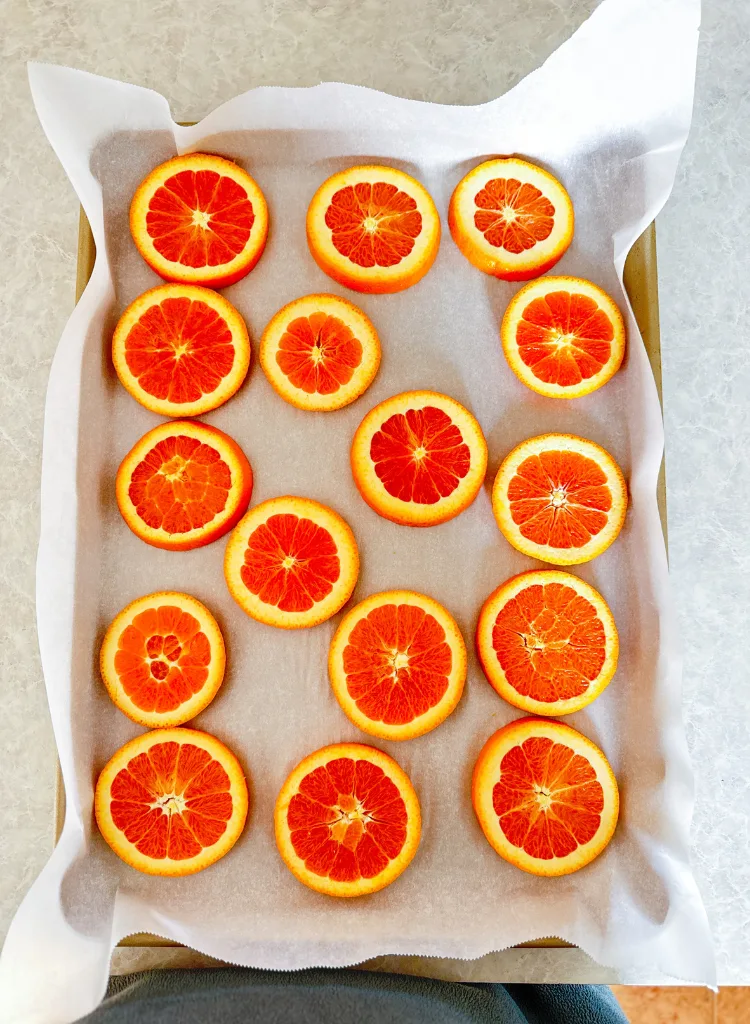
To dry your own oranges, preheat your oven to 200°. Slice the orange into approximately 1/4″ slices (the thinner the slices, the quicker they will dry). Use a paper towel and gently blot to remove excess moisture. Then, line a baking sheet with parchment paper and lay the orange slices out in an even layer. Bake for 2-4 hours. Flip the slices every 45 minutes – 1 hour to ensure the slices don’t burn. If the slices start to burn, but aren’t dry yet, your oven is too hot. The goal is loooong and slow. Some pieces may also dry quicker than others, depending on size and thickness. Remove slices as they’re ready. Once they’re all dry, remove them from the oven and let cool.
If you prefer, you can purchase dried orange slices HERE.
2. Fill the Base
While the oranges were drying, I started filling in the base of the wreath.
I chose a 16″ straw wreath form so the colors would blend nicely. However, if I did it again, I think I’d go with a smaller form – either a green wire form [HERE] or just a simple wire hoop wreath [HERE or HERE, depending on the size you’re looking for].
The straw form worked well, but it took a LOT of grass to cover it completely. It would have been much easier to cover a wire form, and you’d still end up with the same look.

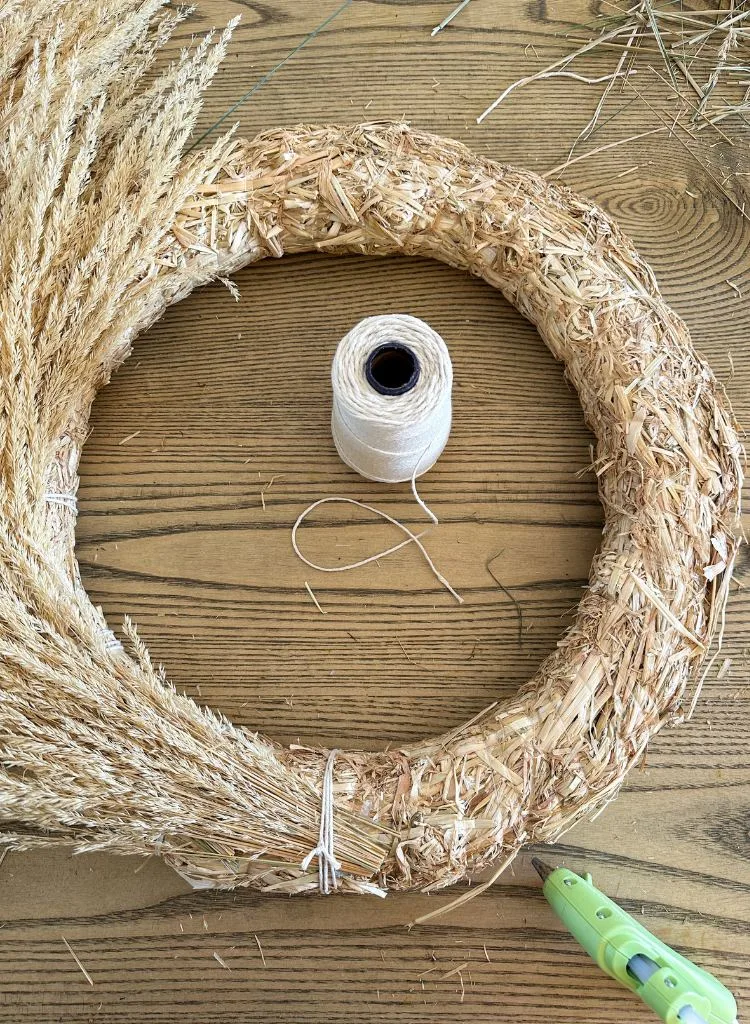
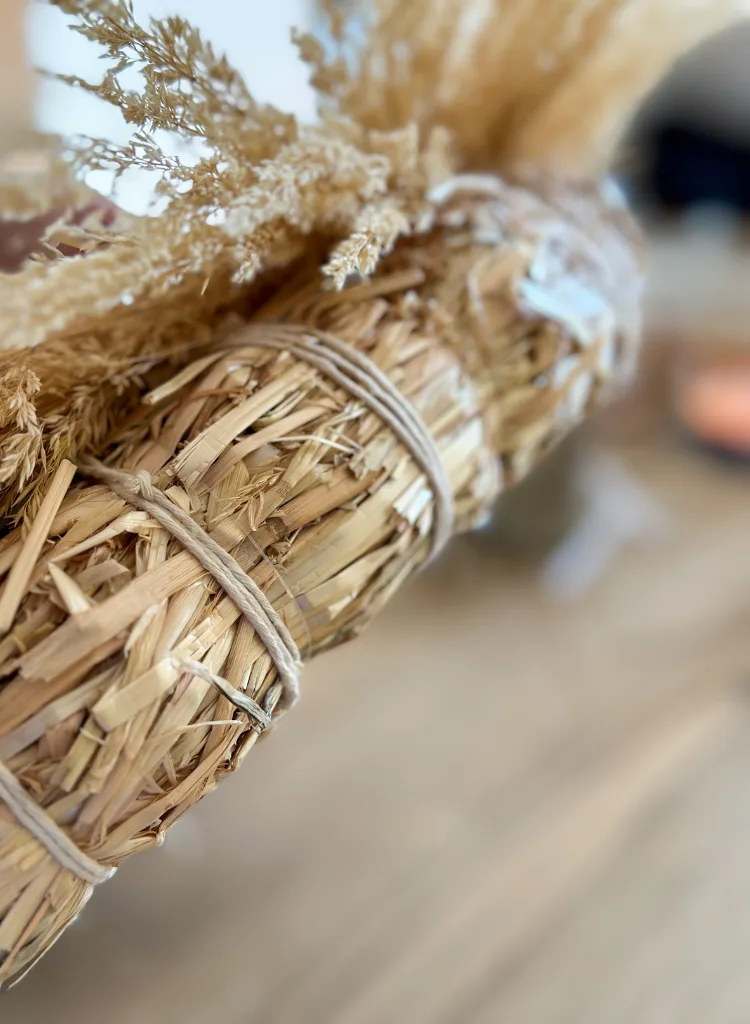
To cover the wreath form, grab a small bunch of grass and position it over your wreath form. Adjust it and add or remove grass until you like the look. Then, with the grass out of the way, add a dollop of hot glue on the wreath form. Press the grass into place on the glue where you liked it. Tie a few loops of cotton twine around each bunch of grass for good measure.
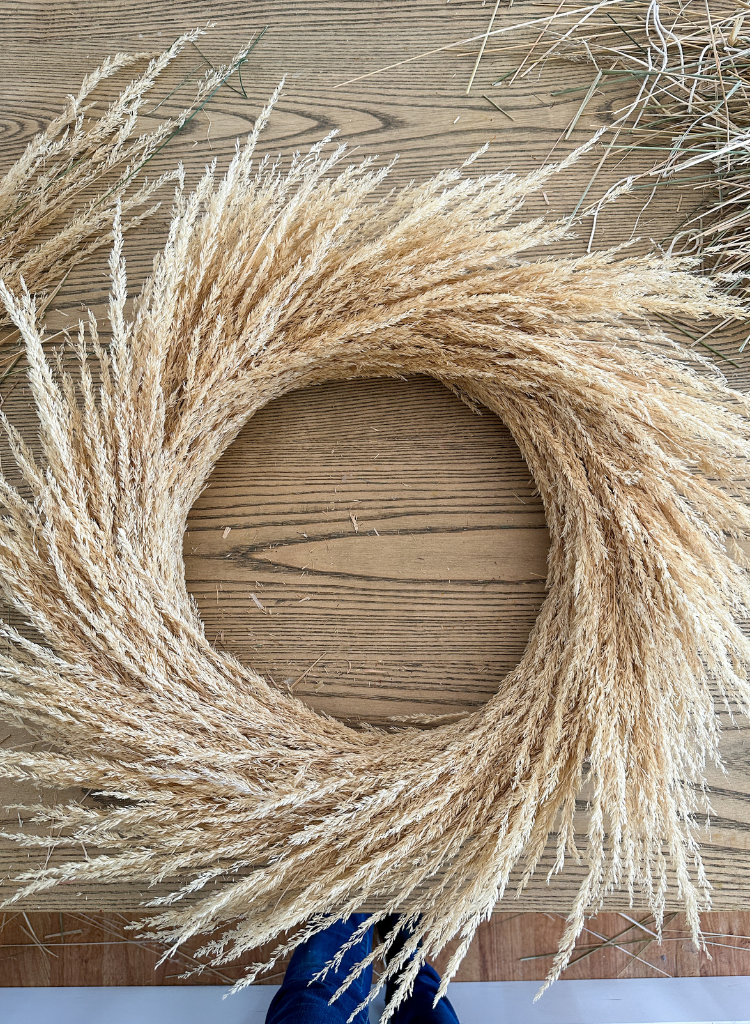
Start on one side and work counter-clockwise around the form, layering each new bundle of grass on top of the previous to hide the cotton twine. Spacing will depend on the type of grass and type of wreath form. It’s not an exact science 😉 Just have fun with it, and move things around until you like it!

Since the straw wreath form is pretty thick, I also added some grass along the inside edge to hide the straw. Again, just worked it into place until I liked it and attached the grasses with hot glue and cotton twine. Floral wire would also work well [HERE]. I’ve used it on all my other DIY Wreaths. I just switched to the cotton twine for this one to blend with the lighter, neutral straw and grasses.
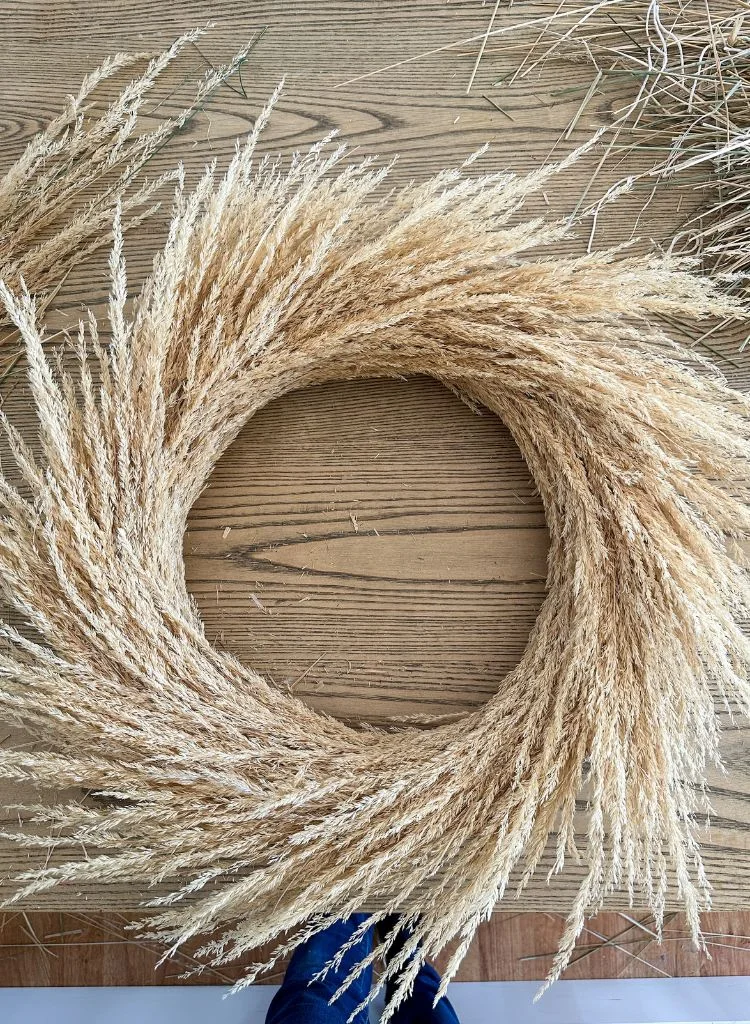
Repeat, repeat, repeat until the whole form is covered!
3. Add Accents
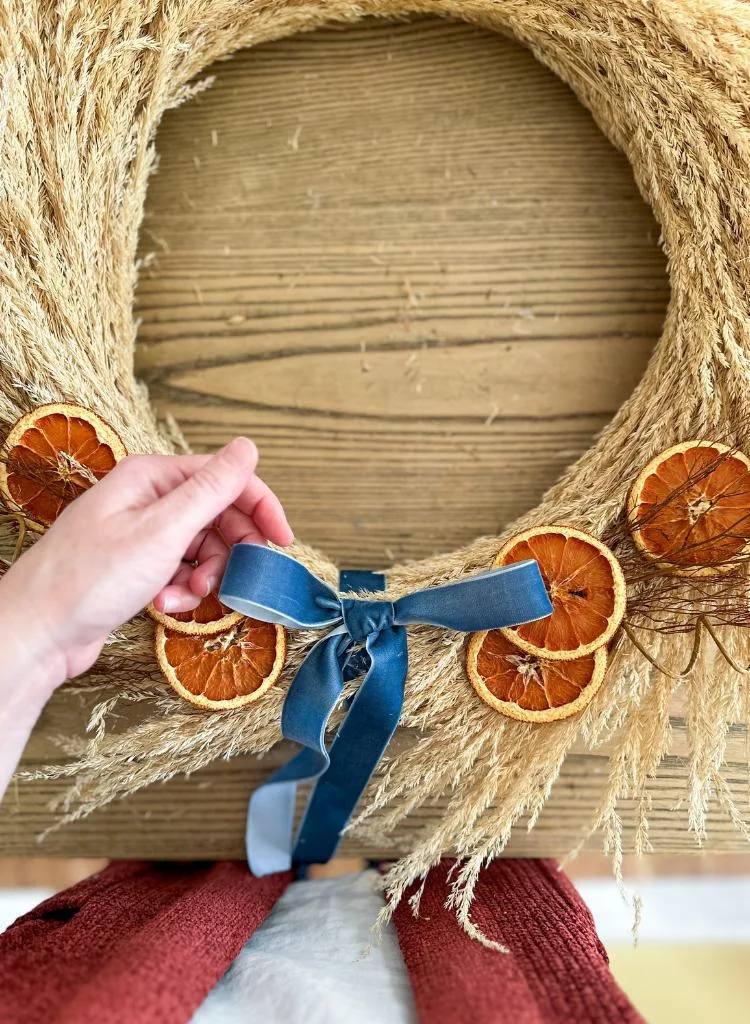
Once you’re happy with the base, add in your accents and color. Any thing you like!
Play around with the different pieces you have – reposition them, add a little, add some more, move them around, tuck things here and there. There’s no right or wrong with wreaths! Move things around until you like it, then start the glue the pieces in place.

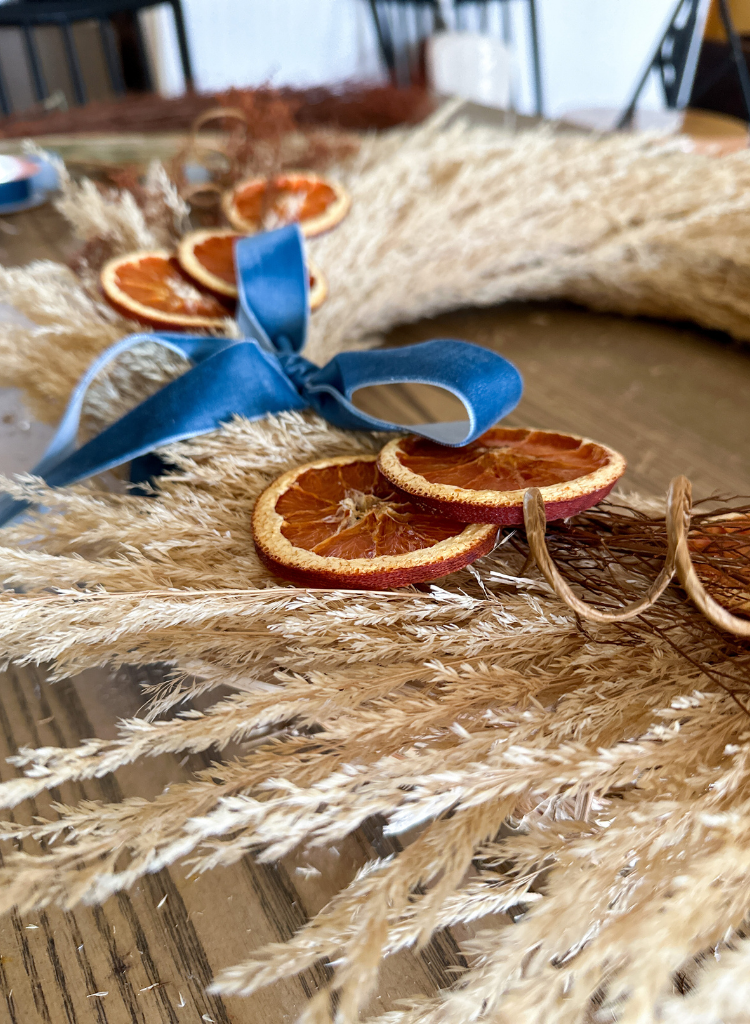
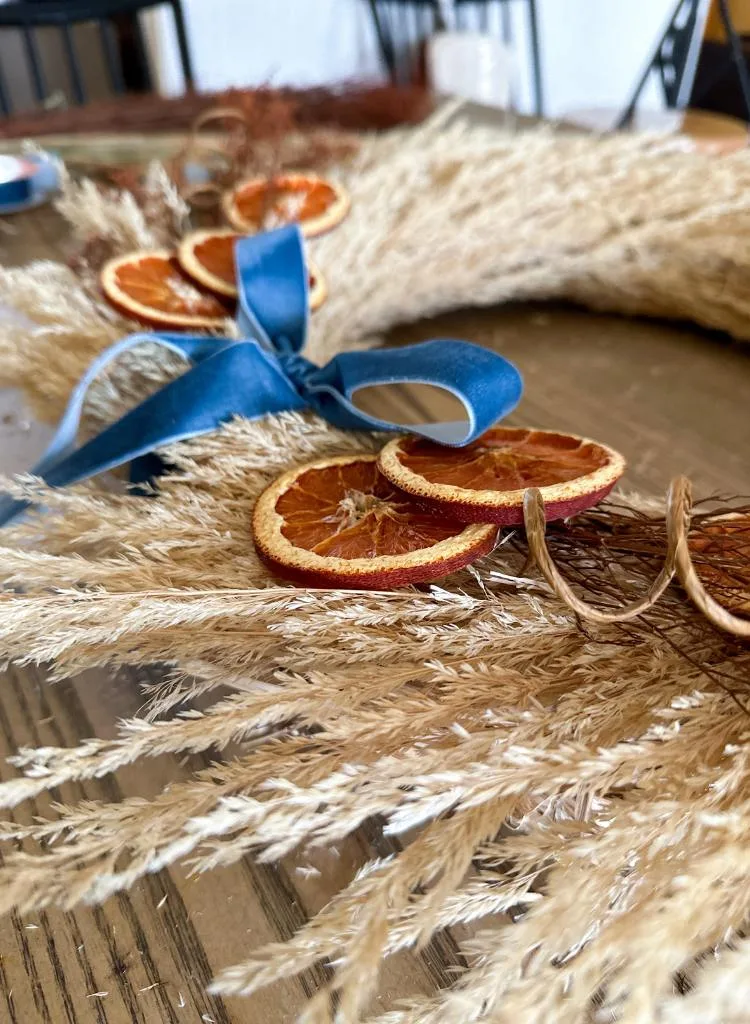
I laid all the pieces out and got them exactly where I wanted. Then, one by one, I’d take a piece out, add some hot glue, and put it back in place.
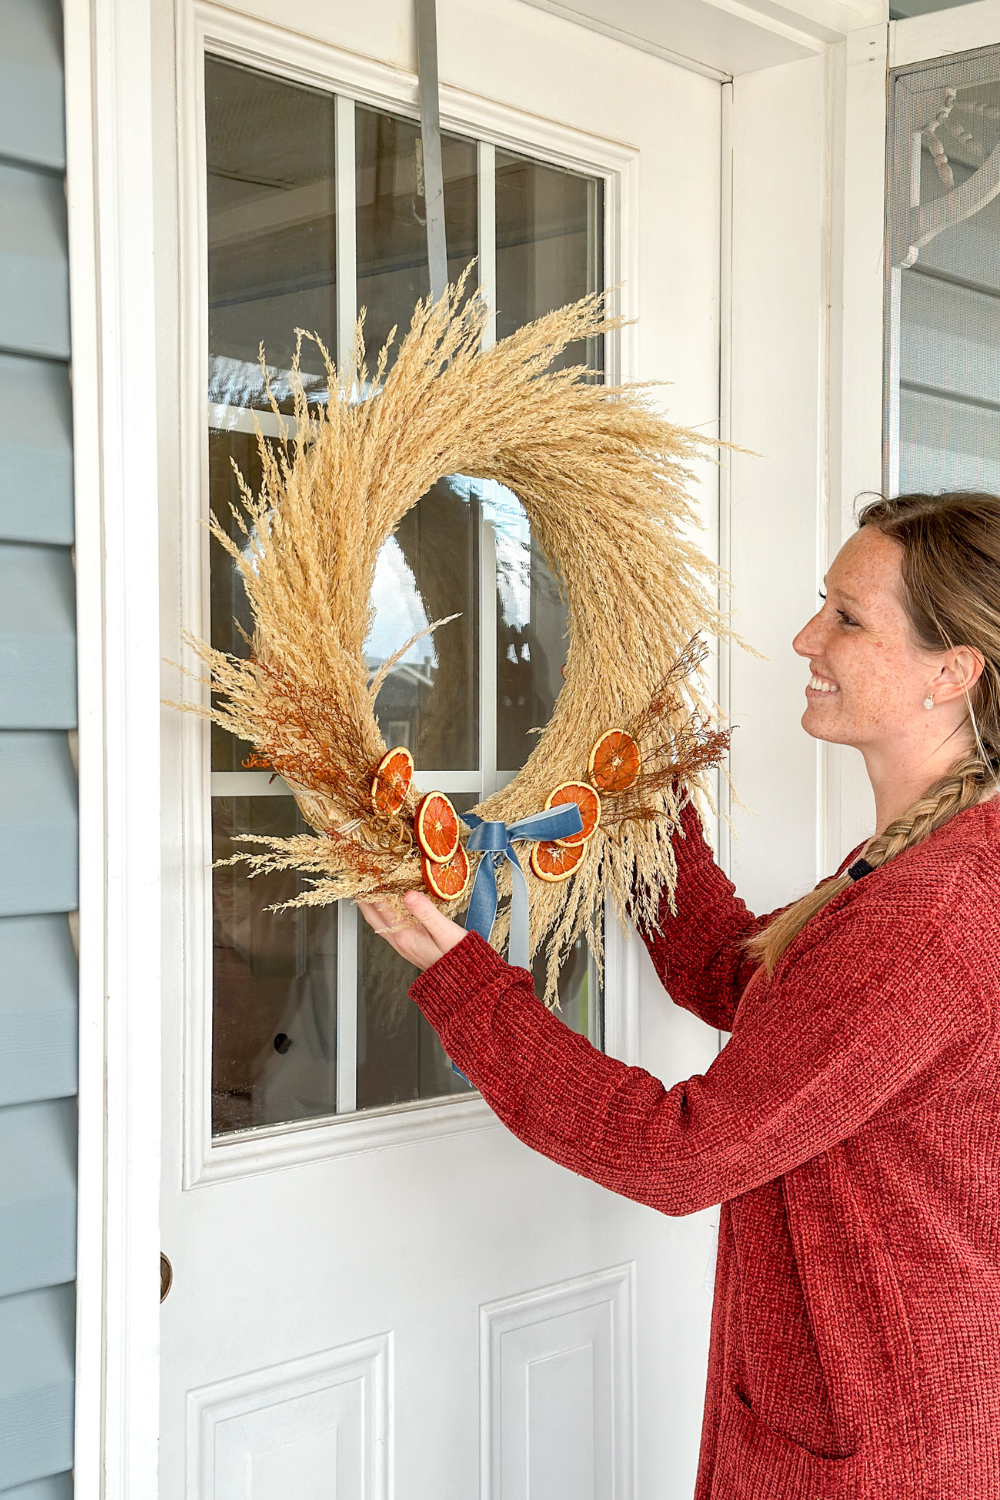
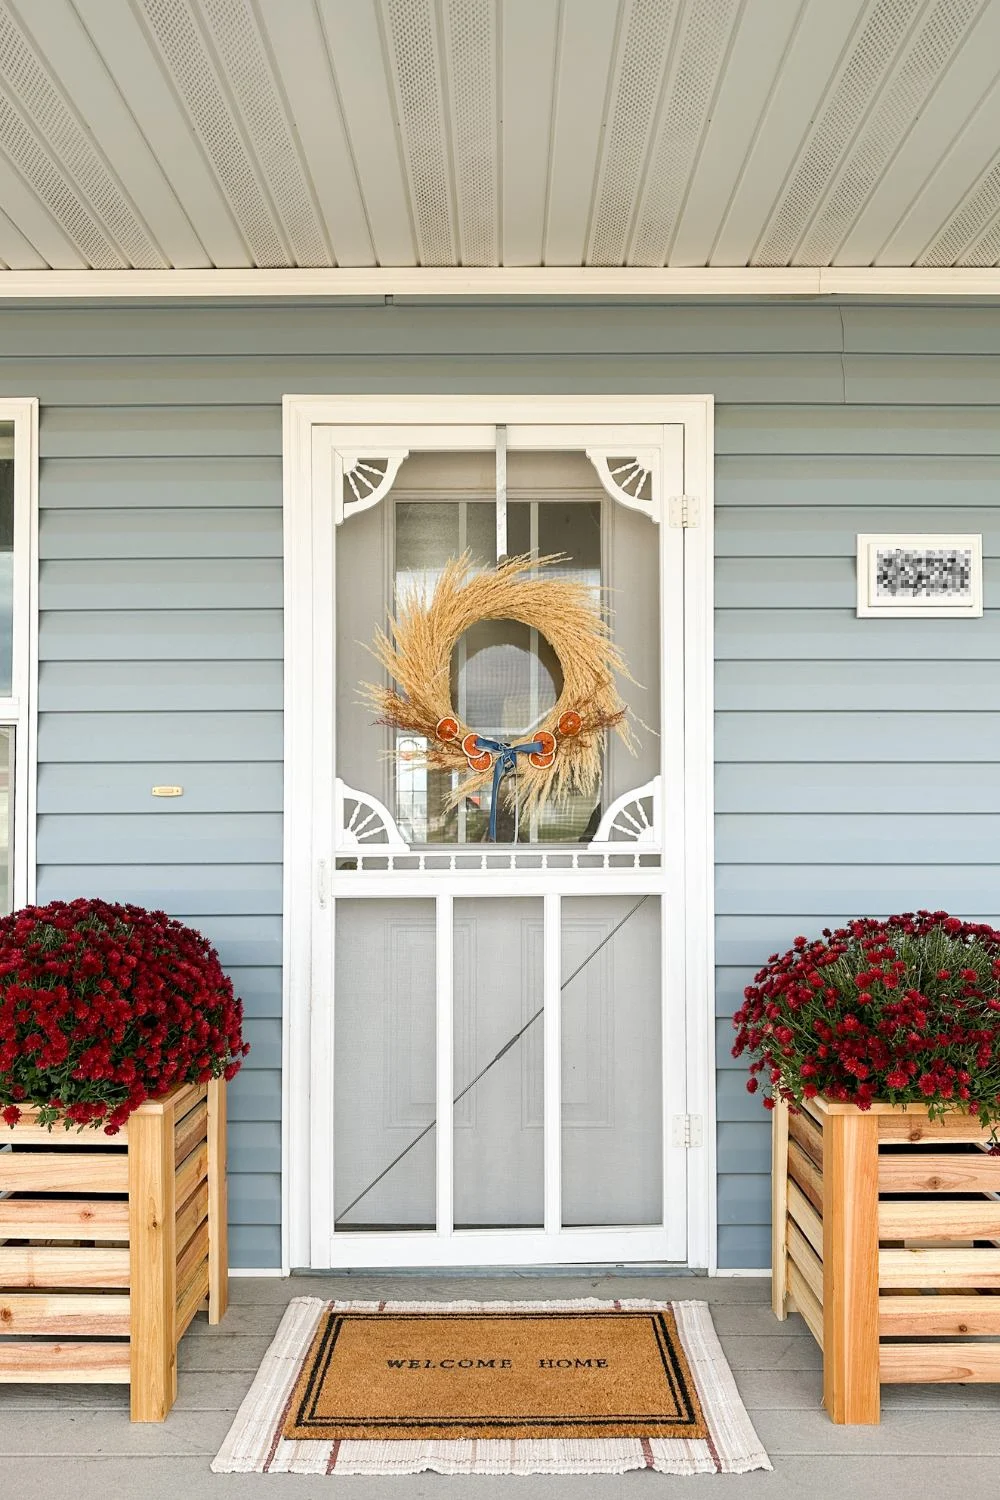
Before you know it – voila! You have a beautiful one-of-a-kind wreath.
I added a little more contrast with a velvet blue ribbon along the bottom. I actually tied one piece of ribbon around the wreath (tied at the back to hide the knot), then tied the bow as a separate piece and glued it on top of the ribbon that was around the form – a little trick I learned when I worked at a floral shop in high school to help the bow lay nice and straight.
4. Hang It Up
To finish it up, I tied a loop of cotton twine along the back for hanging.
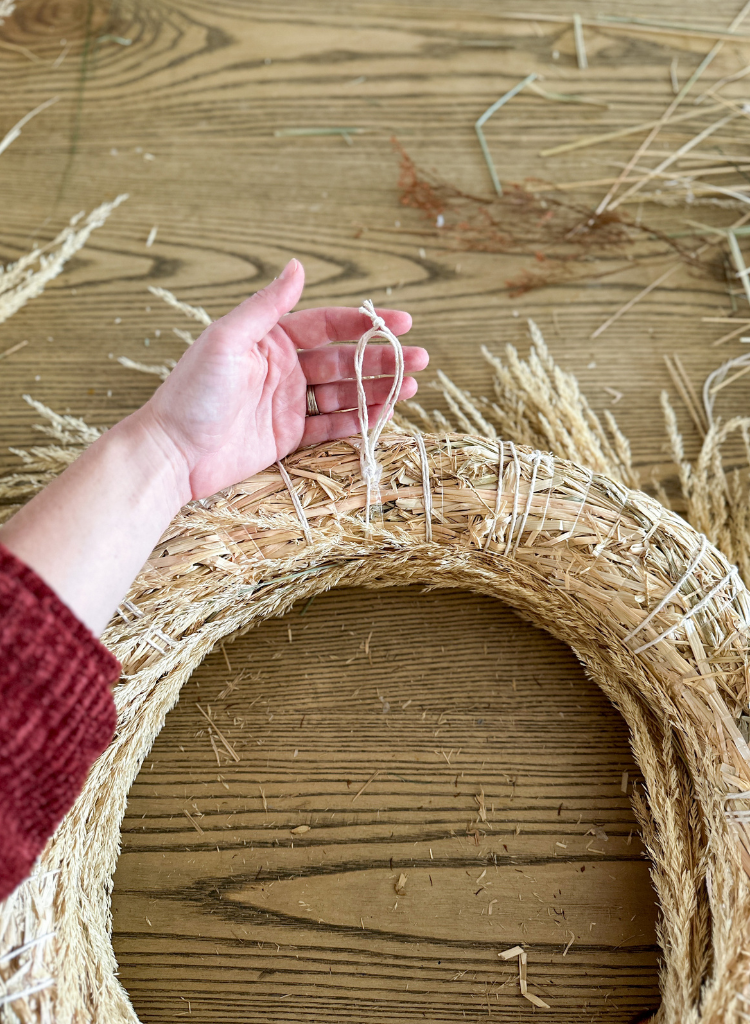
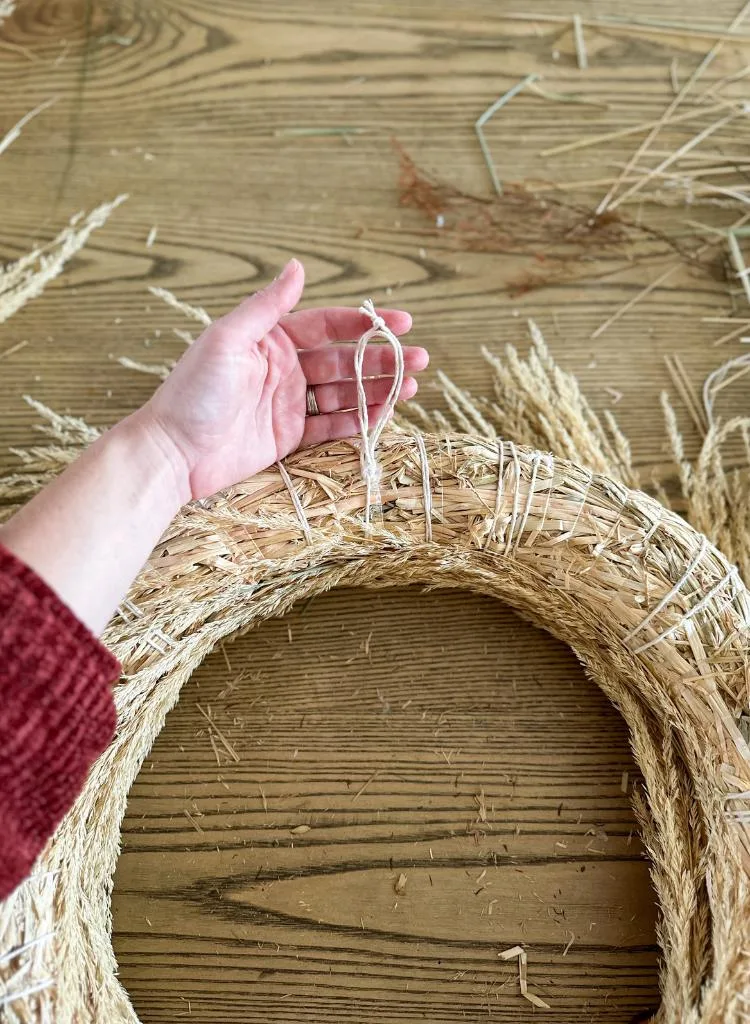
The twine is tied all the way around the form, but when I first tested it out, the wreath pulled pretty far away from the door. It was a little front heavy for where the loop was positioned. So I ended up gluing it in place along the back to hold the wreath back a bit more. Now, the wreath sits flush with the loop, instead of being able to pull away, if that makes sense? Floral wire would also work great for the loop.
I have an over-the-door wreath hangar. But, after looking at these pictures, I think I want to change it out for a command hook or suction cups on the glass next time!
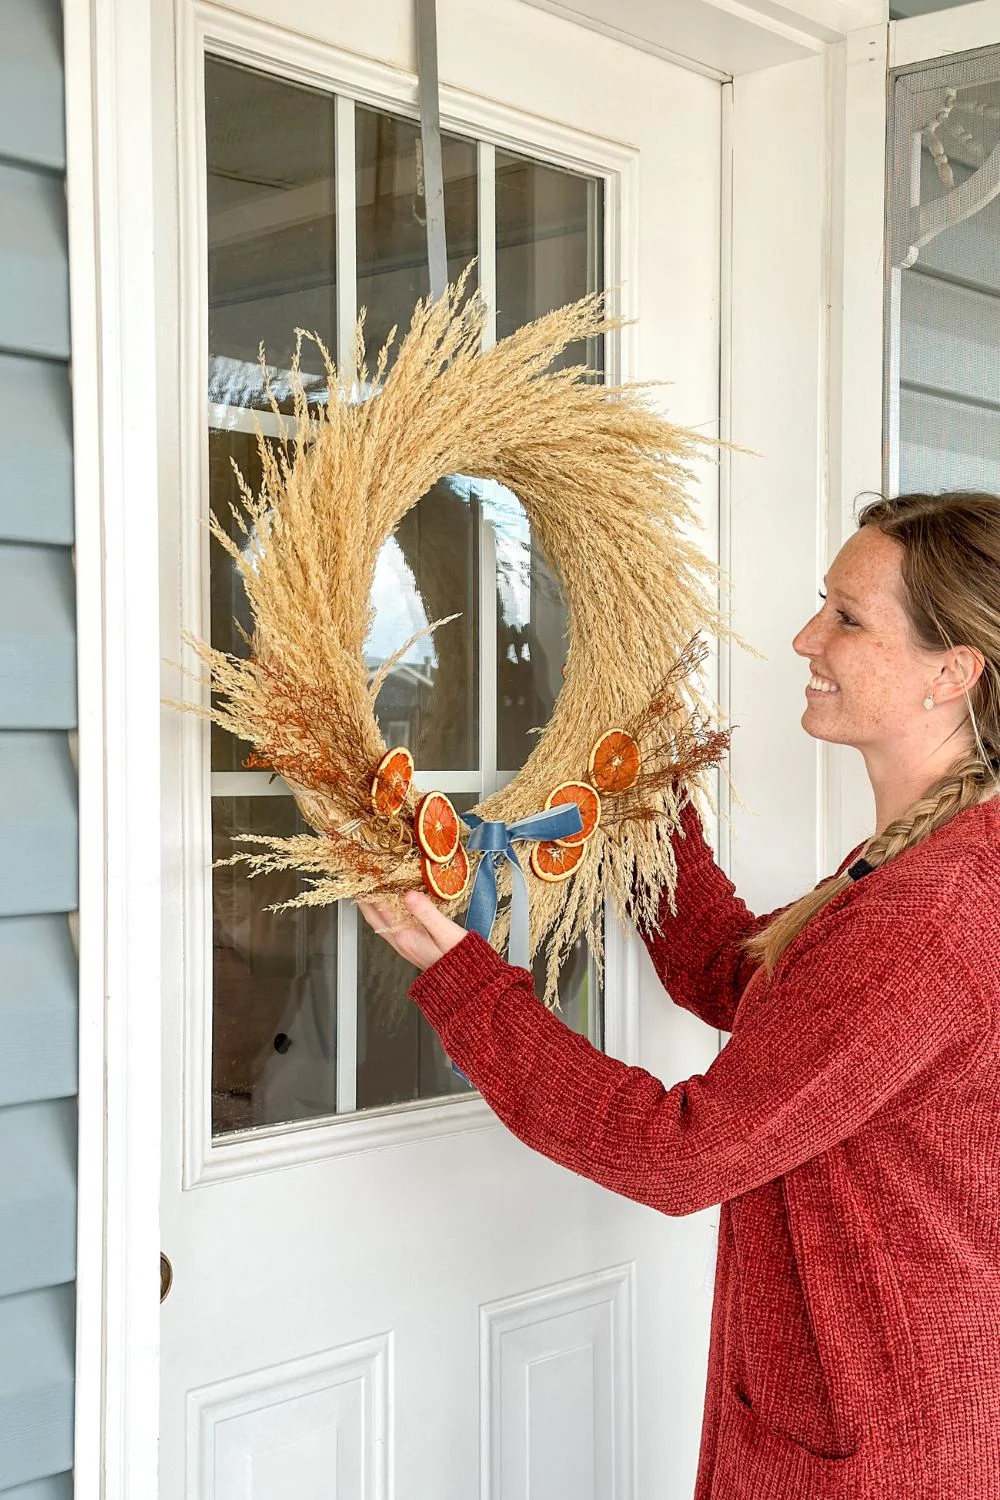
It took quite a while to tie all that grass on, so I might try starting with a grassy base next fall. It would be kind of fun to start with a fluffy base and just add a few of your own touches to it [like this one]. But I do love how it turned out! One of my favorite things about making wreaths is that the options are unlimited. It’s totally up to you and no two are alike!

Shop the Post
Click any photo below to shop.

Please let me know if you have any questions and I’ll get back to you as soon as possible.
| Tylynn |